Scroll through Instagram and you’ll see thousands of food photos. Most of them look the same and none of them make you hungry. Professional food photography stands apart because it considers light, composition, and styling in ways that casual snapshots don’t.
You don’t need a professional studio for great food photos. You need a window, some basic props, and an understanding of what makes food look appetizing.
Lighting: The Window Is Your Studio
Natural window light is the standard for food photography. It’s soft, directional, and flattering to food textures.
Setup: Place your food on a table next to a large window. The light should come from the side or slightly behind the food (side-back light). This creates highlights on the surface of the food and shadows that add depth and texture.
Avoid: Direct sunlight hitting the food. It creates harsh highlights and deep shadows that obscure detail. If your window gets direct sun, hang a white sheet or use a diffusion panel to soften it.
Fill the shadows: Place a white card or foam board opposite the window to bounce light back into the shadow side. How close you place it controls how much fill you get. Close = soft shadows. Far away or removed entirely = dramatic shadows.
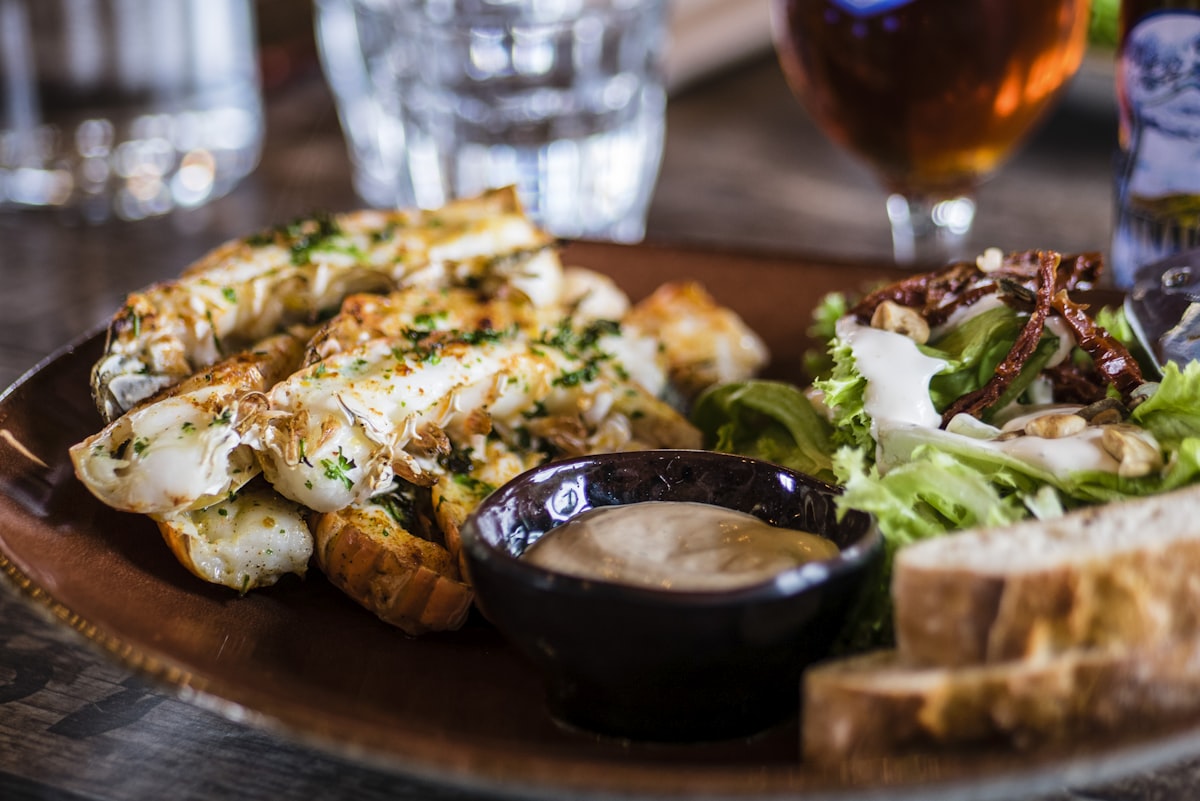
The Three Classic Angles
Overhead (flat lay): Shot directly from above. Perfect for pizzas, bowls, spreads, and arrangements on a table. Eliminates background distractions entirely.
45 degrees: The most natural dining perspective — roughly how you see food when sitting at a table. Works for most dishes and shows both the top and side of the food.
Straight on (eye level): Shows the layers and height of stacked foods — burgers, pancakes, layer cakes, tall drinks. Also great for showing the inside of a bowl or cup.
Choose the angle that best shows off the food’s most appealing feature. A flat pizza looks best overhead. A tall burger looks best straight on.
Styling Basics
Food styling is what separates a snapshot from a photograph.
Freshness matters: Photograph food immediately after preparation. Lettuce wilts, ice cream melts, steam disappears, sauces congeal. Work quickly.
Garnish with intention: A sprig of herbs, a sprinkle of flaky salt, a drizzle of olive oil, or scattered ingredients around the plate add visual interest. But keep it minimal — over-styling looks artificial.
Use the right plates and surfaces: White plates are safe but boring. Textured ceramics, dark slate, aged wood, linen napkins, and rustic surfaces add character and contrast. The plate and surface should complement the food, not compete with it.
Imperfection is good: A few crumbs, a slight drip of sauce, an uneven arrangement — these make food look real and appetizing. Overly perfect styling looks clinical and unappetizing.
Camera Settings
Aperture: f/2.8 to f/4 for single dishes with a blurred background. f/5.6 to f/8 for flat lays where you want everything sharp.
Shutter speed: Depends on your light. Use a tripod or stable surface if you’re below 1/60.
White balance: Set to match your light source. Daylight for window light. Food should look warm and natural — not too blue and not too orange.
Shoot raw: This gives you maximum control over color and exposure in post-processing. Food photography often needs careful color adjustment to make the food look accurate.
Composition Tips
Odd numbers: Three tacos looks better than two or four. Groups of odd numbers are more visually interesting.
Negative space: Don’t fill every inch of the frame. Empty space gives the eye a place to rest and makes the food the clear subject.
Lead the eye: A fork angled toward the food, a napkin edge pointing at the dish, a drizzle of sauce leading to the main subject — these guide the viewer’s gaze where you want it.
Tell a story: Include elements that suggest the context — a hand reaching for a slice, steam rising from a cup, ingredients scattered as if someone was just cooking. Context makes food photography come alive.
The Edit
Keep editing minimal and accurate. Slightly boost contrast and clarity to make textures pop. Adjust white balance so the food looks natural. Increase saturation on the food itself if needed, but avoid the orange-and-teal color grading that works for landscapes but makes food look toxic.
The goal: make the viewer wish they could reach through the screen and eat it.