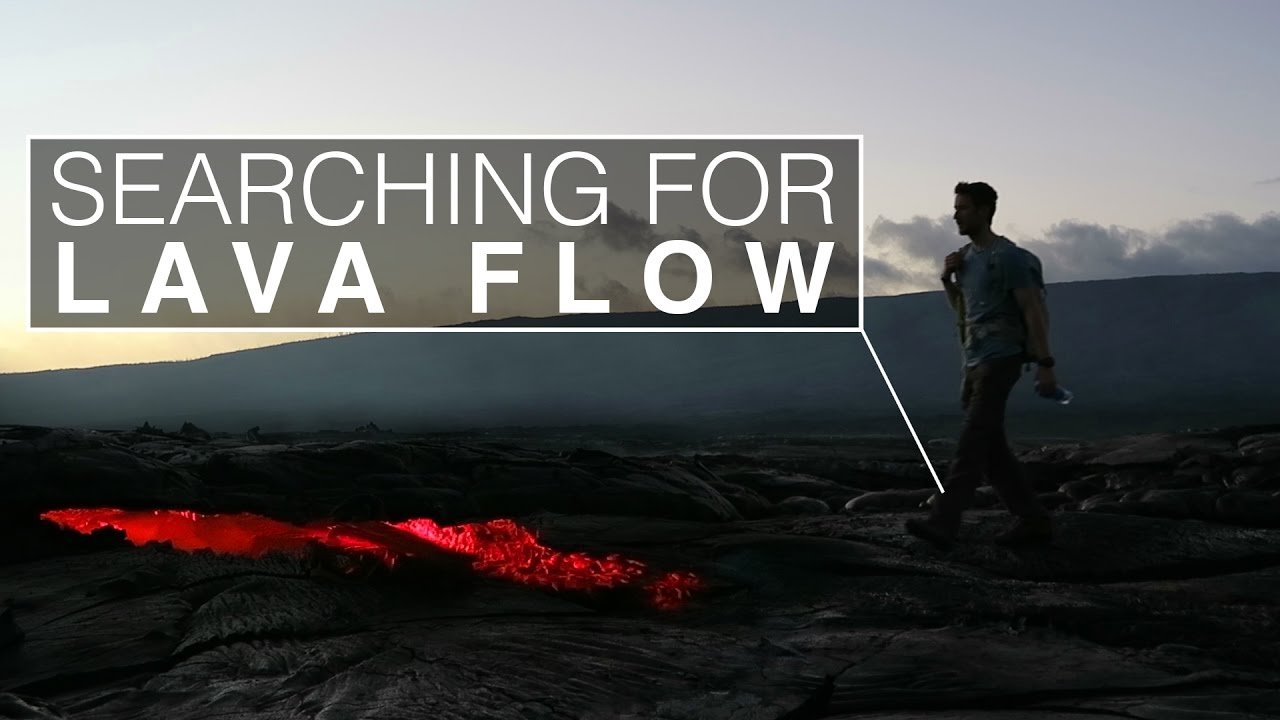
There’s a type of photography location that breaks all your usual planning habits. No golden hour guarantees, no second chances, no “I’ll come back tomorrow if the light is bad.” Active volcanoes are the extreme version of that, but the problem they represent, shooting in unpredictable, high-stakes environments where the subject might not even show up, is one every serious landscape photographer runs into eventually. I’ve felt that exact pressure on my own trips, staring at a waterfall obscured by fog, wondering whether to wait or move on. That tension between patience and adaptability is exactly what Thomas Heaton works through in this tutorial filmed on location at an active volcano while searching for surface lava flows.
Watch the full tutorial on YouTube
What makes this video worth studying isn’t the dramatic scenery, though that’s undeniable. It’s the decision-making process Heaton shares out loud while he’s hiking through lava fields, negotiating with guides, and adjusting his expectations in real time. That kind of thinking, the stuff most photographers never talk about, is what separates a good shot from a great portfolio. Here’s how the approach breaks down into something you can actually apply.
Step 1: Reject the Obvious Viewpoint When It Doesn’t Serve You
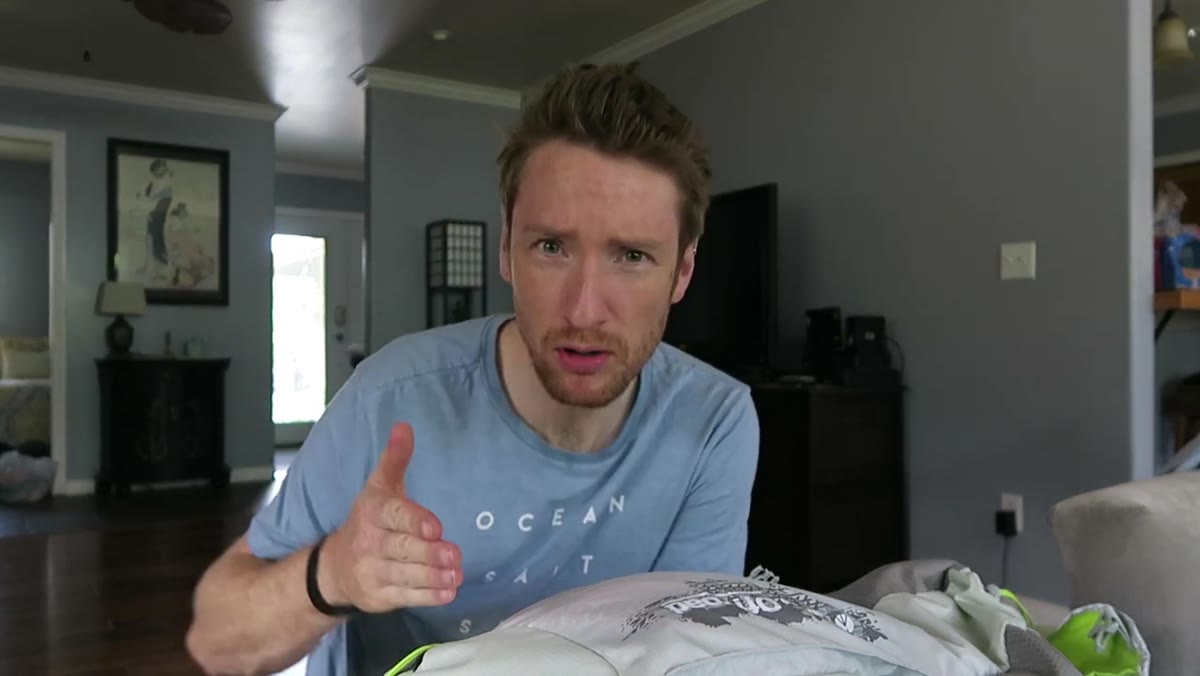 Heaton explaining his frustration with a crowded tourist viewpoint
The first decision Heaton makes isn’t about camera settings. It’s about location strategy. He’d already visited the main public viewpoint the night before and gotten decent shots, but the experience felt compromised, crowded, with other visitors ignoring safety barriers and creating a chaotic atmosphere. Rather than repeat the same visit with a guide, he pushes back and proposes an alternative plan.
This is a habit worth building deliberately. Before any shoot, ask yourself whether the most accessible spot is actually the best one for your vision, or just the easiest. Popular viewpoints exist for a reason, but they also produce predictable, heavily replicated images. If you have the option to work with a local guide, use that relationship to explore less-trafficked angles. The key is being clear about what you want versus what’s on the standard itinerary.
Step 2: Hire a Local Guide and Use Their Knowledge Actively
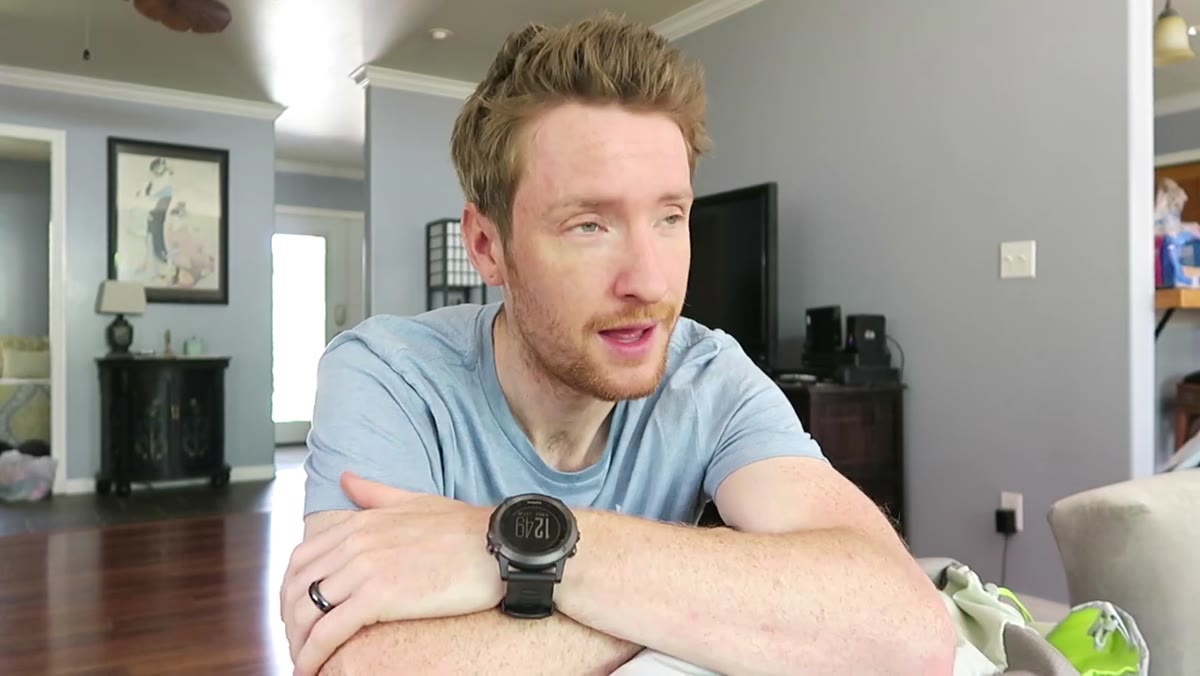 Heaton discussing plans with his guide Eric before the hike
Heaton doesn’t just hire a guide for safety, he treats the guide as a collaborative creative partner. His guide Eric had current, ground-level information about recent lava activity, including a new surface breakout that had appeared just four days earlier. That kind of hyper-local, real-time knowledge is impossible to replicate from Google searches or travel forums.
When you’re shooting in unfamiliar or technical terrain, a good guide does more than keep you safe. They tell you where the action is happening right now, not where it was happening when someone wrote a blog post six months ago. If budget allows, factor a local guide into your shoot planning the same way you’d budget for a good lens rental. The access they provide often makes the difference between a generic travel shot and something genuinely rare.
Step 3: Hike Into the Frame, Not Just Toward It
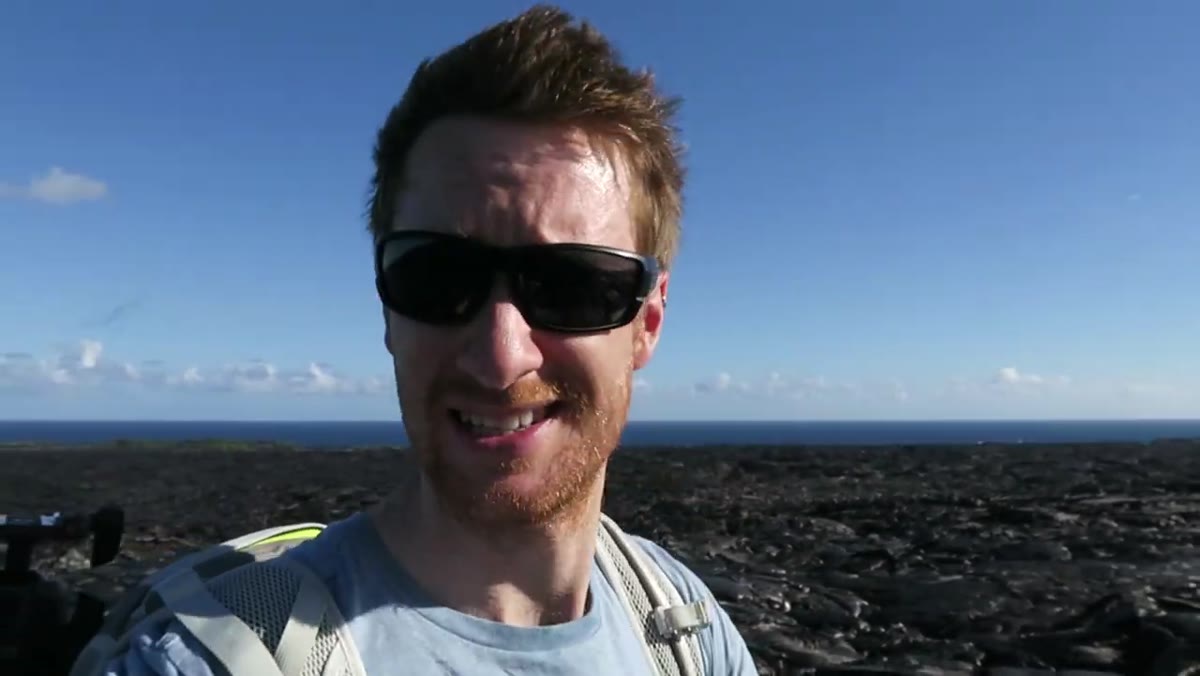 Heaton and Eric walking across a fresh lava field mid-hike
The hike itself becomes part of the photographic process. Heaton and his guide walk across a lava field formed in 2012, noting that the ground beneath them is some of the youngest land on Earth. He’s shooting and observing continuously during the approach, not saving his attention for the final destination.
This matters technically too. As you move through a landscape, you’re collecting reference shots, checking how the light behaves across the terrain, and spotting compositional opportunities you wouldn’t have seen from a map or a distant viewpoint. Some of my favorite shots from any trip come from the walk to somewhere else. Keep your camera accessible during the hike, not buried in your bag, and treat the journey as scouting in motion.
Step 4: Understand the Specific Phenomena You’re Photographing
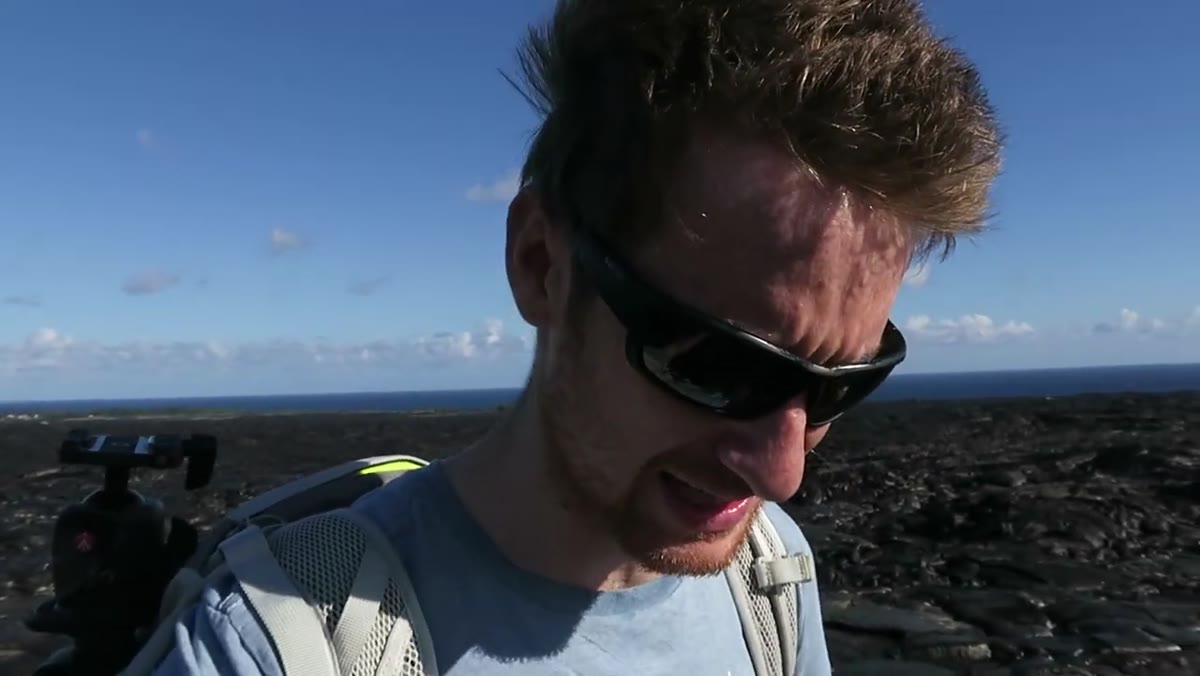 Heaton explaining skylights and surface lava flow while hiking
Heaton takes a moment during the hike to explain what he’s actually looking for: surface lava flows, where magma breaks through the hardened crust, and skylights, cracks in the earth where you can see the orange glow of moving lava below. Knowing the difference between these two subjects changes how you position your camera, what focal length you reach for, and how you expose for the contrast between dark rock and intensely bright molten material.
This applies broadly. Before any technical or unusual shoot, do enough research to understand the visual properties of your subject. A photographer shooting bioluminescent water needs to know how long the exposure window is before the glow fades. A photographer at a volcano needs to understand that skylights produce a contained, downward-facing glow rather than an open flame. That knowledge shapes every camera decision you make on site.
Step 5: Adapt Your Exposure for Extreme Contrast in Low Light
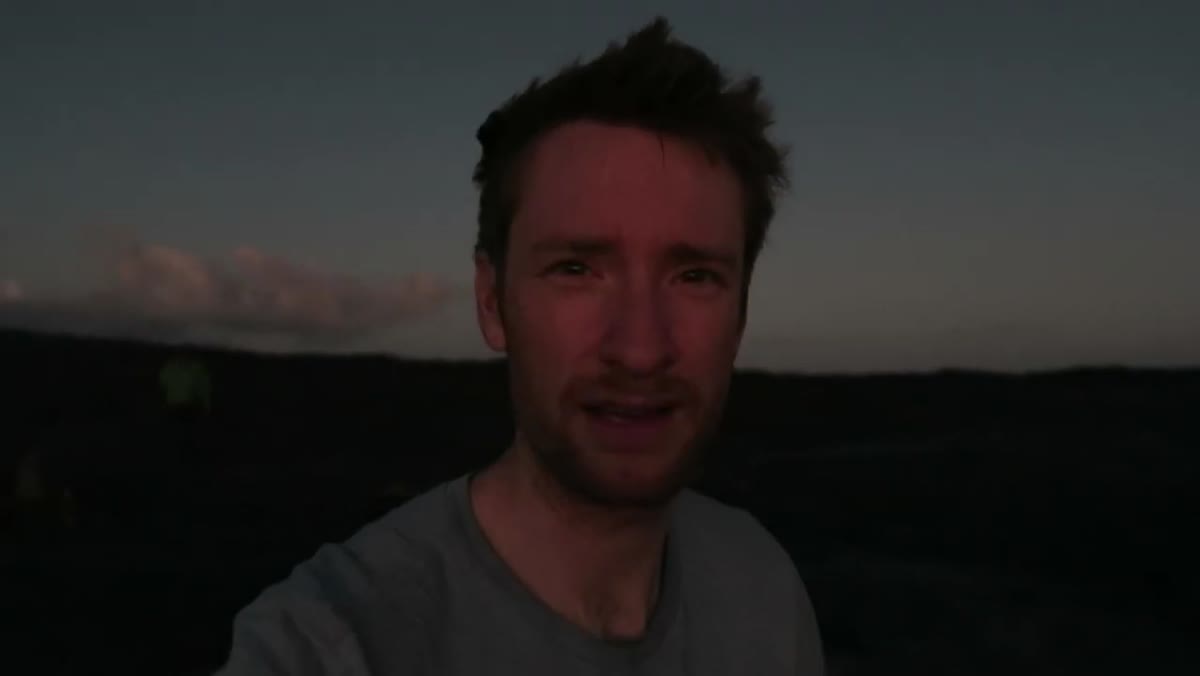 Heaton filming near the skylight as darkness falls, camera picking up glow
By the time Heaton reaches the skylight, it’s nearly dark, and he makes a point of noting how well his Canon G5X handles the low-light scene, pulling detail from his face while also capturing the orange glow from the crack in the earth. That’s a significant dynamic range challenge: a bright, localized heat source surrounded by pitch-black volcanic rock.
In situations like this, expose for the glow rather than the ambient scene. Use a narrow aperture to control the intensity of the brightest point, and let your ISO climb to compensate for the dark surroundings. Bracket your exposures if time allows, because the difference between a usable shot and a blown-out one can be a single stop. If you’re shooting on a mirrorless camera, use your histogram live rather than trusting your eye, since the glow can fool your perception of correct exposure in the dark.
Step 6: Post Up and Wait Once You’ve Found the Subject
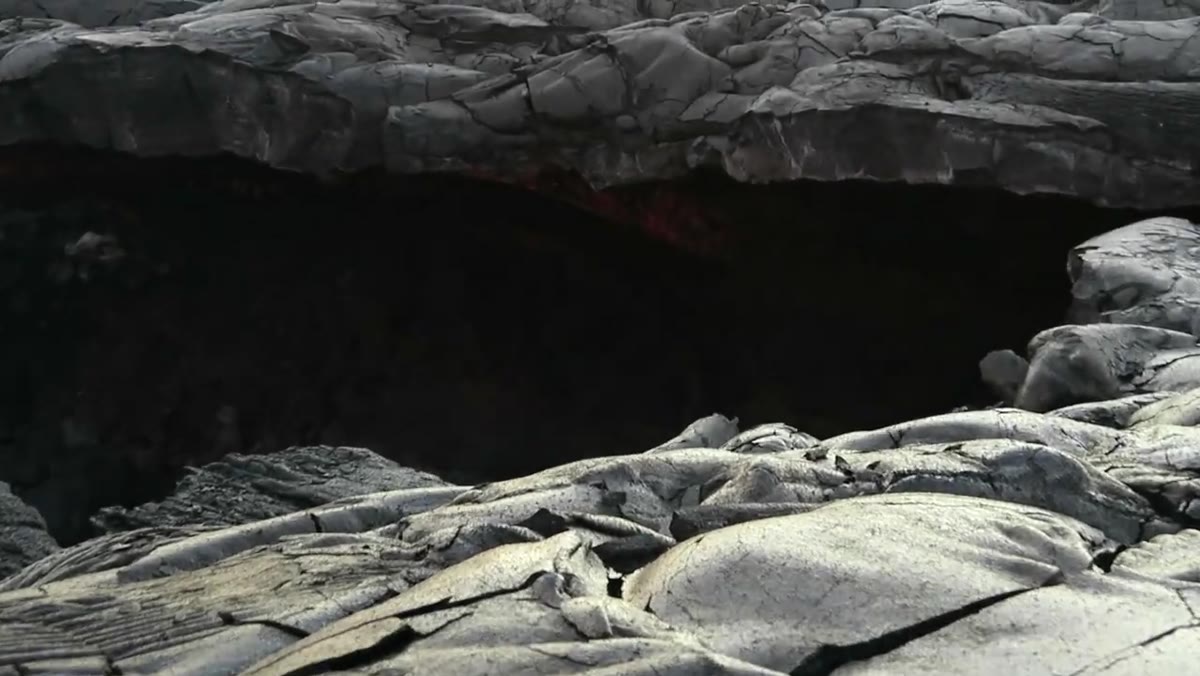 Heaton deciding to stay at the skylight as conditions darken
Once Heaton finds the skylight, he makes the call to stop moving and stay put. He estimates 15 to 20 minutes of waiting as conditions darken, recognizing that the shot will improve as ambient light drops and the glow from the lava becomes more visually dominant.
This is a discipline that’s harder than it sounds, especially when you’ve hiked for hours and your instinct is to keep moving. But the best light rarely announces itself immediately. Set up your composition, dial in your exposure, and then wait. Use that time to experiment with small framing adjustments, try vertical versus horizontal, shift your focal point, test a slightly different angle. The subject isn’t going anywhere. Give the light time to do its work.
What I’d Add: The Phone-as-Scout Rule
I still pull out my phone on shoots like this, not to replace my main camera, but to test compositions quickly before committing to a tripod setup. In fast-moving or unpredictable environments, your phone’s camera is fast enough to give you a rough read on whether a framing idea works. Some of my most successful final shots started as a phone test that confirmed the composition was worth the full setup. Don’t let gear pride slow you down when conditions are changing by the minute.
The single most important thing Heaton demonstrates here isn’t a camera technique. It’s the willingness to plan carefully, adapt when the plan changes, and stay patient when the subject is uncertain. You can apply that mindset whether you’re chasing lava or just waiting for clouds to break over a mountain ridge.
Watch the full tutorial on YouTube to see the full hike, the skylight footage, and how Heaton narrates his decisions in real time.
Comments
Leave a Comment