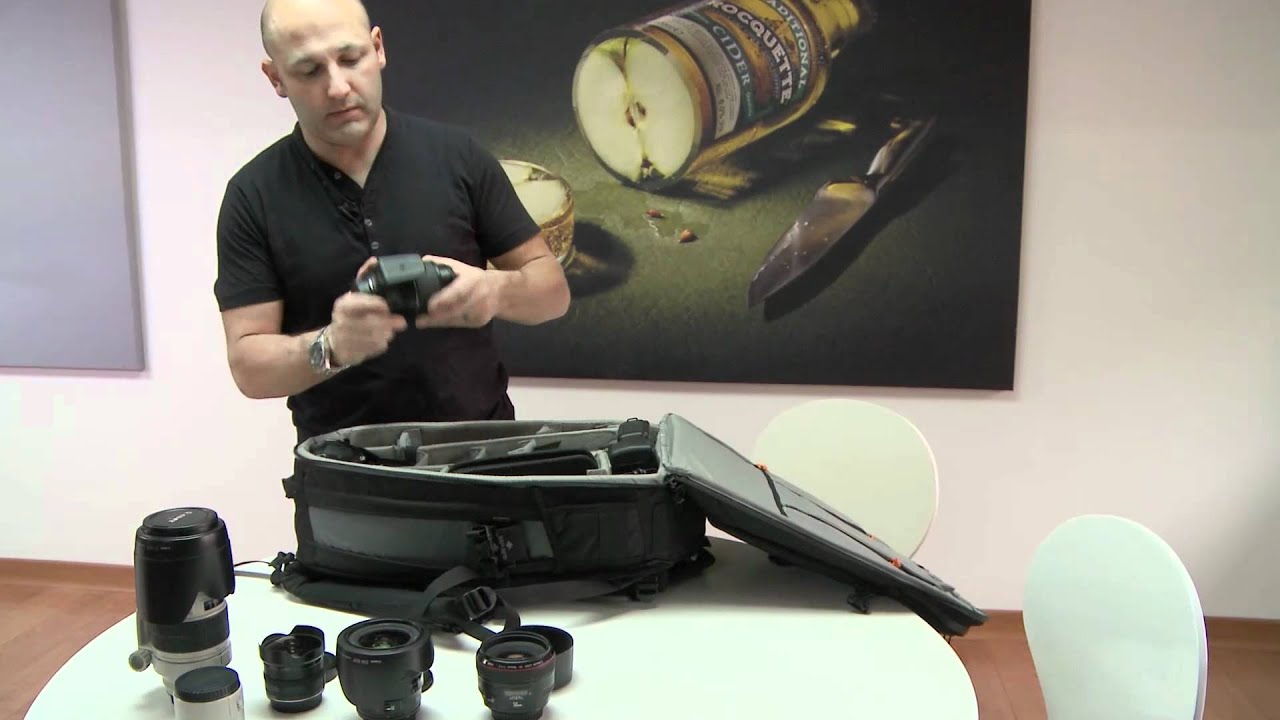
Every trip I take starts the same way: I’m standing in my Seattle bedroom, surrounded by lenses and bodies and cables, wondering what I can realistically carry onto a plane. I’ve checked gear before. I’ve regretted it. There is nothing quite like landing in a new city and watching your bag come down the carousel with a zipper that wasn’t open when you left home.
So when I came across this Visual Education tutorial from photographer Karl Taylor on protecting your camera equipment while traveling, I watched it twice. Taylor shoots at a professional level and has clearly worked through the same calculation every traveling photographer faces: how do you get enough gear to do the job without surrendering it to the cargo hold? His answers are practical, specific, and immediately useful. Watch the full tutorial on YouTube – then come back here for the breakdown.
What I appreciate most is that Taylor doesn’t talk in abstractions. He physically unpacks the bag on camera, explains why each feature matters, and is honest about what he has and hasn’t actually used in the field. That’s the kind of teaching I trust.
Step 1: Choose a Backpack-Style Bag That Keeps Your Hands Free
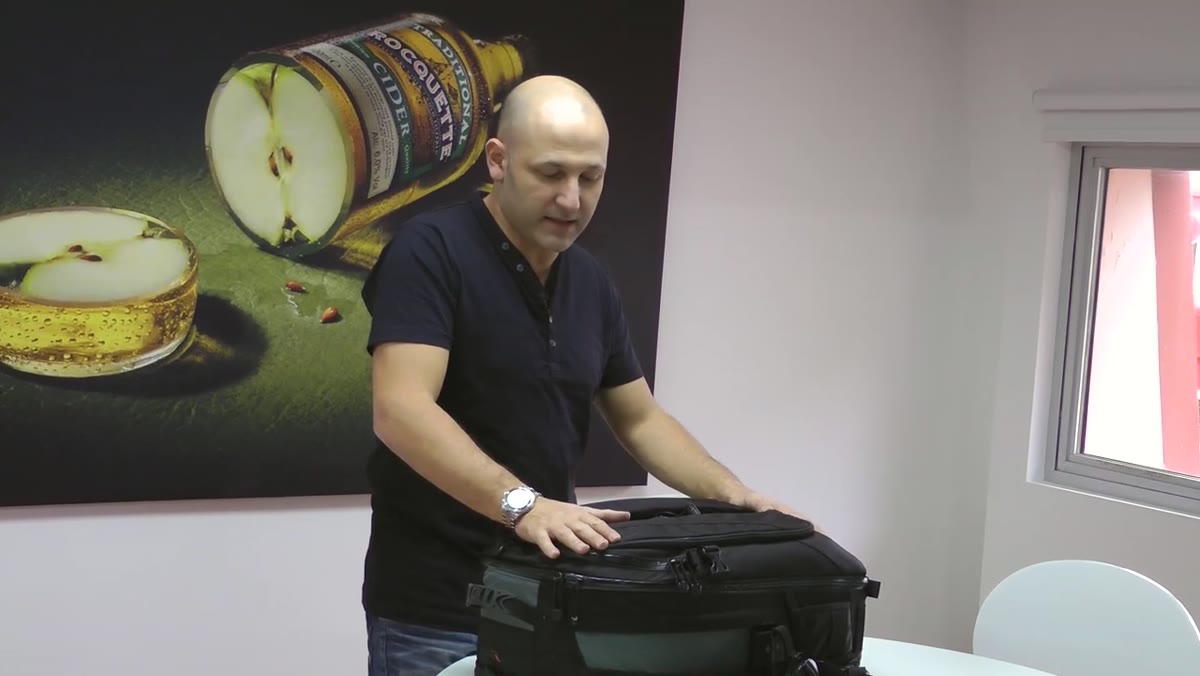 Karl Taylor holding a Lowepro backpack-style camera bag
Taylor’s bag of choice is a Lowepro Vertex 300 AW, a backpack-style camera bag, and the format matters as much as the brand. With a backpack, you’ve got both hands free at the airport for your tripod, a carry-on roller, or whatever else you’re hauling. When you get to location and need to scramble up a hillside or move fast, you’re not fighting a shoulder bag that keeps slipping off.
If you’re shopping for something similar, look for bags explicitly designed for camera gear (not converted hiking packs) and confirm the internal dimensions before you buy. The backpack style isn’t just ergonomics – it signals to your body and your workflow that this is your working kit, not just luggage.
Step 2: Verify Your Bag Meets International Hand Luggage Dimensions
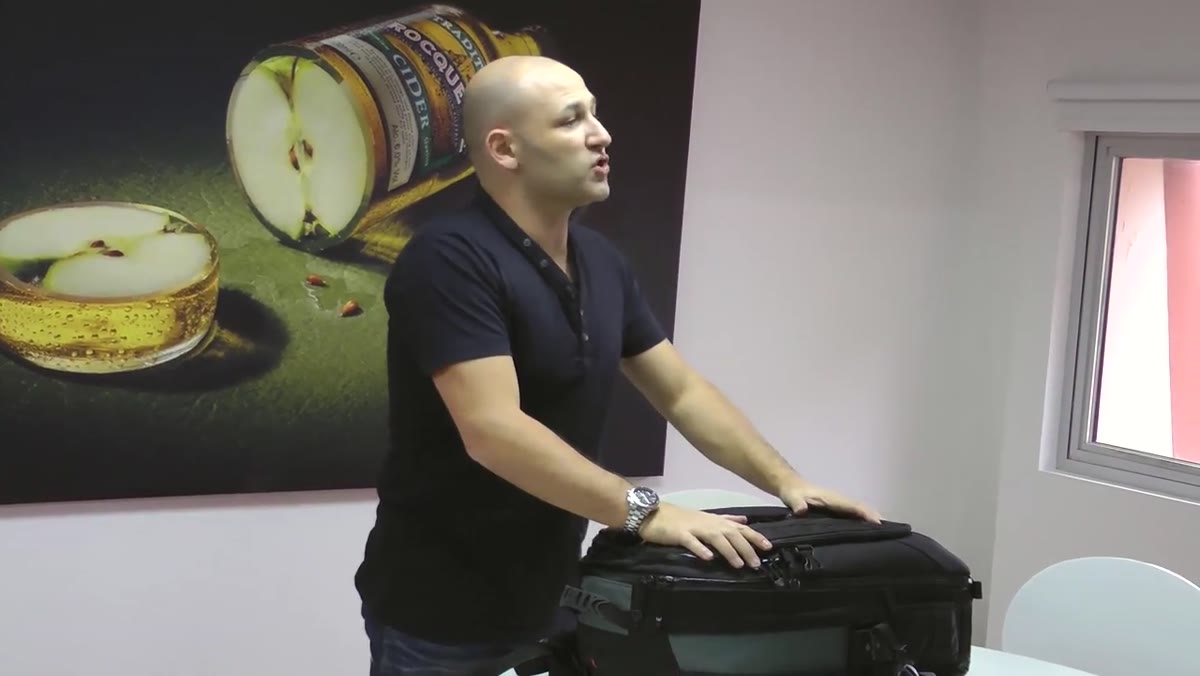 Close-up of the Lowepro bag being measured against airline carry-on dimensions
This is the step most photographers skip until they’re standing at a gate being asked to check their bag. Taylor is upfront: his Lowepro Vertex 300 AW meets international airline carry-on size regulations, but only just. It has been flagged by staff before.
Before any trip, look up the specific carry-on dimensions for every airline on your itinerary. International and domestic limits often differ, and budget carriers can be stricter. Measure your packed bag – not the empty bag, the full one, because compression matters. Knowing you’re within spec gives you confidence to push back politely if you’re questioned at the gate.
Step 3: Prioritize Hand Luggage to Protect Your Most Valuable Gear
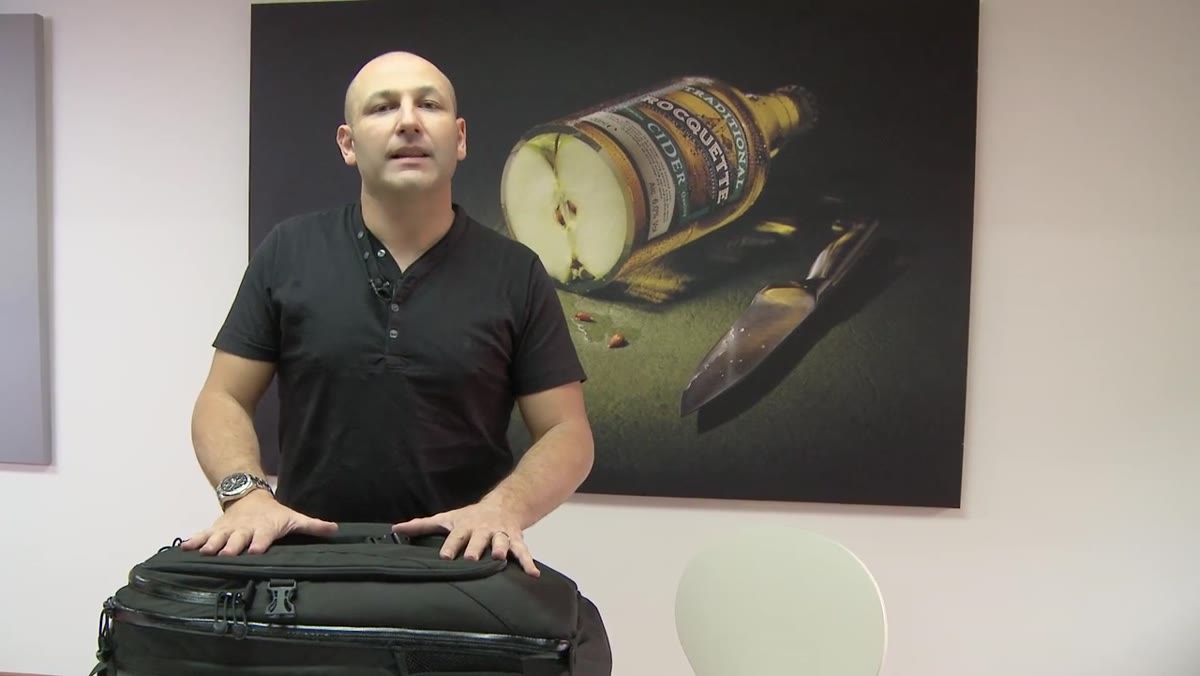 Taylor explaining why he keeps camera gear in carry-on rather than checked baggage
Taylor’s reasoning here is simple and worth repeating: as a working photographer, he has thousands of dollars worth of cameras and lenses that he cannot afford to lose or have damaged in the cargo hold. His goal is to carry at minimum the core kit he needs to actually do the job – the gear he couldn’t replace quickly on location.
Think about your own “minimum viable kit” before you pack. If the rest of your luggage got lost, what would you absolutely need to shoot? That kit belongs in your carry-on. Everything else can be evaluated separately. This framework also helps when airlines push back – you’re not traveling with a hobby bag, you’re carrying your tools.
Step 4: Use the Dedicated Laptop Sleeve for Digital Workflow
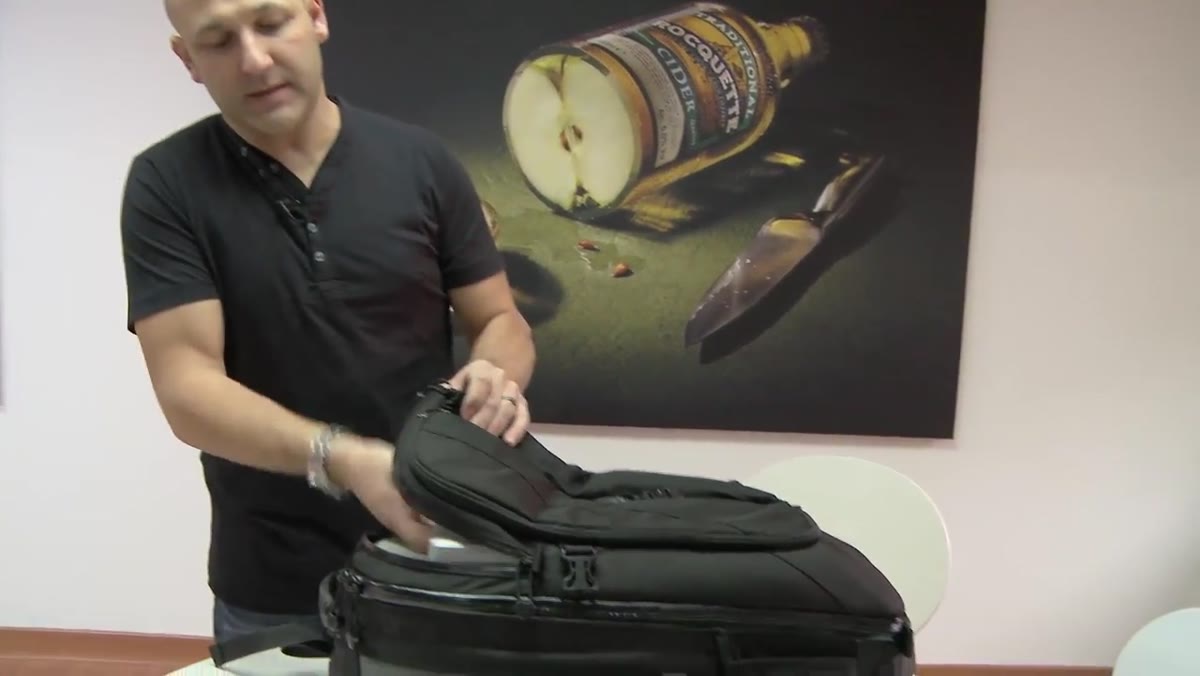 Laptop being slid into the rear zip pocket of the camera bag
The Lowepro bag includes a rear zip sleeve designed to hold a 17-inch laptop. Taylor keeps his MacBook Pro there, which means his digital workflow – tethering, editing on the plane, backup – travels with his camera gear in the same bag.
This matters practically: keeping your laptop and your cameras together means one bag to track and one bag to protect. If you’re shooting digitally and tethering on location, having your computer in a different bag introduces risk and inconvenience. Look for bags with padded, dedicated laptop compartments rather than just a general open pocket, and make sure the laptop is accessible without unpacking everything else.
Step 5: Check the Weather-Sealed Zips Before You Rely on Them
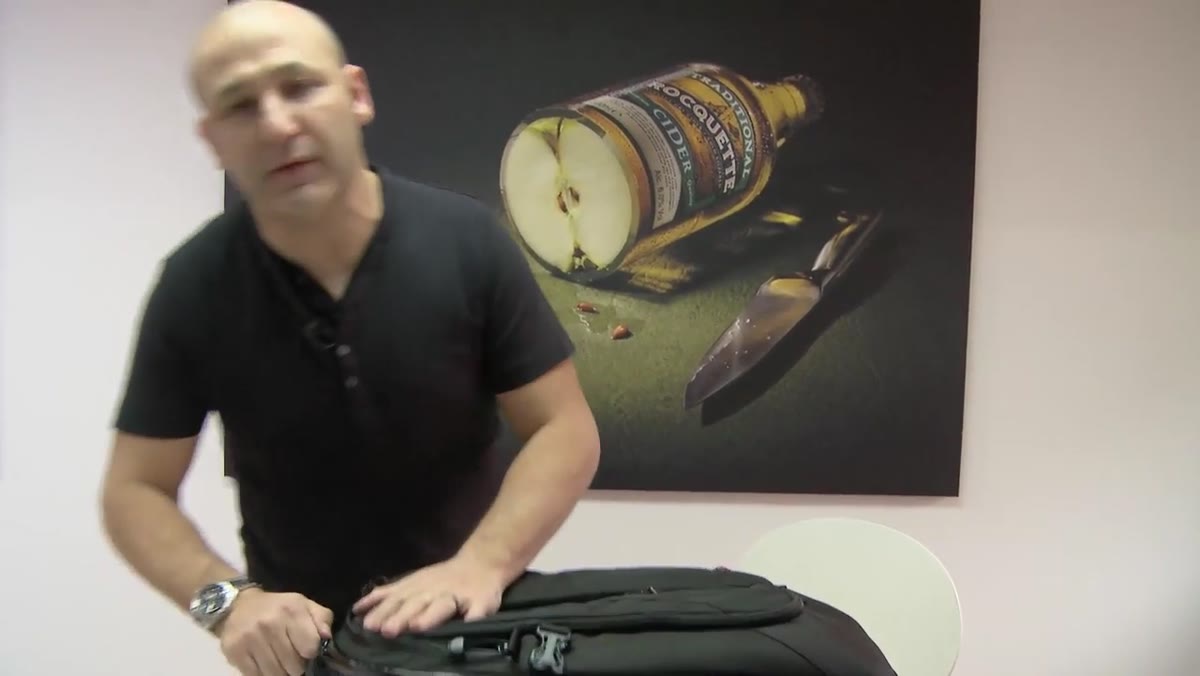 Taylor pointing to the sealed zips on the main compartment
The main compartment of Taylor’s bag uses weather-sealed zips designed to block moisture. His experience – and he’s honest that he never even deployed the rain cover despite being caught in rain multiple times – is that these sealed zips alone are sufficient protection in normal outdoor conditions, including light rain and sea spray.
Test your own bag’s zips before a trip. Zip and unzip them several times, check that the gasket seals flat, and look for any wear or splitting in the seal material. Weather protection in a bag degrades over time, especially if the bag is used hard. If your zips are showing age, a silicone zipper lubricant can extend their life and restore some of the seal.
Step 6: Stow the Strap Cover Before Checking (If You Ever Have To)
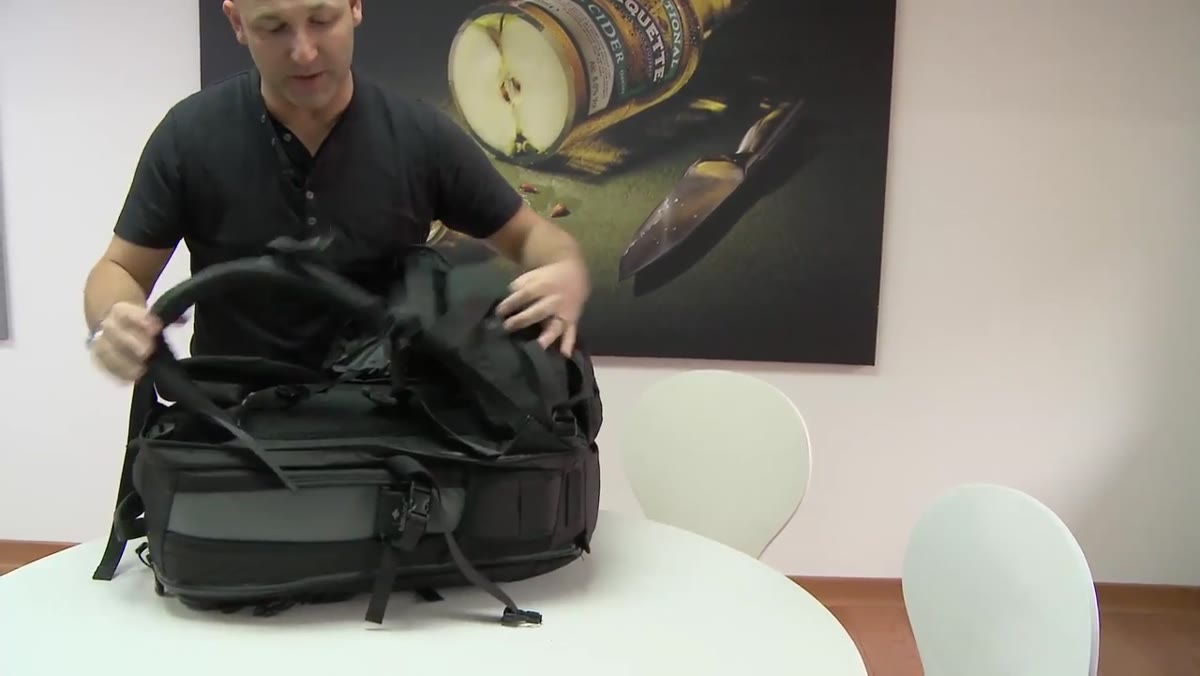 Taylor demonstrating the strap tuck-away cover on the back of the bag
Built into the back of the bag is a fabric panel that folds over and zips closed, tucking all the shoulder and sternum straps out of sight. Taylor explains this feature in the context of checked baggage: all those dangling straps can get caught in conveyor belts and baggage systems, which can damage the bag or the gear inside.
Even if you plan to carry on every time, get in the habit of using this cover when you’re not wearing the bag. It protects the straps from wear, keeps the bag looking clean through security, and means you’re ready if you’re ever forced to gate-check at the last minute.
What I’d Add From My Own Experience
One thing Taylor doesn’t cover in depth here, probably because his kit is established and consistent, is the value of packing a written gear inventory before you travel. I keep a simple note on my phone listing every piece of equipment, including serial numbers for the big-ticket items. If anything goes missing – whether through theft, airline error, or that one time I left a battery grip at a hotel – I have a record ready for insurance and for customs if I’m ever questioned about professional equipment crossing a border. It takes ten minutes before a trip and has already saved me a headache at customs when flying back from a commercial shoot.
The single most important idea Taylor demonstrates is this: your camera bag isn’t just storage – it’s your first line of defense for gear that makes your work possible. Choosing a bag that fits in the cabin, meets weather demands, and keeps your workflow tools together is a professional decision, not a gear-nerd indulgence.
Watch the full tutorial on YouTube to see Taylor walk through each feature hands-on – seeing exactly how everything fits into the bag is worth the few minutes it takes.
Comments
Leave a Comment