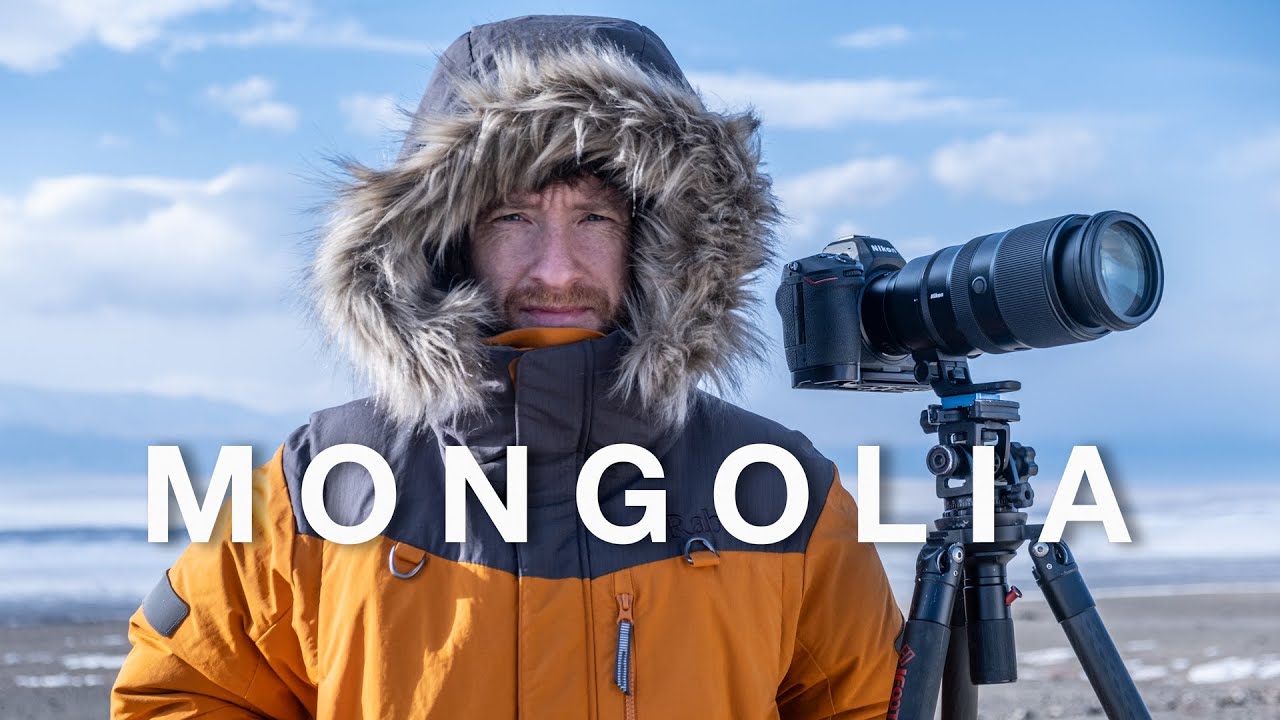
Every photographer who has stood at a check-in desk with a bag that’s clearly too heavy knows that specific, quiet dread. You smile at the agent. You hope they don’t ask. I’ve been there more times than I’d like to admit, usually because I’ve convinced myself I absolutely need three lenses and a backup body for a weekend trip to the coast. But when the destination is somewhere genuinely remote and genuinely cold, like Mongolia in winter, the stakes are completely different. You’re not overpacking out of indecision. You’re doing it because your survival and your shots depend on having the right kit.
In this Thomas Heaton tutorial, Watch the full tutorial on YouTube, Heaton documents the entire journey from his home in the UK to Mongolia for a landscape and wildlife photography trip. The destination promises temperatures as low as -40 degrees Celsius, snow leopards, and the elusive Pallas’s cat. What it also promises is an absolute logistical nightmare of a packing situation. Watching him navigate it is genuinely instructive, because the decisions he makes aren’t random. Each one is the result of knowing exactly what the trip demands and working backward from there.
What I found most useful is that this isn’t a polished gear-review video. It’s a real working photographer solving real problems in real time. That’s where the actual lessons live.
Step 1: Define Your Three Shot Goals Before You Pack Anything
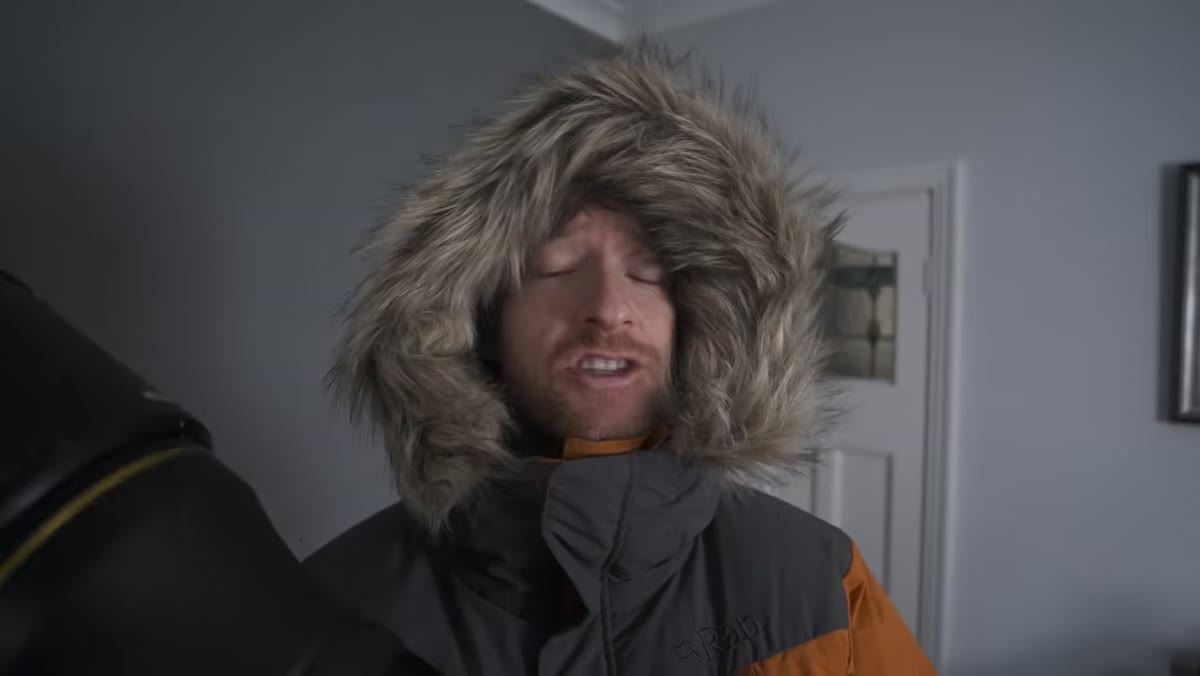 Thomas Heaton listing three specific photography goals for Mongolia
Before Heaton touches a single piece of gear, he names exactly what he’s going there to photograph: landscapes, snow leopards, and the Pallas’s cat. That level of specificity matters more than most people realise. When you know your subjects, you know your focal lengths. When you know your focal lengths, you know your lenses. When you know your lenses, everything else falls into place or gets cut. If you sit down to pack without this clarity, you end up bringing “just in case” gear that weighs a ton and never leaves the bag.
Thomas Heaton listing three specific photography goals for Mongolia
Before Heaton touches a single piece of gear, he names exactly what he’s going there to photograph: landscapes, snow leopards, and the Pallas’s cat. That level of specificity matters more than most people realise. When you know your subjects, you know your focal lengths. When you know your focal lengths, you know your lenses. When you know your lenses, everything else falls into place or gets cut. If you sit down to pack without this clarity, you end up bringing “just in case” gear that weighs a ton and never leaves the bag.
Write your three shot goals down before you open a single bag. Then match each goal to a lens. Everything that doesn’t serve at least one goal is a candidate for leaving behind.
Step 2: Build Your Photography Kit Around Your Hardest Shot
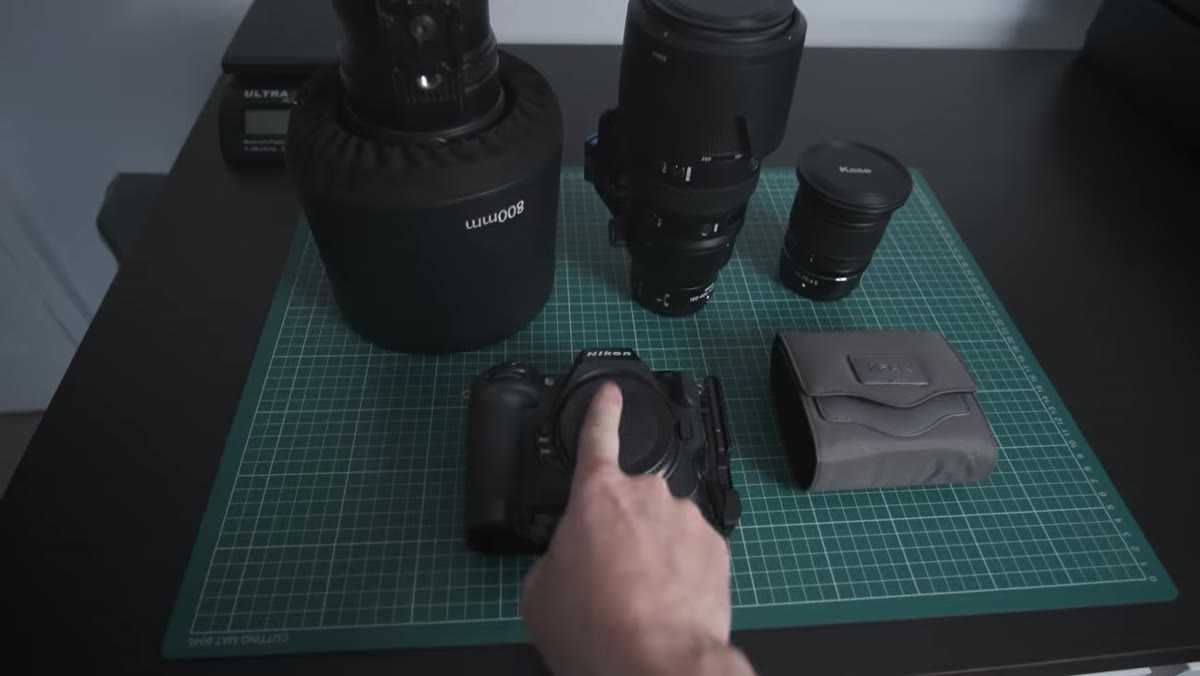 Camera bodies and lenses laid out flat on a surface before packing
Heaton’s hardest shots are the wildlife ones, which means he anchors his kit around a 800mm prime lens. That single decision shapes everything else. He pairs it with a Nikon Z8 for the body, adds a 100-400mm zoom as a versatile midrange option, and includes a 24-70mm for landscapes and environmental shots. The logic is layered: one lens for the extreme reach required by skittish wild animals, one for flexible field use, one for wide scenes.
Camera bodies and lenses laid out flat on a surface before packing
Heaton’s hardest shots are the wildlife ones, which means he anchors his kit around a 800mm prime lens. That single decision shapes everything else. He pairs it with a Nikon Z8 for the body, adds a 100-400mm zoom as a versatile midrange option, and includes a 24-70mm for landscapes and environmental shots. The logic is layered: one lens for the extreme reach required by skittish wild animals, one for flexible field use, one for wide scenes.
When you’re building a kit for a specific trip, start with your most technically demanding shot and work outward. Don’t start with what you own and then try to justify it.
Step 3: Pack Video and Audio Gear as a Separate Inventory
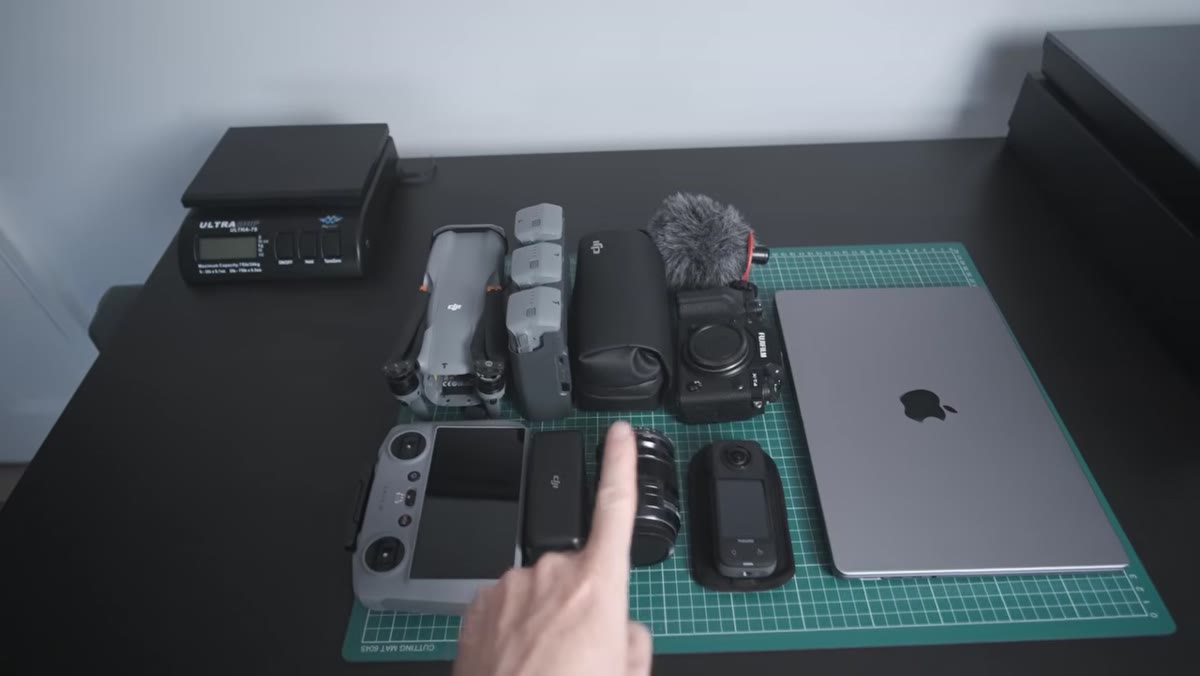 Video equipment laid out including drone controller, wireless mics, and compact cameras
Heaton separates his video kit entirely from his photography kit as a distinct inventory. He’s carrying a DJI Air 3 drone with controller and batteries, a Fujifilm X-T4 with an 18-55mm lens for vlogging, wireless microphones, a fluffy windscreen mic, a DJI Pocket 3, and a 360-degree camera for capturing fast spontaneous action. Keeping these two lists separate helps you see the true weight and volume of what you’re carrying, rather than letting it blur into one overwhelming pile.
Video equipment laid out including drone controller, wireless mics, and compact cameras
Heaton separates his video kit entirely from his photography kit as a distinct inventory. He’s carrying a DJI Air 3 drone with controller and batteries, a Fujifilm X-T4 with an 18-55mm lens for vlogging, wireless microphones, a fluffy windscreen mic, a DJI Pocket 3, and a 360-degree camera for capturing fast spontaneous action. Keeping these two lists separate helps you see the true weight and volume of what you’re carrying, rather than letting it blur into one overwhelming pile.
If you’re documenting a trip as well as shooting it, treat the documentation kit like a second assignment with its own gear list. It keeps you honest about what you actually need versus what you’re throwing in because it fits.
Step 4: Carry Your Most Valuable and Heaviest Gear On Your Body
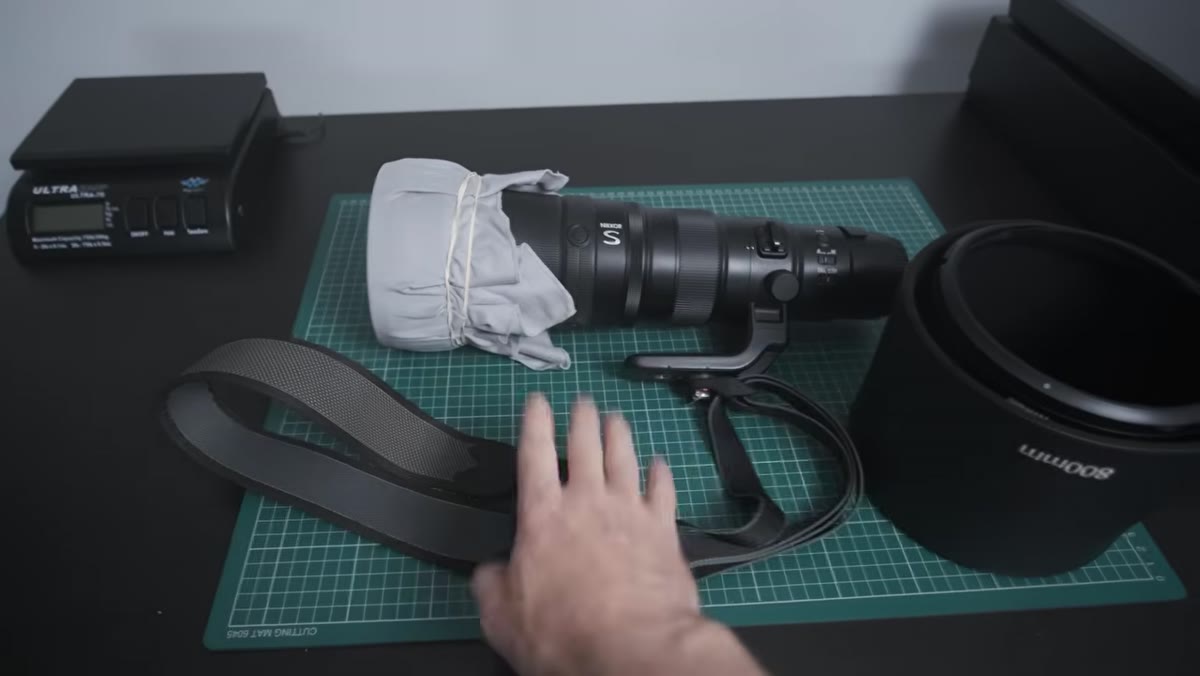 Large 800mm lens attached to a shoulder strap, worn separately from the camera bag
The 800mm lens won’t fit inside Heaton’s carry-on bag, so he attaches it to a shoulder strap and wears it separately, hanging from his body during check-in. This is a legitimate and well-established workaround for photographers traveling with large telephoto lenses: wear the gear, don’t bag it. The same logic applies to heavy camera bodies, which can go around your neck or in a jacket pocket during the weigh-in if needed.
Large 800mm lens attached to a shoulder strap, worn separately from the camera bag
The 800mm lens won’t fit inside Heaton’s carry-on bag, so he attaches it to a shoulder strap and wears it separately, hanging from his body during check-in. This is a legitimate and well-established workaround for photographers traveling with large telephoto lenses: wear the gear, don’t bag it. The same logic applies to heavy camera bodies, which can go around your neck or in a jacket pocket during the weigh-in if needed.
The practical rule here is simple. If it’s fragile, irreplaceable, or would be catastrophic to lose to baggage handling, it goes on your body or in your carry-on. Full stop. Never put your camera bodies or prime lenses in checked luggage.
Step 5: Use a Stuff Sack for Bulky Clothing, But Only for Travel
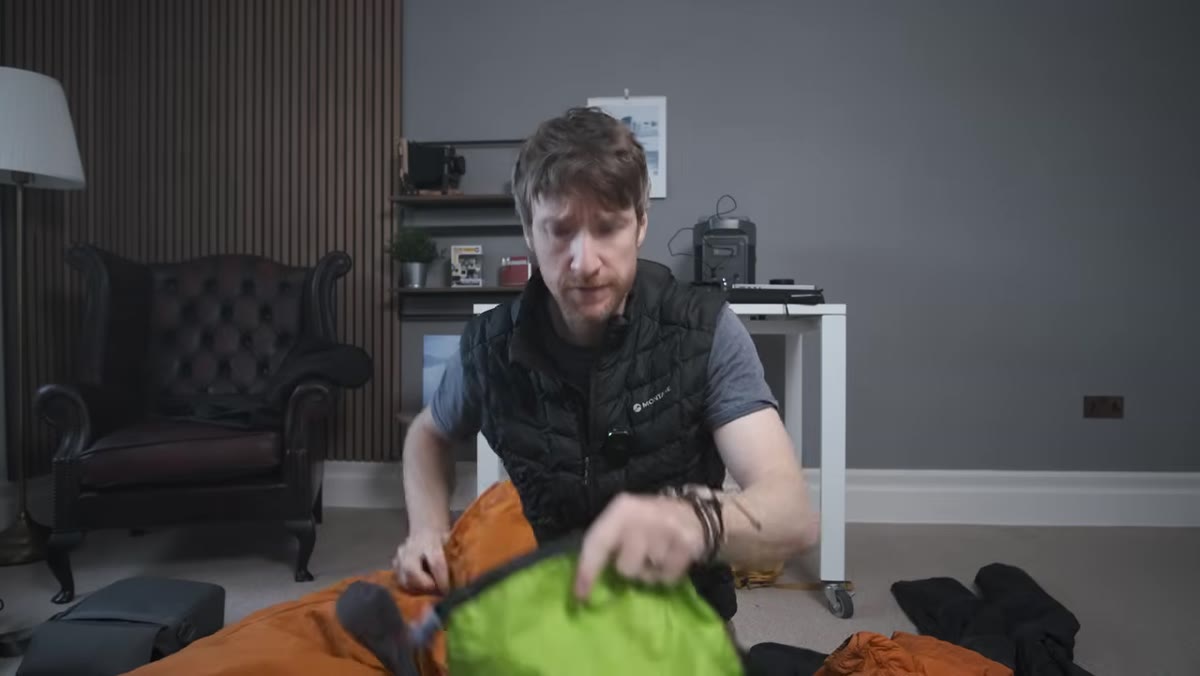 Large down jacket being compressed into a small stuff sack
Extreme cold means bulky insulation, which eats luggage space fast. Heaton compresses a substantial down jacket into a stuff sack to free up room in his bag. He’s careful to flag the important caveat: compressing down is fine for short-term travel of 24 to 48 hours, but you should never store down clothing compressed for extended periods. The individual fibres in the down clusters break down under sustained compression, and over time the jacket loses its ability to trap heat. You’d end up with a very expensive piece of fabric that keeps you only slightly warmer than nothing.
Large down jacket being compressed into a small stuff sack
Extreme cold means bulky insulation, which eats luggage space fast. Heaton compresses a substantial down jacket into a stuff sack to free up room in his bag. He’s careful to flag the important caveat: compressing down is fine for short-term travel of 24 to 48 hours, but you should never store down clothing compressed for extended periods. The individual fibres in the down clusters break down under sustained compression, and over time the jacket loses its ability to trap heat. You’d end up with a very expensive piece of fabric that keeps you only slightly warmer than nothing.
Pack it compressed for the flight. Unpack it properly at your destination on day one.
Step 6: Arrive at the Airport Early and Know Your Airline’s Carry-On Policy Cold
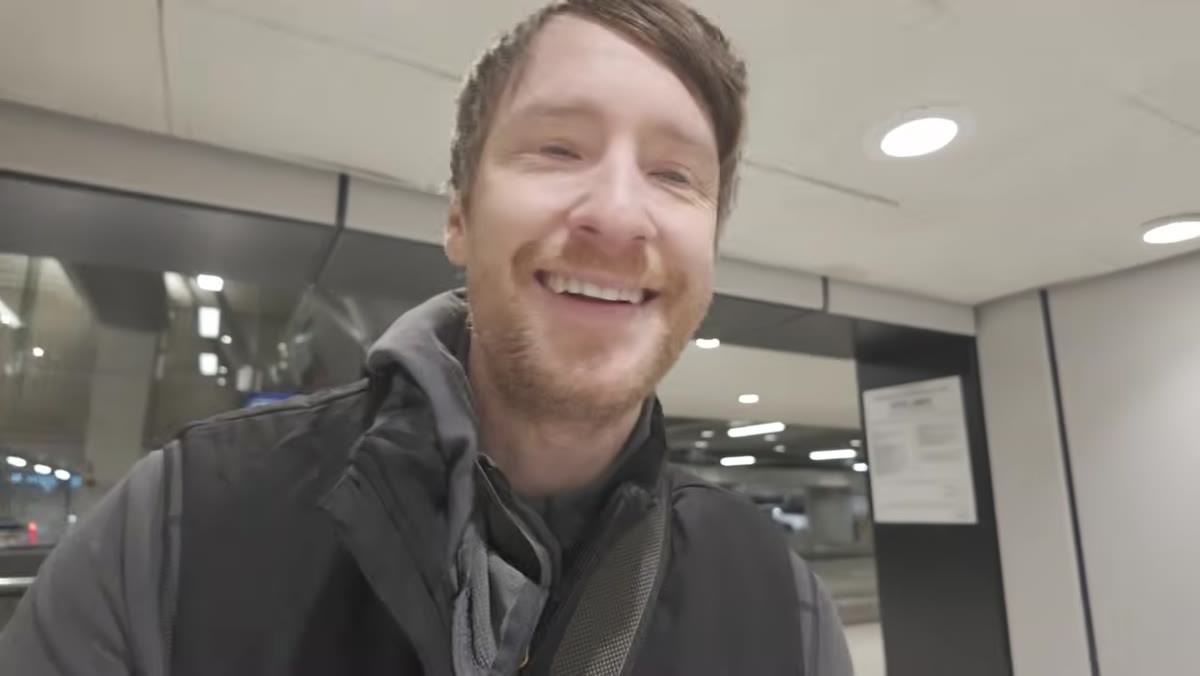 Thomas Heaton approaching the airport check-in desk with an oversized camera bag
Heaton arrives at Manchester Airport knowing his bags are overweight and that the carry-on limit for his flight is 8 kilograms. He gets through without being stopped, but the preparation matters: he knows where his laptop and batteries are so he can pull them quickly if asked, he’s wearing his heaviest jacket, and he has a mental plan for redistributing weight into his pockets if necessary.
Thomas Heaton approaching the airport check-in desk with an oversized camera bag
Heaton arrives at Manchester Airport knowing his bags are overweight and that the carry-on limit for his flight is 8 kilograms. He gets through without being stopped, but the preparation matters: he knows where his laptop and batteries are so he can pull them quickly if asked, he’s wearing his heaviest jacket, and he has a mental plan for redistributing weight into his pockets if necessary.
Before any trip involving heavy camera gear, look up the specific carry-on weight and size limits for every airline on your itinerary, not just the first leg. International connections often involve different carriers with stricter rules. Know the numbers. Have a plan.
My Own Take: The Layover is a Planning Opportunity, Not Dead Time
Heaton has an overnight layover in Istanbul before the final leg to Mongolia, and he uses it to rest. I’d take that one step further. Whenever I have a long layover on a serious trip, I use it to charge every battery, reorganise my bag now that I know what I grabbed quickly versus what I had to dig for, and review my shot list one more time. Bags shift in transit. Priorities shift once you’re actually moving. That middle window is when you can recalibrate before you’re on location and it’s too late to adjust.
The single most important takeaway from watching Heaton prep for this trip is that intentional packing is a creative decision, not just a logistical one. The gear you bring determines the shots you can take. Know your goals, build your kit around your hardest shot, protect your glass, and compress your jacket for the flight. Everything else is problem-solving on the fly.
Watch the full tutorial on YouTube to follow the complete journey and see how the packing decisions play out once Heaton actually reaches Mongolia.
Comments
Leave a Comment