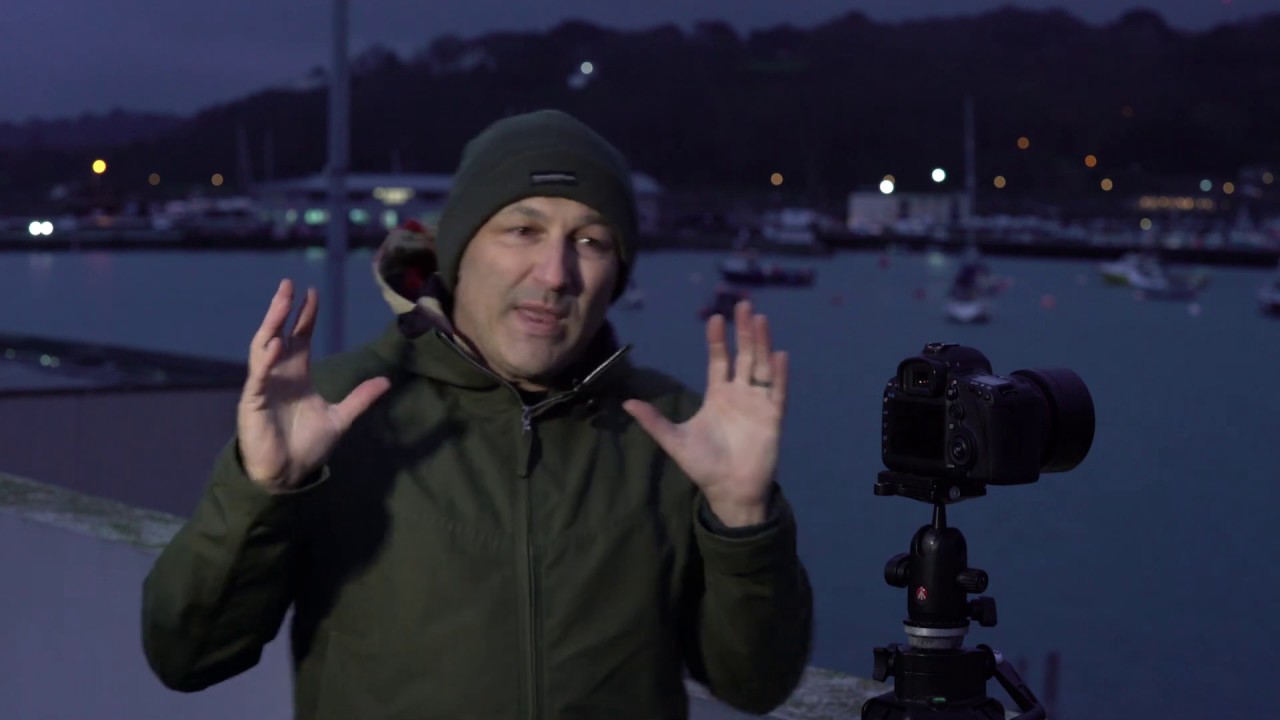
There’s a question I get asked constantly on my Sunday morning photo walks: “How do I get more detail out of my shots without upgrading my camera?” My honest answer used to be “save up,” which wasn’t exactly helpful. Then I started shooting panoramic stitches for everything, not just wide scenes, and it genuinely changed how much I could pull out of a single capture. We’re talking about going from a 22-megapixel file to something closer to 80 megapixels using the same body, the same lens, and a technique that takes about three extra minutes in the field.
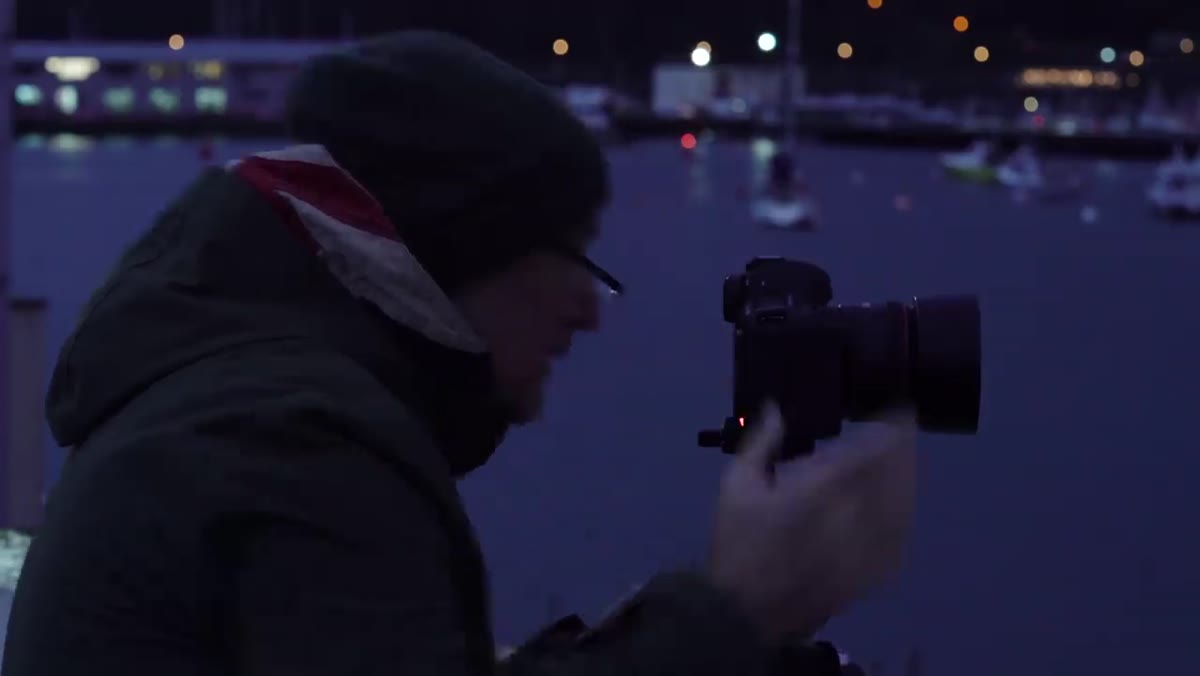
In this Visual Education tutorial, photographer and educator behind the Visual Education channel walks through exactly this process, shooting a twilight harbour scene at St Peter Port with a 50mm lens on a Canon 5D Mark III. Nothing exotic. No special filters, no exotic gear. Just a tripod, a standard prime lens, and a method that Lightroom and Photoshop can both handle in under a minute of processing. Watch the full tutorial on YouTube if you want to see the final image, because the harbour detail he pulls out of that stitch is genuinely impressive.
What I love about this approach is that it reframes what “resolution” even means. You don’t need more megapixels baked into your sensor if you can effectively create them in post. Here’s how to do it, start to finish.
Step 1: Choose Your Scene and Timing
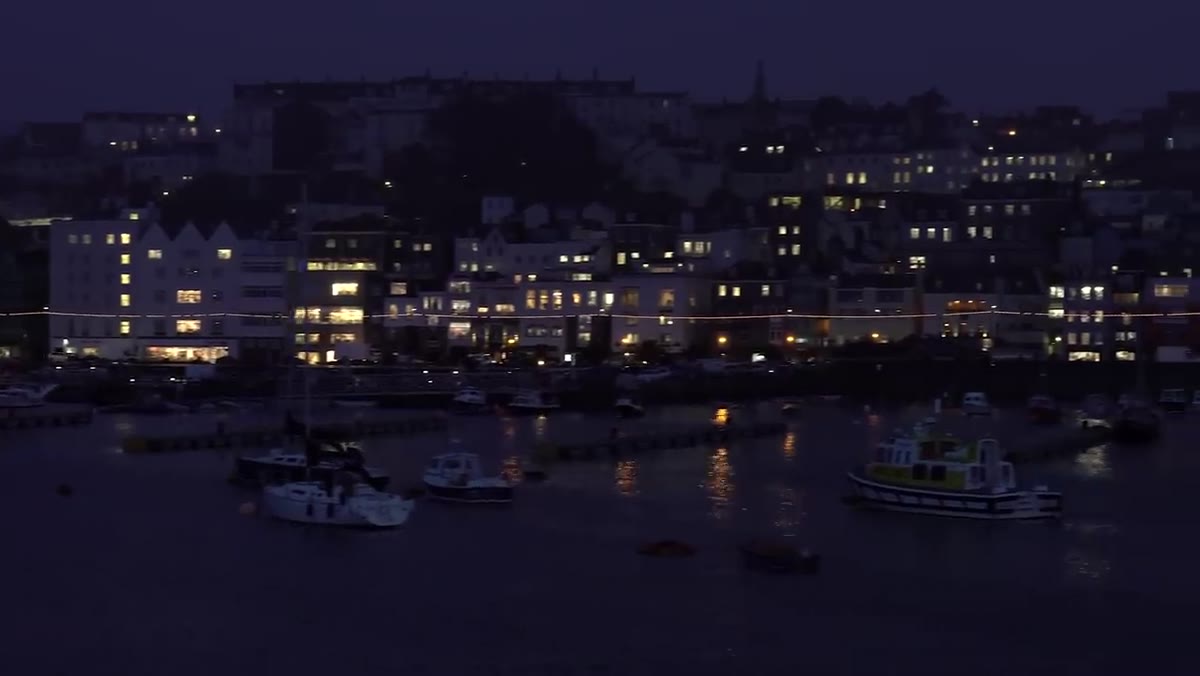 Harbour scene at twilight with layered buildings lit up
The scene matters here, but maybe not the way you’d expect. The technique works best when your subject doesn’t move much, because you’re shooting several frames and stitching them together. The Visual Education tutorial uses a winter twilight specifically because the low light means building lights are on by 5 p.m., giving the scene warmth and depth without a bright sky that needs exposure management. Think architecture, cityscapes, mountain ridgelines, or coastal scenes. Avoid anything with moving elements front and center, like crowds or waves, because those will create ghosting artifacts in the final stitch.
Harbour scene at twilight with layered buildings lit up
The scene matters here, but maybe not the way you’d expect. The technique works best when your subject doesn’t move much, because you’re shooting several frames and stitching them together. The Visual Education tutorial uses a winter twilight specifically because the low light means building lights are on by 5 p.m., giving the scene warmth and depth without a bright sky that needs exposure management. Think architecture, cityscapes, mountain ridgelines, or coastal scenes. Avoid anything with moving elements front and center, like crowds or waves, because those will create ghosting artifacts in the final stitch.
Timing also matters for exposure balance. The sweet spot for any lit scene is twilight, when ambient light and artificial light are roughly equal. That window is short, maybe 20 minutes, so scout your location and set up early.
Step 2: Level Your Tripod Carefully
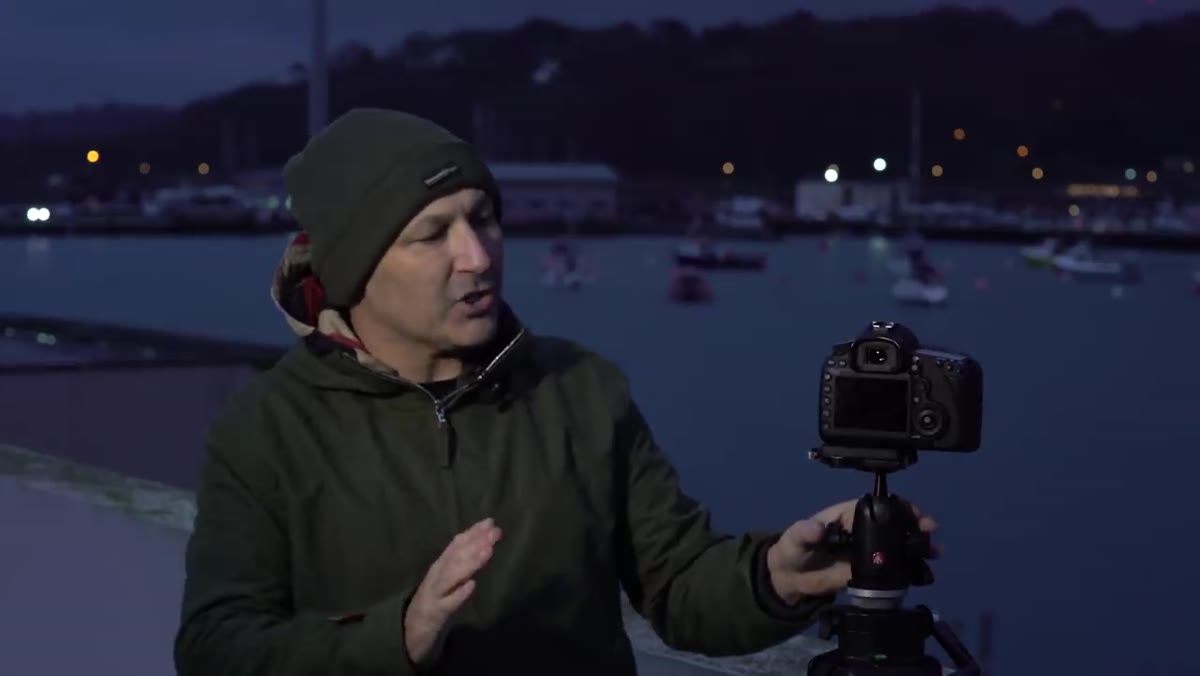 Tripod being leveled with spirit level before shooting
This step is boring and non-negotiable. A level tripod is the difference between a clean stitch and a panorama that curves or produces massive crop-off at the top and bottom. Use the built-in spirit level on your tripod head, or the level display in your camera’s viewfinder if it has one. You’re panning the camera horizontally across the scene, so any tilt in the base will compound across every frame.
Tripod being leveled with spirit level before shooting
This step is boring and non-negotiable. A level tripod is the difference between a clean stitch and a panorama that curves or produces massive crop-off at the top and bottom. Use the built-in spirit level on your tripod head, or the level display in your camera’s viewfinder if it has one. You’re panning the camera horizontally across the scene, so any tilt in the base will compound across every frame.
Take an extra minute here. I promise it saves ten minutes of frustration in post.
Step 3: Shoot 3 to 5 Overlapping Frames with a 30% Overlap
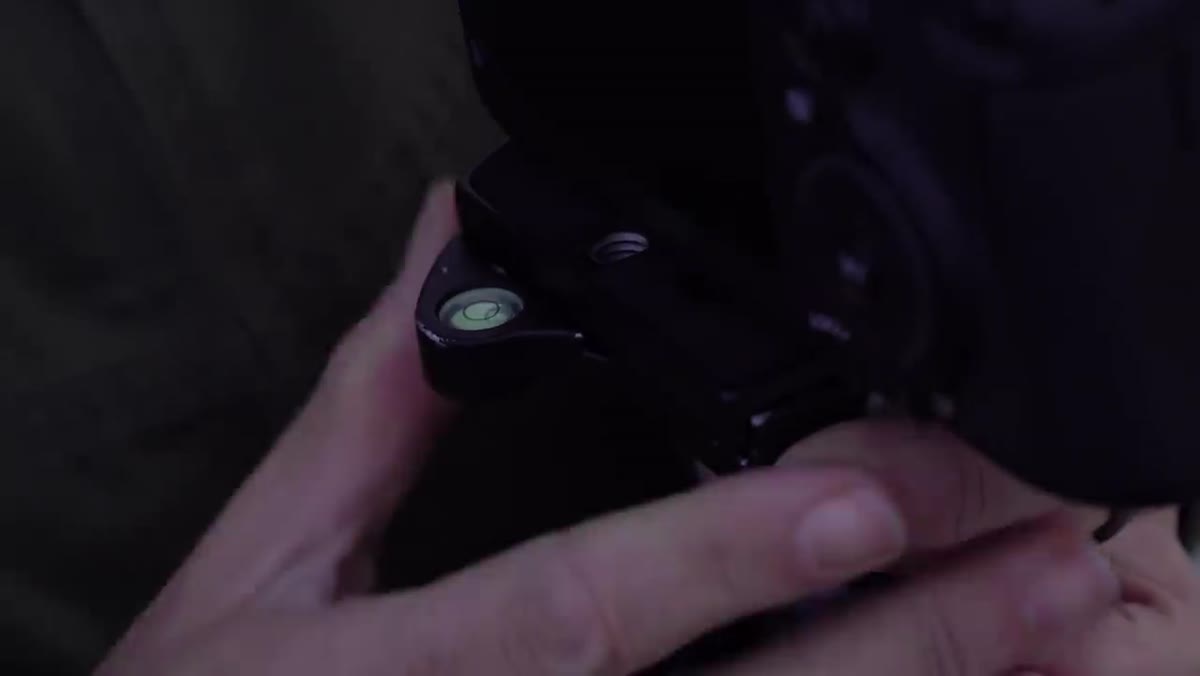 Camera panning across scene showing multiple shot positions
Set your camera to manual exposure so every frame is consistent. Choose your settings based on a test shot of the midpoint of your scene, then lock everything in: aperture, shutter speed, ISO, and white balance. If you let the camera meter independently for each frame, you’ll end up with mismatched exposures that no stitching software can fully fix.
Camera panning across scene showing multiple shot positions
Set your camera to manual exposure so every frame is consistent. Choose your settings based on a test shot of the midpoint of your scene, then lock everything in: aperture, shutter speed, ISO, and white balance. If you let the camera meter independently for each frame, you’ll end up with mismatched exposures that no stitching software can fully fix.
Pan across your scene in deliberate steps, overlapping each frame by about 30 percent with the previous one. Three frames is usually enough for a moderate wide view. Five frames gives you more coverage and more megapixels to work with. Use a self-timer or remote shutter release to avoid any camera shake between frames. The overlap is what gives the stitching software enough shared information to align everything accurately.
Step 4: Import Your Files into Lightroom Classic
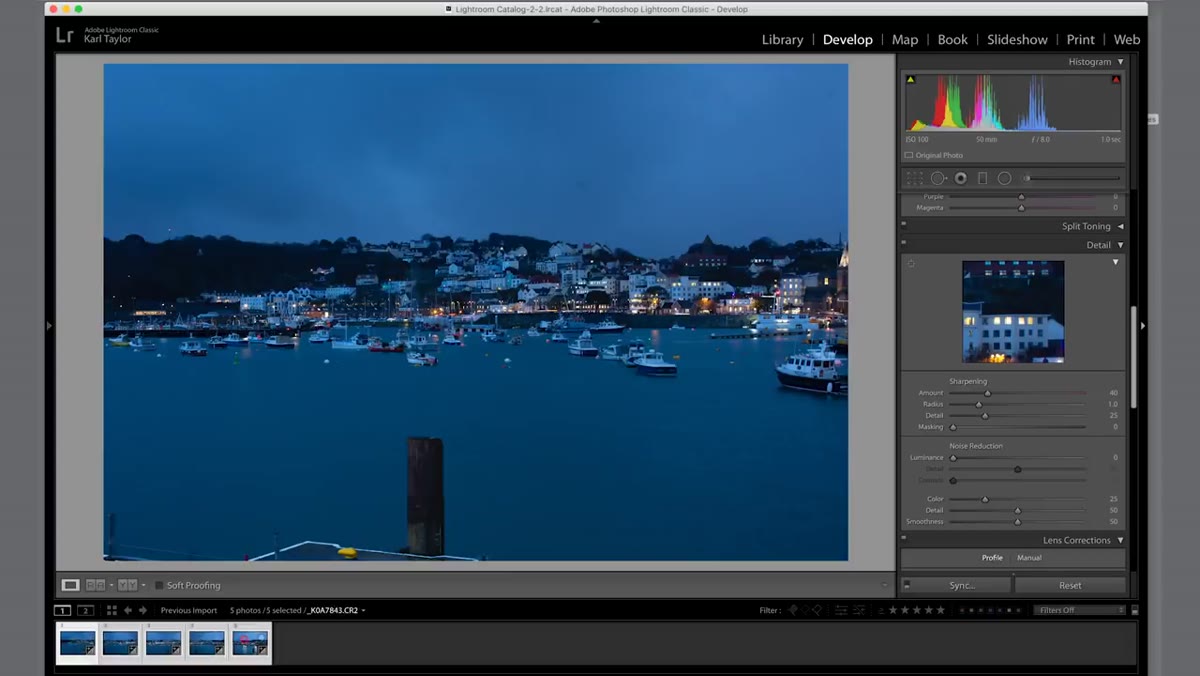
 Five individual panoramic frames visible in Lightroom filmstrip
In Lightroom Classic, import your frames as you normally would. You’ll see them as individual files in your filmstrip or grid view. Don’t do any editing at this stage. Resist the urge to tweak exposure or color on individual frames before stitching, because uneven adjustments between frames make the software’s job harder and can create visible seams in the final image.
Five individual panoramic frames visible in Lightroom filmstrip
In Lightroom Classic, import your frames as you normally would. You’ll see them as individual files in your filmstrip or grid view. Don’t do any editing at this stage. Resist the urge to tweak exposure or color on individual frames before stitching, because uneven adjustments between frames make the software’s job harder and can create visible seams in the final image.
Select all the frames you want to include in the panorama by clicking the first, then shift-clicking the last.
Step 5: Use Photo Merge - Panorama in Lightroom
 Lightroom panorama merge dialog showing projection options
With your frames selected, right-click and choose “Photo Merge,” then “Panorama.” Lightroom will generate a preview almost immediately. You’ll see three projection options: Spherical, Cylindrical, and Perspective. For most landscape and architectural scenes, Cylindrical works well. Spherical handles very wide stitches. Perspective is best for architecture shot straight on.
Lightroom panorama merge dialog showing projection options
With your frames selected, right-click and choose “Photo Merge,” then “Panorama.” Lightroom will generate a preview almost immediately. You’ll see three projection options: Spherical, Cylindrical, and Perspective. For most landscape and architectural scenes, Cylindrical works well. Spherical handles very wide stitches. Perspective is best for architecture shot straight on.
Turn on “Fill Edges” if the stitched panorama leaves white gaps at the borders, which happens when the frames don’t cover the full rectangle evenly. Lightroom’s content-aware fill handles this surprisingly well. Click Merge and wait. The resulting DNG file will land in your catalogue next to the originals, and it carries all the raw data from every frame.
Step 6: Evaluate the Stitched File and Edit Normally
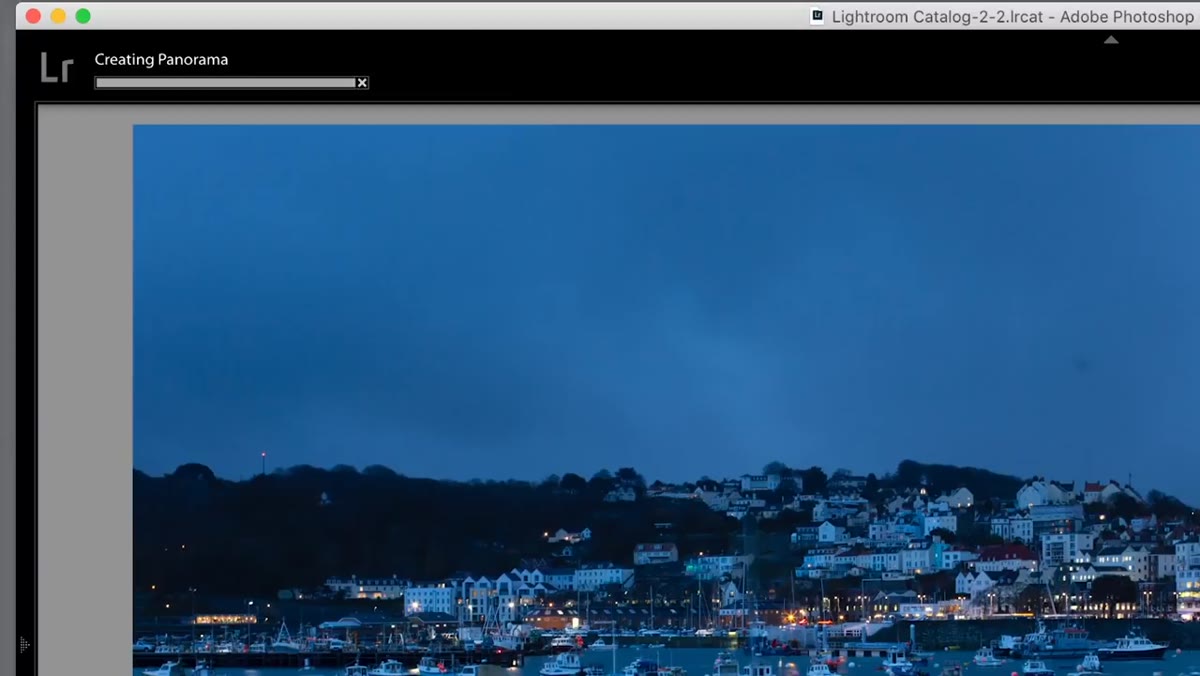 Final stitched panorama displayed in Lightroom with fine building detail
Click on the merged panorama file and zoom in. This is the satisfying part. You’re looking at a level of detail your camera sensor alone couldn’t produce in a single frame. At 100 percent, you should be able to read signage, see individual windows lit up, pick out texture in stone or brick, all from a single export-ready file.
Final stitched panorama displayed in Lightroom with fine building detail
Click on the merged panorama file and zoom in. This is the satisfying part. You’re looking at a level of detail your camera sensor alone couldn’t produce in a single frame. At 100 percent, you should be able to read signage, see individual windows lit up, pick out texture in stone or brick, all from a single export-ready file.
From here, edit the panorama exactly as you would any raw file. Global exposure adjustments, shadows, highlights, color grading, all of it. The one thing to watch for is any obvious seam or misalignment, usually visible as a blur or doubled edge somewhere in the middle of the image. If you spot one, the Photoshop method (using File - Automate - Photomerge) gives you manual control over individual layer masks to fix problem areas.
What I’d Add From My Own Experience
The technique in this tutorial is taught as a landscape/cityscape tool, and it absolutely is that. But I’ve started using it for close-range detail shots too. Product photography, food, botanical subjects. Anything static where you want absurd resolution. I’ll shoot a grid of frames (rows and columns, not just a horizontal sweep) and stitch a full grid panorama in Photoshop, which produces files I can print at mural size from a camera most people would consider “entry level.”
One practical note: shoot tethered if you can, or at least review your frames on the LCD before leaving a location. A misfired frame or a missed overlap in the middle of your sequence means the whole stitch falls apart, and you won’t know until you’re home.
The single biggest thing this technique teaches you is that megapixels are not a fixed property of your camera. They’re something you can manufacture with patience, a tripod, and a consistent exposure. If you’re sitting on a crop sensor body wishing you could afford a full-frame upgrade for the resolution, try this first. You might surprise yourself.
Watch the full tutorial on YouTube to see the harbour stitch from start to finish and judge the output quality for yourself.
Comments
Leave a Comment