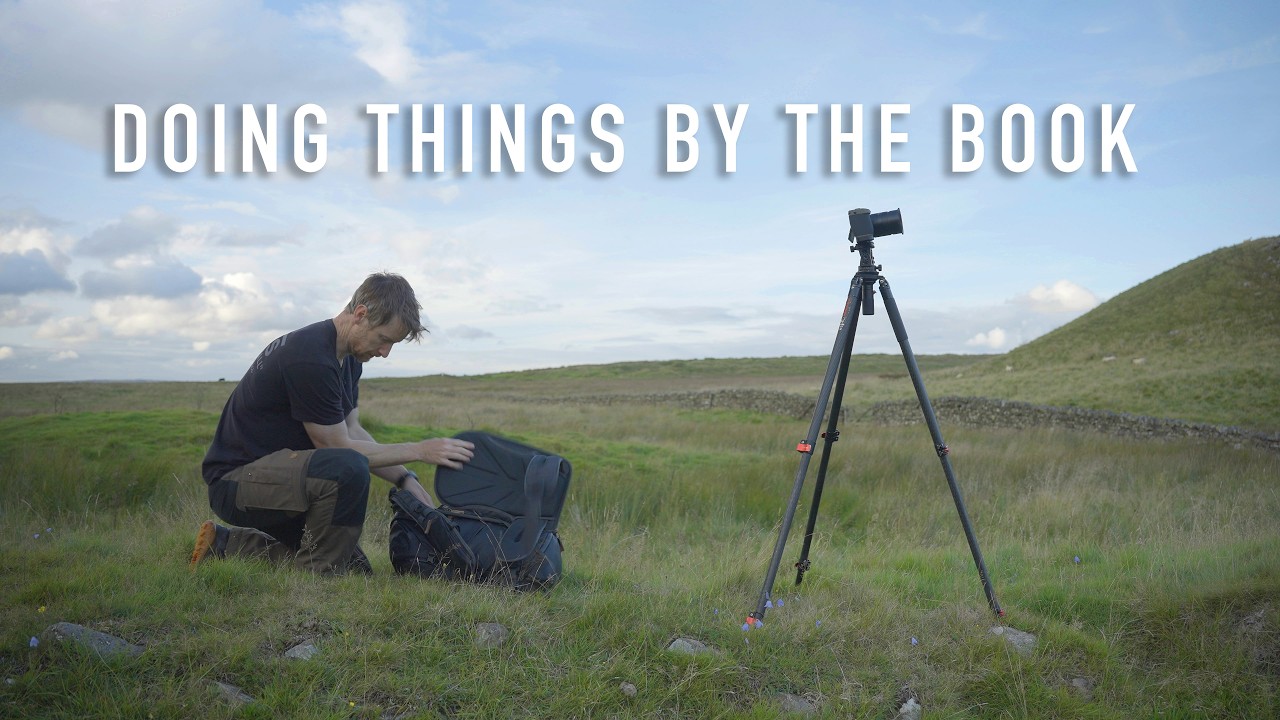
Every Sunday morning I grab my camera and go for a walk with no destination in mind. It’s my favorite ritual. But even with that loose structure, I still sometimes stand in my kitchen at 6am, coffee in hand, completely frozen. The weather is good, the light is coming, and I cannot decide where to go. It sounds absurd when I type it out, but decision fatigue is real, and it quietly kills more potential photo sessions than bad weather ever does.
That’s why this tutorial from Thomas Heaton hit close to home. Watch the full tutorial on YouTube – Heaton is a landscape photographer based in the UK, and in this video he does something both simple and kind of radical: he opens a photography guidebook, lands on a random page, and commits to shooting whatever location he finds there. No deliberating. No checking three different weather apps. Just go. What follows is a genuine field session at a section of Hadrian’s Wall he had never photographed before, and the decisions he makes on the ground are packed with practical lessons.
What I love about watching working photographers problem-solve in real time is that you see the messy middle. Not just the hero shot at the end. Heaton’s session at Walltown Crags is a great example of adapting when a location doesn’t cooperate on your schedule. Here’s exactly how he works through it.
Step 1: Remove Yourself from the Decision
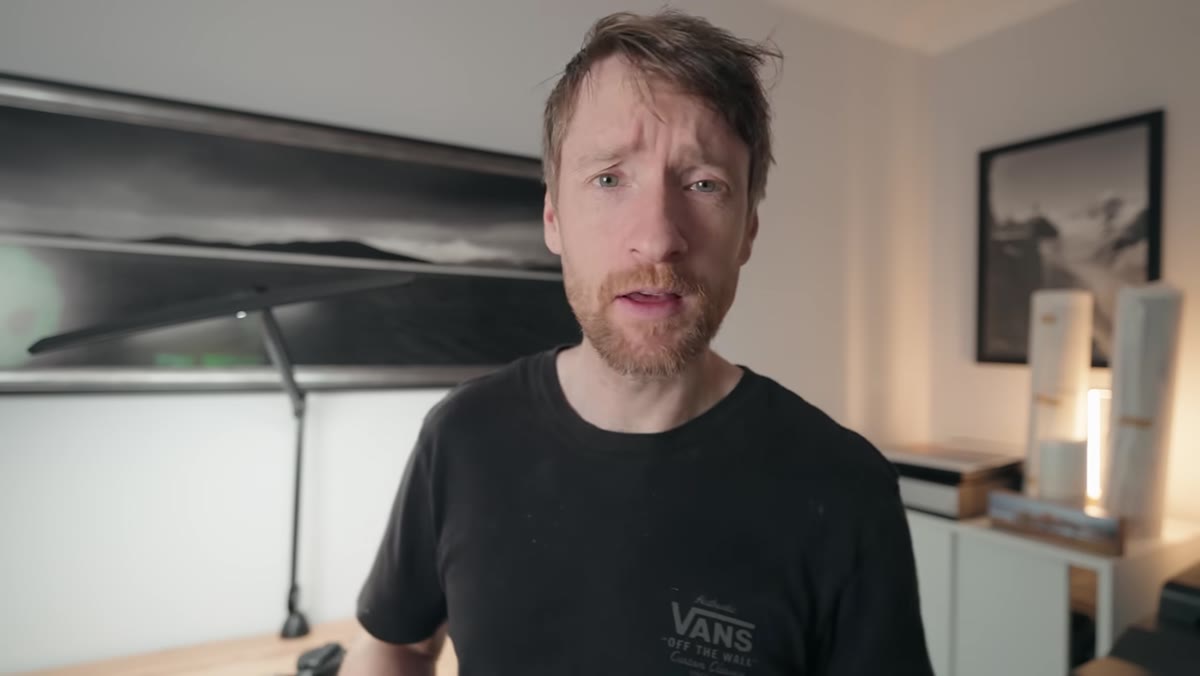 Heaton opening a photography guidebook to a random page
When you can’t pick a location, stop trying to pick the perfect one. Heaton’s fix is disarmingly simple: he grabs a physical photography guidebook, flips to a random page, and wherever his finger lands is where he goes. That’s it. The point isn’t that guidebooks are magic. The point is that any decision is better than no decision, and outsourcing the choice removes the emotional weight of “what if I pick wrong.”
Heaton opening a photography guidebook to a random page
When you can’t pick a location, stop trying to pick the perfect one. Heaton’s fix is disarmingly simple: he grabs a physical photography guidebook, flips to a random page, and wherever his finger lands is where he goes. That’s it. The point isn’t that guidebooks are magic. The point is that any decision is better than no decision, and outsourcing the choice removes the emotional weight of “what if I pick wrong.”
You can apply this same logic without a guidebook. Write five nearby locations on slips of paper, pull one, and go. Set a rule that you always shoot the first place you think of. The method doesn’t matter. What matters is building a habit of committing rather than endlessly comparing.
Step 2: Assess the Location Before You Set Up
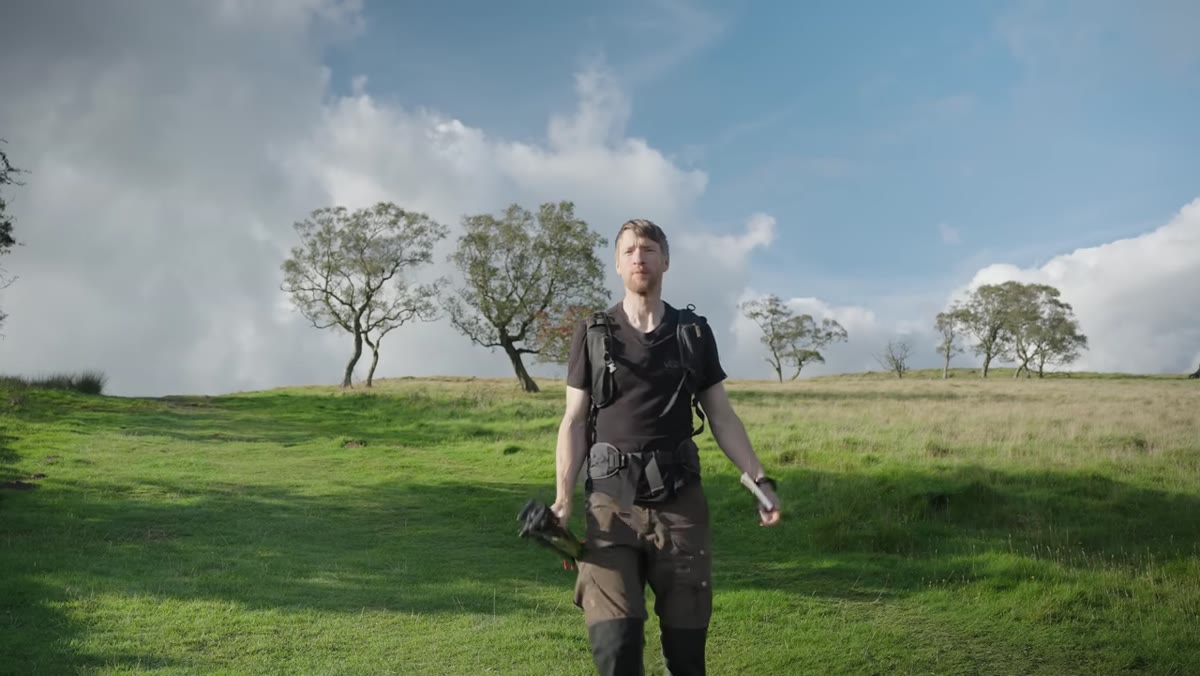 Heaton walking the footpath at Walltown Crags, scanning the landscape
When Heaton arrives at Walltown Crags, he doesn’t immediately plant his tripod. He walks the path first and takes stock of what he’s working with. He identifies that there are multiple strong viewpoints spread out along the route, all of them oriented toward the west, all of them best suited to that narrow golden window right before sunset.
Heaton walking the footpath at Walltown Crags, scanning the landscape
When Heaton arrives at Walltown Crags, he doesn’t immediately plant his tripod. He walks the path first and takes stock of what he’s working with. He identifies that there are multiple strong viewpoints spread out along the route, all of them oriented toward the west, all of them best suited to that narrow golden window right before sunset.
This reconnaissance step is something beginners tend to skip, especially when the light looks good and the anxiety to shoot kicks in. Resist that. Give yourself ten to fifteen minutes to walk the location and mentally flag your two or three best options. You’re not wasting light. You’re making sure you’re standing in the right place when the light peaks.
Step 3: Shoot Something Small While You Wait
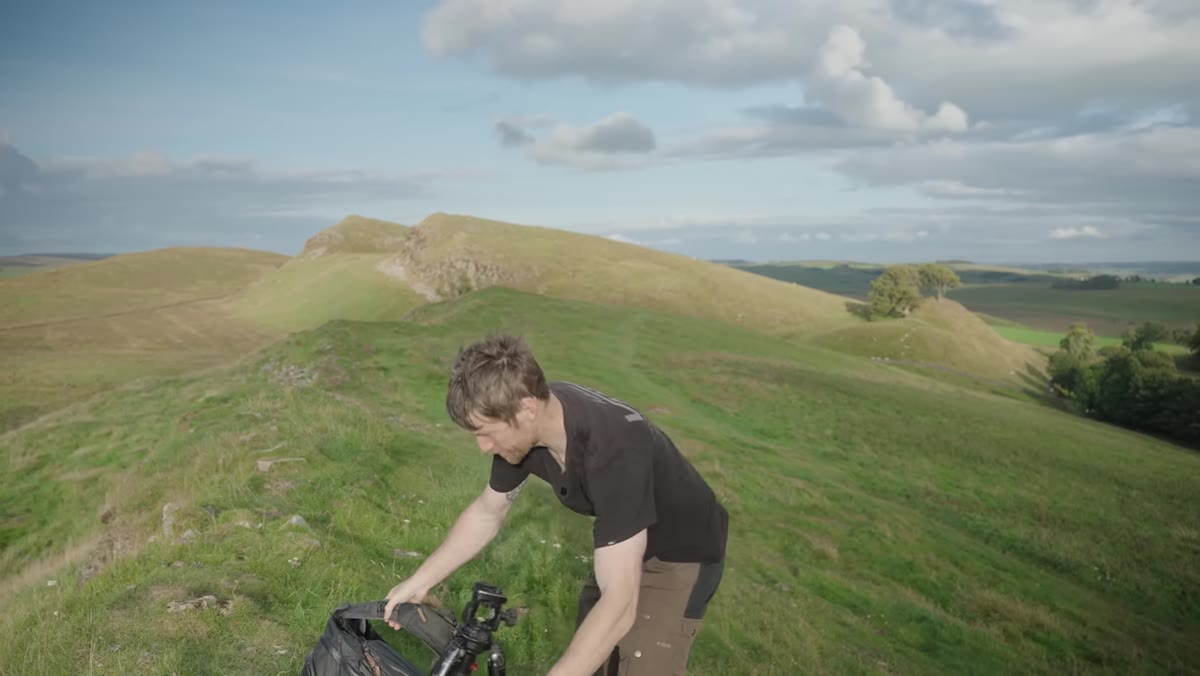 Heaton composing a shot of two distant trees on a hillside with dramatic sky
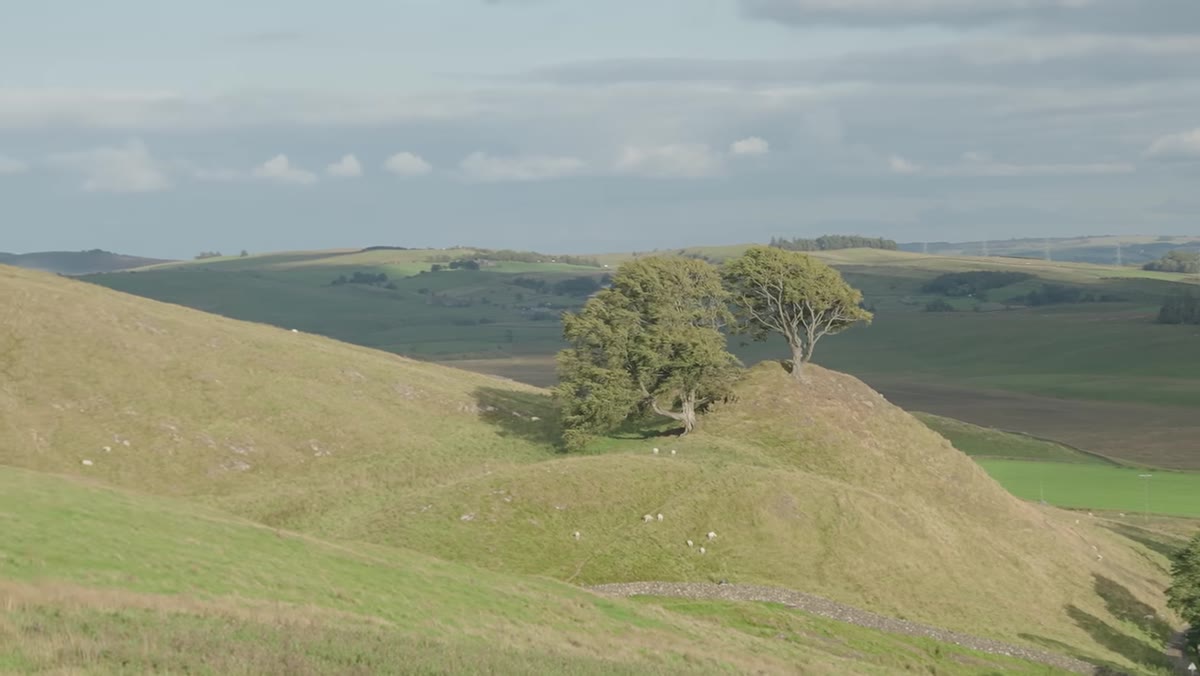
Heaton notices he has a dead zone in front of him: the grand vistas are too far apart to hop between during golden hour, so he picks one and waits. But instead of just sitting there, he spots a smaller scene while walking – two trees on a distant hill, lit from the side, with the background dropping into shadow under a dynamic sky. It’s not the feature shot he came for, but it’s a solid image in its own right.
Heaton composing a shot of two distant trees on a hillside with dramatic sky
Heaton notices he has a dead zone in front of him: the grand vistas are too far apart to hop between during golden hour, so he picks one and waits. But instead of just sitting there, he spots a smaller scene while walking – two trees on a distant hill, lit from the side, with the background dropping into shadow under a dynamic sky. It’s not the feature shot he came for, but it’s a solid image in its own right.
This is one of the best habits you can develop as a landscape photographer. The “waiting shot” keeps your eye sharp and your momentum going. It also gives you a backup if the main event doesn’t come together. Treat every location like it has a warm-up shot hiding in it somewhere.
Step 4: Read the Light and Match Your Settings
 Heaton dialing in f/9.5 on camera settings display
For the tree shot, Heaton chooses f/9.5. His reasoning is straightforward: with distant subjects like these, depth of field isn’t the challenge. Getting a sharp, clean image across the frame is. A mid-range aperture like f/9 or f/11 hits the sweet spot for landscape sharpness without introducing the diffraction softness you can get at f/16 or beyond.
Heaton dialing in f/9.5 on camera settings display
For the tree shot, Heaton chooses f/9.5. His reasoning is straightforward: with distant subjects like these, depth of field isn’t the challenge. Getting a sharp, clean image across the frame is. A mid-range aperture like f/9 or f/11 hits the sweet spot for landscape sharpness without introducing the diffraction softness you can get at f/16 or beyond.
Take note of what he’s reading in the scene: strong contrast between the lit trees and the shadowed background, interesting cloud texture in the sky. He’s not just exposing for the trees in isolation. He’s looking at the whole tonal range and making sure his settings preserve that drama rather than flatten it.
Step 5: Recognize When a Scene Wants to Be Black and White
 Heaton reviewing the high-contrast tree composition on camera screen
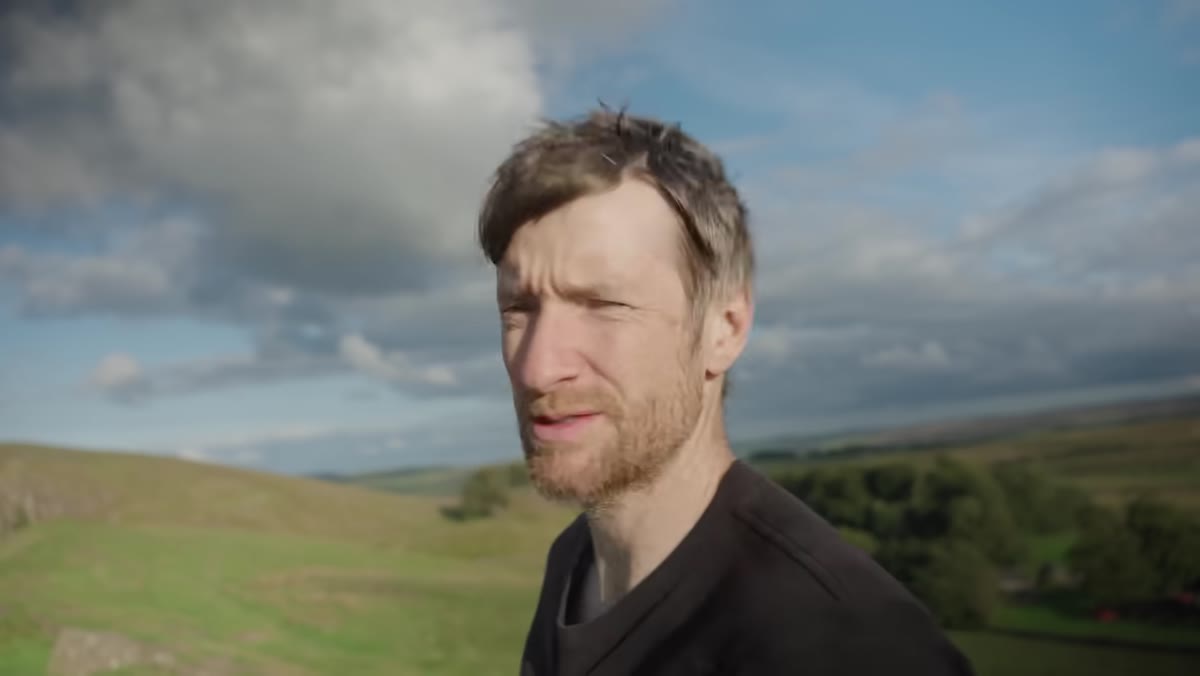
Before he even takes the image back to the edit, Heaton decides in the field that this shot will become a black and white conversion. The reason is worth understanding. When a scene has extreme tonal contrast – bright highlights against deep shadows, with no strong color doing compositional work – black and white removes the distraction and lets the light structure carry the image.
Heaton reviewing the high-contrast tree composition on camera screen
Before he even takes the image back to the edit, Heaton decides in the field that this shot will become a black and white conversion. The reason is worth understanding. When a scene has extreme tonal contrast – bright highlights against deep shadows, with no strong color doing compositional work – black and white removes the distraction and lets the light structure carry the image.
This is a decision you can train yourself to make on location rather than in Lightroom. Ask yourself: is color helping this image or is it just there? If the answer is “just there,” start seeing in tones. Squint at the scene. If it still reads clearly and dramatically with no color information, it’s a strong black and white candidate.
Step 6: Scout a Second Angle on the Same Subject
 Heaton repositioning to a lower, more sheltered spot near the same trees
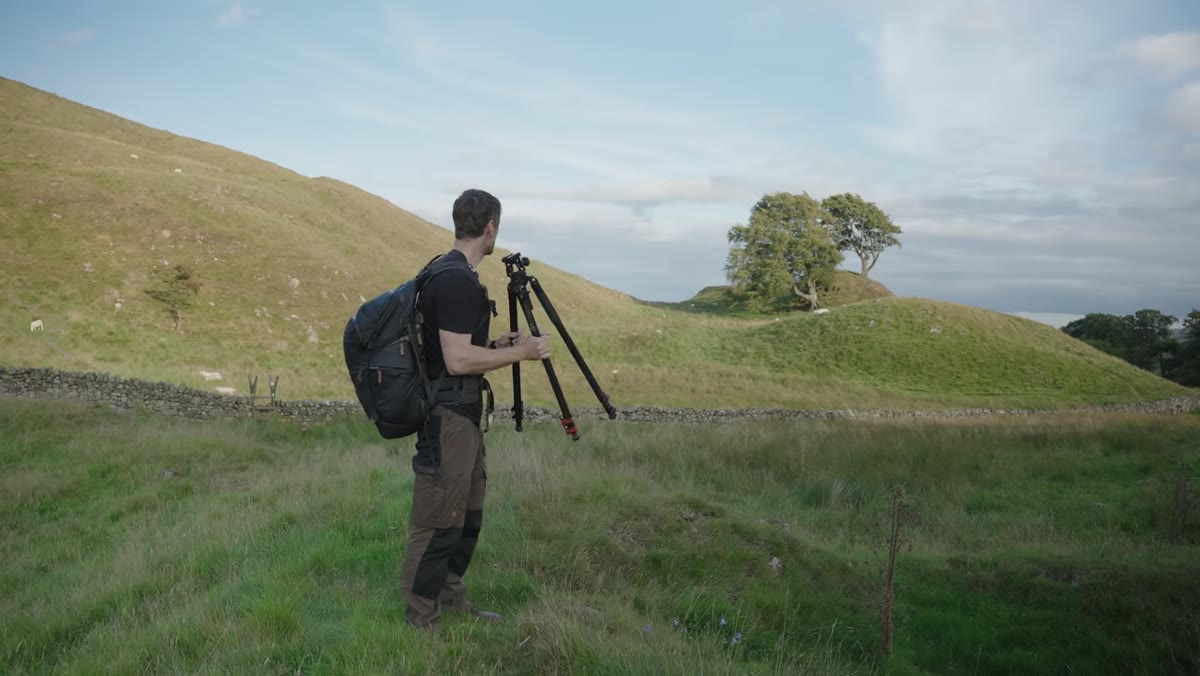
After the first shot, Heaton drops down the hillside to a lower, more sheltered position near the same pair of trees. The wind disappears behind the rise, which opens up the possibility of a long exposure – moving clouds blurred into soft streaks over the static landscape below. Same subject, different relationship to it. He’s not just repeating himself. He’s looking for what the second position gives him that the first one couldn’t.
Heaton repositioning to a lower, more sheltered spot near the same trees
After the first shot, Heaton drops down the hillside to a lower, more sheltered position near the same pair of trees. The wind disappears behind the rise, which opens up the possibility of a long exposure – moving clouds blurred into soft streaks over the static landscape below. Same subject, different relationship to it. He’s not just repeating himself. He’s looking for what the second position gives him that the first one couldn’t.
Whenever you find a subject worth photographing, ask yourself: what does this look like from lower, higher, closer, or from the opposite direction? You don’t have to shoot all of them. But at minimum, move your feet before you decide you’ve got it.
What I’d Add from My Own Experience
Heaton mentions near the end that he’s watching the sheep in frame and worrying they’ll wander during a long exposure. It’s a small moment, but it’s a good reminder that locations chosen from guidebooks – especially popular, well-documented ones – come with variables the book doesn’t mention. Animals, other hikers, changed vegetation, altered light access due to new construction. I once spent three evenings at a waterfall a guidebook called “best at golden hour” before realizing a new footbridge upstream had changed the water flow entirely.
The guidebook gets you there. Your eyes figure out the rest. Use published locations as a starting point, not a script. The best version of a well-known shot is usually the one nobody has taken yet because they were too busy recreating the photo from the book.
The single most important thing I took from Heaton’s session is this: commitment is a skill. Picking a location and working it fully, even when it doesn’t hand you the perfect shot, teaches you more than endlessly optimizing your choice from home ever will. Get out the door. Let a random page decide if you have to. Then do the work.
Watch the full tutorial on YouTube to see Heaton’s full session at Walltown Crags and the long exposure setup he works toward in the second half of the video.
Comments (2)
This is the kind of content that keeps me coming back.
Love this. I referenced a similar technique in one of my recent posts. Always good to see other perspectives.
Leave a Comment