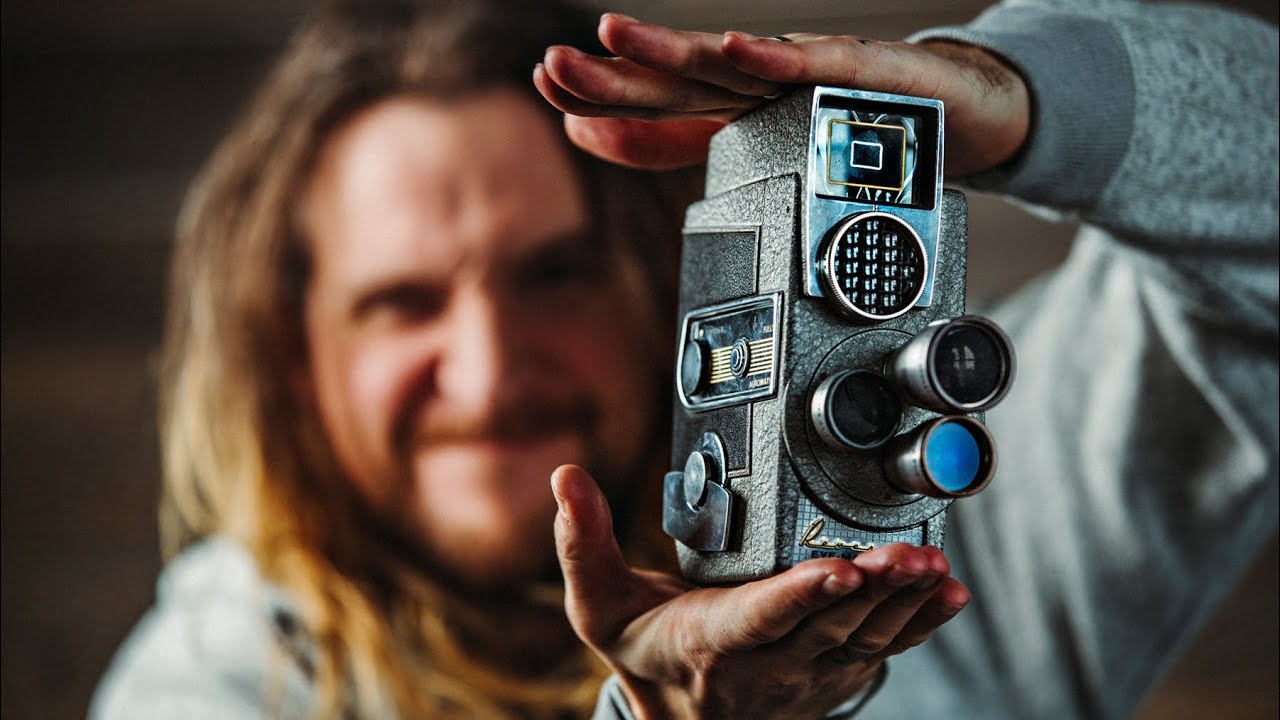
Every few months I get a message from someone asking how I made a particular video look “old.” Not degraded or broken, but warm and human, like something pulled from a shoebox of tapes your dad labeled with a Sharpie in 1987. I never had a clean answer until I sat down with this Peter McKinnon tutorial on faking the Super 8mm film look with digital cameras. Watch the full tutorial on YouTube
The technique matters to me practically because I shoot a lot of travel content, and high-resolution, ultra-sharp, beautifully stabilized footage can sometimes feel cold. It documents. It doesn’t always feel. The Super 8mm aesthetic flips that entirely, and the interesting part is that achieving it means deliberately fighting everything you’ve been trained to do as a modern shooter.
What McKinnon lays out is a two-part process, and both parts matter equally. You start in-camera, before you ever hit record, and you finish in post. Here is how it works, step by step.
Step 1: Flatten Your Picture Profile In-Camera
 Camera menu open showing sharpness and contrast settings
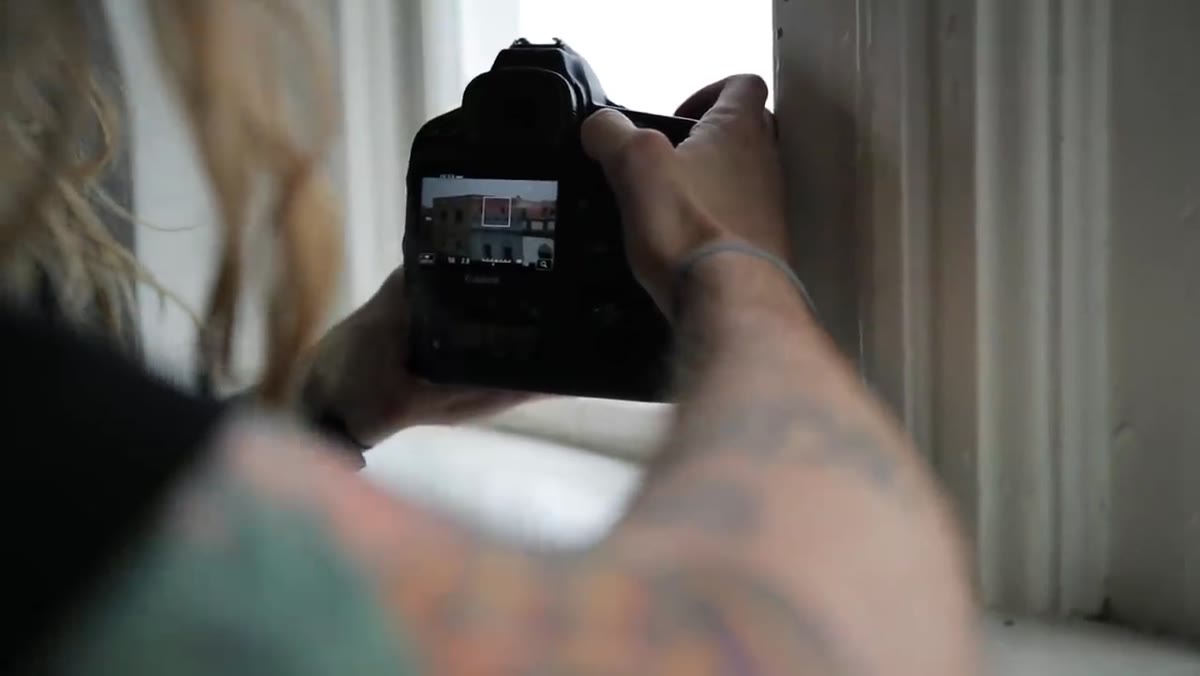
The first move happens inside your camera’s picture profile or picture style settings, before you shoot a single frame. You want to bring sharpness and contrast both down as far as they’ll go, or close to it. Modern digital cameras are engineered to produce punchy, crisp, detailed images. That engineering is the enemy here. Super 8mm film was soft, low-contrast, and slightly milky in the highlights. Killing your in-camera sharpening starts to close that gap immediately.
Camera menu open showing sharpness and contrast settings
The first move happens inside your camera’s picture profile or picture style settings, before you shoot a single frame. You want to bring sharpness and contrast both down as far as they’ll go, or close to it. Modern digital cameras are engineered to produce punchy, crisp, detailed images. That engineering is the enemy here. Super 8mm film was soft, low-contrast, and slightly milky in the highlights. Killing your in-camera sharpening starts to close that gap immediately.
On most Sony, Canon, or Fujifilm bodies, you’ll find these sliders inside your Picture Profile or Creative Style menu. Drag sharpness to its lowest value. Pull contrast down to the minimum or one step above. You’re not trying to shoot flat log footage exactly, but you want something in that neighborhood, something that gives you room to breathe in post without baked-in “digital crunch.”
Step 2: Ditch the Gimbal and Let the Camera Move Naturally
 Handheld camera being walked casually without stabilization
This one is genuinely hard if you’ve spent any time training yourself to shoot steady. Put the gimbal away. Don’t do the slow heel-to-toe ninja walk to eliminate camera bounce. McKinnon’s point is direct: the gentle bounce of a normal walking stride, the slight drift when you stop moving, that organic looseness is what makes vintage home video feel like a memory rather than a production.
Handheld camera being walked casually without stabilization
This one is genuinely hard if you’ve spent any time training yourself to shoot steady. Put the gimbal away. Don’t do the slow heel-to-toe ninja walk to eliminate camera bounce. McKinnon’s point is direct: the gentle bounce of a normal walking stride, the slight drift when you stop moving, that organic looseness is what makes vintage home video feel like a memory rather than a production.
You don’t want to shake the camera aggressively. This isn’t found footage horror. What you’re after is the natural rhythm of a person holding a camera and actually living in the moment they’re recording. Hold the camera comfortably at chest or eye level, walk at a normal pace, and let your body do what bodies do. The footage will have life in it that no gimbal can replicate.
Step 3: Use Slow, Slightly Imperfect Zoom
 Lens slowly zooming in on a subject with slight jitter
One of the most recognizable signatures of old home video is the zoom. Not a smooth, controlled cinematic push, but a slow, slightly uneven zoom that someone with their finger on a little rocker button was doing while also trying to watch their kid blow out birthday candles. McKinnon demonstrates this by zooming deliberately poorly in the opening sequence of the tutorial, and it reads as completely authentic.
Lens slowly zooming in on a subject with slight jitter
One of the most recognizable signatures of old home video is the zoom. Not a smooth, controlled cinematic push, but a slow, slightly uneven zoom that someone with their finger on a little rocker button was doing while also trying to watch their kid blow out birthday candles. McKinnon demonstrates this by zooming deliberately poorly in the opening sequence of the tutorial, and it reads as completely authentic.
If you’re shooting on a zoom lens, practice easing into the zoom slowly and letting it be imperfect. A small hesitation mid-zoom, or a zoom that goes just a touch too far before correcting, is more honest to the Super 8mm era than anything smooth. If you only have primes available, you can replicate this partially in post by slowly pushing in on a crop, though in-camera always feels more genuine.
Step 4: Choose Your Subject Matter Carefully
 Person filming everyday relational moments over stylized subjects
McKinnon makes a point here that I think photographers especially need to hear: the technique and the subject have to match. The Super 8mm look is rooted in relationships, ordinary moments, and the texture of everyday life. You can technically apply this aesthetic to anything, but it earns its full power when the content itself feels personal and human.
Person filming everyday relational moments over stylized subjects
McKinnon makes a point here that I think photographers especially need to hear: the technique and the subject have to match. The Super 8mm look is rooted in relationships, ordinary moments, and the texture of everyday life. You can technically apply this aesthetic to anything, but it earns its full power when the content itself feels personal and human.
Think birthday parties, morning routines, walks with people you love, a weekend at the lake. These subjects don’t just tolerate the vintage look, they’re amplified by it. A sleek sports car or a highly choreographed commercial shoot will survive the treatment, but the emotional resonance will be diluted. If you’re going to invest in this technique, shoot things that already carry some warmth on their own. Let the look deepen what’s already there.
Step 5: Frame Casually, Not Cinematically
 Loosely framed handheld shot without deliberate composition
This is the step that feels most uncomfortable for anyone who has studied composition. Beautiful framing, leading lines, intentional negative space, these are the tools of polished filmmaking. For Super 8mm, you want to frame like someone who is present in the moment first and thinking about the camera second. That might mean slightly off-center subjects, a horizon that tilts, or cutting off a head because you were watching the moment instead of the viewfinder.
Loosely framed handheld shot without deliberate composition
This is the step that feels most uncomfortable for anyone who has studied composition. Beautiful framing, leading lines, intentional negative space, these are the tools of polished filmmaking. For Super 8mm, you want to frame like someone who is present in the moment first and thinking about the camera second. That might mean slightly off-center subjects, a horizon that tilts, or cutting off a head because you were watching the moment instead of the viewfinder.
McKinnon’s framing advice is to unlearn the cinematic instinct temporarily. Don’t set up the shot. Respond to it. This creates visual roughness that feels like memory, not like a movie.
A Note From My Own Experience Shooting This Way
The first time I tried this technique, I kept catching myself correcting things. Leveling the horizon. Slowing my walk. Reframing to put the subject in the right third. Old habits. What actually helped me was making a short playlist of home video-style music before I went out to shoot, something that already put me in a 1980s backyard barbecue headspace. It sounds silly but it worked. Mood changes how you hold the camera.
I also learned that this look benefits enormously from shooting in even, soft light. Overcast days, open shade, golden hour without hard shadows. Super 8mm film struggled in harsh contrast situations, and your footage will feel more authentic if the light already has that gentle, diffused quality before you ever touch it in post. Flat light for a flat profile is a combination that gets you most of the way there right in the field.
The single most important thing McKinnon communicates in this tutorial is that the vintage look isn’t a filter you apply at the end. It’s a decision you make before you ever hit record, in how you move, how you frame, what you shoot, and how you set up your camera. Get those things right and the post work becomes much simpler.
Watch the full tutorial on YouTube to see McKinnon demonstrate the shooting and editing side by side, including the actual intro sequence he built using this method.
Comments (1)
Tried this technique this morning. Game changer for real.
Leave a Comment