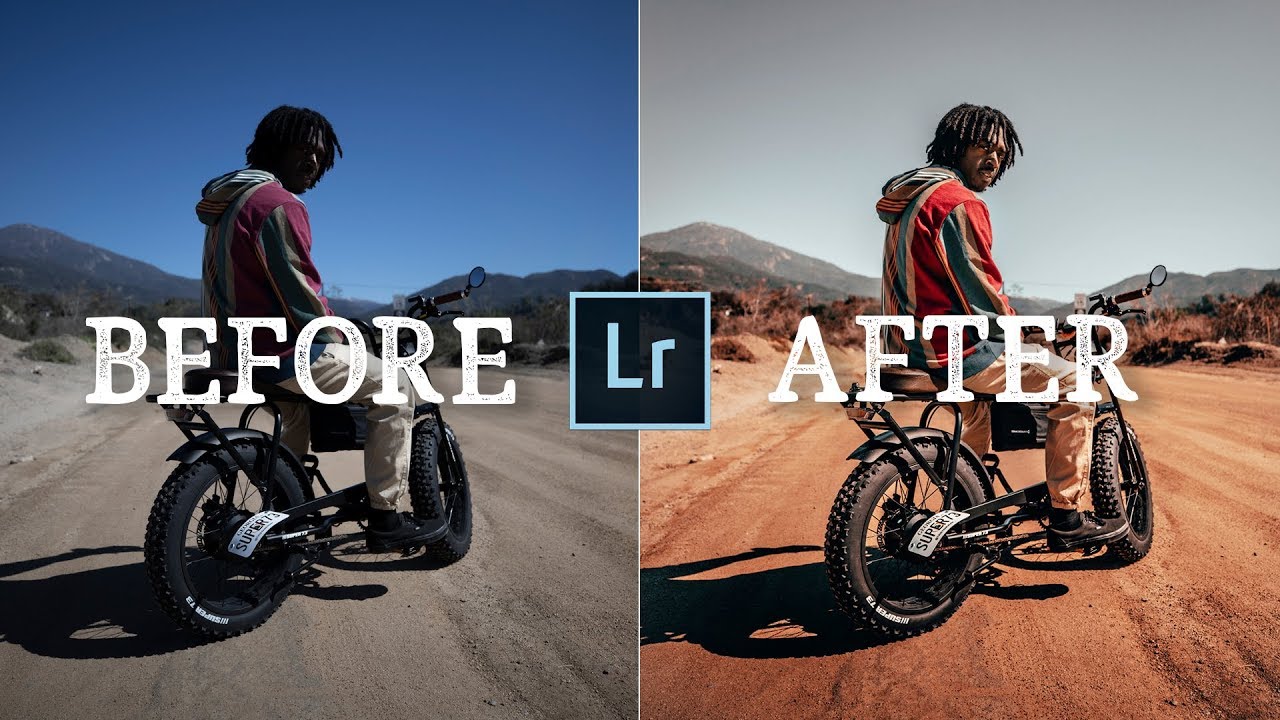
One of the hardest things about learning to edit is that most tutorials show you perfect photos and perfect results. You rarely get to watch someone work through a real, raw file from a real photographer and make judgment calls in the moment. That gap between “here’s how the tool works” and “here’s how I actually think when I sit down to edit” is where most beginners get stuck, and honestly, it’s where I got stuck too when I was starting out.
That’s exactly what makes this kind of session so valuable. Watch the full tutorial on YouTube – in this Peter McKinnon tutorial, he works through roughly half a dozen community-submitted photos across wildly different subjects: nighttime skies, Icelandic churches, Northern Lights, snow-covered mountains. Watching him react to each image cold, voice his compositional instincts, and then actually push the edit somewhere interesting is a masterclass in how experienced photographers see. I watched it twice before I stopped taking notes.
What I want to do here is pull out the actual workflow and thinking so you can apply it to your own files – whether you’re editing a travel shot from last summer or something you pulled off your phone this morning.
Step 1: Look at the Photo Before You Touch Anything
 Peter viewing the Iceland church photo before any edits
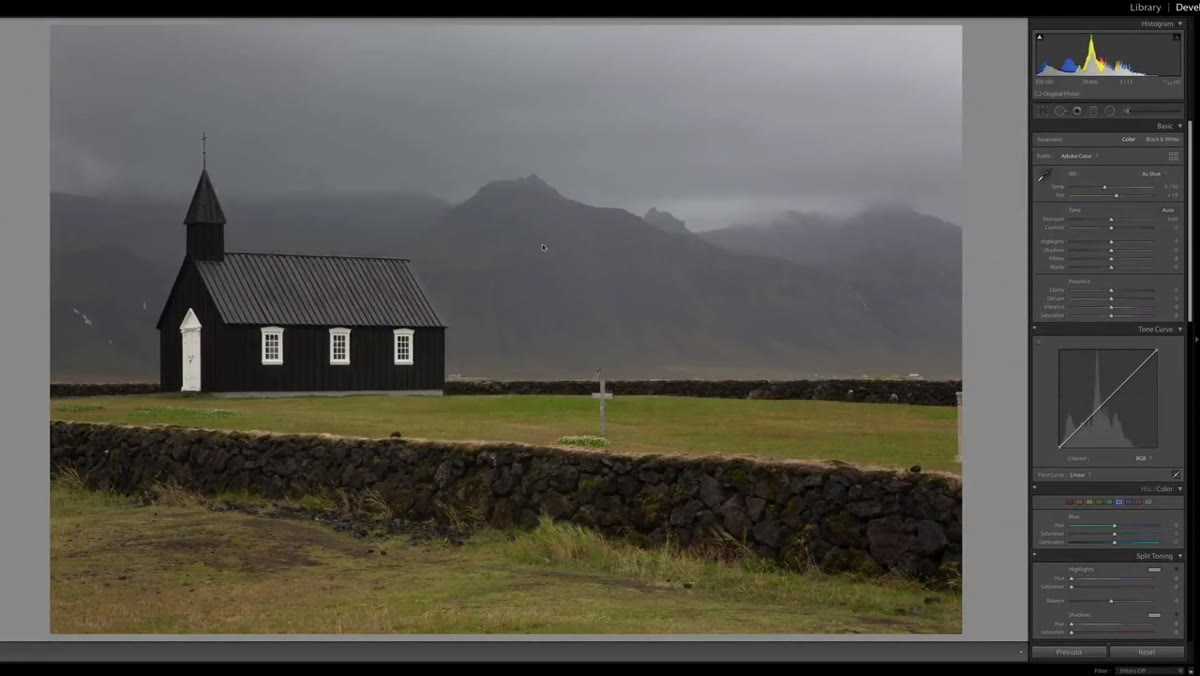
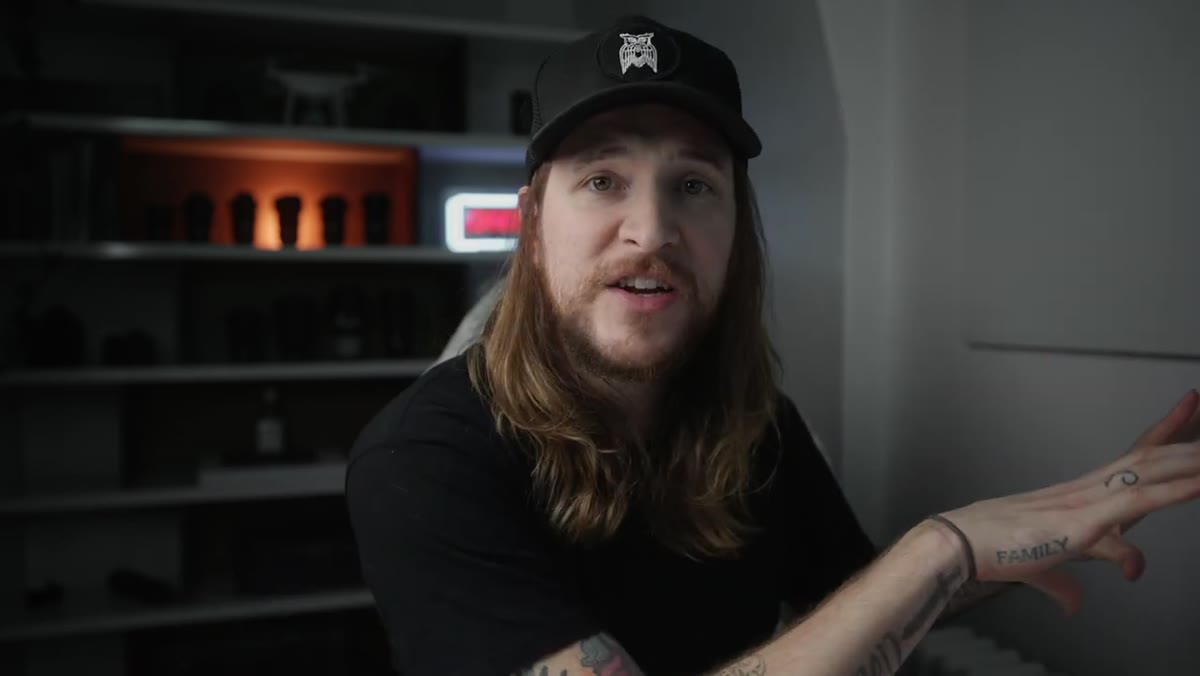
Before Peter moves a single slider, he spends time just reading the image. With the Iceland church photo he works through early in the session, he calls out what’s working – the fog rolling down from the top of the frame, the mysterious background, the overall mood – before he ever opens a panel. This is a habit worth building deliberately, because the temptation is always to start dragging sliders the second the file loads.
Peter viewing the Iceland church photo before any edits
Before Peter moves a single slider, he spends time just reading the image. With the Iceland church photo he works through early in the session, he calls out what’s working – the fog rolling down from the top of the frame, the mysterious background, the overall mood – before he ever opens a panel. This is a habit worth building deliberately, because the temptation is always to start dragging sliders the second the file loads.
Ask yourself: what is this photo already doing well? What feeling does it have right now? If you can answer those questions, you’ll edit toward something rather than just experimenting randomly and hoping for the best.
Step 2: Make a Compositional Note, Even if You Can’t Change It
 Peter discussing church placement within the frame
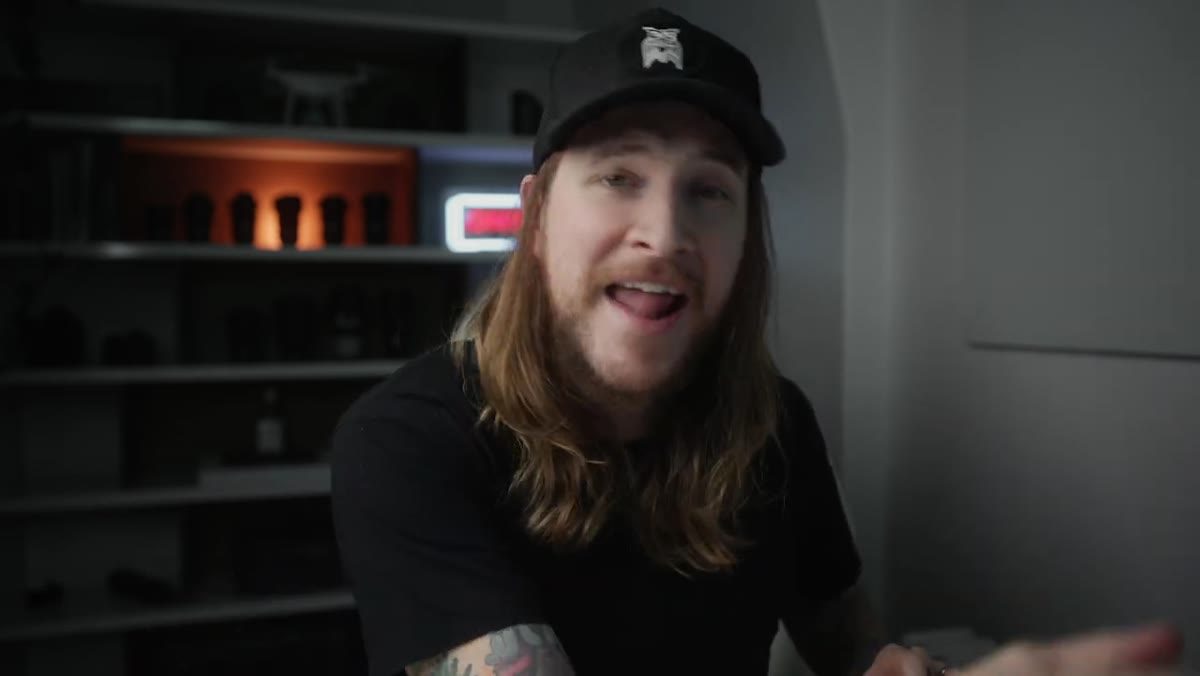
Peter flags something interesting here: he mentions that his instinct would have been to place the church on the right side of the frame, letting the mountain landscape fill the left. He’s quick to point out there’s nothing wrong with how it was shot – there may have been a parking lot on the other side, or the wooden cross visible in the foreground was a framing reason – but he names the preference out loud.
Peter discussing church placement within the frame
Peter flags something interesting here: he mentions that his instinct would have been to place the church on the right side of the frame, letting the mountain landscape fill the left. He’s quick to point out there’s nothing wrong with how it was shot – there may have been a parking lot on the other side, or the wooden cross visible in the foreground was a framing reason – but he names the preference out loud.
This is a practice I’d encourage you to build into your editing sessions too. Before you commit to a crop, ask whether the subject is sitting in the most interesting part of the frame. The rule of thirds is the obvious starting point, but the deeper question is about visual weight and where your eye wants to travel. Cropping is the one compositional fix you can still make in post, so use it thoughtfully before you do anything else.
Step 3: Establish Your Contrast Foundation First
 Peter applying overall contrast adjustments to the church image
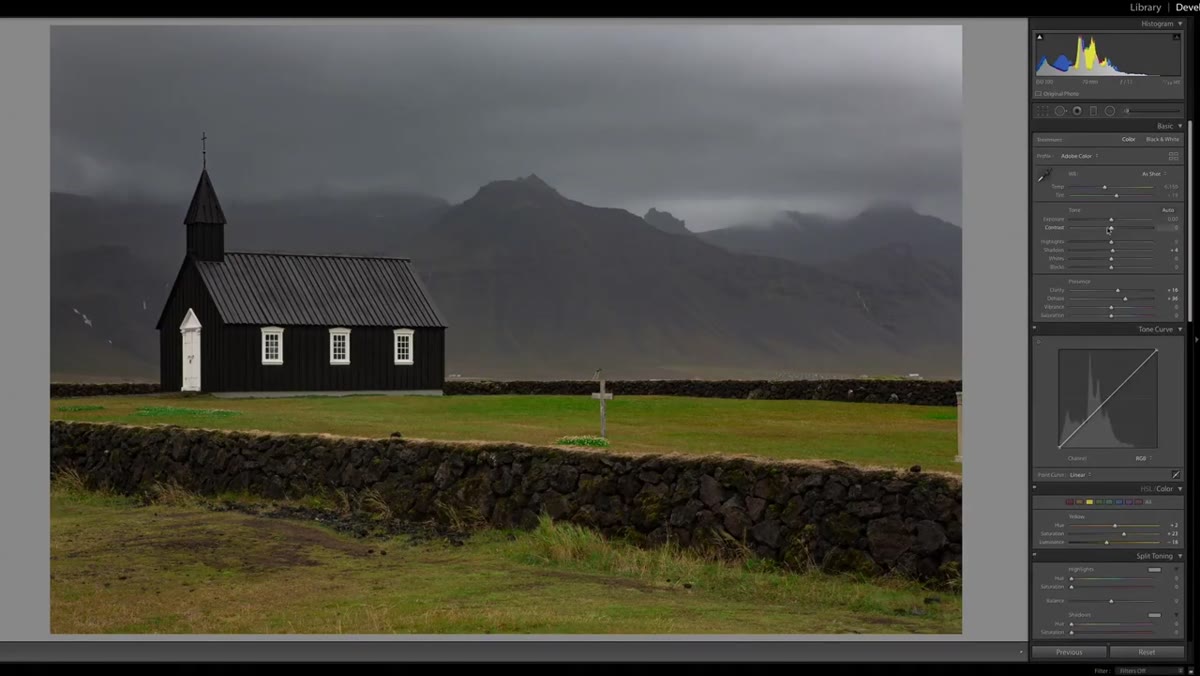
Once he’s read the image, Peter’s first move is to establish the overall contrast and tonal feel he’s going for. He describes it as giving the photo “more punch” – that classic, slightly moody look with deeper shadows and a more deliberate tonal range. In Lightroom terms, this usually means adjusting the Contrast slider as a starting point, then refining with the Whites, Blacks, Highlights, and Shadows sliders individually.
Peter applying overall contrast adjustments to the church image
Once he’s read the image, Peter’s first move is to establish the overall contrast and tonal feel he’s going for. He describes it as giving the photo “more punch” – that classic, slightly moody look with deeper shadows and a more deliberate tonal range. In Lightroom terms, this usually means adjusting the Contrast slider as a starting point, then refining with the Whites, Blacks, Highlights, and Shadows sliders individually.
The order matters here. Set your overall contrast direction first, then use the individual tonal sliders to pull specific areas back if they’ve blown out or gone too dark. Think of the Contrast slider as a rough pencil sketch and the tonal sliders as your fine-line pen. One establishes the direction; the others do the precision work.
Step 4: Push Toward a Defined “Feel,” Not Just Technical Correctness
 Before and after comparison of the church edit side by side
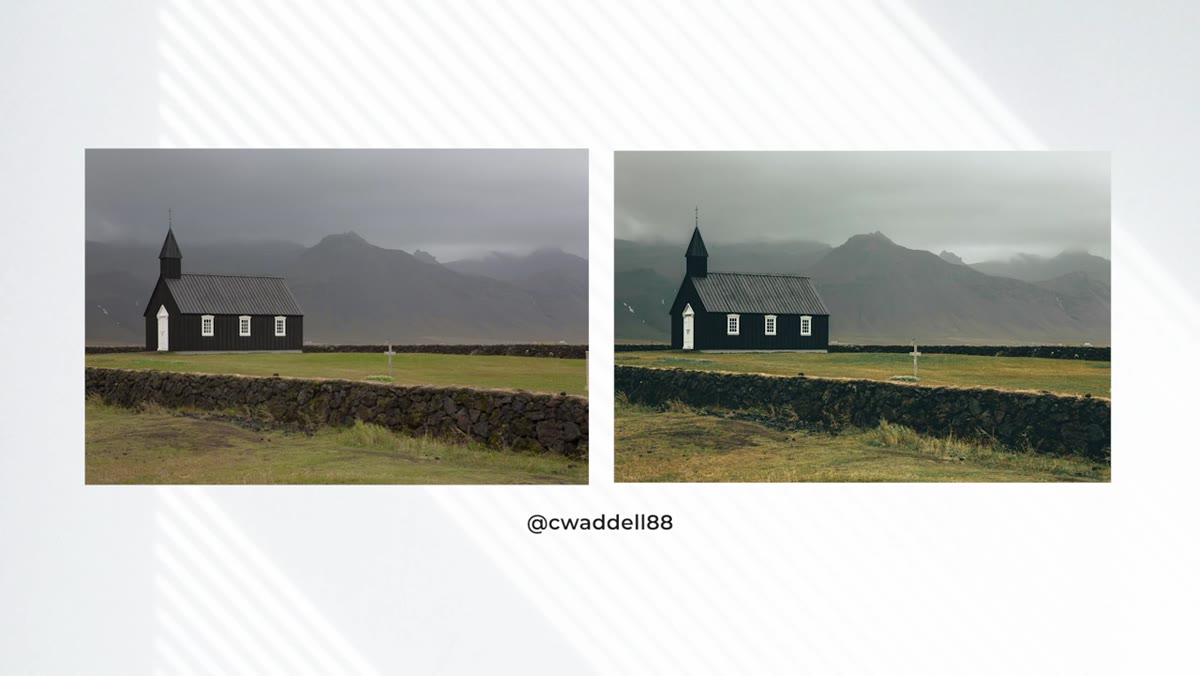
The before-and-after Peter shows for the church photo is instructive because the before is already a genuinely good photograph. He’s not rescuing a bad image – he’s steering a good one toward a more specific emotional register. His edit goes cooler and more dramatic. The fog becomes heavier. The whole scene leans further into that moody, otherworldly Icelandic atmosphere.
Before and after comparison of the church edit side by side
The before-and-after Peter shows for the church photo is instructive because the before is already a genuinely good photograph. He’s not rescuing a bad image – he’s steering a good one toward a more specific emotional register. His edit goes cooler and more dramatic. The fog becomes heavier. The whole scene leans further into that moody, otherworldly Icelandic atmosphere.
This is the shift that separates editing as correction from editing as intention. A technically correct edit might open up shadows and balance the exposure. An intentional edit asks: what should this photo feel like? For a fog-covered church in Iceland, “correct” and “dramatic” aren’t the same target. Give yourself permission to pick one and commit to it.
Step 5: Let the Subject Matter Guide the Palette
 Overview of the four Christopher Waddell photos queued for editing
Peter works through four very different photos from the same photographer in this segment – a Namibian night sky, two Iceland shots, and a snowy mountain. Each one requires a completely different approach, and he doesn’t try to apply a single preset or consistent look across all of them. The night sky gets different treatment than the snow scene because the subject demands it.
Overview of the four Christopher Waddell photos queued for editing
Peter works through four very different photos from the same photographer in this segment – a Namibian night sky, two Iceland shots, and a snowy mountain. Each one requires a completely different approach, and he doesn’t try to apply a single preset or consistent look across all of them. The night sky gets different treatment than the snow scene because the subject demands it.
This is a reminder to be skeptical of one-size-fits-all presets, especially when you’re shooting in varied environments. Presets are useful as starting points, but a blue-toned moody preset that looks stunning on an overcast forest shot can look completely wrong on a golden-hour portrait. Use them to establish a starting direction, then dial them back and adjust for what’s actually in front of you.
What I’d Add from My Own Experience
The editing instinct Peter demonstrates here – looking first, making compositional notes, establishing contrast before anything else – is something that only becomes natural with repetition. When I first started editing seriously, I used to open a file and immediately reach for the Vibrance slider because the colors felt flat. What I was actually doing was avoiding the harder question of what I wanted the photo to communicate.
The thing that finally clicked for me was editing with a specific mood word in mind before I opened the file. I’d look at the image in my camera roll, pick one word – “heavy,” “quiet,” “warm,” “sharp” – and then use that as a filter for every decision in the edit. If a slider change moved me toward that word, I kept it. If it didn’t, I backed off. It sounds almost too simple, but it cut my editing time in half and made my work feel more coherent across a whole set of photos.
The single most important thing Peter demonstrates in this session is that editing is a conversation with the photograph, not an operation performed on it. You’re not fixing a file. You’re deciding what it should become. Read the image, respect what it’s already doing, and then push it with intention – that’s the whole framework, and it works on everything from a Namibian night sky to whatever you shot on your phone this morning.
Watch the full tutorial on YouTube to see Peter work through all six photos in real time – the live decision-making is worth watching even if you’ve already read the breakdown here.
Comments
Leave a Comment