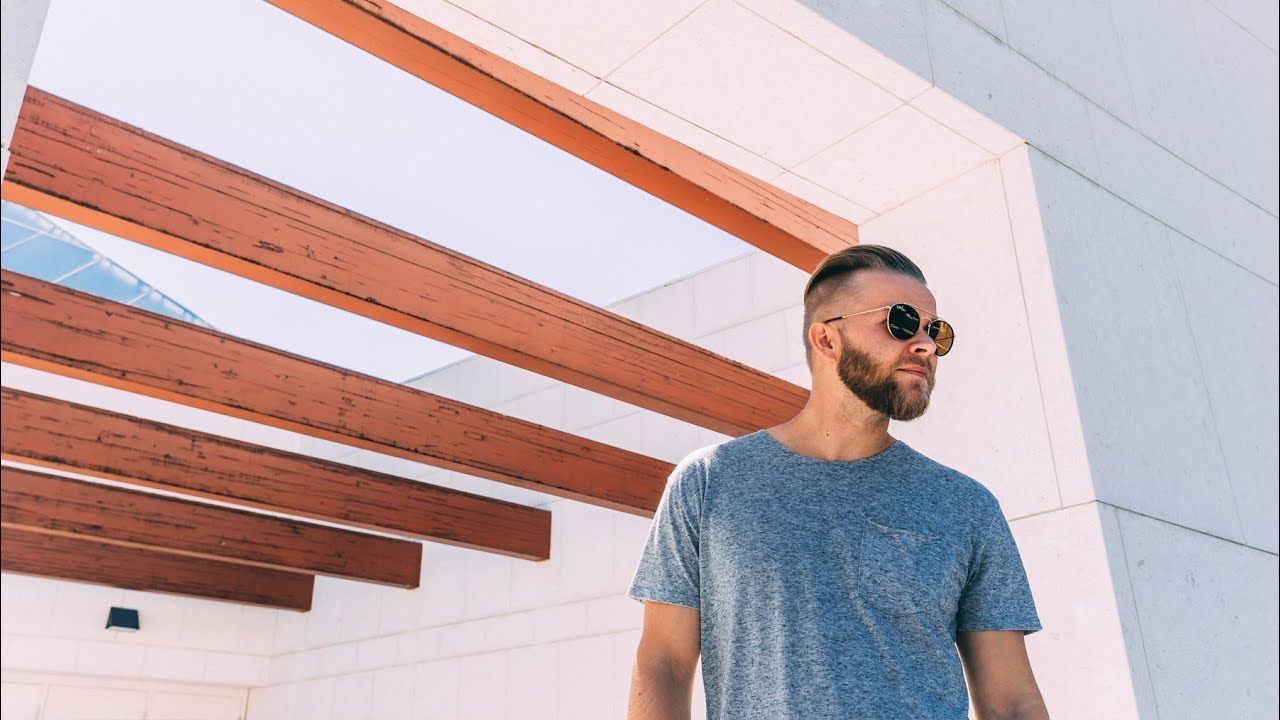
Every Sunday morning I do a photo walk through my Seattle neighborhood, camera in hand, coffee in the other. And for the first year of doing this, I kept coming home with technically fine photos that felt completely flat. Correct exposure, decent light, sharp focus – but something was missing. The images weren’t pulling anyone in. They were just… pictures.
Composition was the piece I was underestimating. Not because I didn’t know the rules, but because I wasn’t actively hunting for compositional opportunities before I raised the camera. That’s the real shift, and it’s exactly what photographer Peter McKinnon breaks down in his tutorial on using composition to immediately improve your photos. Watch the full tutorial on YouTube – it’s worth your time even if you’ve been shooting for years.
What I love about McKinnon’s approach is that it’s practical and immediate. He’s not asking you to buy new gear or study color theory for six months. He’s asking you to look harder at what’s already around you. Here’s how to put that into practice, step by step.
Step 1: Shift Your Mindset Before You Raise the Camera
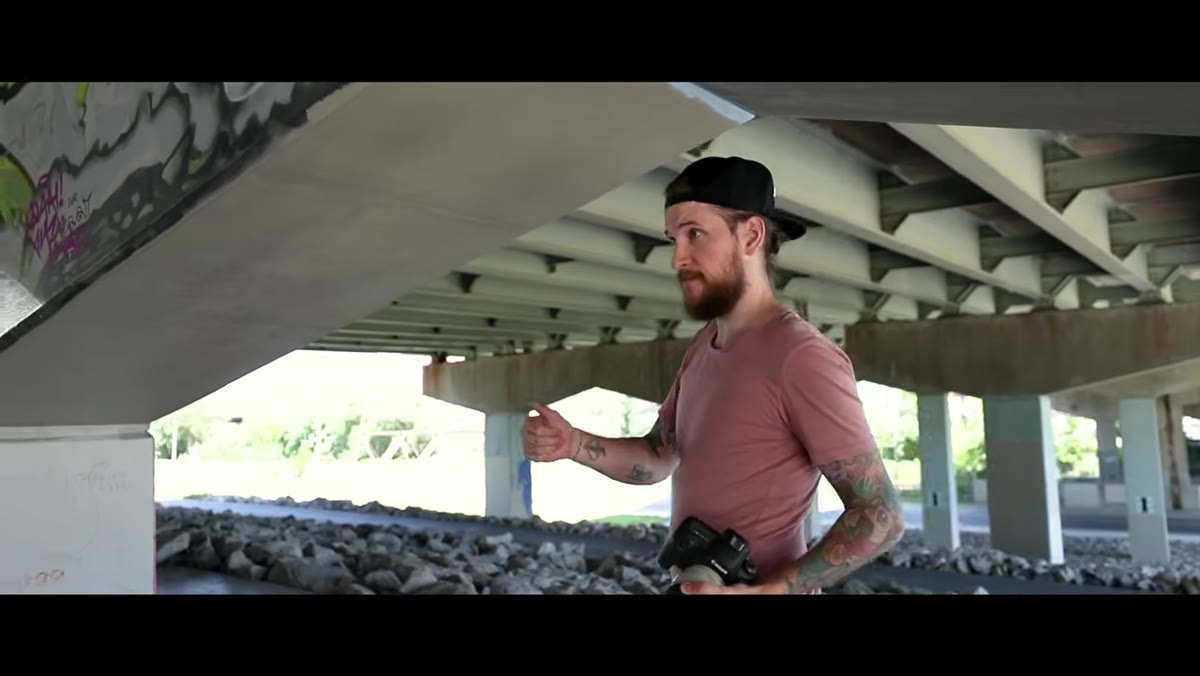 Peter McKinnon speaking to camera about composition importance
Before you think about settings or light, pause and ask yourself: what’s in my environment that could work FOR this shot? Most beginners (myself included, for longer than I’d like to admit) walk up to a subject and immediately start shooting from eye level, straight on, with nothing else in the frame. That’s the default, and the default is usually forgettable.
Peter McKinnon speaking to camera about composition importance
Before you think about settings or light, pause and ask yourself: what’s in my environment that could work FOR this shot? Most beginners (myself included, for longer than I’d like to admit) walk up to a subject and immediately start shooting from eye level, straight on, with nothing else in the frame. That’s the default, and the default is usually forgettable.
McKinnon’s core argument is that great composition isn’t accidental – it’s the result of actively searching for structure, framing, and lines before you commit to a shot. This mental habit is free, requires zero technical knowledge, and makes a bigger difference than most camera upgrades.
Step 2: Look for Natural and Architectural Frames
 Demonstrating framing concept with surrounding environment
A frame within your frame is one of the fastest ways to add depth and intention to an image. This means looking for doorways, windows, archways, tree branches, gaps in walls, or overhanging foliage that can surround or partially surround your subject. The frame doesn’t have to be complete – even a partial border on one or two sides creates a sense of context and draws the eye inward.
Demonstrating framing concept with surrounding environment
A frame within your frame is one of the fastest ways to add depth and intention to an image. This means looking for doorways, windows, archways, tree branches, gaps in walls, or overhanging foliage that can surround or partially surround your subject. The frame doesn’t have to be complete – even a partial border on one or two sides creates a sense of context and draws the eye inward.
When I’m on my Sunday walks and I find a subject I want to shoot, I now do a slow 360 before touching the shutter. Is there a doorway behind me I could shoot through? A gap in the hedge? An alley mouth? You’d be surprised how often the right frame is literally behind you, and you almost walked right past it.
Step 3: Use Architecture Intentionally – Pillars, Stairs, Rungs
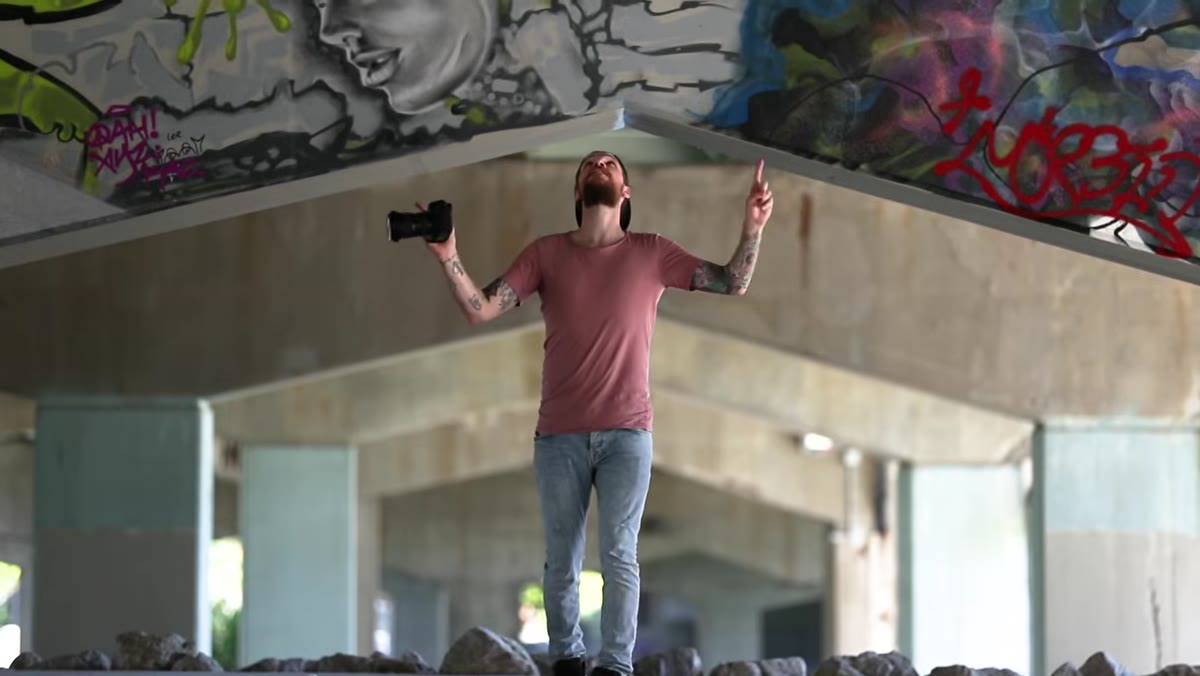
 Skate park pillars creating natural frame around subject
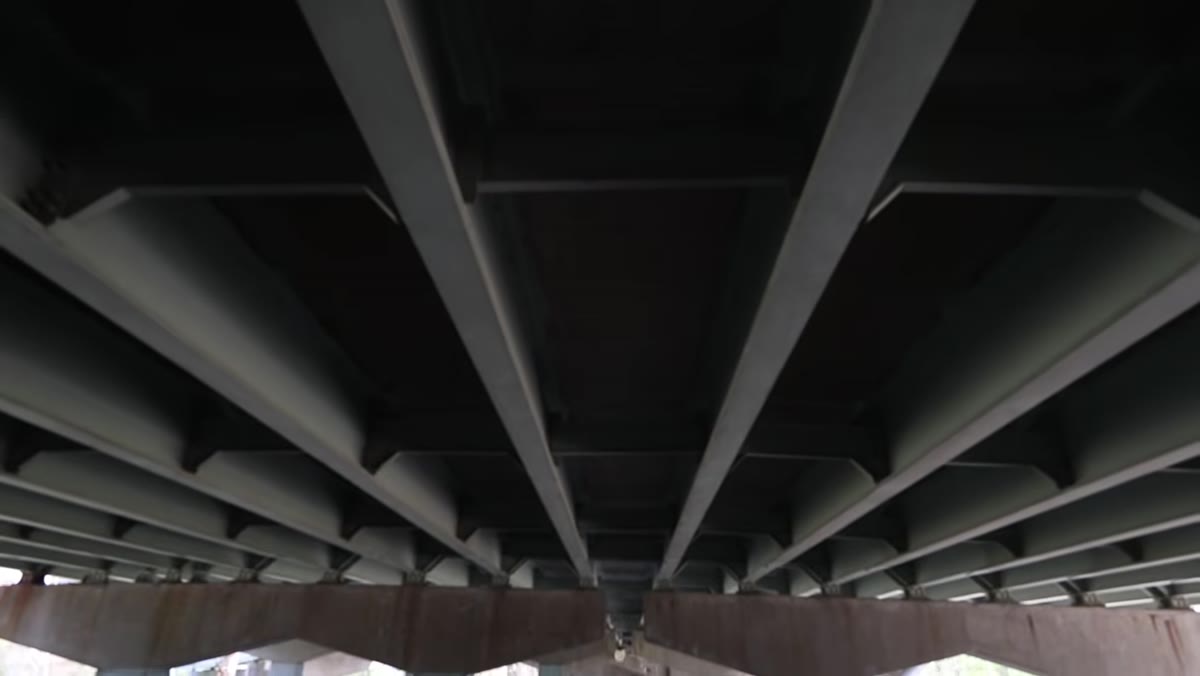
McKinnon gives a great real-world example here: he’s shooting a subject at a skate park beneath an overpass, surrounded by structural pillars that recede into the distance. Rather than ignoring those pillars, he places his subject directly between them. The pillars become part of the composition – they create depth, symmetry, and lead the eye straight to the person.
Skate park pillars creating natural frame around subject
McKinnon gives a great real-world example here: he’s shooting a subject at a skate park beneath an overpass, surrounded by structural pillars that recede into the distance. Rather than ignoring those pillars, he places his subject directly between them. The pillars become part of the composition – they create depth, symmetry, and lead the eye straight to the person.
The lesson is to stop seeing architecture as background noise and start seeing it as compositional material. Staircases, railings, columns, tunnels, underpasses – these are all tools. If you’re shooting a portrait in a stairwell, try shooting through the railings rather than standing beside the subject. That diagonal grid of bars becomes a frame, and suddenly the photo has layers.
Step 4: Find the Leading Lines First, Then Place Your Subject
 Wall lines leading toward doorway with subject positioned underneath
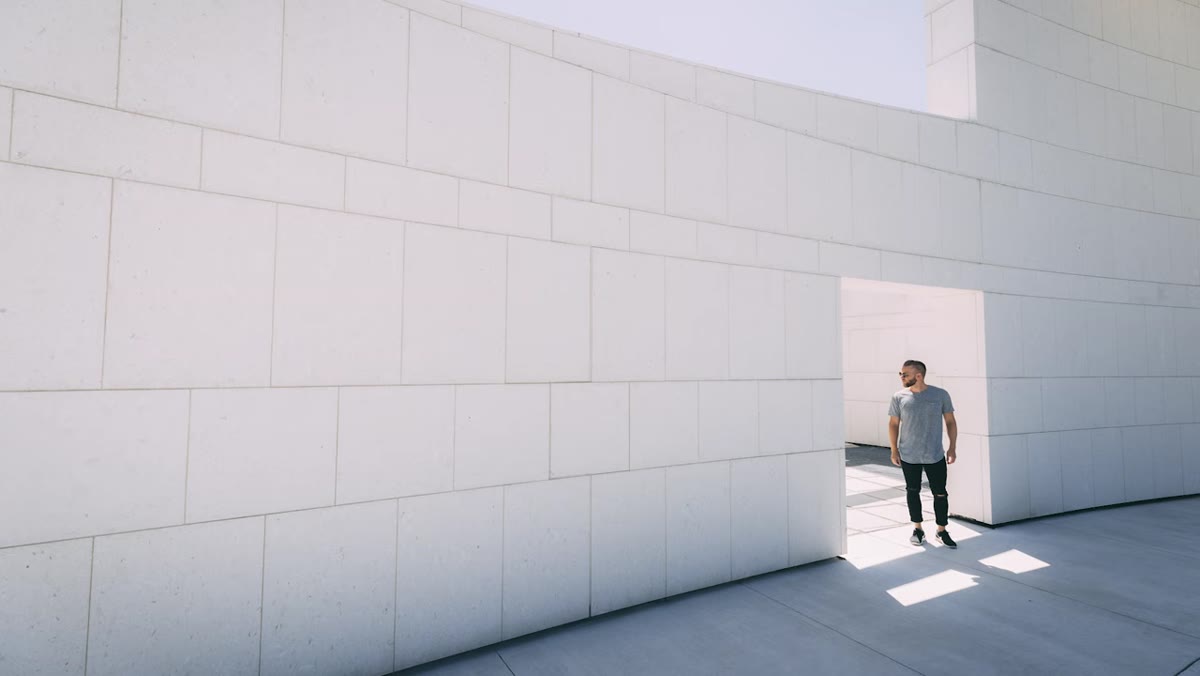
Leading lines are any lines in a scene – roads, fences, hallways, walls, rivers, shadows – that guide the viewer’s eye through the image toward a focal point. The key word McKinnon uses is “payoff.” The line should lead somewhere. Your subject is the payoff.
Wall lines leading toward doorway with subject positioned underneath
Leading lines are any lines in a scene – roads, fences, hallways, walls, rivers, shadows – that guide the viewer’s eye through the image toward a focal point. The key word McKinnon uses is “payoff.” The line should lead somewhere. Your subject is the payoff.
In practice, this means identifying the line before you decide where to stand. If you’re in a long corridor and the walls converge toward a vanishing point, your subject belongs at or near that vanishing point – not halfway down the hall. If there’s a cracked sidewalk leading toward a storefront, crouch low so that crack becomes a defined line moving toward your subject. The geometry of the scene should feel intentional, because it is.
Step 5: Centre Framing Can Work – When the Structure Earns It
 Subject placed centrally between converging pillars in skate park
There’s a lot of photography advice that tells beginners to always use the rule of thirds and never centre their subject. McKinnon demonstrates why that’s an oversimplification. When you have strong symmetrical framing – like a subject standing between two parallel rows of pillars – centring the subject is exactly the right call. The symmetry creates balance, and the leading lines on both sides reinforce rather than compete with the central placement.
Subject placed centrally between converging pillars in skate park
There’s a lot of photography advice that tells beginners to always use the rule of thirds and never centre their subject. McKinnon demonstrates why that’s an oversimplification. When you have strong symmetrical framing – like a subject standing between two parallel rows of pillars – centring the subject is exactly the right call. The symmetry creates balance, and the leading lines on both sides reinforce rather than compete with the central placement.
The rule isn’t “never centre.” The rule is: earn the centre. If your environment creates a natural symmetrical frame, use it. If it doesn’t, the rule of thirds is usually your friend. Let the scene tell you which one applies.
A Note From My Own Shooting: Start Small, Then Scale Up
I used to think I needed a dramatic location to practice framing – a cathedral, a city skyline, something cinematic. But some of my favorite framed shots have come from mundane spots: a bus shelter, a parking garage stairwell, the gap between two overgrown hedges on my street.
One of the most-shared photos I’ve ever posted was taken on a $200 phone through a coffee shop window, using the window frame and a smear of condensation to create layering around a stranger reading outside. No expensive gear, no exotic location – just the habit of looking for a frame before shooting. That habit is the whole game.
If you want to train this muscle fast, try a dedicated “framing walk.” Leave the house with one goal: find ten potential frames before you take a single photo. Doorways, tunnels, gaps, overhangs – catalogue them all. By the end, you’ll see compositional possibilities in places you’ve walked past a hundred times.
The single most important takeaway from McKinnon’s tutorial is this: composition is active, not passive. It’s something you do before the shot, not something you hope happens. Every environment, no matter how ordinary, contains structure you can use to make your images stronger. Your job is to find it.
Watch McKinnon demonstrate these techniques with real examples in the full video here: Watch the full tutorial on YouTube
Comments
Leave a Comment