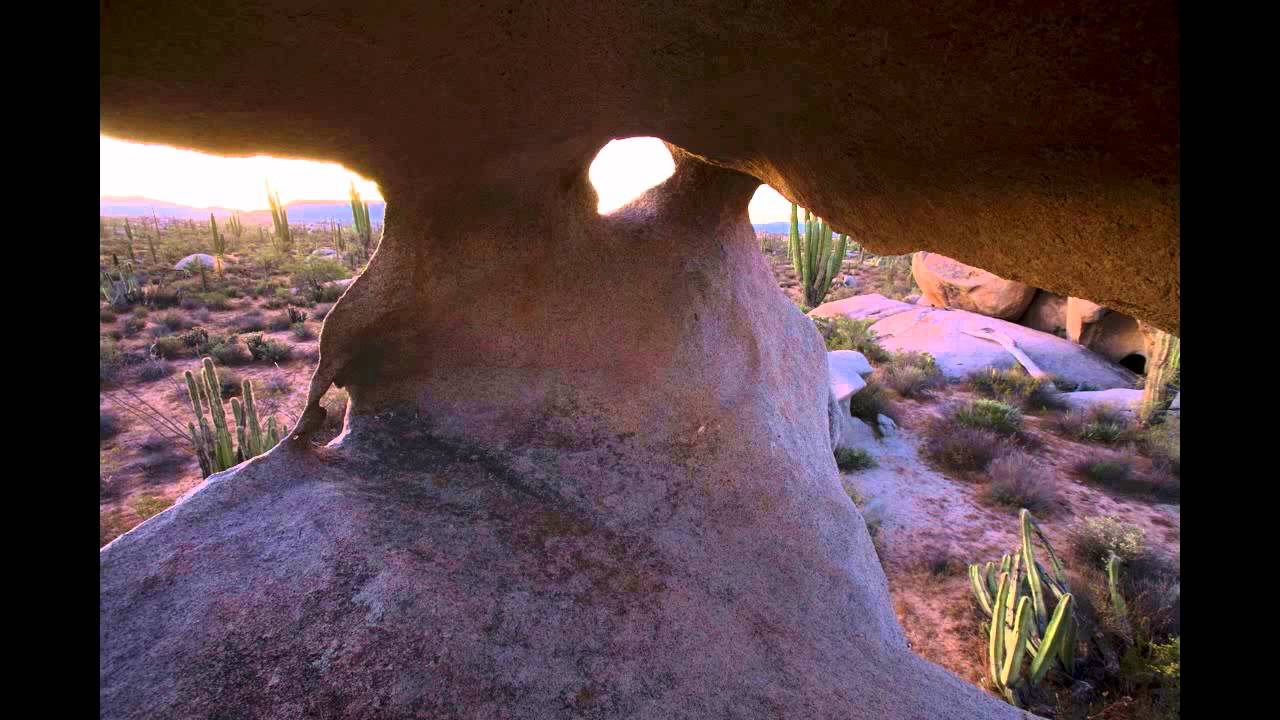
Shadows used to be the thing I tried to get rid of. I’d chase even, diffused light, dodge the harsh midday sun, and silently curse whenever a dark shape crept into my frame. It took me an embarrassingly long time to realize I had it completely backwards. Shadows aren’t the enemy of a good photograph. They are, in many cases, the whole point.
That mindset shift started clicking for me after watching John Greengo’s tutorial on shadow control through Watch the full tutorial on YouTube. Greengo is the kind of teacher who makes you feel like you’ve been overthinking everything, then hands you a framework so simple you wonder why you didn’t see it sooner. This tutorial is part of a larger CreativeLive course, and even this short excerpt is packed with practical guidance. Below I’ve broken down his core techniques into steps you can take out into the field right now, whether you’re shooting with a mirrorless camera or, yes, your phone.
Step 1: Reframe Shadows as Creative Tools, Not Problems
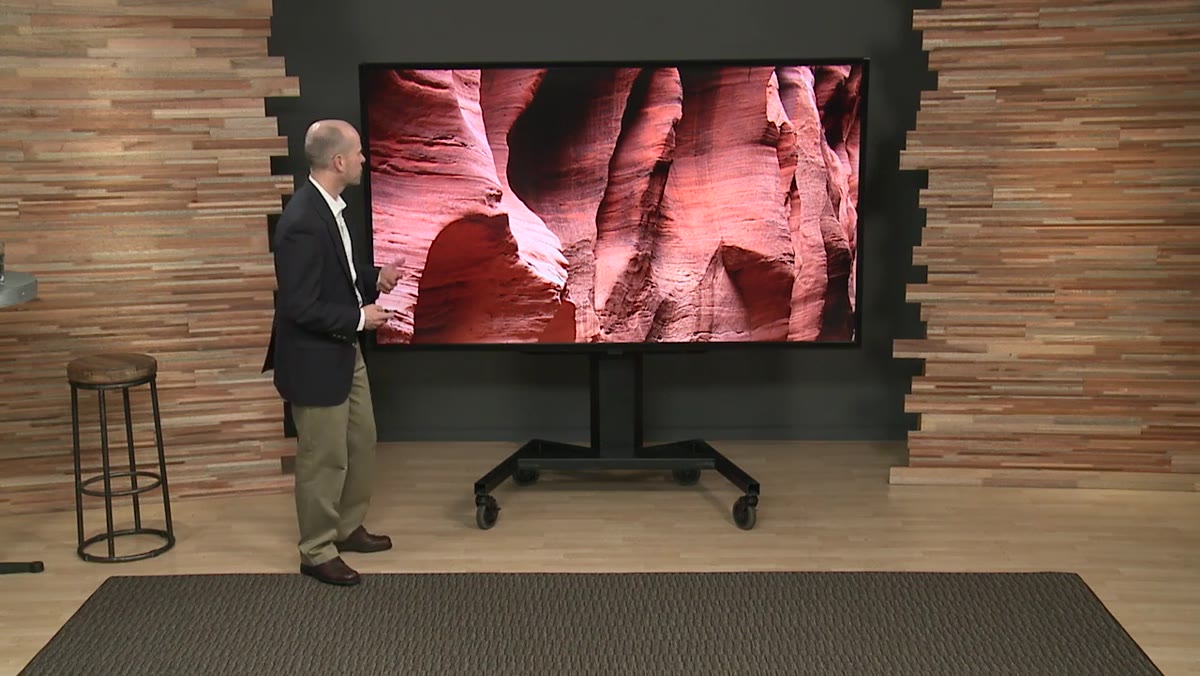 Canyon light enveloping rocky walls with deep shadows
Before you change any setting, change how you look at shadow. Greengo opens by pointing to slot canyons in Arizona and Utah as a masterclass in what shadow actually does for a photograph. When light filters into a narrow canyon, the resulting shadows don’t muddy the image. They wrap around the walls and create a sense of depth that flat, even light simply cannot produce.
The mental shift here is straightforward: shadows reveal structure. They show you where a surface rises or dips, where one plane meets another, where texture lives. A sand dune photographed in flat overcast light looks like a beige smear. The same dune at low sun looks almost sculptural. Train your eye to look for shadow the way you’d look for color or leading lines, as a compositional element you’re actively including, not accidentally allowing.
Step 2: Time Your Shoot Around the Sun Angle
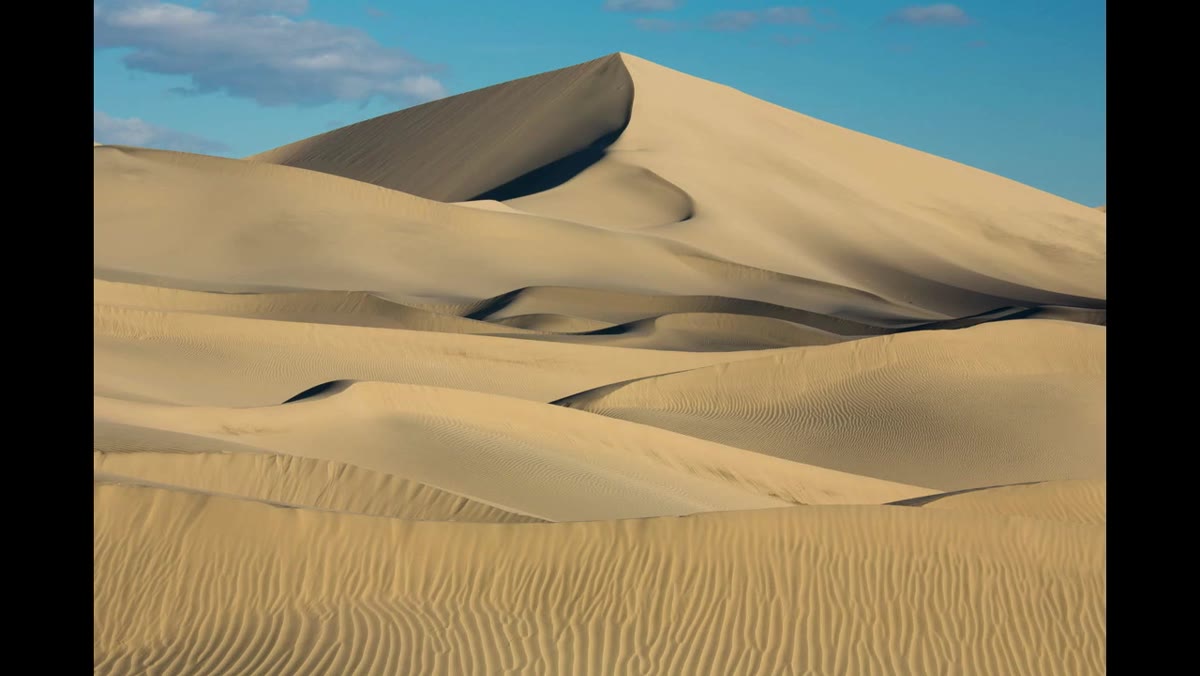 Low sun casting long shadow lines across sand dunes
This is the most practical and immediately actionable point in the entire tutorial. For subjects that depend on texture, like sand dunes, rock formations, or any kind of ridged or ribbed surface, the height of the sun in the sky determines whether your subject has dimension or not.
Greengo specifically mentions the importance of being on the dunes when the sun is low enough to cast meaningful shadows. That means early morning or late afternoon, not midday. When the sun is directly overhead, light falls straight down and shadow disappears into the base of every texture. When the sun is at a low angle, light rakes across the surface and every ripple, ridge, and grain throws its own tiny shadow. Plan your shoots around this. Check a sun position app the night before and know exactly when the sun will hit your subject from the right angle. Golden hour is famous for a reason, but even an hour or two after sunrise or before sunset can completely transform a textured subject.
Step 3: Scout First, Shoot Later
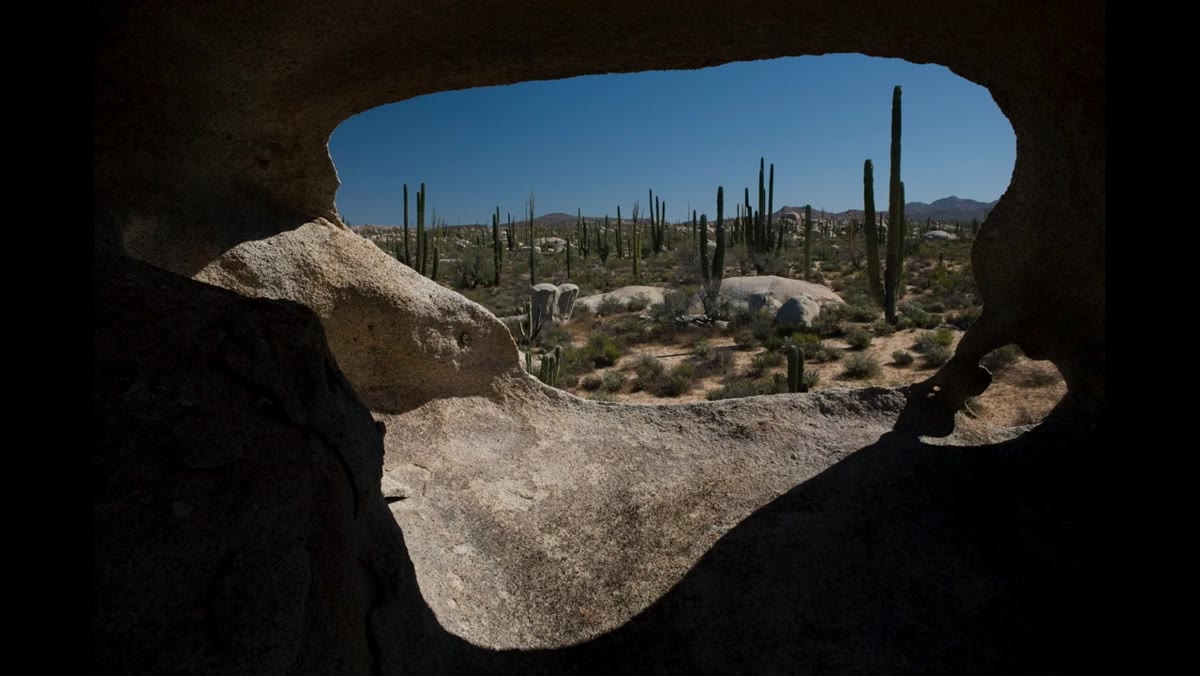 Rock formation in Baja California with high contrast desert view
Greengo shares a story about a hollow rock formation in Baja California that he used as a natural frame. He found the composition he liked, shot it, and then felt unsatisfied because the contrast between the dark interior and the bright exterior was too extreme to hold detail in both areas.
His solution wasn’t a technical one. He came back. The next morning, the light was more even and the composition held together better. Scouting is a skill that gets undervalued in photography tutorials because it’s not as exciting as talking about lenses or editing. But finding a good location is only half the job. You need to visit it at different times, in different light, to understand what it’s actually capable of. When I’m traveling somewhere new, I try to leave at least one morning or evening slot free specifically to revisit a spot I saw the day before. That flexibility has produced some of my best shots and rescued more than a few disappointing ones.
Step 4: Wait for the Light to Catch Up
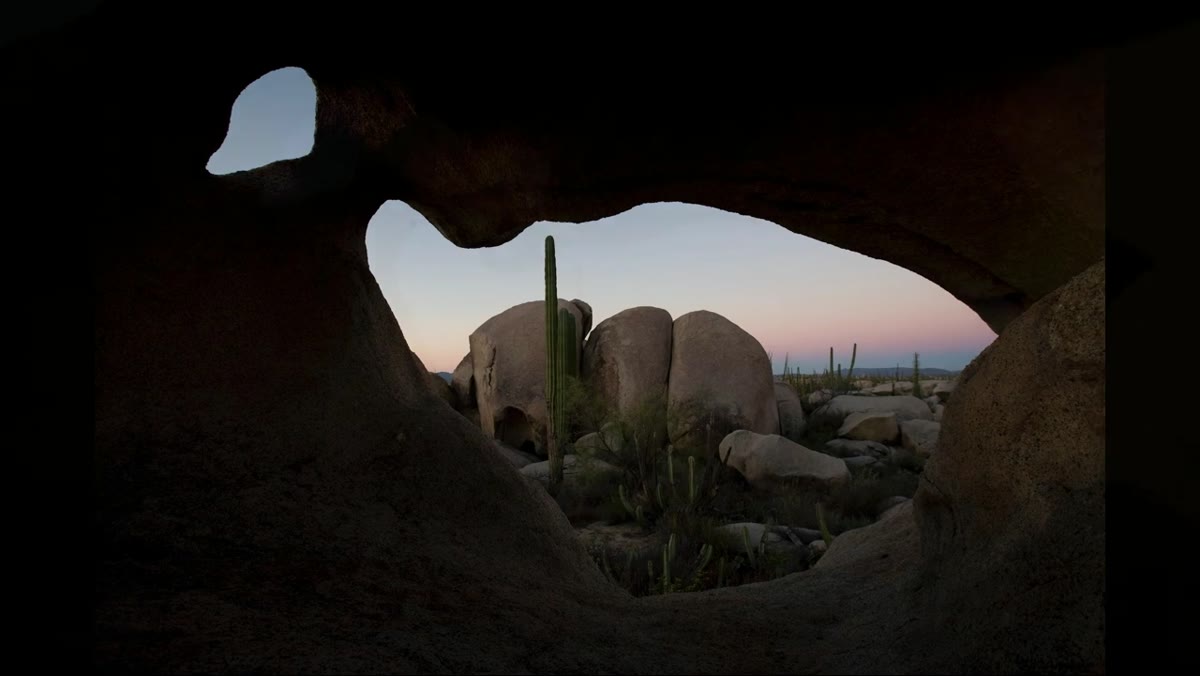 Rock frame composition with balanced warm light and shadows
There’s a specific window Greengo describes where a location goes from “pretty good” to “exactly right.” After returning to the Baja rock formation multiple times, he found that the difference between a decent shot and a compelling one was about an hour. The light shifted just enough for shadows to appear in the right places without crushing the detail he needed.
This is patience as a photographic skill. It’s not glamorous advice, but it works. If you’re at a location and the light is close but not quite there, don’t pack up. Set a timer for 20 minutes and wait. Walk around. Eat a snack. Then look again. The shadow that wasn’t falling at the right angle might be exactly where you want it now.
Step 5: Use the “Crossover Moment” for Architecture and Urban Scenes
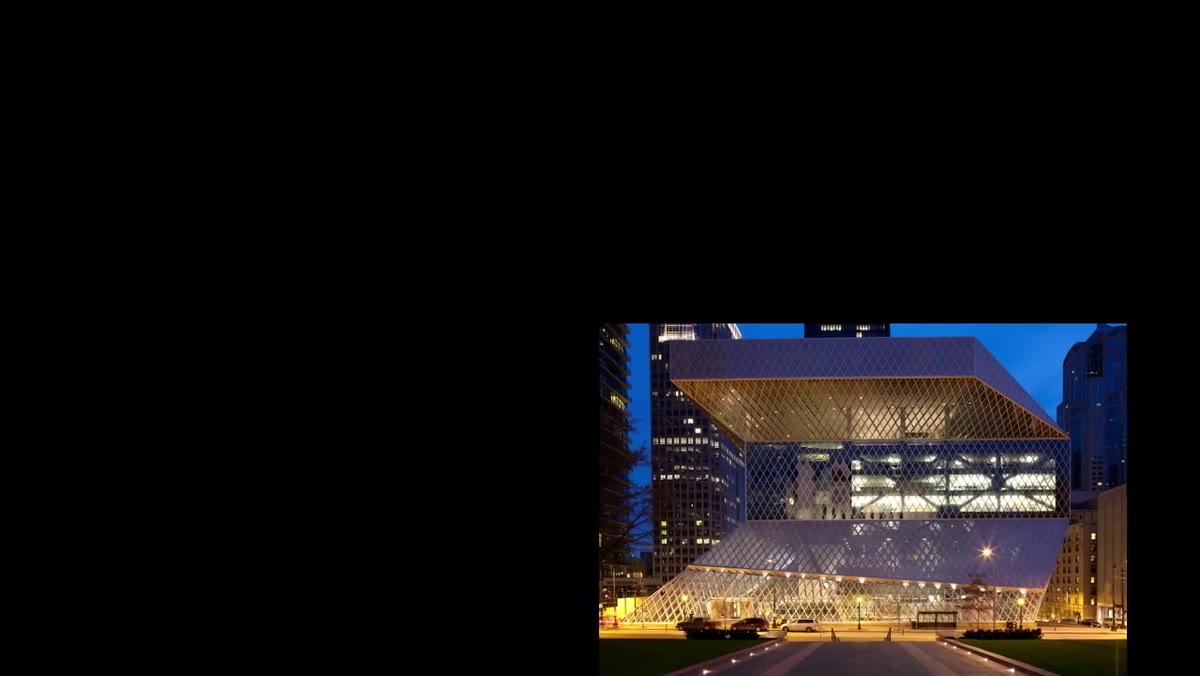 Building exterior at dusk with ambient and artificial light balancing
This step applies specifically to shooting buildings and lit interiors at dusk. Greengo describes a scenario where a building at 7:38 PM looked flat and uninspiring because the sky was still bright and the artificial lights inside hadn’t caught up yet. Twenty minutes later, the image was transformed.
What happens in that window is a balance point. The ambient daylight fades, and as it does, the artificial lighting inside windows, on facades, in storefronts becomes relatively brighter. When the two light sources hit a rough equilibrium, the scene has both color in the sky and warmth from the lights, without either blowing out or going dark. This is the crossover moment. It’s short, often 15 to 30 minutes, and it happens fast. For architectural and street photography especially, knowing this window exists and planning for it is the difference between a postcard shot and a snapshot.
Step 6: Return to the Same Location Repeatedly
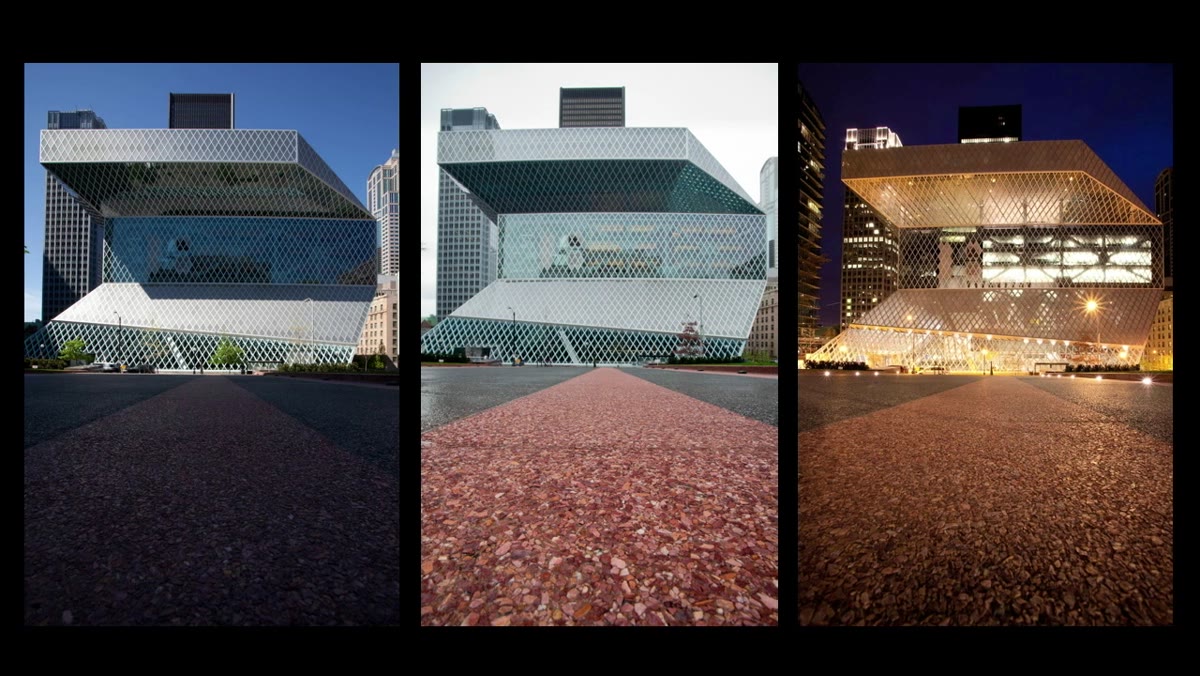 Same location under different lighting conditions compared
Greengo wraps his teaching with a simple challenge: go back to the same place and shoot it under different conditions. This is advice that sounds obvious until you realize most photographers, myself included, tend to treat each location as a one-time event.
Revisiting teaches you to read light. You stop guessing and start understanding what a specific place does at different times of day, in different weather, in different seasons. Even a spot five minutes from your house becomes a richer subject when you’ve watched it change over time.
My Take: Start in Your Own Backyard
I’ve done Greengo’s “revisit” exercise in my own neighborhood during Sunday morning photo walks, and the results genuinely surprised me. The park two blocks from my apartment looks like four completely different places depending on when I show up. I’ve started keeping a note on my phone with locations I want to return to under better light, and that list has become one of my most useful planning tools.
If you’re newer to this, don’t wait for a trip to a slot canyon or a Moroccan sand dune. Find something textured nearby, a brick wall, a gravel path, a tree with rough bark, and photograph it twice: once when the sun is high and once when it’s low. The comparison will teach you more about shadow than any amount of reading.
The single most important takeaway here is that great shadow photography is almost always a time management problem, not a technical one. You can get there with any camera. You just have to get there at the right moment.
Watch the full tutorial on YouTube to see Greengo’s examples in motion, especially the before-and-after comparisons of the building at dusk. Watching the light shift in real time makes the crossover moment concept land in a way that’s hard to describe in words.
Comments (1)
Tried this technique this morning. Game changer for real.
Leave a Comment