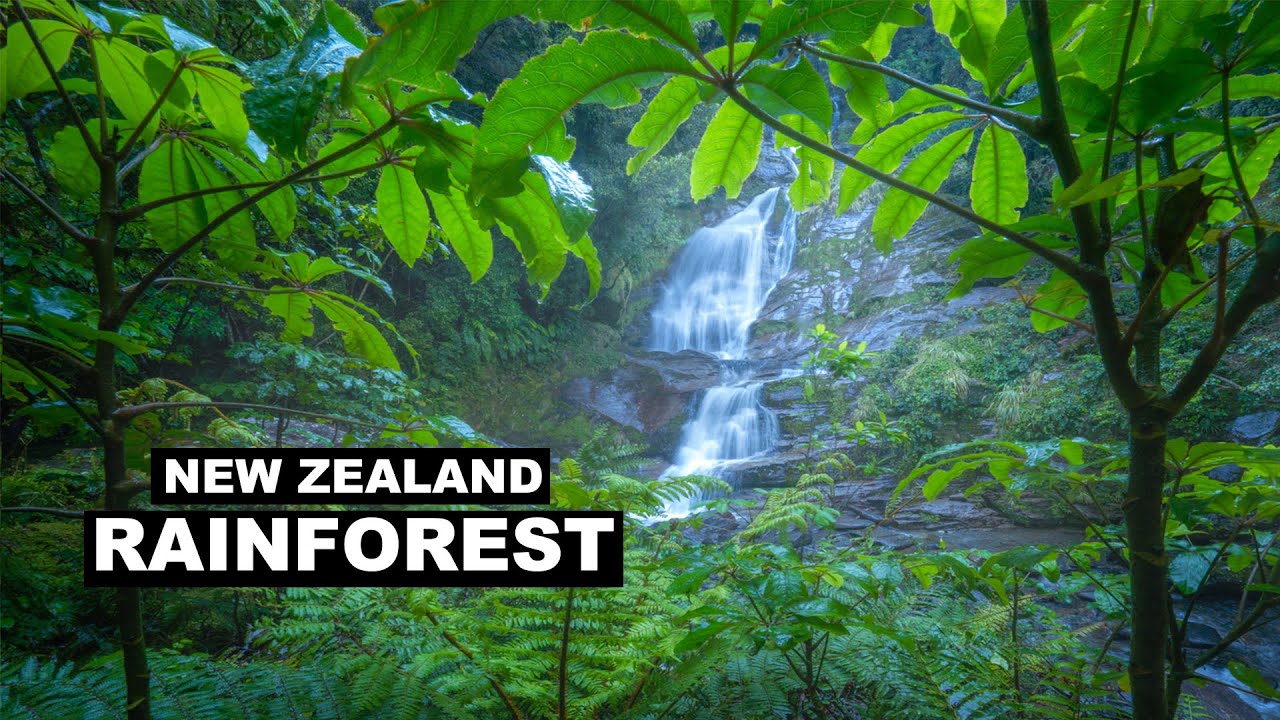
I once spent an entire vacation chasing a single waterfall shot. I missed dinner four nights in a row, came back to the hotel soaked every time, and walked away with maybe two frames I actually liked. What I lacked wasn’t gear or patience. I lacked a system for reading a chaotic natural scene quickly and building a composition on the fly, in changing light, in wet conditions that were doing their best to ruin everything.
That’s exactly why this William Patino tutorial stopped me mid-scroll. Watch the full tutorial on YouTube – it follows Patino through a rainy day in Fiordland, New Zealand, where he pushes through dense forest to chase a temporary waterfall with no guaranteed payoff. What looks like a casual walk-and-shoot is actually a masterclass in reactive landscape composition. He’s making real decisions in real time, and if you watch carefully, there’s a repeatable process underneath all of it.
This breakdown pulls that process out step by step so you can apply it the next time you’re standing in a forest with wet boots and a lot of questions.
Step 1: Reframe Bad Weather as a Creative Advantage
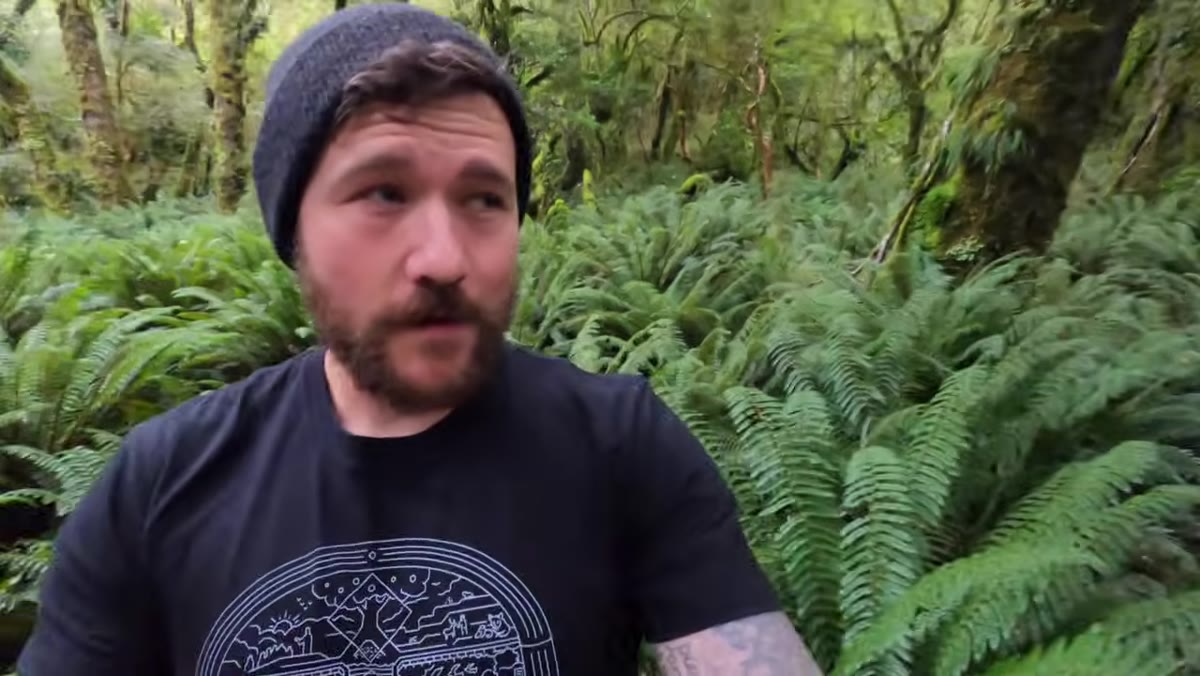 Patino walking through misty, rain-soaked Fiordland forest
Before you even pick up your camera, your mindset about conditions determines what you’ll see. Patino is explicit about this: rainy, overcast days in places like Fiordland aren’t obstacles. They’re the reason the light is soft, the greens are saturated, the waterfalls are running, and the atmosphere is doing half the compositional work for you.
Patino walking through misty, rain-soaked Fiordland forest
Before you even pick up your camera, your mindset about conditions determines what you’ll see. Patino is explicit about this: rainy, overcast days in places like Fiordland aren’t obstacles. They’re the reason the light is soft, the greens are saturated, the waterfalls are running, and the atmosphere is doing half the compositional work for you.
Practically speaking, this means going out when other photographers stay in. Overcast skies act as a giant diffuser, eliminating harsh shadows and blown highlights. Wet foliage holds color. If you’ve been waiting for a “nice” day to shoot forests, you’ve been waiting for the wrong thing.
Step 2: Prepare for the Environment Before You Prepare Your Camera
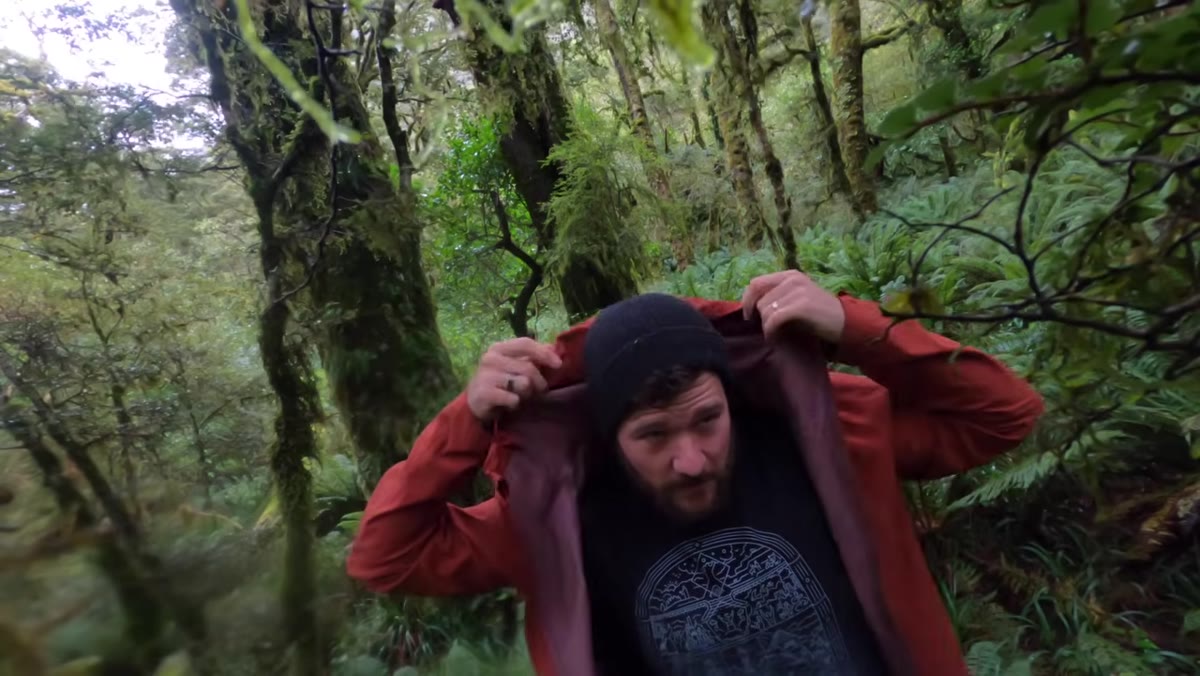 Patino describing emergency supplies kept in his vehicle
Patino mentions keeping emergency shelter, food, and supplies in his car – and this isn’t incidental commentary. It’s part of his shooting practice. Remote landscape photography carries real physical risk, and the photographers who go deepest into difficult terrain are the ones who’ve planned for it. He’s been helicopter-evacuated out of Fiordland. That context matters.
Patino describing emergency supplies kept in his vehicle
Patino mentions keeping emergency shelter, food, and supplies in his car – and this isn’t incidental commentary. It’s part of his shooting practice. Remote landscape photography carries real physical risk, and the photographers who go deepest into difficult terrain are the ones who’ve planned for it. He’s been helicopter-evacuated out of Fiordland. That context matters.
The practical checklist here is simple. Before a remote forest shoot, pack layers you didn’t think you’d need, tell someone where you’re going, and carry at minimum a first aid kit and enough food for twice your expected time. Patino also drops a self-aware note about running out without his waterproof pants because excitement took over – which is a very real trap. Build a physical gear checklist you run through before leaving the car, not the trailhead.
Step 3: Scout on Foot Before Raising the Camera
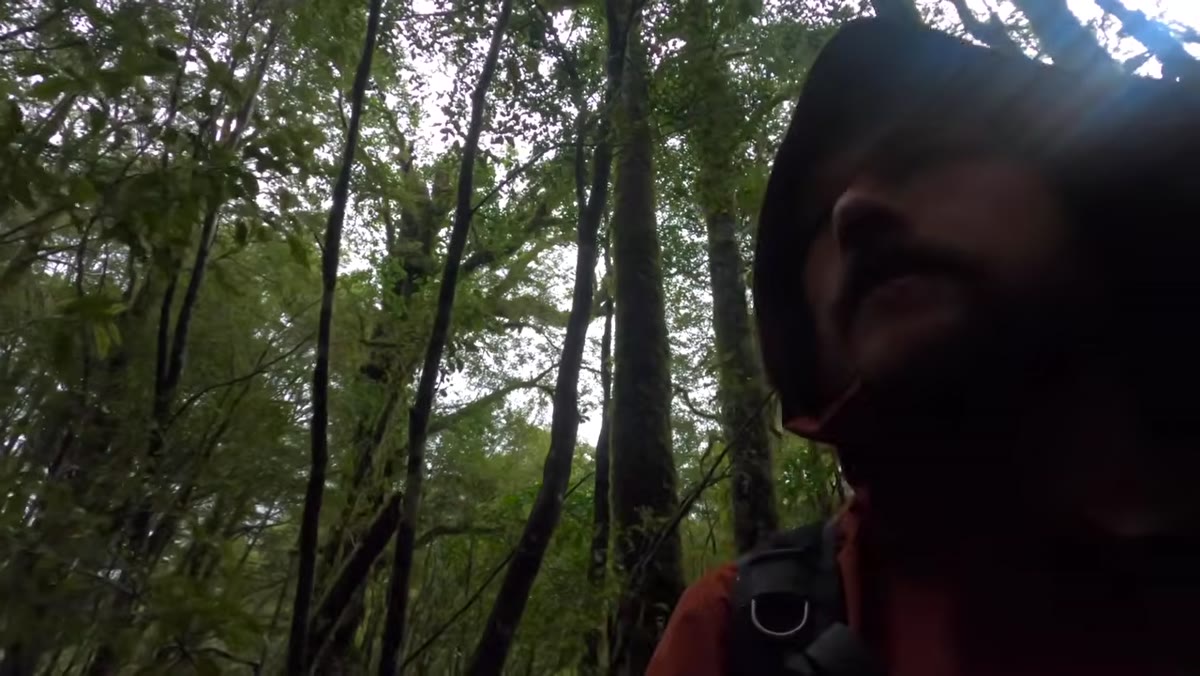 Patino pushing through dense undergrowth toward a distant waterfall
Patino spots a temporary waterfall several hundred meters away and spends real time physically navigating toward it before the camera comes out. This is deliberate. He’s reading the terrain, identifying potential framing elements like ferns and fallen trees, and mentally building the shot before he commits to a position.
Patino pushing through dense undergrowth toward a distant waterfall
Patino spots a temporary waterfall several hundred meters away and spends real time physically navigating toward it before the camera comes out. This is deliberate. He’s reading the terrain, identifying potential framing elements like ferns and fallen trees, and mentally building the shot before he commits to a position.
Resist the urge to shoot as you walk. Use this scouting time to ask three questions: What is the subject? What natural framing elements exist around it? What’s the light doing right now, and is it likely to change? Patino is already thinking about fern trees on either side of the falls creating a natural frame, a fallen log in the foreground, and whether the stream running through the scene adds or distracts. That compositional thinking happens on foot, not behind a viewfinder.
Step 4: Use Your Lens as a Scouting Tool, Not Just a Capture Tool
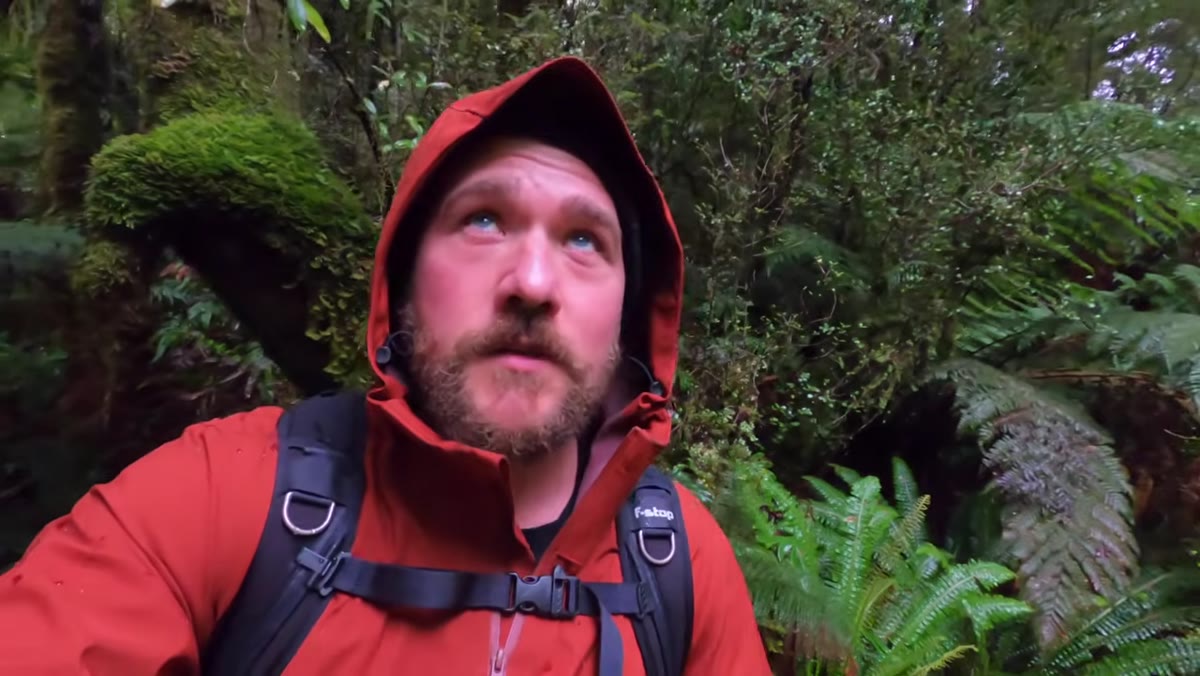 Patino raising lens to eye to evaluate framing before committing
Once Patino reaches his position, he raises the lens to evaluate the frame before making any camera decisions about settings or orientation. He’s using the lens the way a director uses a viewfinder card – to isolate the scene and test whether the composition actually holds up at that focal length.
Patino raising lens to eye to evaluate framing before committing
Once Patino reaches his position, he raises the lens to evaluate the frame before making any camera decisions about settings or orientation. He’s using the lens the way a director uses a viewfinder card – to isolate the scene and test whether the composition actually holds up at that focal length.
This is a habit worth building. Before you dial in exposure or worry about aperture, look through your glass and answer: does this scene work at this focal length? Patino quickly identifies the key elements – waterfall, right-side fern curving in, left-side fern curving in, fallen tree with crown ferns, and a stream. Naming your compositional elements out loud, even just in your head, forces you to be intentional. If you can’t name what’s doing what in your frame, the shot probably isn’t ready.
Step 5: Choose Orientation and Focal Length Based on Scene Logic
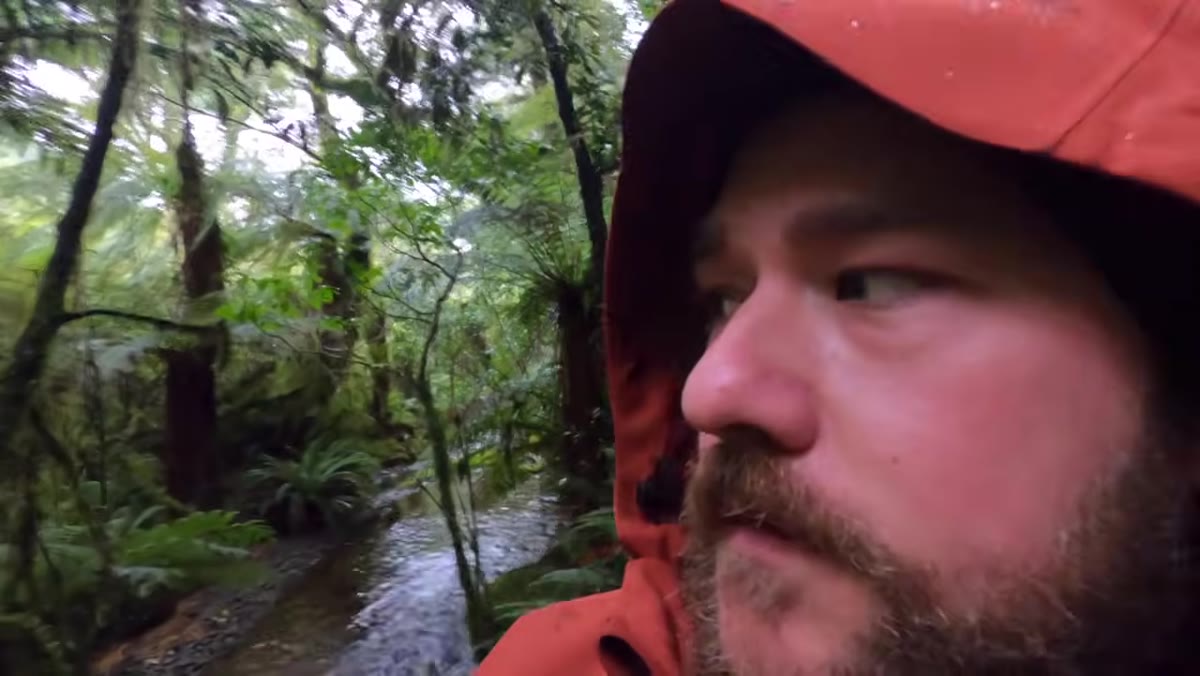 Camera switching to 16-35mm lens, framing scene at wide end
Patino reaches for the 16-35mm and almost immediately settles on vertical orientation. The reasoning is structural: the waterfall is tall, the ferns frame vertically, and a horizontal crop would sacrifice the natural leading lines the scene is offering. Lens and orientation choices should follow the geometry of the scene, not habit.
Camera switching to 16-35mm lens, framing scene at wide end
Patino reaches for the 16-35mm and almost immediately settles on vertical orientation. The reasoning is structural: the waterfall is tall, the ferns frame vertically, and a horizontal crop would sacrifice the natural leading lines the scene is offering. Lens and orientation choices should follow the geometry of the scene, not habit.
Starting wide at 16mm lets him see the maximum context and then tighten from there. This is a smarter workflow than starting at your “usual” focal length. Go wider than you think you need, see everything, and then eliminate. It’s much easier to crop a composition down in your head than to realize mid-shoot that you needed more coverage.
Step 6: Manage Visual Clutter Actively
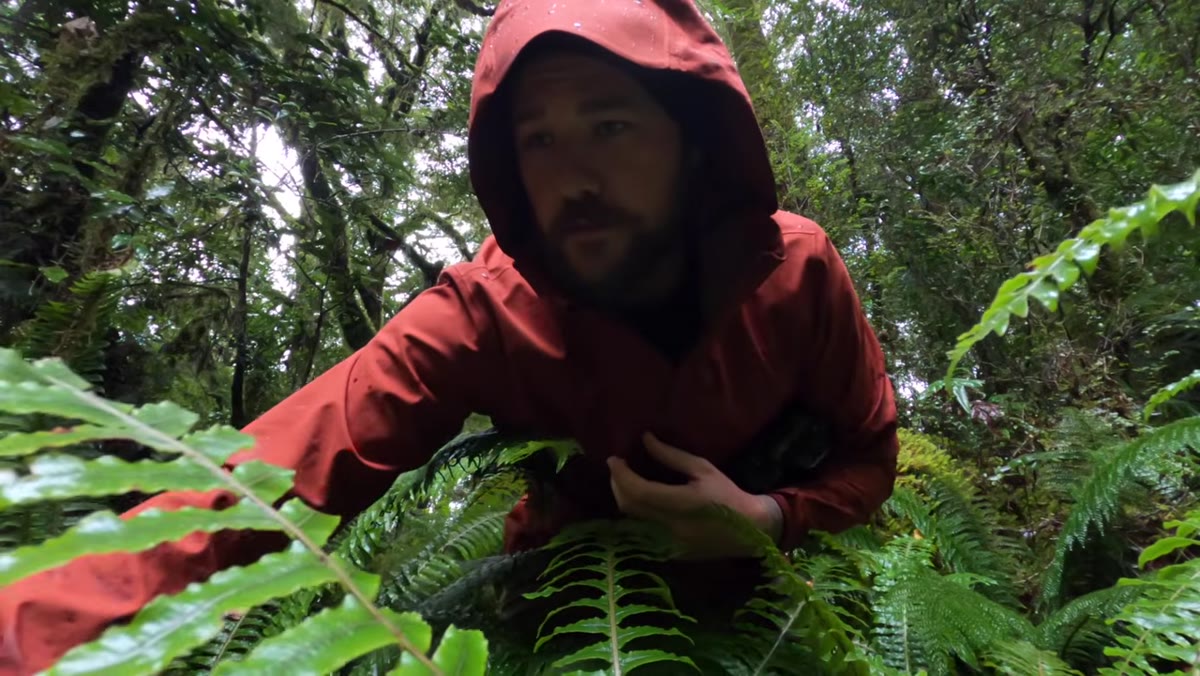 Patino removing debris from foreground to clean up the composition
One of the most practical moments in the tutorial: Patino pauses, notices that the frame is too cluttered, and physically tidies the scene. He moves small bits of fallen wood and debris out of the foreground before shooting. This is entirely normal and something a lot of beginners don’t realize they’re allowed to do.
Patino removing debris from foreground to clean up the composition
One of the most practical moments in the tutorial: Patino pauses, notices that the frame is too cluttered, and physically tidies the scene. He moves small bits of fallen wood and debris out of the foreground before shooting. This is entirely normal and something a lot of beginners don’t realize they’re allowed to do.
He also makes a key framing decision – excluding the sky. The bright sky was pulling the viewer’s eye out of the frame and competing with the waterfall. By composing tighter and keeping the frame within the tree canopy, he holds attention on the subject. When sky adds atmosphere, include it. When it’s just a bright distraction, cut it.
A Note on Accepting That Some Scenes Won’t Come Together
Patino is honest throughout this shoot: it might not work. The waterfall position, the fern framing, the stream, the fallen log, all of it is close to a great composition, but the elements aren’t perfectly aligning. He names this openly – “it can break your heart how close it can be.”
I think about this every Sunday on my photo walks around Seattle. Some scenes are just slightly wrong, and the discipline is in recognizing that and either waiting, adjusting, or moving on rather than forcing a shot you’ll never use. The photographers I’ve learned the most from, Patino included, treat a non-publishable outing as just as valid as a productive one. You went out. You practiced reading scenes. That compounds over time.
The single biggest takeaway from this tutorial is that reactive landscape photography is not actually reactive – it’s a sequence of deliberate small decisions made quickly. Mindset, preparation, scouting, lens evaluation, orientation logic, and clutter management happen in that order every time. The conditions change, the forest changes, the waterfall might disappear tomorrow, but the process stays consistent.
Watch the full tutorial on YouTube to see Patino work through all of this in real time – watching the hesitation, the adjustments, and the honest uncertainty is as instructive as the technique itself.
Comments (2)
This should be required reading for anyone starting out.
This should be required reading for anyone starting out.
Leave a Comment