
Here is a situation I have been in more times than I care to admit: I’m out on one of my Sunday morning photo walks, I spot a great face or an interesting stranger, I get the shot, and then I get home and realize I was shooting at f/8 because I had just come from a landscape and forgot to dial back down. The subject is sharp. The background is sharp. The whole thing looks like a DMV photo. Great. Useful.
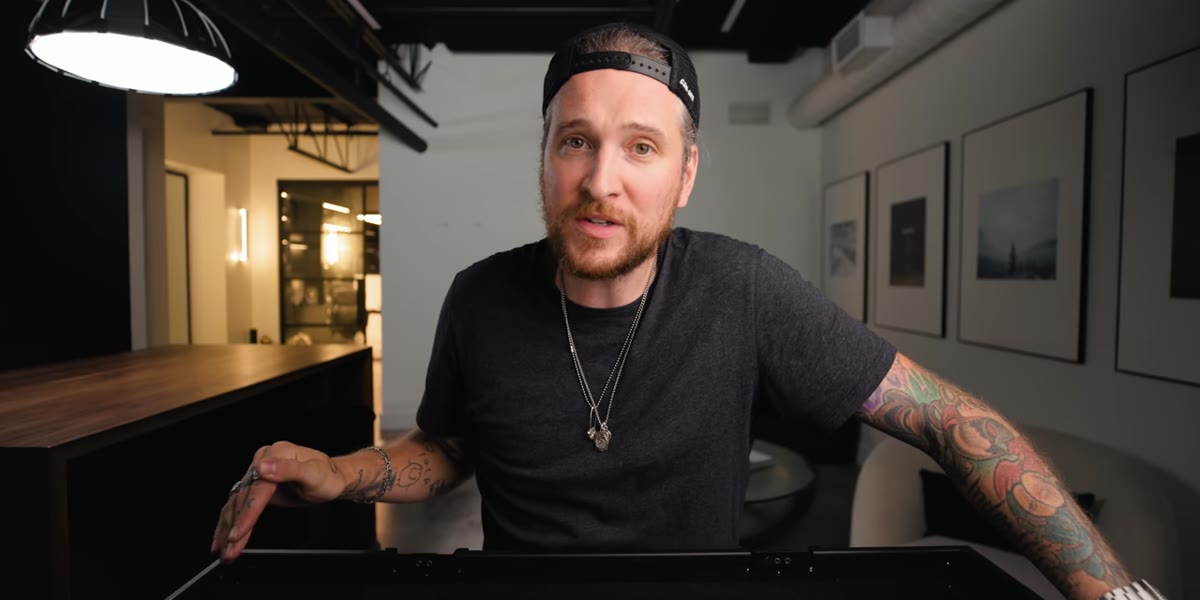
For a long time the answer to that problem was “shoot it again” or “use a faster lens next time.” But in this Peter McKinnon tutorial, he demonstrates something that genuinely surprised me: you can add convincing, optically realistic bokeh to a flat, no-depth portrait in post, using Luminar AI’s Portrait Bokeh tool. And the results, when stacked against a shot actually taken at f/1.2, are close enough that it made me stop and stare at my screen for a solid minute. Watch the full tutorial on YouTube
I want to be clear about what this is and what it isn’t. This is not a replacement for understanding how light, aperture, and optics work. But it is a genuinely useful rescue tool, and honestly, for photographers who are still building their kit and can’t drop three thousand dollars on an f/1.2 lens yet, it’s worth knowing this option exists. Here’s how it works.
Step 1: Start With a Flat, No-Depth Portrait
 Flat f/8 portrait with no background separation
The technique works on portraits that were shot with no intentional depth of field. McKinnon uses a photo of himself taken at f/8, which means the background is just as sharp as his face. There’s no separation, no blur, nothing drawing your eye to the subject. This is the kind of image that would typically just live in your “outtakes” folder. Before you open any software, make sure your subject is reasonably sharp and well-lit. The AI masking that Luminar uses to detect the subject depends on contrast and edge clarity, so a blurry or poorly lit subject will give you messier results.
Step 2: Open the Image in Luminar AI
 Luminar AI interface with portrait loaded in edit tab
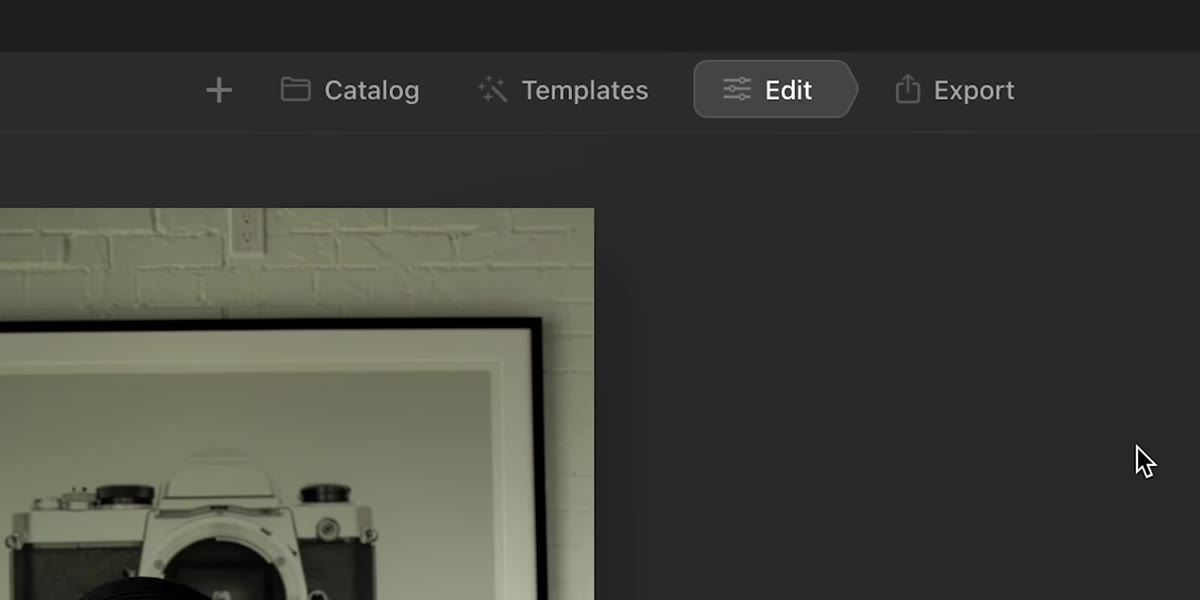
Open your image in Luminar AI and head to the Edit tab at the top of the interface. This is where all the AI-powered tools live. Luminar organizes its tools into categories, and portrait-specific tools have their own section. You’re looking for the “Portrait Bokeh” option, which is nested inside the portrait tools panel on the right side. If you’ve used Luminar before for skin retouching or sky replacement, this lives in the same general neighborhood.
Step 3: Apply the Portrait Bokeh Slider
 Portrait Bokeh slider being dragged to the right
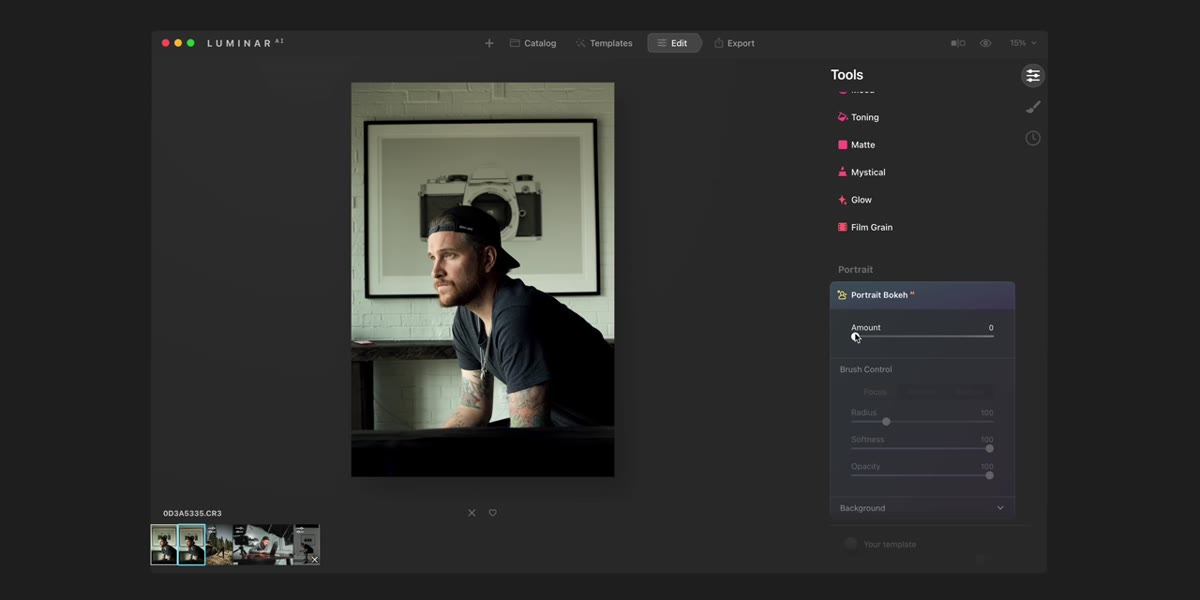
Once you locate the Portrait Bokeh tool, you’ll see a single main slider. Drag it to the right to increase the background blur. What happens next is the part that got me: Luminar automatically generates a mask that separates the subject from the background, and it does it without you drawing a single selection. McKinnon drags his slider up and the background goes soft almost immediately. The edges around hair and shoulders, which are typically the hardest part of any manual masking job, hold up well. At 100 percent, the blur is strong. You can land anywhere on that slider depending on how much separation you want.
Step 4: Check the Auto-Generated Mask
 Mask overlay showing subject isolation in Luminar AI
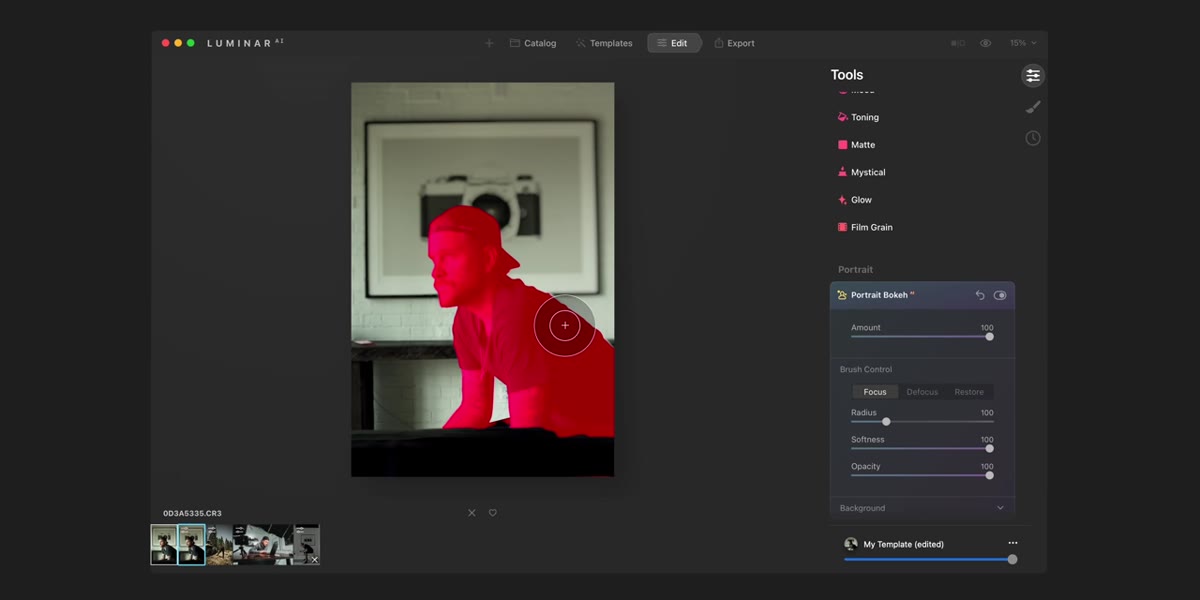
Before you call it done, take a look at the mask Luminar created. You can toggle a mask overlay to see exactly what the software identified as “subject” versus “background.” McKinnon highlights this in the tutorial, and in his example the mask is nearly perfect without any manual cleanup. Your results will vary depending on how complex your background is and how clearly defined your subject’s edges are. If there are obvious errors, loose hair, gaps, or bleed-through, you can use a brush tool to refine the mask manually. Don’t skip this step. A sloppy edge around the subject’s shoulder is the fastest way to make the effect look artificial.
Step 5: Compare Against a Real Shallow-Depth Shot
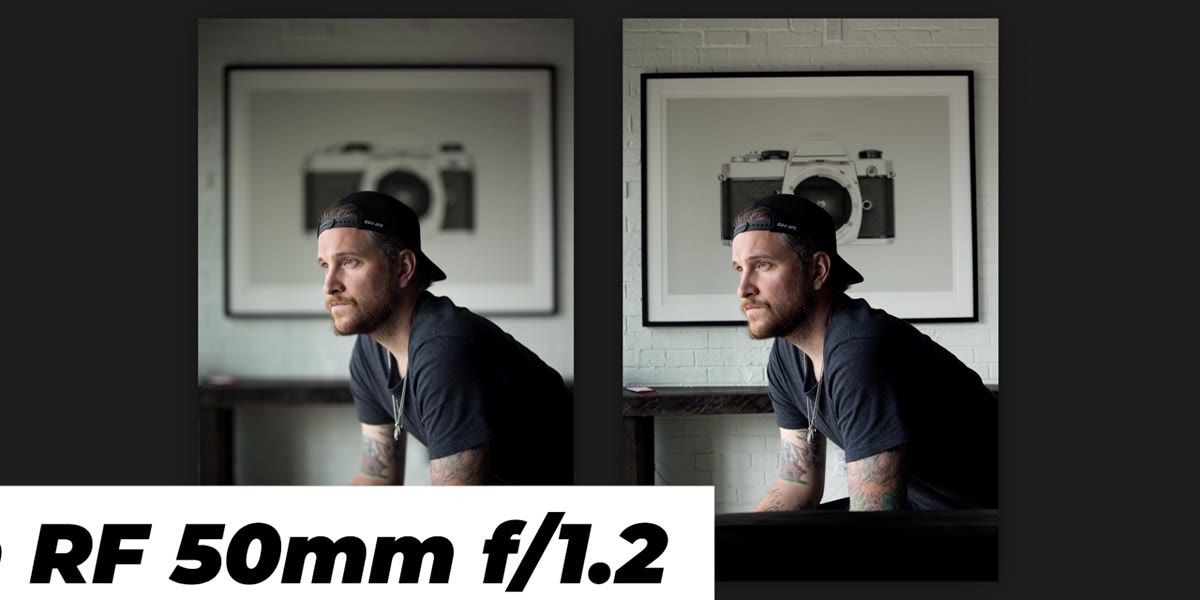 Side-by-side comparison of f/1.2 original vs AI bokeh edit
McKinnon pulls up a second version of the same portrait, this one actually shot at f/1.2 on a real f/1.2 lens, and places it side by side with the AI-edited f/8 version. The difference exists, but it’s subtler than you’d expect. The real lens has a touch more background separation, and the bokeh has a slightly different character in the out-of-focus highlights. But as a standalone image, the AI version reads as a deliberate creative choice, not a software artifact.
Step 6: Double the Effect for Maximum Separation
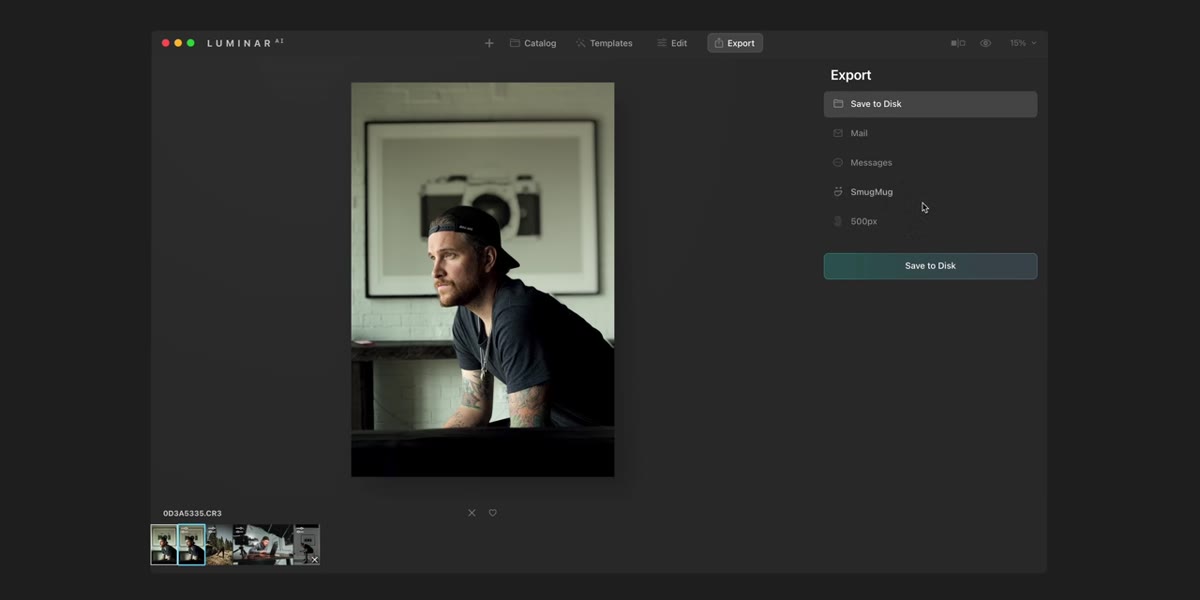 Re-importing edited file and applying second round of bokeh
Here’s a trick McKinnon throws in at the end: if you want to push the blur even further, export your edited image and then re-import that finished version back into Luminar. Run Portrait Bokeh on it a second time at 100 percent. This compounds the effect and gets you very close to what a fast prime lens actually produces. It’s not a technique you’ll need on every image, but if you’re working with a particularly busy or distracting background, the double-pass approach gives you much more control over the final feel.
A Note From My Own Experience: Know When to Actually Use This
I want to add something that isn’t in the tutorial, because I think it matters. This tool is best used as a rescue operation or a deliberate stylistic choice, not as a habit. One of the most valuable things I learned early on was to actually think about depth of field before I pressed the shutter. Understanding why shallow depth of field works, and when it doesn’t, is what separates someone who uses bokeh thoughtfully from someone who just blurs every background because they can.
That said, I’ve used AI background blur tools on travel portraits where I literally had one chance to get the shot, couldn’t control my settings fast enough, and the background was a disaster. The tool saved an otherwise strong image. Think of it the way I think of shooting with my phone: it’s not cheating, it’s just using what you have. The goal is always the image.
The single biggest takeaway here is that AI tools like Luminar’s Portrait Bokeh are genuinely impressive for rescue editing, but they work best when your subject is sharply focused and well-separated from the background in terms of light and contrast. Get that part right in camera, and the software handles the rest.
Watch the full tutorial on YouTube to see McKinnon’s side-by-side comparison in motion. It’s a two-minute video and the visual difference between the real f/1.2 and the AI version is something you really need to see to believe.
Comments
Leave a Comment