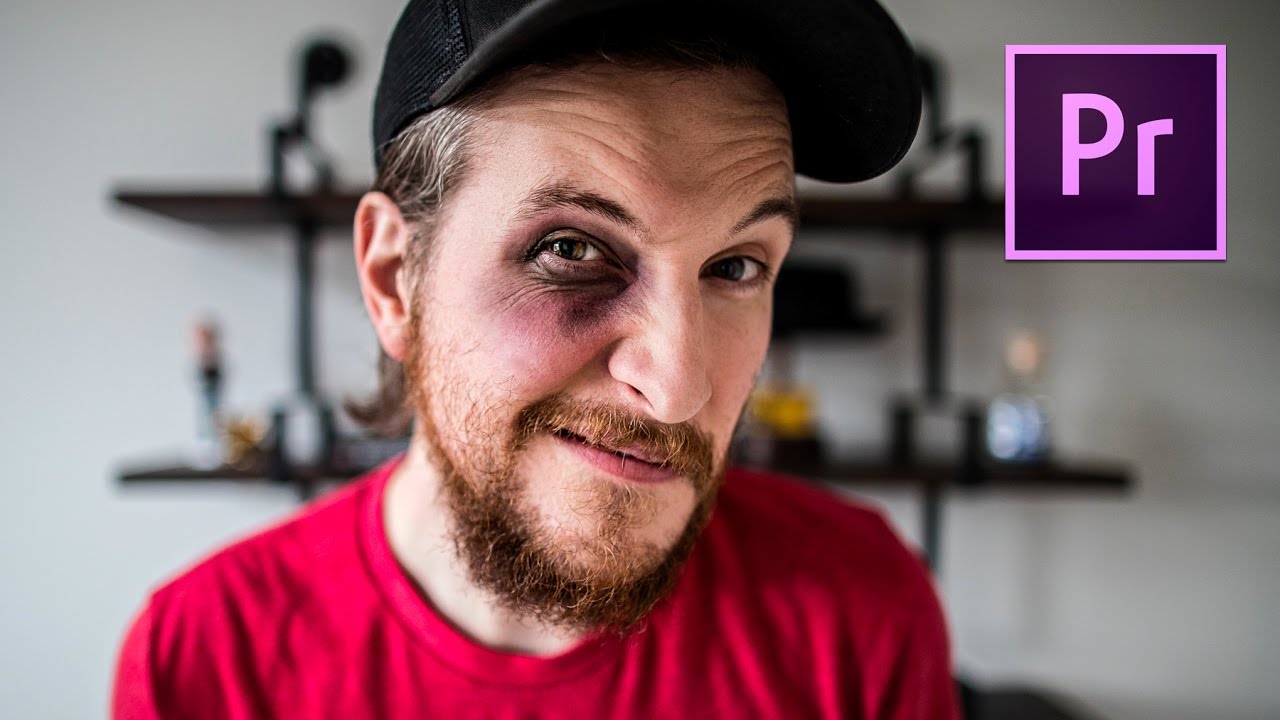
There’s a certain kind of editing problem that looks impossible until someone walks you through it slowly, and then you wonder why you never figured it out yourself. A realistic fake punch is exactly that kind of problem. It sounds like a Hollywood stunt department situation, something that requires compositing software and a visual effects budget. But it doesn’t. It requires good footage, a few precise cuts, a speed ramp, and the right sound design. I came across this technique watching a celebration milestone tutorial from Peter McKinnon, where he faked punching himself in the face to mark hitting 200,000 YouTube subscribers. Watch the full tutorial on YouTube and then come back here for the breakdown.
What caught my attention wasn’t the joke behind it. It was how clean the final result looked, and how achievable the method was inside Premiere Pro with no plugins. As someone who shoots a lot of behind-the-scenes and travel content, I’m always looking for ways to make quick, fun edits that punch above their weight in production value. Understanding how to isolate a single frame, speed ramp a movement, and layer in custom audio gives you a toolkit that applies way beyond fake punches. Slow-motion reveals, impact moments in sports clips, reaction cuts in vlogs - these same principles show up everywhere.
The technique breaks down into a few clear stages. Here’s how to do it.
Step 1: Record Your Footage at 24fps
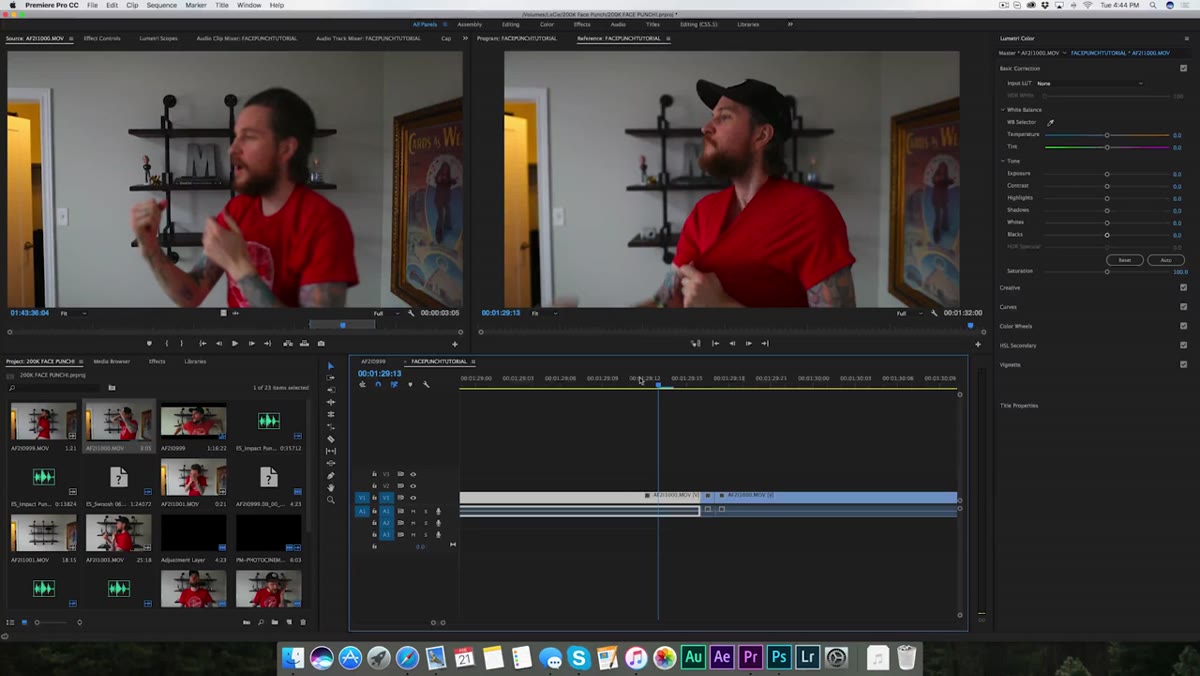
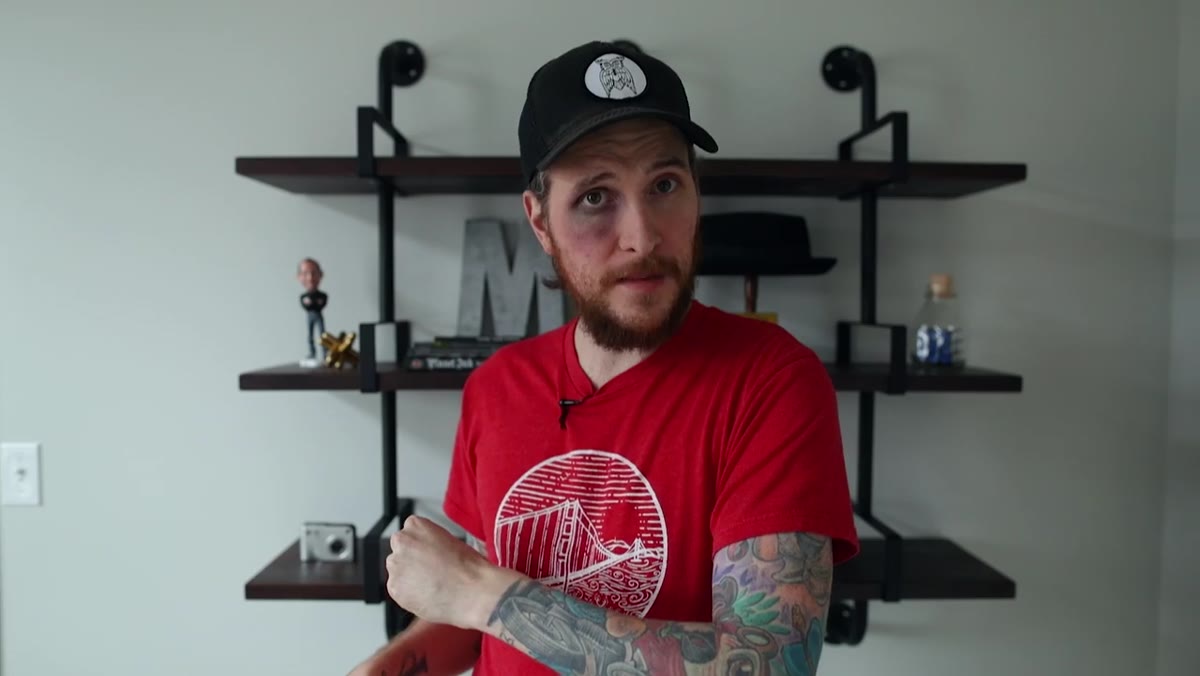 Raw punch clip playing back in Premiere timeline
Shoot your punch clip at 24 frames per second. McKinnon is deliberate about this choice, and it matters. 24fps produces natural motion blur during fast movement, which is exactly what makes a quick head snap or arm swing look cinematic rather than clinical. At higher frame rates, fast motion looks too sharp and clean, which actually works against the illusion. You want a little blur on that fist as it comes toward the camera. If you’re shooting on a mirrorless or DSLR, set your shutter speed to double your frame rate (so 1/50s at 24fps) to get that natural motion blur baked into the clip. Record a couple of takes. McKinnon notes he only did two reps before getting a headache from the whiplash, which felt very relatable to me.
Raw punch clip playing back in Premiere timeline
Shoot your punch clip at 24 frames per second. McKinnon is deliberate about this choice, and it matters. 24fps produces natural motion blur during fast movement, which is exactly what makes a quick head snap or arm swing look cinematic rather than clinical. At higher frame rates, fast motion looks too sharp and clean, which actually works against the illusion. You want a little blur on that fist as it comes toward the camera. If you’re shooting on a mirrorless or DSLR, set your shutter speed to double your frame rate (so 1/50s at 24fps) to get that natural motion blur baked into the clip. Record a couple of takes. McKinnon notes he only did two reps before getting a headache from the whiplash, which felt very relatable to me.
Step 2: Add a Physical Detail That Sells the Hit
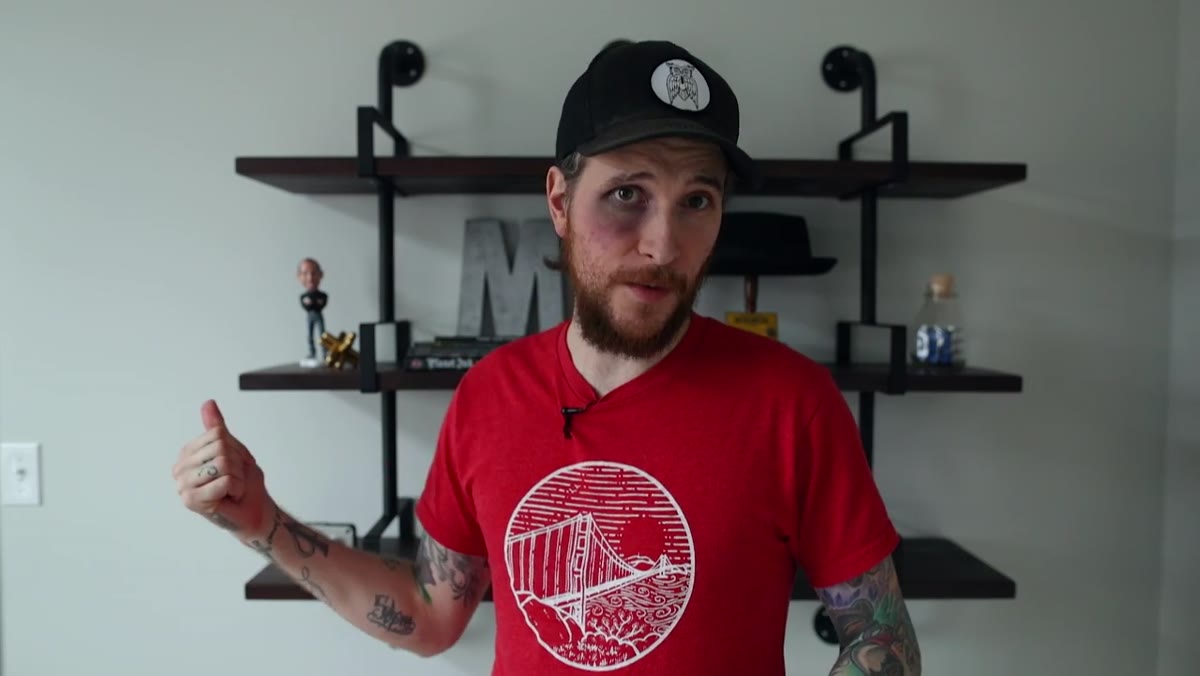
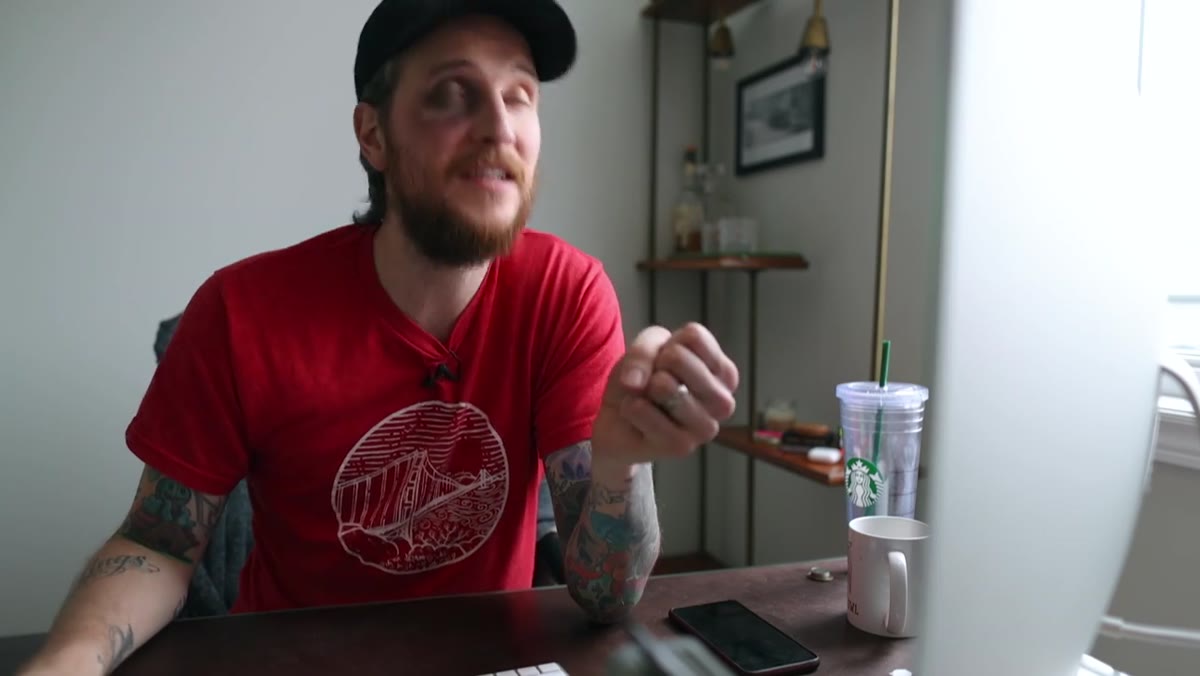 Hat flying off frame during the punch reaction
This is the detail most people would overlook, and it’s the one that does the most storytelling work. McKinnon wore a hat specifically so it could fly off on impact. That secondary movement - something in frame reacting to the force - is what makes a viewer’s brain accept the hit as real. When you’re planning your own version of this kind of effect, think about what’s in your frame that can move. A hat, glasses, a hood, loose hair, even a coffee cup on a table nearby. Any object that reacts physically to a simulated moment of force reinforces the illusion without requiring any compositing at all. It’s practical filmmaking logic, and it costs nothing.
Hat flying off frame during the punch reaction
This is the detail most people would overlook, and it’s the one that does the most storytelling work. McKinnon wore a hat specifically so it could fly off on impact. That secondary movement - something in frame reacting to the force - is what makes a viewer’s brain accept the hit as real. When you’re planning your own version of this kind of effect, think about what’s in your frame that can move. A hat, glasses, a hood, loose hair, even a coffee cup on a table nearby. Any object that reacts physically to a simulated moment of force reinforces the illusion without requiring any compositing at all. It’s practical filmmaking logic, and it costs nothing.
Step 3: Find the Impact Frame and Isolate It
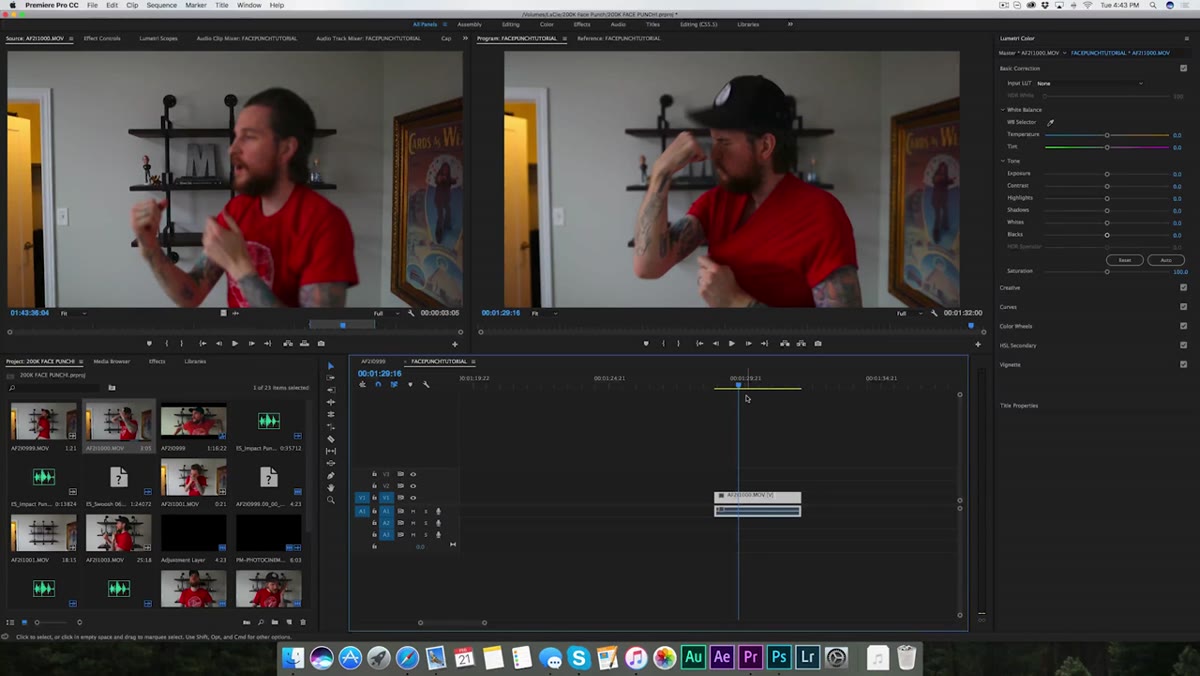 Playhead positioned on the single frame of fist-to-face contact
Import your clip into Premiere and scrub through it frame by frame using the left and right arrow keys. You’re looking for the single frame where the fist would make contact with the face. This is usually the frame just before the head starts moving backward. Once you’ve found it, use the blade tool (keyboard shortcut B) to cut immediately before that frame. Then move forward exactly one frame and cut again. You’ve now isolated a single frame on the timeline as its own clip. This is the frame that will anchor your whole effect. Everything before it is the approach, and everything after it is the reaction.
Playhead positioned on the single frame of fist-to-face contact
Import your clip into Premiere and scrub through it frame by frame using the left and right arrow keys. You’re looking for the single frame where the fist would make contact with the face. This is usually the frame just before the head starts moving backward. Once you’ve found it, use the blade tool (keyboard shortcut B) to cut immediately before that frame. Then move forward exactly one frame and cut again. You’ve now isolated a single frame on the timeline as its own clip. This is the frame that will anchor your whole effect. Everything before it is the approach, and everything after it is the reaction.
Step 4: Speed Ramp the Approach
 Speed Duration dialog box open showing 125% value
Go back to the section of the clip where the fist first becomes visible in frame, before the impact point you just isolated. Blade cut at the start of that visible movement, and blade cut again at the impact frame. Select that middle section, then use Command + J (Ctrl + J on Windows) to open the Speed/Duration dialog. Set the speed to 125%. This subtle speed-up on the upswing gives the punch more snap and energy without looking artificially sped up. If 125% feels too aggressive for your clip, try 115%. The goal is barely perceptible - faster than normal, but not cartoon fast. After adjusting, close your gaps by selecting all clips and dragging them back together on the timeline.
Speed Duration dialog box open showing 125% value
Go back to the section of the clip where the fist first becomes visible in frame, before the impact point you just isolated. Blade cut at the start of that visible movement, and blade cut again at the impact frame. Select that middle section, then use Command + J (Ctrl + J on Windows) to open the Speed/Duration dialog. Set the speed to 125%. This subtle speed-up on the upswing gives the punch more snap and energy without looking artificially sped up. If 125% feels too aggressive for your clip, try 115%. The goal is barely perceptible - faster than normal, but not cartoon fast. After adjusting, close your gaps by selecting all clips and dragging them back together on the timeline.
Step 5: Add Your Sound Effects
 Zoom H4n recorder visible while McKinnon describes recording custom sounds
Sound is at least half of what makes this effect believable. McKinnon recorded his own punch and impact sounds using a Zoom H4n field recorder and an acoustic blanket in a small room - essentially a DIY vocal booth setup. He then offered those sounds as a free download linked in his video description, so you can skip the recording step entirely if you want. Layer your impact sound so it hits right on that isolated single frame you identified in Step 3. If you want more texture, add a secondary “whoosh” sound on the speed-ramped upswing section from Step 4. Even basic free sound libraries have usable impact sounds. The combination of the speed ramp and the audio hit landing on the same frame is what creates the sense of force.
Zoom H4n recorder visible while McKinnon describes recording custom sounds
Sound is at least half of what makes this effect believable. McKinnon recorded his own punch and impact sounds using a Zoom H4n field recorder and an acoustic blanket in a small room - essentially a DIY vocal booth setup. He then offered those sounds as a free download linked in his video description, so you can skip the recording step entirely if you want. Layer your impact sound so it hits right on that isolated single frame you identified in Step 3. If you want more texture, add a secondary “whoosh” sound on the speed-ramped upswing section from Step 4. Even basic free sound libraries have usable impact sounds. The combination of the speed ramp and the audio hit landing on the same frame is what creates the sense of force.
A Note on Making This Work for Non-Punch Effects
I want to name something McKinnon doesn’t explicitly say but that I think is the real takeaway from this tutorial. The three-part structure here - approach, isolated impact frame, reaction - is a universal editing pattern for any moment of sudden force or transformation. I’ve used a version of this for a time-lapse reveal cut, for a before-and-after transition in a travel video, and for a “camera drop” gag in a behind-the-scenes reel. Once you understand that you’re essentially building a three-act micro-sequence inside a two-second moment, you can apply it to a lot of different scenarios. The speed ramp on the approach builds anticipation. The isolated frame creates the punctuation. The reaction shot delivers the payoff. That structure works whether the “punch” is literal or metaphorical.
The single most important lesson from this whole technique is that physical details do the heavy lifting that software can’t. The hat flying off, the head snap, the motion blur from a proper shutter speed - those are what make the edit convincing. The Premiere work just frames them correctly.
Watch the full tutorial on YouTube to see McKinnon’s finished result and grab his free sound effect downloads from the description.
Comments
Leave a Comment