I used to be the person who would shoot all day, come home, dump files onto my laptop, and then stare at Lightroom for two hours wondering why editing felt like a second job. For travel work especially, that lag between capturing something and actually finishing it drives me crazy. So when I came across a tutorial by Sean Tucker specifically about editing raw street photos entirely on a phone, start to finish, I watched it twice in a row. Watch the full tutorial on YouTube
The assumption that mobile editing is some compromise, that you’re trading quality for convenience, is something I hear constantly. I’ve pushed back on it for years. My most-liked Instagram photo was taken on a $200 phone, which is exactly why I started writing about how gear assumptions get in the way of actually making images. Tucker makes the same argument with receipts: he edits raw files on his phone and has printed results at A1 size. That isn’t a casual workflow. That’s a professional one.
What I love about this particular tutorial is that it doesn’t just cover the creative decisions. It covers the whole chain, from pulling images off the camera over Wi-Fi to backing them up, all while sitting in a coffee shop. That’s real-world practical, and it’s the kind of working rhythm I try to build my own Sunday photo walks around.
Step 1: Transfer Raw Files from Your Camera to Your Phone
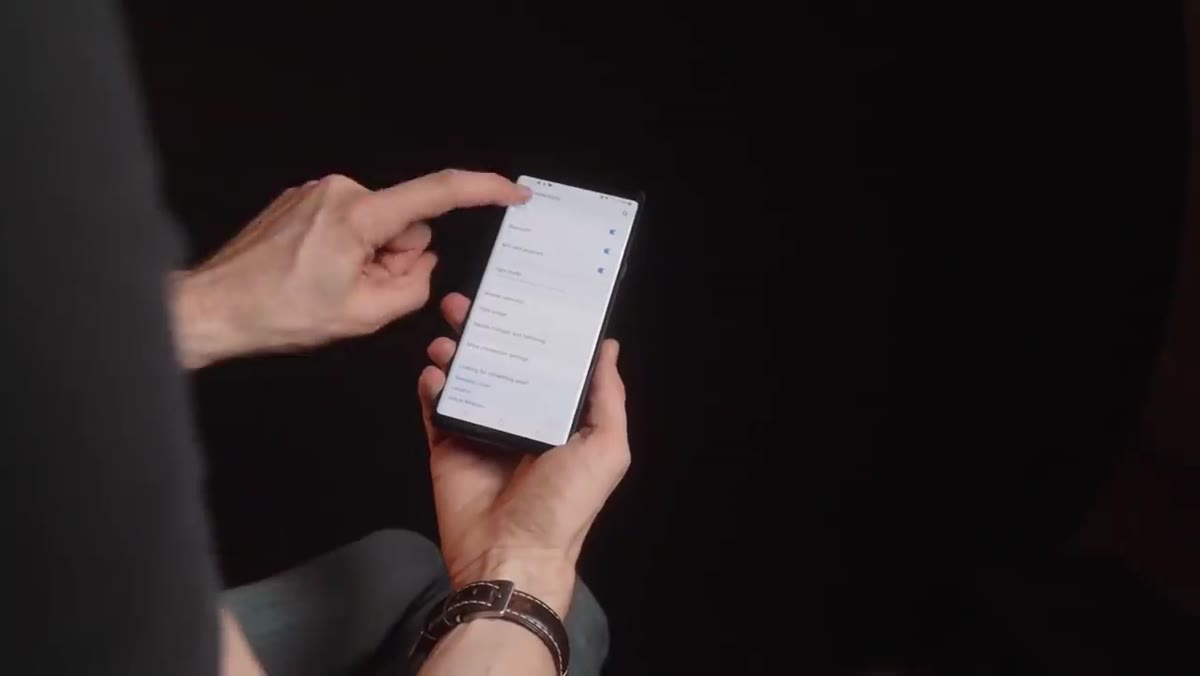 Camera Wi-Fi settings menu being navigated on screen
Tucker shoots with a Ricoh GR3, which has built-in Wi-Fi. The process starts by enabling Wi-Fi directly on the camera through its menu settings, then connecting your phone to that camera’s network the same way you’d connect to any Wi-Fi hotspot. Once connected, he opens the Ricoh Image Sync app, which displays every image on the camera’s card. You tap the ones you want, hit download, and they land in your phone’s gallery as full raw files, not compressed JPEGs.
Camera Wi-Fi settings menu being navigated on screen
Tucker shoots with a Ricoh GR3, which has built-in Wi-Fi. The process starts by enabling Wi-Fi directly on the camera through its menu settings, then connecting your phone to that camera’s network the same way you’d connect to any Wi-Fi hotspot. Once connected, he opens the Ricoh Image Sync app, which displays every image on the camera’s card. You tap the ones you want, hit download, and they land in your phone’s gallery as full raw files, not compressed JPEGs.
The key point here is that you’re working with raw files throughout this whole process. Tucker is clear that some apps do quietly downsize images, and you should avoid them entirely. The apps he uses, and that I’d recommend, preserve full resolution and all the data your sensor captured. If your camera doesn’t have Wi-Fi, a small USB-C card reader that plugs into your phone achieves the same result.
Step 2: Open Your Selected Images in Lightroom Mobile
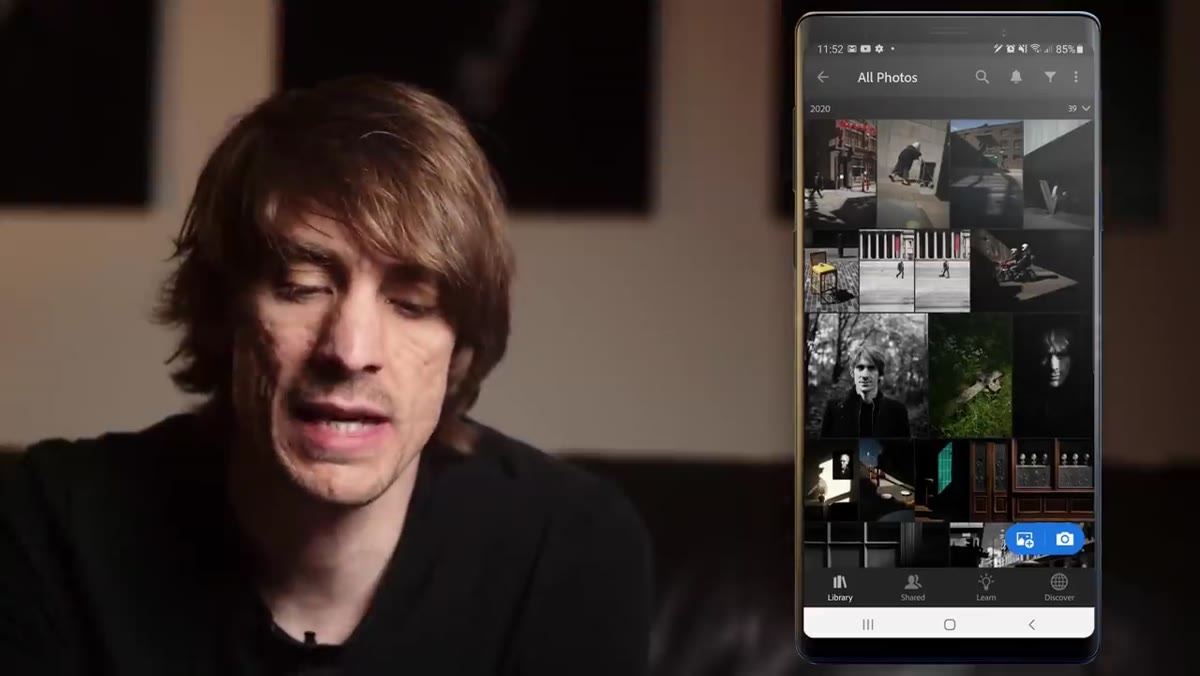 Lightroom Mobile app open with imported image on screen
Once the images are in the gallery, Tucker moves into Lightroom Mobile for the actual editing. This is the main tool in his workflow, and it handles raw files natively without any quality loss. He mentions using a Samsung Note 9 specifically because the larger screen and built-in stylus make fine adjustments easier, but any modern phone with a decent screen will serve you well here.
Lightroom Mobile app open with imported image on screen
Once the images are in the gallery, Tucker moves into Lightroom Mobile for the actual editing. This is the main tool in his workflow, and it handles raw files natively without any quality loss. He mentions using a Samsung Note 9 specifically because the larger screen and built-in stylus make fine adjustments easier, but any modern phone with a decent screen will serve you well here.
His approach from the start is intentional restraint. If he finds himself spending a long time on an image, he treats that as a signal that the image itself might not be strong enough, not that it needs more editing. That mindset is worth adopting before you even open the first file. Edit to support the image, not to rescue it.
Step 3: Check and Adjust Your Crop First
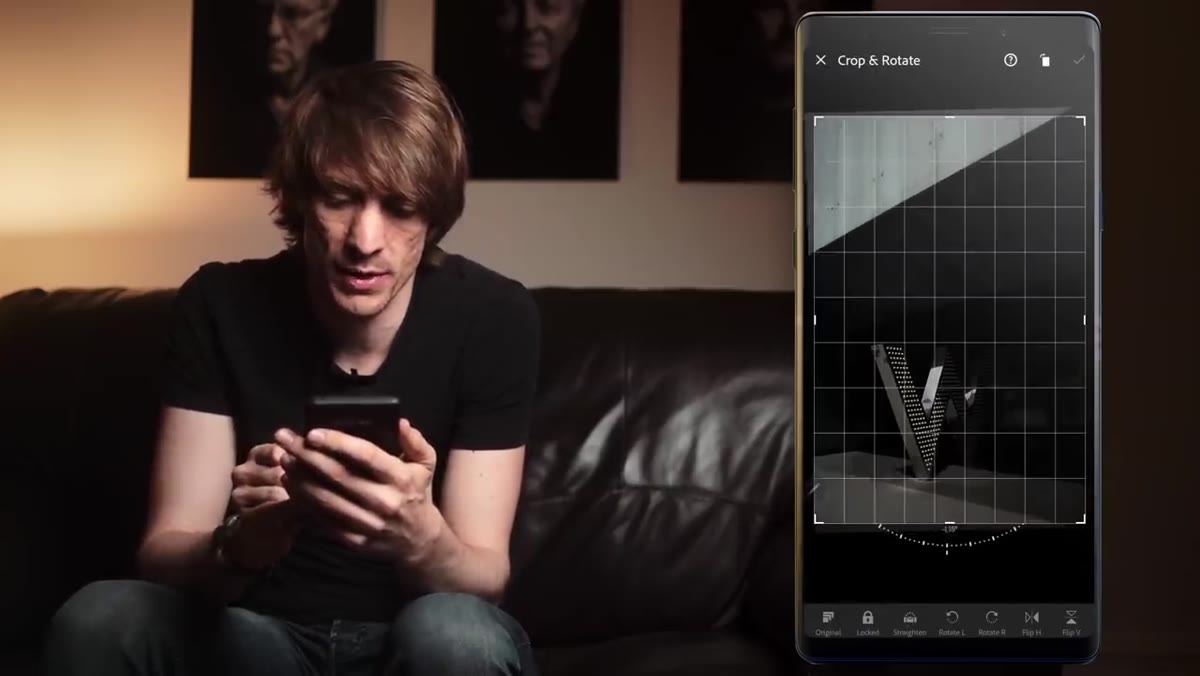 Crop and rotation tool active, image being straightened
Before touching any tonal or color settings, Tucker goes straight to the crop tool to check alignment. A small rotation is often all it takes, just nudging the horizon or a dominant vertical line until it feels right. He’s also deliberate about not cropping into the frame aggressively. For street photography, negative space is often doing compositional work, and cropping it away removes that breathing room.
Crop and rotation tool active, image being straightened
Before touching any tonal or color settings, Tucker goes straight to the crop tool to check alignment. A small rotation is often all it takes, just nudging the horizon or a dominant vertical line until it feels right. He’s also deliberate about not cropping into the frame aggressively. For street photography, negative space is often doing compositional work, and cropping it away removes that breathing room.
Getting the crop right first is a habit worth building into your own sequence. It sets the frame for everything else. Adjusting exposure on an image you haven’t straightened yet means you might be looking at it wrong the whole time.
Step 4: Convert to Black and White Using the Color Mix Panel
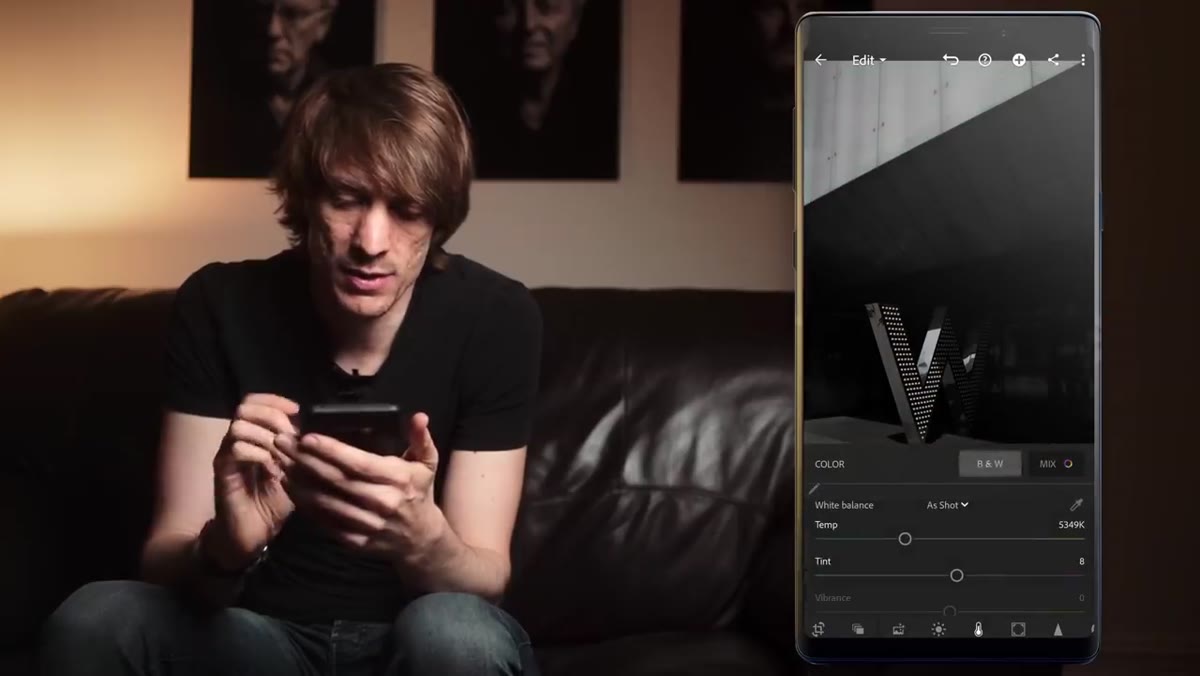 Black and white conversion active, color mix sliders visible
For images where color isn’t adding anything meaningful, Tucker converts to black and white immediately. In Lightroom Mobile, this is done through the Color panel. Once you’ve made the conversion, the real power is in the Mix section, which lets you independently control how each original color translates into a shade of gray.
Black and white conversion active, color mix sliders visible
For images where color isn’t adding anything meaningful, Tucker converts to black and white immediately. In Lightroom Mobile, this is done through the Color panel. Once you’ve made the conversion, the real power is in the Mix section, which lets you independently control how each original color translates into a shade of gray.
Tucker demonstrates pulling up the yellows to brighten highlight areas and adjusting blues to deepen shadows. This is a much more intuitive way to build contrast than just dragging the contrast slider. You’re essentially using the colors that were already in the scene to sculpt the light and dark regions of your final image.
Step 5: Shape Contrast Manually with Highlights, Shadows, and Blacks
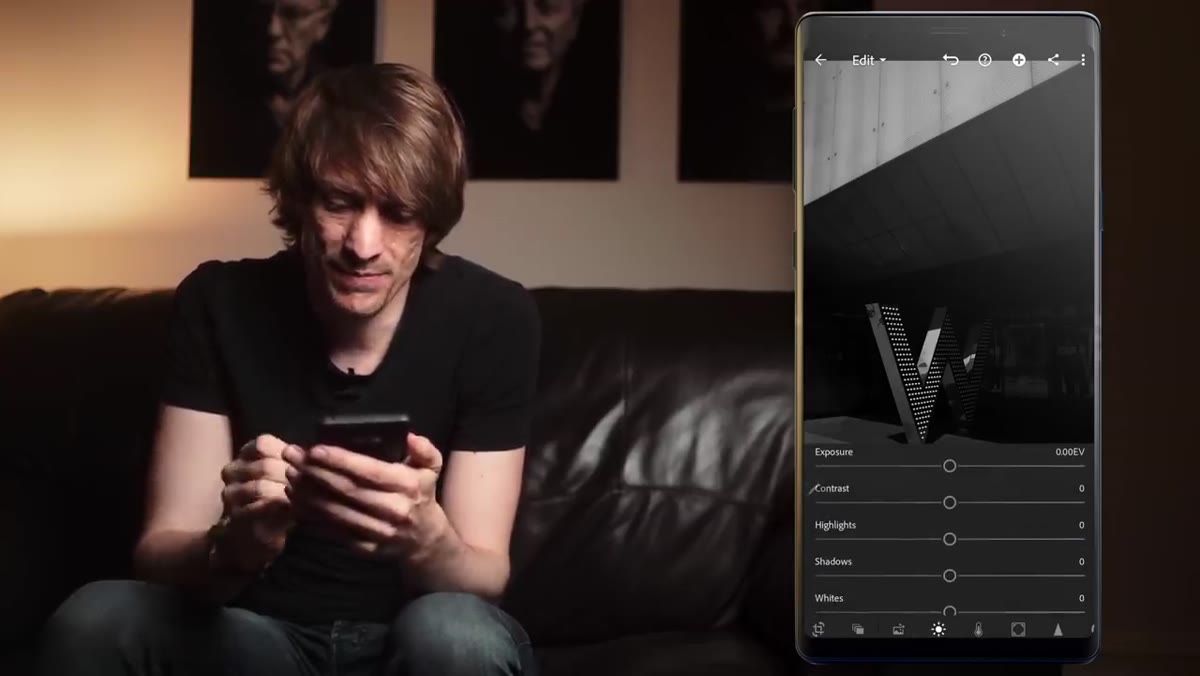 Exposure panel open, highlights and shadows sliders being adjusted
Tucker avoids the contrast slider almost entirely. Instead, he builds contrast by hand using the individual tone controls. Highlights get nudged up slightly, shadows get pulled down, and the black point gets pushed down hard to make the darkest areas of the image fully opaque. That last move, crushing the blacks, is what gives street photography its grit.
Exposure panel open, highlights and shadows sliders being adjusted
Tucker avoids the contrast slider almost entirely. Instead, he builds contrast by hand using the individual tone controls. Highlights get nudged up slightly, shadows get pulled down, and the black point gets pushed down hard to make the darkest areas of the image fully opaque. That last move, crushing the blacks, is what gives street photography its grit.
He leaves the white point relatively untouched, which keeps highlight detail from blowing out. The result is a custom contrast curve built from the image’s own tonal range, rather than a generic S-curve applied uniformly. It takes an extra thirty seconds and the results are noticeably more controlled.
Step 6: Refine the Edit with a Tone Curve
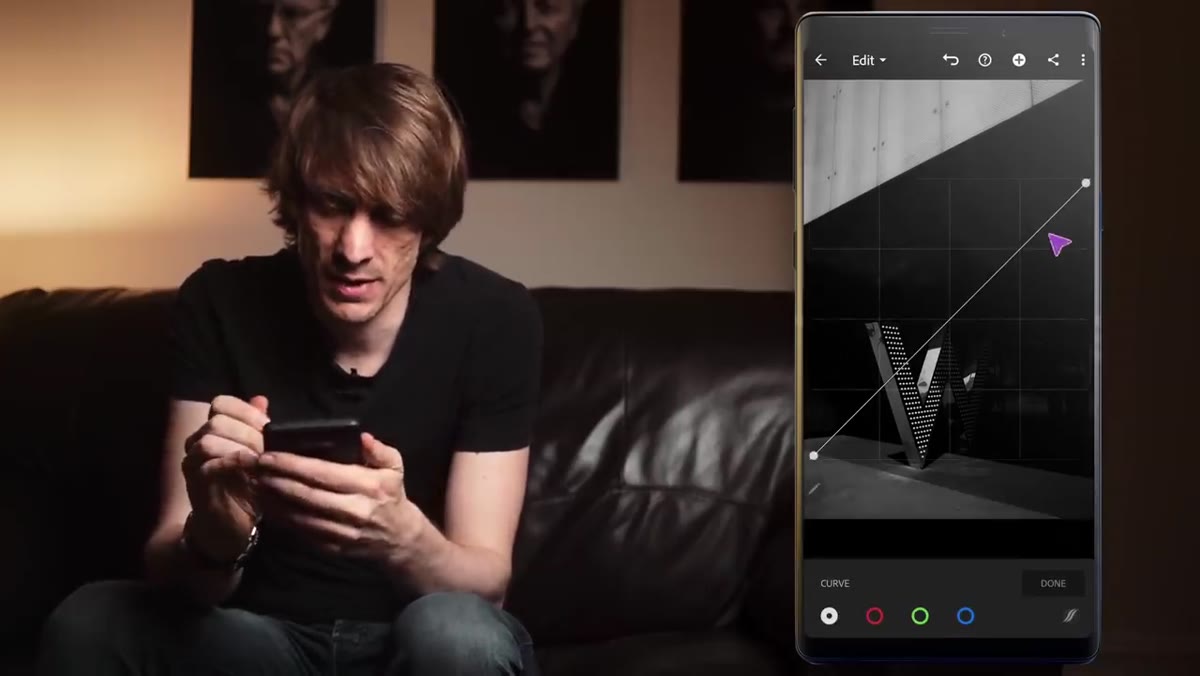 Tone curve panel open with a gentle S-curve being drawn
After setting the broad tonal structure through the exposure sliders, Tucker adds a gentle S-curve in the Tone Curve panel as a final layer of contrast refinement. The curve here is subtle, not dramatic, because the heavy lifting was already done in the previous step. Think of it as locking in the mood rather than rebuilding it from scratch.
Tone curve panel open with a gentle S-curve being drawn
After setting the broad tonal structure through the exposure sliders, Tucker adds a gentle S-curve in the Tone Curve panel as a final layer of contrast refinement. The curve here is subtle, not dramatic, because the heavy lifting was already done in the previous step. Think of it as locking in the mood rather than rebuilding it from scratch.
This two-stage approach, broad strokes first, curve refinement second, gives you much more precise control than jumping straight to the curve. You’re not trying to do everything in one place.
My Own Addition: Save a Preset Before You Move On
Once you’ve landed on an edit you like, save it as a preset in Lightroom Mobile before you close the image. I learned this the hard way after spending twenty minutes recreating a look I’d nailed the previous week. Tucker’s workflow is efficient partly because he’s developed a consistent aesthetic he can apply quickly. Your own saved presets are how you get there.
For black and white street work specifically, I keep two or three saved starting points with different contrast levels, one flat, one medium, one punchy, and then adjust from there based on the light in each image. It cuts editing time significantly.
The single most important thing I took from this tutorial is the permission it gives you to work anywhere. A coffee shop, a train, a lunch break. The full editing pipeline, raw files included, fits in your pocket. You don’t need to wait until you’re back at your desk, and you definitely don’t need to sacrifice quality to skip that step.
Watch the full tutorial on YouTube to see Tucker demonstrate each of these steps live, including how the image transforms at each stage of the edit.
Comments (1)
Love how you break down complex stuff into manageable steps.
Leave a Comment