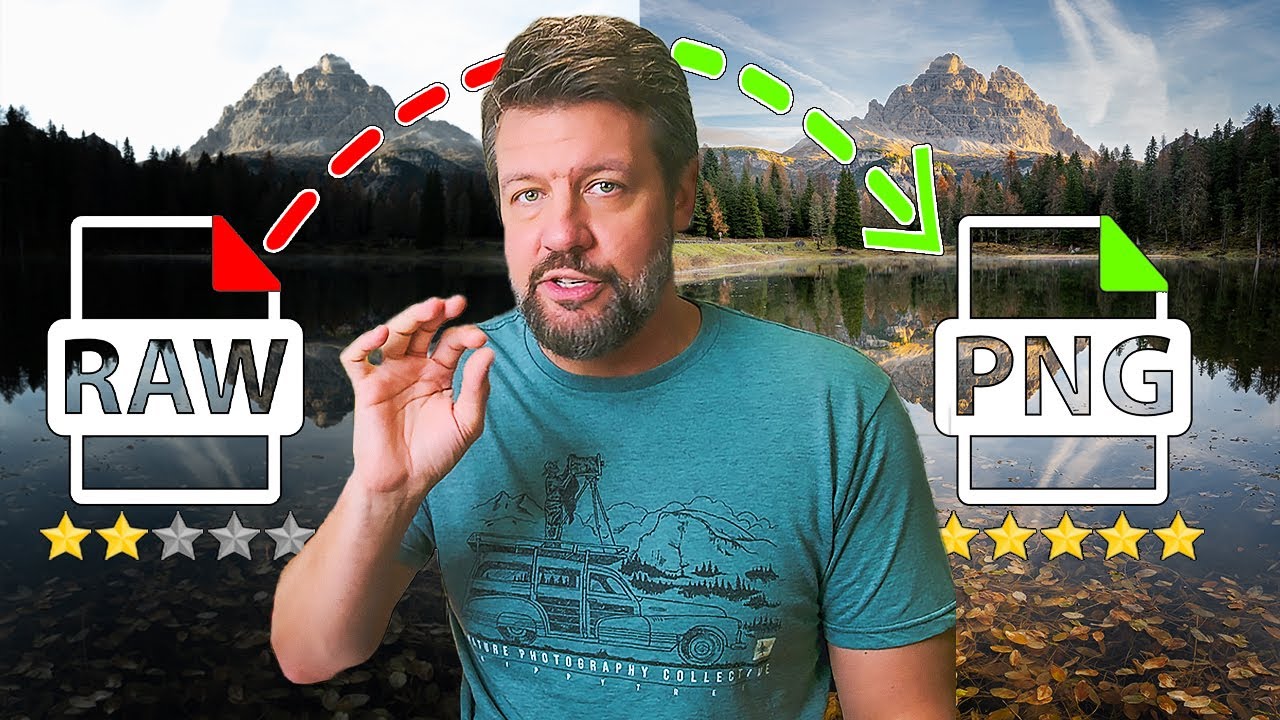
Every Sunday morning I take a photo walk around Seattle, and somewhere between the ferry terminal and my second coffee, I always end up talking to someone who’s just switched to shooting RAW. They’re excited, a little overwhelmed, and almost always ask the same question: “Where do I even start?” I used to fumble through an answer because, honestly, it took me a while to figure that out for myself. Opening a RAW file and staring down a panel full of sliders is genuinely disorienting when no one has ever explained the order in which things should happen.
That’s exactly what stopped me mid-scroll when I came across this Mark Denney tutorial on beginner RAW editing. Watch the full tutorial on YouTube - Mark frames the whole thing around a concept that sounds simple but genuinely changes how you approach the editing panel: exposure first, color second, details last. It’s a hierarchy, not a checklist, and once it clicks, you stop jumping around and start making intentional decisions.
Mark works through a landscape photo from the Dolomites that’s slightly underexposed with very dark shadows - a situation most of us have been in. What follows is one of the clearest beginner breakdowns I’ve seen, and I want to walk you through it the way I’d explain it to a friend over that second coffee.
Step 1: Understand What “Exposure” Actually Means in Lightroom
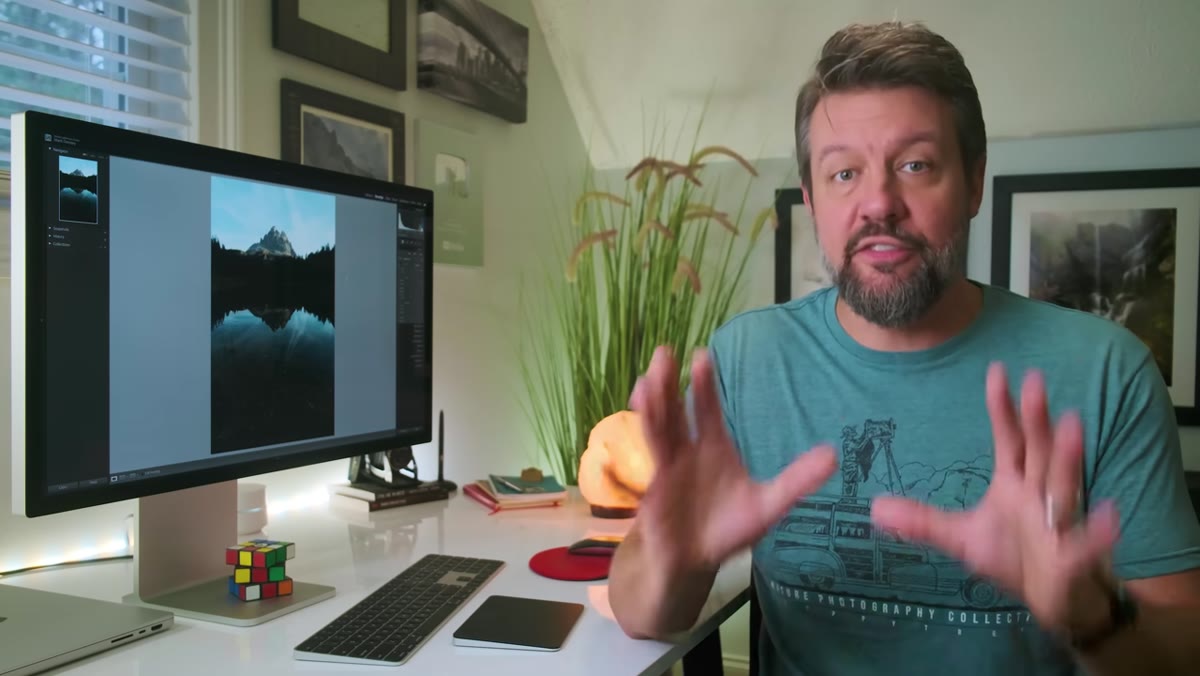 The Lightroom basic panel with five exposure-related sliders visible
Before you touch a single slider, reframe how you think about exposure. It’s not just the slider labeled “Exposure.” In Lightroom’s Basic panel, exposure is really five things working together: the Exposure slider itself, Highlights, Shadows, Whites, and Blacks. Each one controls a different tonal range in your image. Thinking of them as one system, rather than five separate tools, is the mental shift that makes this workflow feel logical instead of random.
The Lightroom basic panel with five exposure-related sliders visible
Before you touch a single slider, reframe how you think about exposure. It’s not just the slider labeled “Exposure.” In Lightroom’s Basic panel, exposure is really five things working together: the Exposure slider itself, Highlights, Shadows, Whites, and Blacks. Each one controls a different tonal range in your image. Thinking of them as one system, rather than five separate tools, is the mental shift that makes this workflow feel logical instead of random.
This matters because when beginners open a dark image, they often crank the Exposure slider until it looks “bright enough” and move on. But that approach blows out your highlights and leaves the tonal balance feeling flat. The goal in this first phase is to spread the tonal information across the full range of the histogram, not just push everything brighter.
Step 2: Raise the Overall Exposure as a Starting Point
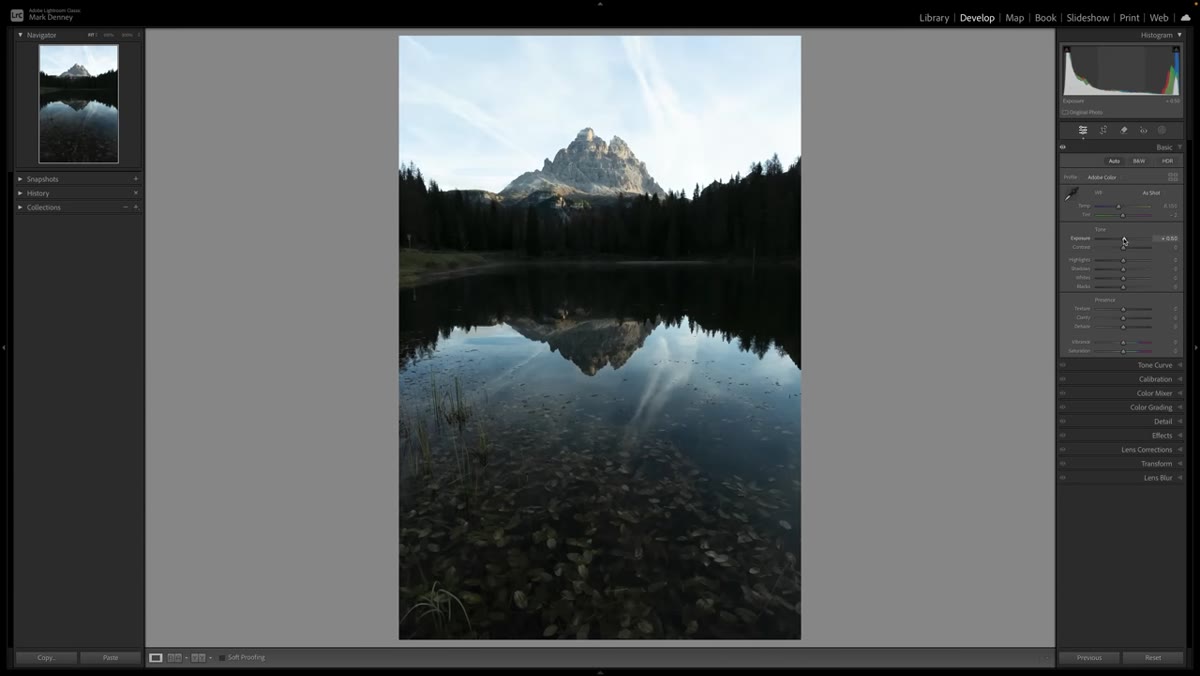 Exposure slider being increased on a slightly underexposed mountain scene
With your RAW file open, nudge the Exposure slider up just enough to get the midtones into a reasonable range. Don’t go dramatic here - you’re not trying to finish the edit, you’re just getting the image out of the mud so you can see what you’re working with. Think of it like turning on the lights in a room before you start rearranging furniture.
Exposure slider being increased on a slightly underexposed mountain scene
With your RAW file open, nudge the Exposure slider up just enough to get the midtones into a reasonable range. Don’t go dramatic here - you’re not trying to finish the edit, you’re just getting the image out of the mud so you can see what you’re working with. Think of it like turning on the lights in a room before you start rearranging furniture.
For an underexposed landscape, a lift of somewhere between half a stop and a full stop is often enough to start. If you go too far at this stage, you’ll clip your sky highlights and create more problems than you solve. Raise it until the scene looks workable, then stop.
Step 3: Pull Down the Highlights to Recover Sky Detail
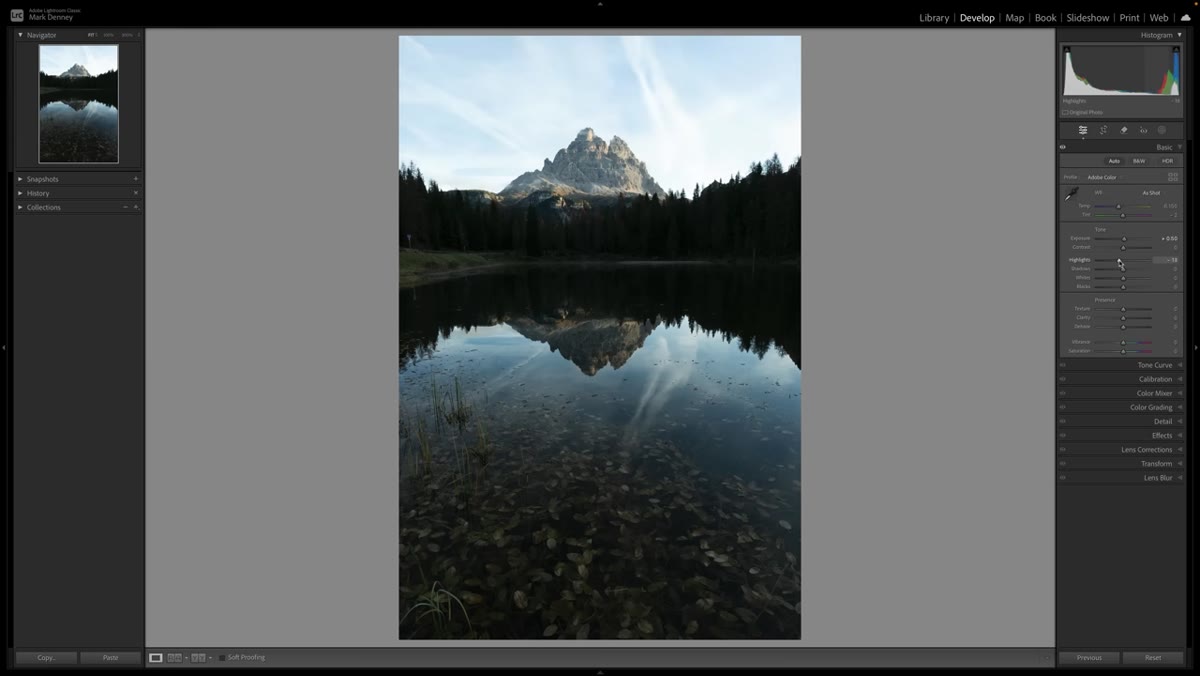 Highlights slider being dragged left while sky detail becomes visible
Once your midtones have some life, bring the Highlights slider to the left. This recovers detail in the brightest parts of your frame - clouds, bright sky, sun-lit surfaces. In a landscape photo especially, this is where a lot of the visual interest lives. Mark demonstrates this clearly by toggling back and forth, and you can see real texture emerge in the sky as the highlights come down.
Highlights slider being dragged left while sky detail becomes visible
Once your midtones have some life, bring the Highlights slider to the left. This recovers detail in the brightest parts of your frame - clouds, bright sky, sun-lit surfaces. In a landscape photo especially, this is where a lot of the visual interest lives. Mark demonstrates this clearly by toggling back and forth, and you can see real texture emerge in the sky as the highlights come down.
A good rule of thumb: pull Highlights down until you can see the detail you want, but don’t go so far that the bright areas start looking gray and flat. There’s a sweet spot between “blown out” and “muddy,” and you’re looking for the edge of it.
Step 4: Use Lightroom’s Auto-Suggest Trick to Set Shadows, Whites, and Blacks
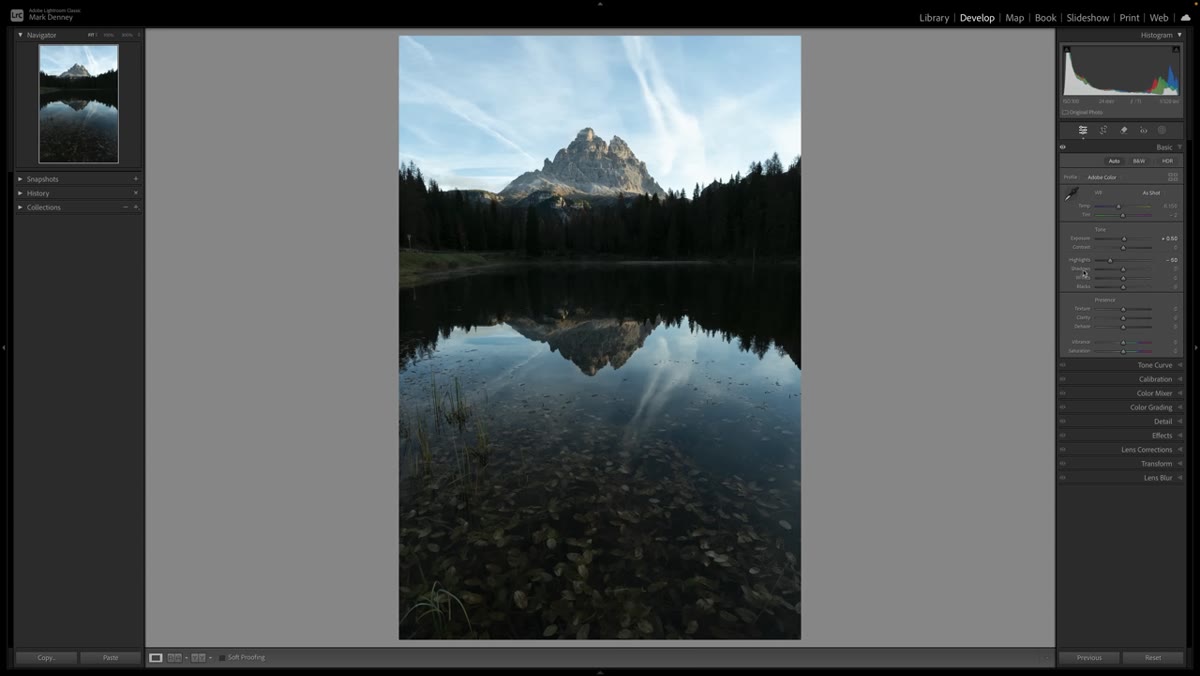 Shift-double-click being performed on the Shadows slider label
Here’s the tip from this tutorial that I immediately added to my own workflow. Instead of guessing where to set your Shadows, Whites, and Blacks sliders, hold down the Shift key and double-click directly on the label of each slider (the word “Shadows,” not the slider itself). Lightroom will calculate a suggested value based on your histogram and apply it automatically.
Shift-double-click being performed on the Shadows slider label
Here’s the tip from this tutorial that I immediately added to my own workflow. Instead of guessing where to set your Shadows, Whites, and Blacks sliders, hold down the Shift key and double-click directly on the label of each slider (the word “Shadows,” not the slider itself). Lightroom will calculate a suggested value based on your histogram and apply it automatically.
This doesn’t mean the result is perfect - Mark is clear about that. But it gives you a calibrated starting point. If Lightroom suggests pushing Shadows to plus 76, you know you’re in the right neighborhood, and you can adjust from there based on how the image actually looks. It removes the paralysis of staring at a slider with no reference point. Try it on Whites and Blacks as well, then evaluate and refine.
Step 5: Apply a Hint of Contrast, Then Step Back and Evaluate
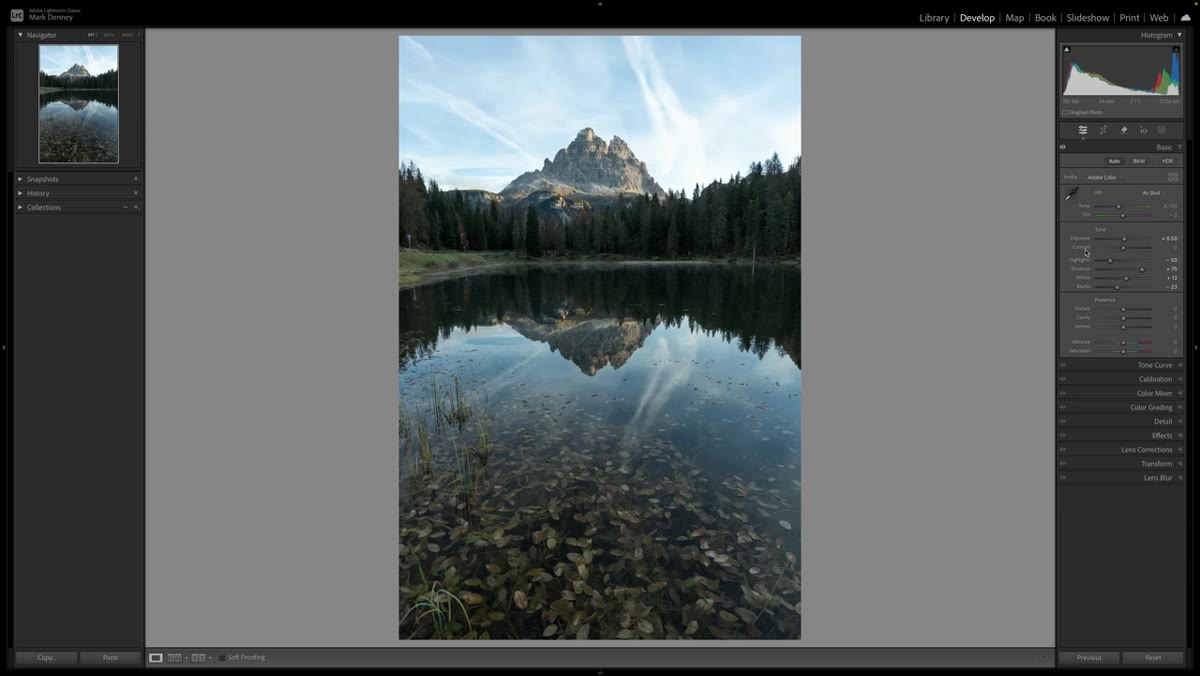 Before and after comparison showing balanced exposure on Dolomites image
With your five tonal sliders adjusted, try the same Shift-double-click trick on the Contrast slider to see what Lightroom recommends. Often it’s a subtle positive value. Apply it, then use the backslash key ( \ ) to toggle between your edited version and the original RAW file.
Before and after comparison showing balanced exposure on Dolomites image
With your five tonal sliders adjusted, try the same Shift-double-click trick on the Contrast slider to see what Lightroom recommends. Often it’s a subtle positive value. Apply it, then use the backslash key ( \ ) to toggle between your edited version and the original RAW file.
This before-and-after check is important. You’re not looking for a dramatic transformation at this stage - you’re confirming that the overall tonal balance is solid. Mark describes this balanced version as a “palette”: you want to be able to see every part of the image clearly before you start working on color. If your shadows are still crushed or your highlights are still clipping, fix that now before moving forward.
Step 6: Move to Color Only After Exposure Is Balanced
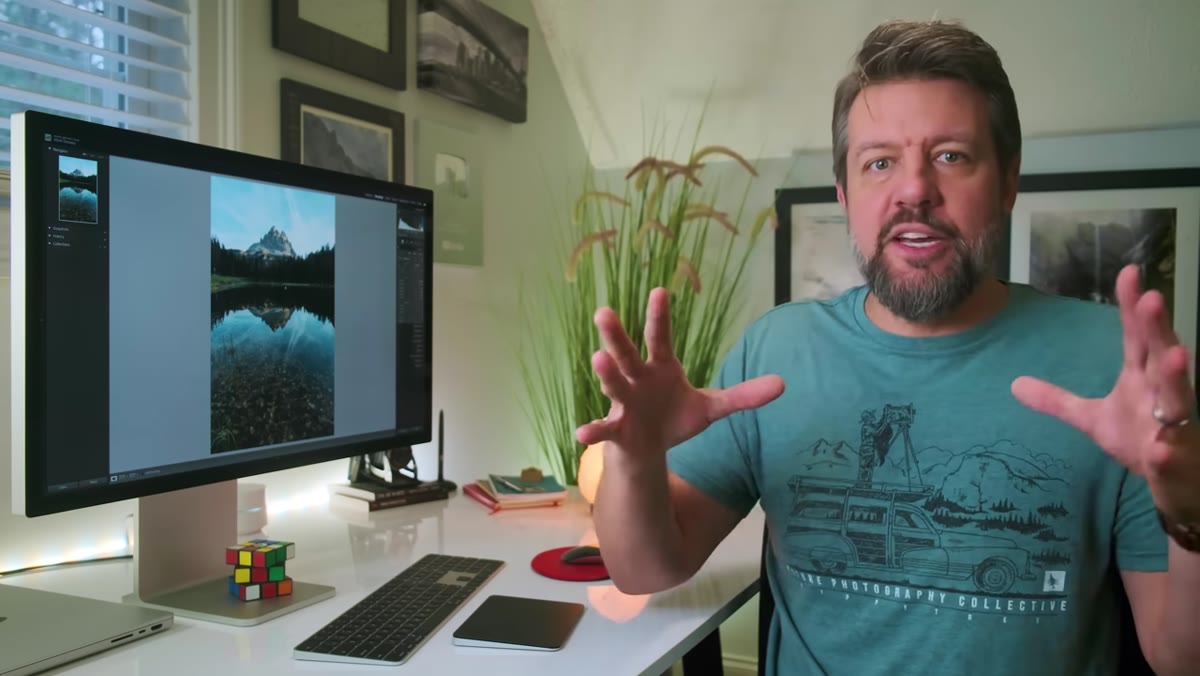 Lightroom panel transitioning attention toward color adjustments
Only once your exposure is balanced should you open up the color controls. This is the core principle of the whole workflow. Color adjustments made on a poorly exposed image are essentially built on a broken foundation - shift the exposure later and your color work shifts with it in unpredictable ways.
Lightroom panel transitioning attention toward color adjustments
Only once your exposure is balanced should you open up the color controls. This is the core principle of the whole workflow. Color adjustments made on a poorly exposed image are essentially built on a broken foundation - shift the exposure later and your color work shifts with it in unpredictable ways.
When you do move into color, start with White Balance to make sure your image reads as warm or cool the way you want it to, then explore the HSL panel to push specific hues. But that’s a whole separate session. For now, the win is simply holding yourself to the rule: exposure first, always.
A Note from My Own Shooting Life
The thing I’d add to Mark’s workflow, especially for travel and lifestyle photography, is to make this sequence a habit before you even sit down to edit a full session. I now do a quick two-minute pass on one representative image from a shoot to establish my exposure baseline, then sync those settings across similar frames before doing any individual color work. It saves enormous time and keeps a session feeling consistent.
If you’re editing on location or in changing light, the Shift-double-click trick is especially useful as a quick sanity check. It takes about 30 seconds and tells you immediately whether your exposure needs major work or just a nudge.
The single most important thing to take away from this tutorial is that order matters in editing, and exposure always comes first. Getting into color or detail work before your tonal balance is set is like painting a room before the walls are dry. The workflow Mark lays out here is simple enough for a first-time RAW edit and structured enough to carry you through years of shooting.
Watch the full tutorial on YouTube to see Mark walk through the complete edit with his Dolomites image - the visual demonstration of each slider in motion is worth seeing for yourself.
Comments
Leave a Comment