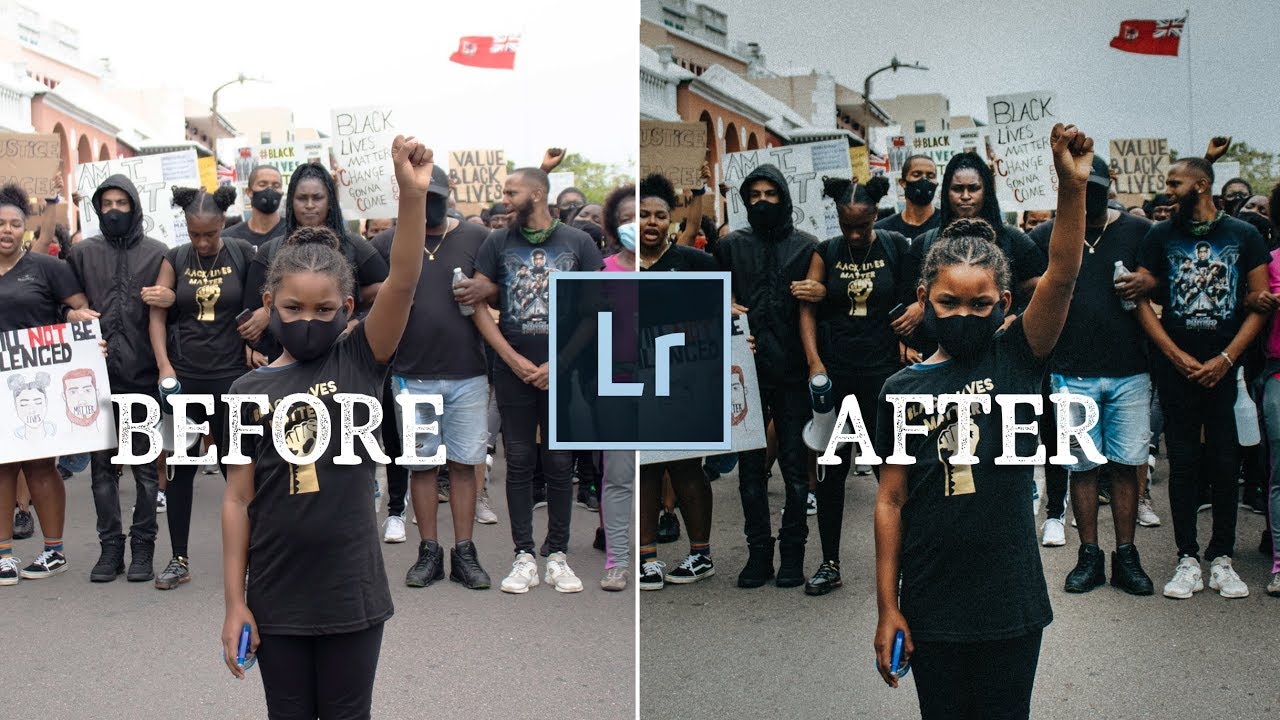
There’s a specific challenge that comes up when you’re editing photos that carry real emotional weight. Vacation shots and portraits have a certain forgiving quality to them. But when the image is documenting something that matters, something that needs to hold up a decade from now, the editing decisions feel higher stakes. You don’t want the processing to date the photo, and you don’t want style to get in the way of substance. I’ve wrestled with this every time I’ve tried to edit street or event photography that felt too important to get wrong.
Watch the full tutorial on YouTube
In this Peter McKinnon tutorial, he tackles exactly that problem by editing a reader-submitted protest photo from the Black Lives Matter demonstrations in Washington, D.C. The photographer, Ashley, captured a striking image of a young man at the protest, and Peter walks through his editorial thinking out loud: how to make the subject the undeniable center of the frame, how to create drama without making it feel theatrical, and how to land on a tone that feels timeless rather than trendy. His approach is methodical, intentional, and worth pulling apart step by step.
Step 1: Read the Image Before You Touch a Slider
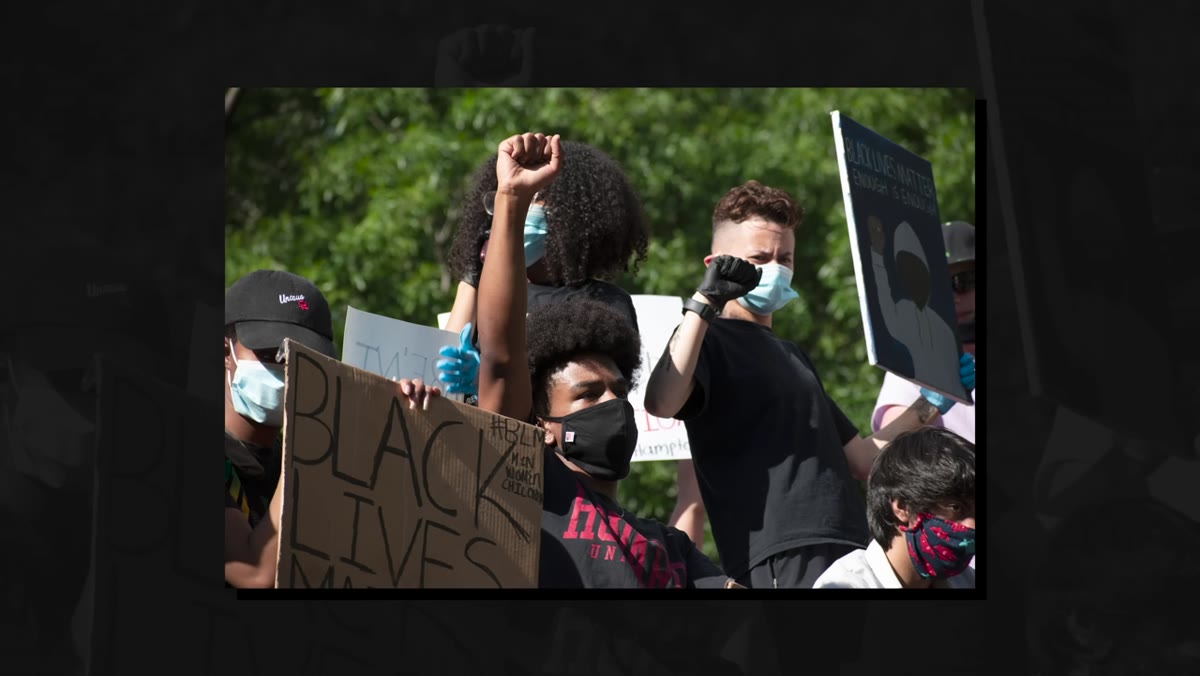 Raw submitted protest photo displayed before any editing begins
Before Peter makes a single adjustment, he spends time with the photo. He identifies the emotional anchor, the young man at the center of the frame, and makes a conscious decision to build every editing choice around drawing the eye directly to him. This is worth slowing down for in your own workflow. Ask yourself: what is this photo actually about, and does the current processing support that or work against it? With emotionally significant images especially, your editing should serve the story, not announce itself.
Raw submitted protest photo displayed before any editing begins
Before Peter makes a single adjustment, he spends time with the photo. He identifies the emotional anchor, the young man at the center of the frame, and makes a conscious decision to build every editing choice around drawing the eye directly to him. This is worth slowing down for in your own workflow. Ask yourself: what is this photo actually about, and does the current processing support that or work against it? With emotionally significant images especially, your editing should serve the story, not announce itself.
Step 2: Establish the Overall Mood with a Subdued Base Tone
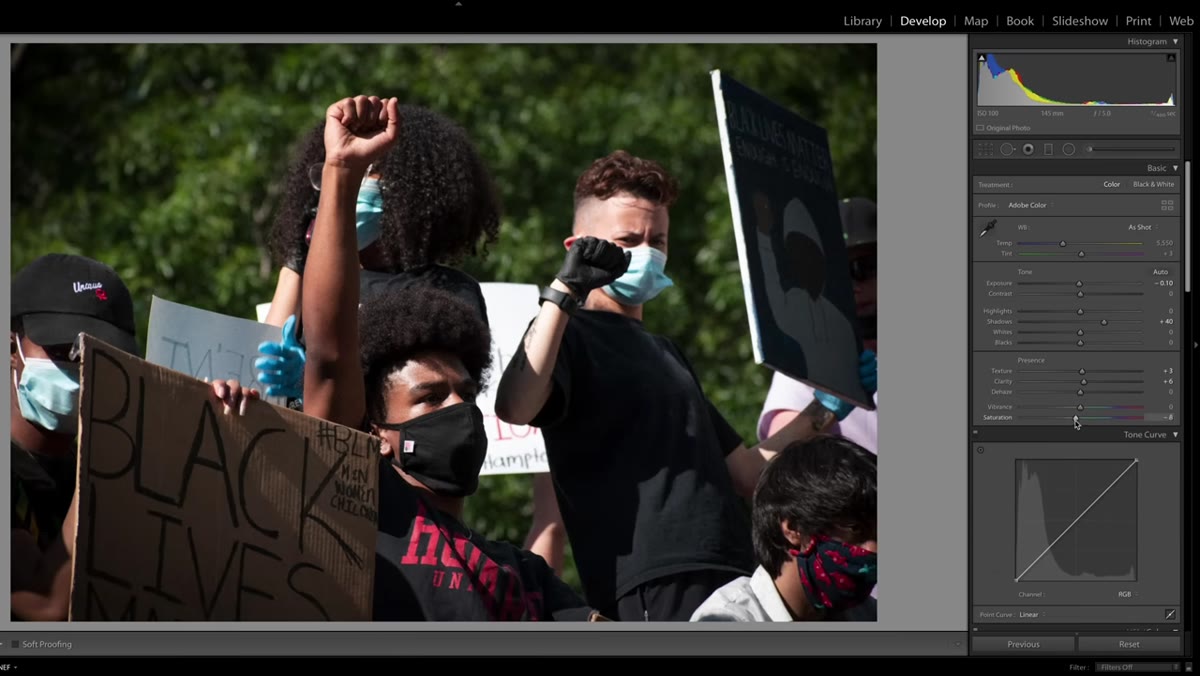 Global tone adjustments being applied in the editing panel
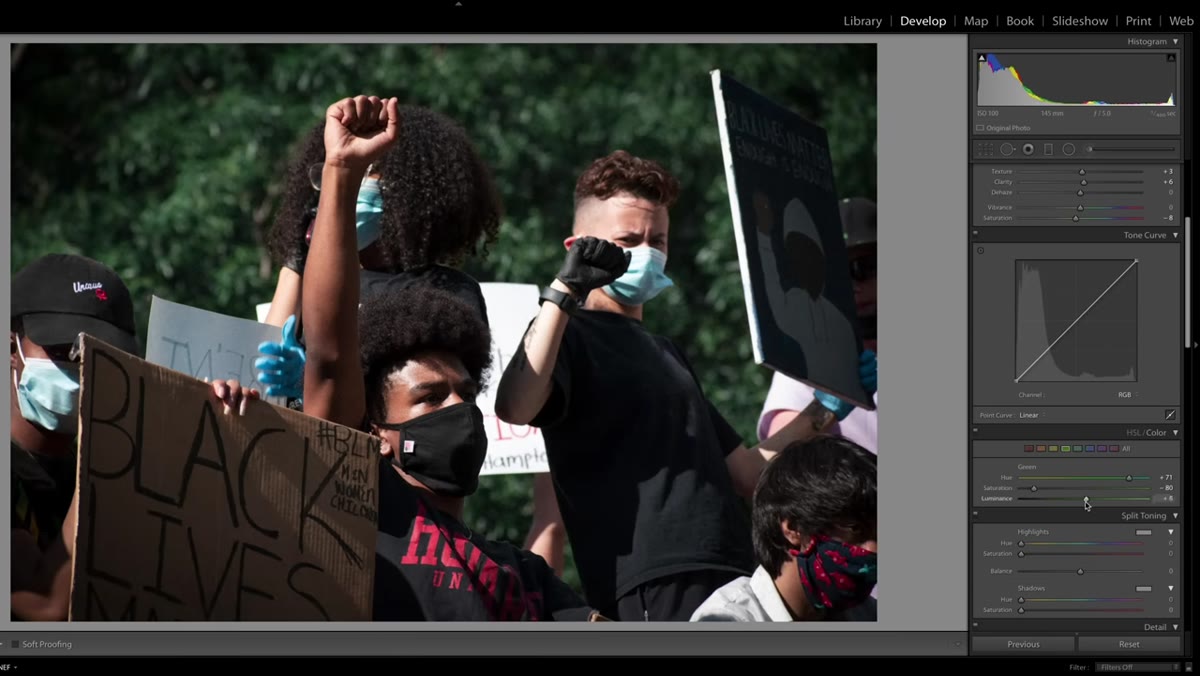
Peter’s first global moves set a deliberately subdued, restrained tone. He’s not chasing punchy contrast or vibrant saturation. Instead, he pulls things back toward a muted, documentary feel. If you’re working in Lightroom or a similar tool, think about pulling your highlights down and lifting your shadows slightly. This compresses the tonal range just enough to give the image a quieter, more serious quality without flattening it completely. The goal is gravity, not gloom.
Global tone adjustments being applied in the editing panel
Peter’s first global moves set a deliberately subdued, restrained tone. He’s not chasing punchy contrast or vibrant saturation. Instead, he pulls things back toward a muted, documentary feel. If you’re working in Lightroom or a similar tool, think about pulling your highlights down and lifting your shadows slightly. This compresses the tonal range just enough to give the image a quieter, more serious quality without flattening it completely. The goal is gravity, not gloom.
Step 3: Use a Radial Mask to Spotlight Your Subject
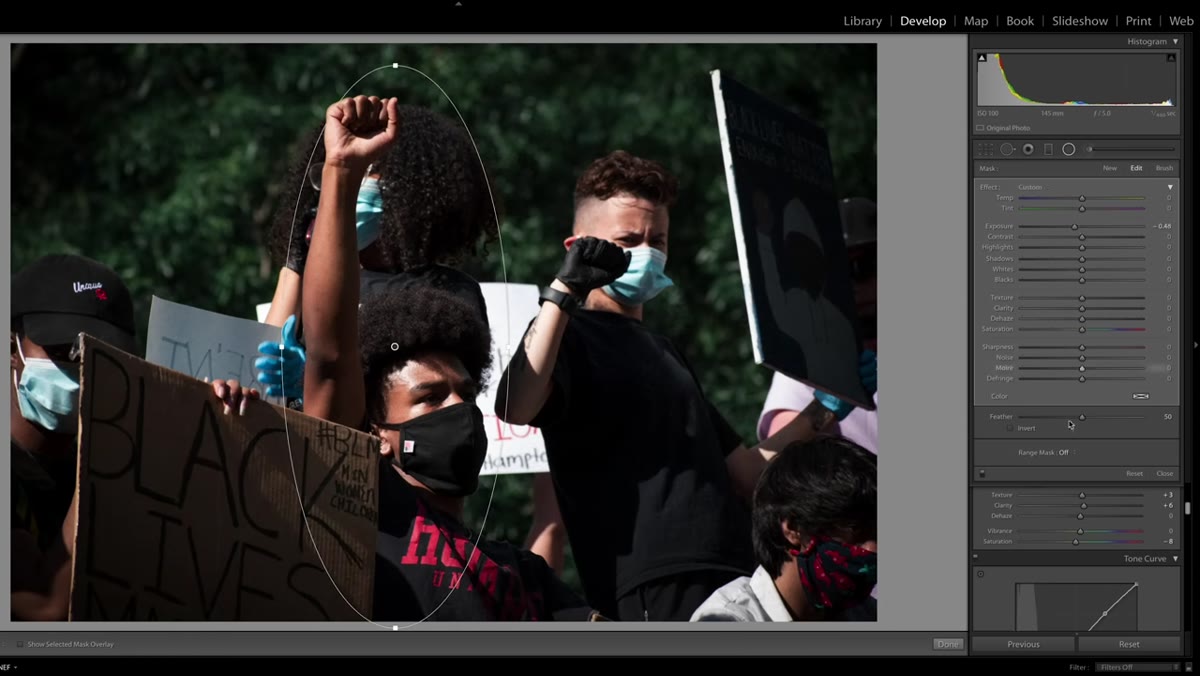
 Radial mask being drawn around the central subject in the frame
This is the technique that does the most heavy lifting in the edit. Peter draws a radial mask centered on the young man in the photo. A radial mask lets you apply adjustments selectively to an oval or circular region of the image, either inside or outside the selection. In this case, he uses it to make the subject brighter and more defined relative to the surrounding crowd. In Lightroom Classic, find the Masking panel, choose Radial Gradient, draw your shape over your subject, and invert the mask if needed so your adjustments affect the area inside the oval. Then bring exposure up slightly, add a touch of clarity for detail, and watch your subject separate naturally from the background.
Radial mask being drawn around the central subject in the frame
This is the technique that does the most heavy lifting in the edit. Peter draws a radial mask centered on the young man in the photo. A radial mask lets you apply adjustments selectively to an oval or circular region of the image, either inside or outside the selection. In this case, he uses it to make the subject brighter and more defined relative to the surrounding crowd. In Lightroom Classic, find the Masking panel, choose Radial Gradient, draw your shape over your subject, and invert the mask if needed so your adjustments affect the area inside the oval. Then bring exposure up slightly, add a touch of clarity for detail, and watch your subject separate naturally from the background.
Step 4: Darken and Soften the Surrounding Areas
 Edges and background being subdued outside the radial selection
Working outside the radial mask, Peter brings down the exposure and pulls back any distracting detail in the crowd and background. This isn’t about creating a harsh vignette. It’s about guiding the viewer’s attention with subtlety. If your radial mask feathering is set high, say 80 or above, the transition between your adjusted subject and the darkened edges will feel gradual and natural, more like the way the eye actually focuses than like a spotlight effect in a theater. Keep checking the full image as you go so you don’t accidentally make the edges so dark they become a distraction themselves.
Edges and background being subdued outside the radial selection
Working outside the radial mask, Peter brings down the exposure and pulls back any distracting detail in the crowd and background. This isn’t about creating a harsh vignette. It’s about guiding the viewer’s attention with subtlety. If your radial mask feathering is set high, say 80 or above, the transition between your adjusted subject and the darkened edges will feel gradual and natural, more like the way the eye actually focuses than like a spotlight effect in a theater. Keep checking the full image as you go so you don’t accidentally make the edges so dark they become a distraction themselves.
Step 5: Aim for Timeless Over Trendy
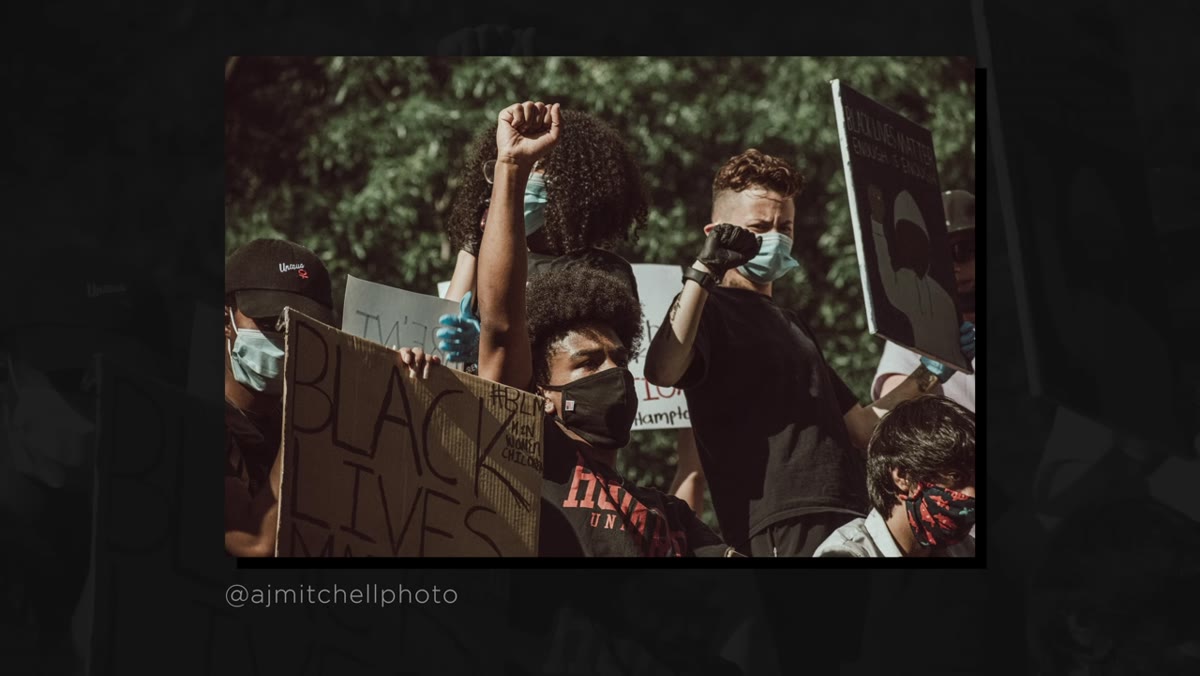 Final color grade being refined for a classic documentary feel
Peter is explicit about his goal here: he wants this image to hold up when someone looks back at it in twenty years. That means resisting the current editing trends. No heavy orange-and-teal color grading. No extreme film grain that reads as a style choice rather than a tonal decision. Instead, he stays close to the natural tonality of the original scene while nudging it toward the kind of quiet, high-contrast black-and-white adjacent feel that classic documentary photography carries. If you’re tempted to apply a trendy preset, ask yourself if the edit would still feel appropriate a decade from now. If the answer is uncertain, simplify.
Final color grade being refined for a classic documentary feel
Peter is explicit about his goal here: he wants this image to hold up when someone looks back at it in twenty years. That means resisting the current editing trends. No heavy orange-and-teal color grading. No extreme film grain that reads as a style choice rather than a tonal decision. Instead, he stays close to the natural tonality of the original scene while nudging it toward the kind of quiet, high-contrast black-and-white adjacent feel that classic documentary photography carries. If you’re tempted to apply a trendy preset, ask yourself if the edit would still feel appropriate a decade from now. If the answer is uncertain, simplify.
A Note from My Own Editing Practice
I shoot a lot of street and travel work, and the radial mask lesson here translates far beyond protest photography. I use the same technique on crowded market scenes, candid portraits, and even some of my landscape work when the light isn’t cooperating and I need to manufacture some visual hierarchy in post. One thing I’d add to Peter’s approach: after you’ve built the radial mask, try toggling it on and off several times before you export. Your eye adjusts quickly, and it’s easy to over-brighten your subject without noticing. The toggle trick forces you to see the difference fresh each time, which keeps the effect feeling natural rather than heavy-handed. I also keep my feathering higher than I think I need it, usually between 85 and 95. The subtler the transition, the more the viewer feels drawn to the subject rather than pushed there.
The single biggest thing I took from this tutorial is something Peter says almost in passing: photography records history, and the editing choices you make are part of that record. That reframes the entire job. You’re not just making a photo look good. You’re deciding how a moment will be remembered. Whether you’re editing documentary work or just a Sunday morning street shot, that’s a responsibility worth taking seriously.
Watch the full tutorial on YouTube to see Peter walk through the full edit in real time, including his thought process on tone and how he talks about the role photography plays in movements like this one.
Comments
Leave a Comment