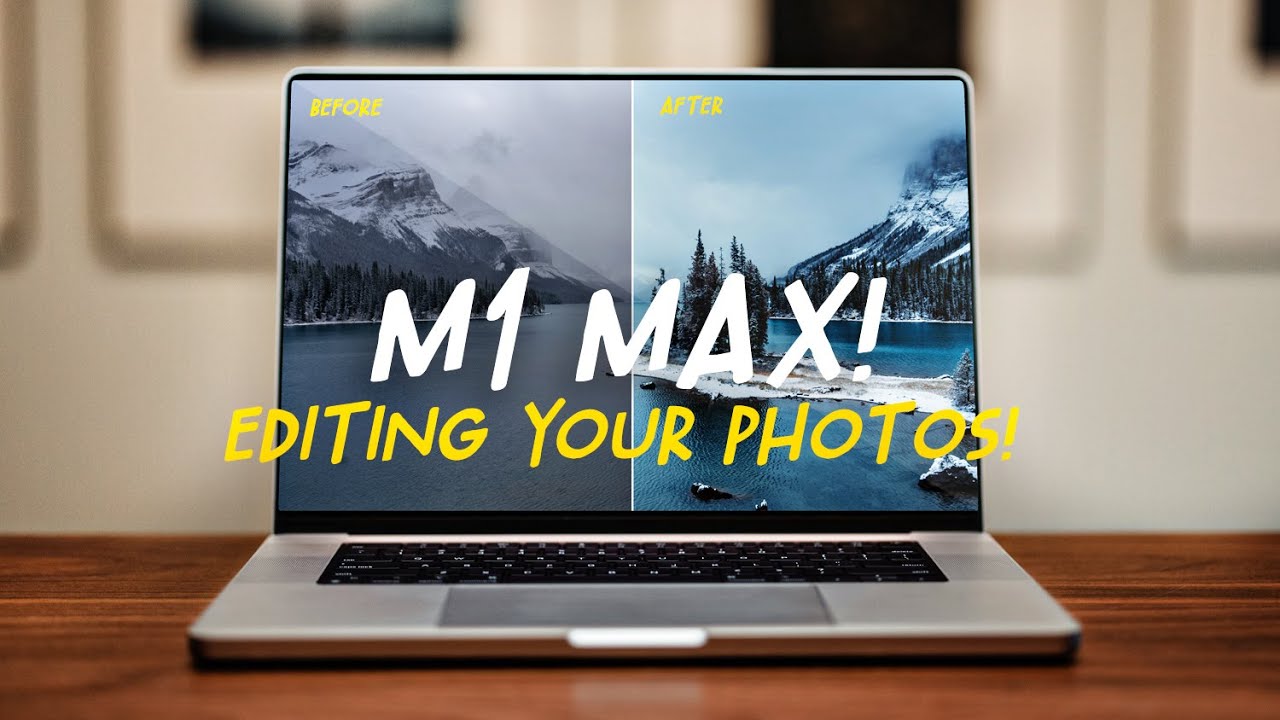
There’s a specific kind of frustration that only photographers who also shoot video will understand. You’re sitting there with a finished edit queued up to export, and you can’t do anything else. Your machine is groaning. The fans are spinning. You’ve got a whole folder of raw photos you need to turn around by morning, and you’re just waiting. I’ve been there more times than I can count, usually in a hotel room somewhere, watching that export progress bar move like it’s personally offended by my deadline.
That’s exactly the real-world bottleneck that Peter McKinnon explores in this tutorial, where he receives an early review unit of the M1 Max MacBook Pro and immediately puts it through the kind of punishment most benchmark tests don’t bother with. He’s not running synthetic tests. He’s loading a legitimately heavy Premiere Pro timeline, hitting export, and then switching over to edit reader-submitted raw photos at the same time. The whole thing is a live stress test disguised as a photo editing session, and the workflow lessons inside it apply whether you’re running a new machine or just trying to work smarter on the one you have.
Watch the full tutorial on YouTube
Step 1: Load Your Most Demanding Timeline First
 Heavy multi-codec Premiere Pro timeline loaded and ready
Before McKinnon touches a single raw photo, he opens the most resource-intensive project he has on hand, a timeline built from Canon R3 footage, R5 footage, and GoPro clips all mixed together. Different codecs, different frame rates, different resolutions sitting in one sequence. The reason he starts here is intentional. If you want to know what your machine can actually handle, you don’t test it with easy material. You load the hardest thing you have and see what happens when you add more work on top of it.
Heavy multi-codec Premiere Pro timeline loaded and ready
Before McKinnon touches a single raw photo, he opens the most resource-intensive project he has on hand, a timeline built from Canon R3 footage, R5 footage, and GoPro clips all mixed together. Different codecs, different frame rates, different resolutions sitting in one sequence. The reason he starts here is intentional. If you want to know what your machine can actually handle, you don’t test it with easy material. You load the hardest thing you have and see what happens when you add more work on top of it.
If you’re trying to replicate this kind of workflow pressure test on your own machine, pull up your most recent project with mixed codec footage, something that already plays back a little sluggishly, and queue it for export before you open anything else. This becomes your baseline.
Step 2: Start the Export Before Opening Your Photo Editor
 Export dialog initiated in Premiere Pro before switching apps
The key move here is sequencing. McKinnon kicks off the video export and then, without pausing or waiting to see how the machine responds, switches directly to his photo editing work. On most machines, this is where things fall apart. The export eats the processor, the editing app crawls, and you end up doing neither thing well.
Export dialog initiated in Premiere Pro before switching apps
The key move here is sequencing. McKinnon kicks off the video export and then, without pausing or waiting to see how the machine responds, switches directly to his photo editing work. On most machines, this is where things fall apart. The export eats the processor, the editing app crawls, and you end up doing neither thing well.
The lesson for your own workflow is to treat export as a background task from the start, not something you babysit. Queue it, let it run, and move immediately to the next job. Whether your machine can actually handle both depends on your hardware, but the habit of not waiting around is worth building regardless.
Step 3: Work From Reader-Submitted or Client Raw Files
 Raw photo files loaded into editing software for review
The photos McKinnon edits here aren’t his own. He asked his audience to send in raw files, and he’s working through them cold, without knowing the shooting conditions, the gear, or what the photographer was going for. This is actually a useful practice exercise for any photographer trying to sharpen their editing instincts. Editing someone else’s raw file removes your emotional attachment to the shot and forces you to read the image on its own terms.
Raw photo files loaded into editing software for review
The photos McKinnon edits here aren’t his own. He asked his audience to send in raw files, and he’s working through them cold, without knowing the shooting conditions, the gear, or what the photographer was going for. This is actually a useful practice exercise for any photographer trying to sharpen their editing instincts. Editing someone else’s raw file removes your emotional attachment to the shot and forces you to read the image on its own terms.
If you want to try this yourself, swap raw files with a friend or find a raw file repository online. Open the file with no context and make your first round of adjustments based only on what you see, not what you know.
Step 4: Evaluate Exposure and Color Before Reaching for Any Sliders
 Raw file open, initial assessment before any adjustments applied
McKinnon’s editing approach starts with looking before touching. He assesses where the exposure sits, whether the shadows are recoverable, and what the overall color temperature is doing before he moves a single slider. This sounds obvious but it’s the step most beginners skip entirely. They open a raw file and immediately drag highlights down because that’s the first slider they see.
Raw file open, initial assessment before any adjustments applied
McKinnon’s editing approach starts with looking before touching. He assesses where the exposure sits, whether the shadows are recoverable, and what the overall color temperature is doing before he moves a single slider. This sounds obvious but it’s the step most beginners skip entirely. They open a raw file and immediately drag highlights down because that’s the first slider they see.
Give yourself 20 to 30 seconds of just looking at a new file before you edit it. Ask: is the image underexposed or overexposed overall? Where is the color cast coming from? What’s the strongest element in the frame, and is the current edit drawing the eye toward it or away from it?
Step 5: Make Targeted Adjustments, Not Global Ones
 Selective adjustments being applied to specific areas of the photo
Rather than pulling everything toward some universal look, McKinnon works with what each specific image needs. A photo with blown highlights in the sky gets different treatment than one that’s flat and underexposed in the shadows. He’s reading each image individually and responding to it, not applying a preset and calling it done.
Selective adjustments being applied to specific areas of the photo
Rather than pulling everything toward some universal look, McKinnon works with what each specific image needs. A photo with blown highlights in the sky gets different treatment than one that’s flat and underexposed in the shadows. He’s reading each image individually and responding to it, not applying a preset and calling it done.
This is where shooting raw really earns its keep. You have latitude to recover detail in highlights and shadows that would be gone forever in a JPEG. Use that latitude deliberately. Don’t recover the highlights just because you can. Recover them because the detail there matters to the image.
Step 6: Check Performance Without Interrupting Either Task
 Activity Monitor or performance indicators checked mid-workflow
Partway through editing the photos, McKinnon checks in on how the export is progressing and whether the machine has slowed down at all. The point he’s making is that the workflow never stalled. The export kept moving, the editing stayed responsive, and nothing crashed or throttled.
Activity Monitor or performance indicators checked mid-workflow
Partway through editing the photos, McKinnon checks in on how the export is progressing and whether the machine has slowed down at all. The point he’s making is that the workflow never stalled. The export kept moving, the editing stayed responsive, and nothing crashed or throttled.
For your own workflow, keep Activity Monitor (Mac) or Task Manager (Windows) accessible so you can actually see what your machine is doing when you push it. Understanding which tasks eat your RAM versus your CPU helps you make smarter decisions about when to export, when to run batch edits, and when to close apps you’re not using.
My Take: The Real Skill Is Knowing Your Machine’s Limits
I’ve never worked on an M1 Max, but I’ve edited on enough different machines to know that the workflow McKinnon demonstrates here is only possible because he understands exactly what he’s asking his hardware to do. The lesson that translates to any setup, whether you’re on a new MacBook Pro or a five-year-old PC, is that working efficiently means knowing your limits before you hit them.
I still do my Sunday photo walks with nothing but my phone sometimes, not because I’m trying to make a point, but because working within a constraint teaches you to prioritize. The same principle applies to your editing machine. Know what it can do, build your workflow around that honestly, and you’ll spend less time waiting and more time actually making images better.
The single most important thing McKinnon demonstrates here isn’t the laptop. It’s the mindset of treating editing like a parallel process rather than a sequential one. Stack your tasks, know your tools, and don’t let an export bar hold your whole day hostage.
Watch the full tutorial on YouTube to see the full editing session and the live performance results as they happen.
Comments (5)
The tip about how to edit photos while expor was the missing piece for me. Thank you.
Never thought of approaching it this way. Really creative.
Never thought of approaching it this way. Really creative.
I keep coming back to this article. It's that useful.
This is fantastic. I've been recommending this approach to my readers too.
Leave a Comment