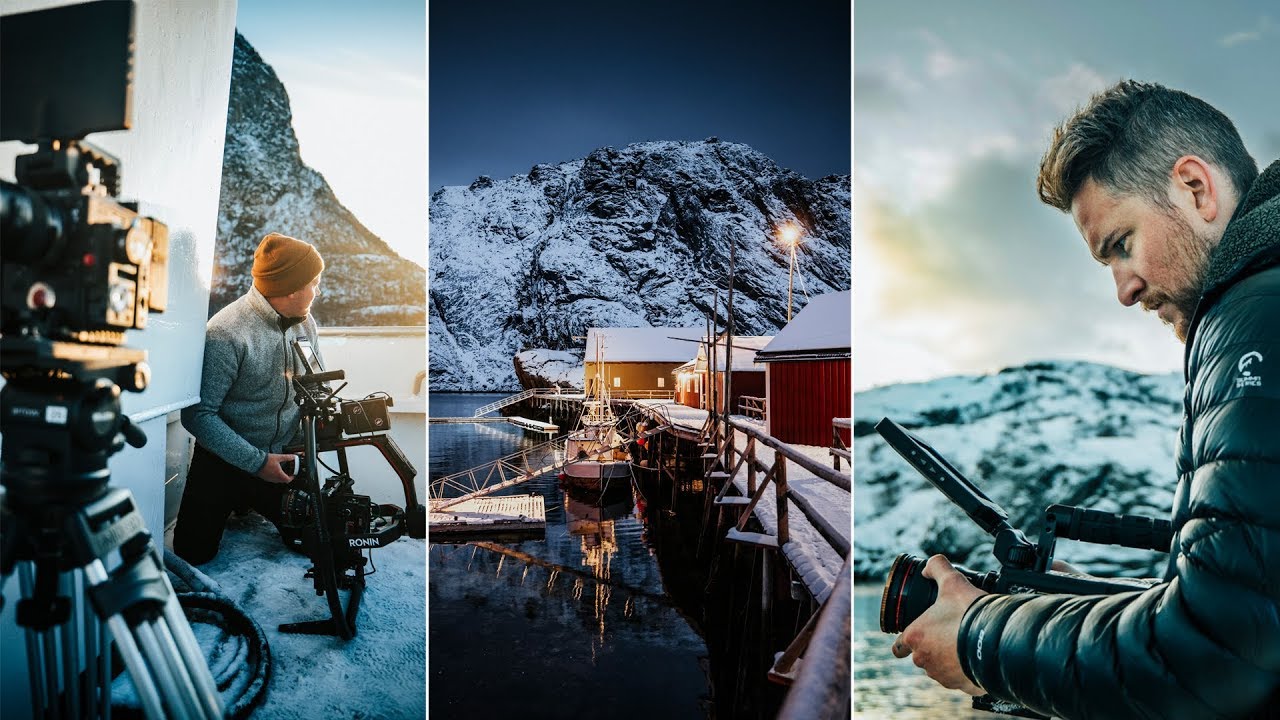
Every time I sit down to edit a travel video, I hit the same wall. The footage looks beautiful. The music is decent. But somewhere in the middle, it goes flat. It stops feeling like anything. I can fix exposure in my sleep, but creating emotional momentum in an edit? That’s a different skill set entirely, and it took me a long time to admit I needed to actually study it.
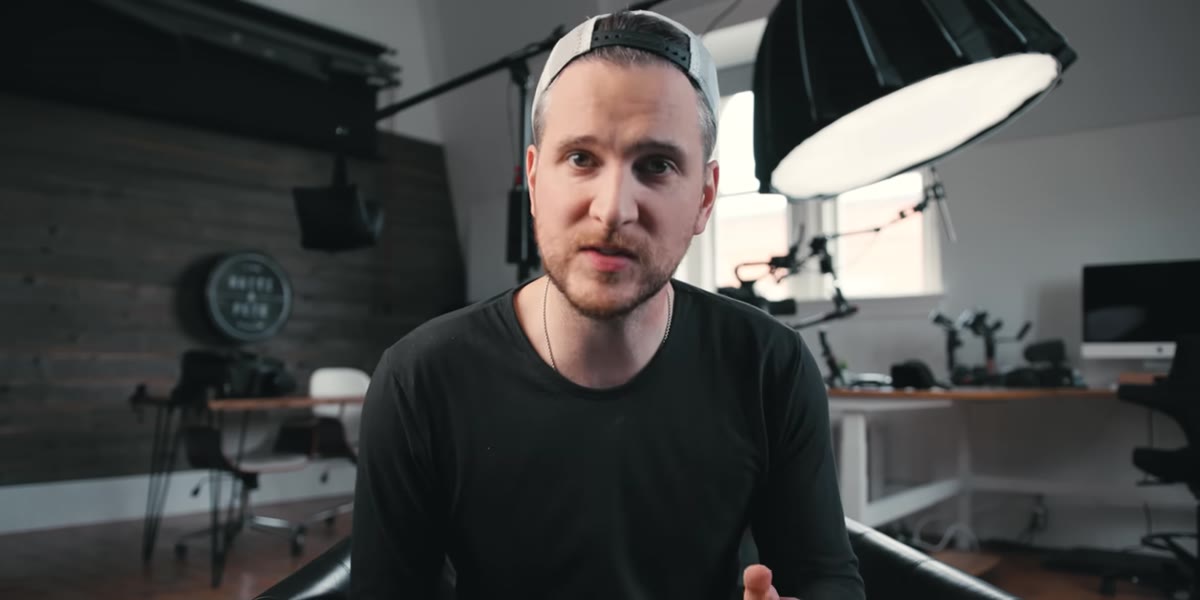
That’s why I keep coming back to this Peter McKinnon tutorial, where he does a live edit and behind-the-scenes breakdown of a cinematic short film he shot in the Arctic. Watch the full tutorial on YouTube before or after reading this, because seeing the finished film alongside his breakdown is genuinely valuable. What struck me most wasn’t the gear or even the locations. It was how deliberately every single sound, cut, and title card had been designed to create a specific emotional response. This isn’t accidental. It’s a system, and you can learn it.
Step 1: Lead with Location Before Anything Else
 Wide epic Arctic landscape shot opening the film
Your opening shot has one job: tell the viewer where they are and make them want to stay. Peter’s first instinct was to open with the most sweeping, epic landscape shot available. Not an action shot. Not a talking head. Just an honest, wide frame of the place. This establishes the scale and mood before a single word of narration, and it gives your audience permission to settle in.
If you’re editing your own travel or documentary footage, resist the urge to open with something “interesting” before you’ve grounded the viewer. Pull your widest, cleanest establishing shot and put it first. Let it breathe for at least three to four seconds before you cut.
Step 2: Build a Custom Sound Identity from Real Location Audio
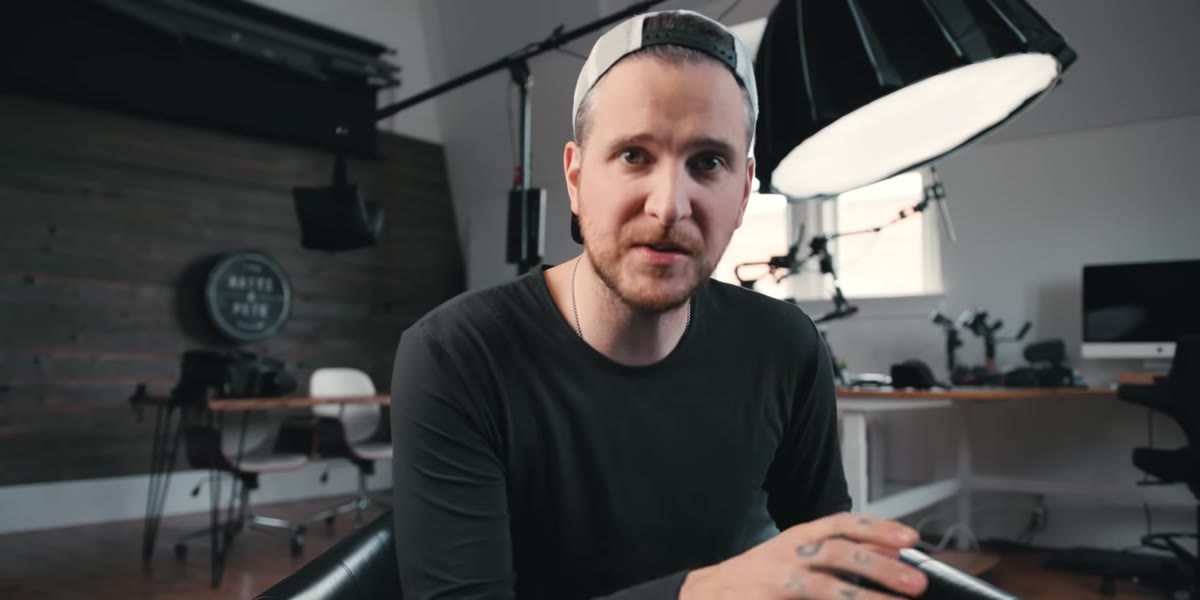 Henrik and Peter listening to bird sounds from location footage
One of the smartest things Peter did on this project was treat location sound as raw material for the entire soundtrack. During filming, they noticed unusually loud, distinctive birds in one of their clips. Instead of leaving them as ambient noise, they sampled those birds and wove them into the opening and closing of the music track.
The practical takeaway here is to record dedicated audio while you shoot. Walk around with your phone or a small recorder and capture textures: wind, water, gravel underfoot, distant machinery. Even if you plan to license a music track, layering real location sound underneath it will make your edit feel like it was made for that place, not assembled from stock assets. It’s one of those details that viewers feel without knowing why.
Step 3: Layer Atmospheric Sound Progressively Across Your Build
 Audio timeline showing layered atmospheric tracks building in intensity
Peter and his collaborator Henrik didn’t just drop music in and call it done. They built the sound in stages. The film opened with wind only. Then birds were added on the next musical hit. Then water and waves on the next. By the time the track was fully active, the audience had been pulled in gradually rather than slammed with everything at once.
Try this in your own editing software. Start your music bed at a low level and add one new atmospheric layer every four to six seconds in your opening sequence. Keep each layer subtle enough that you notice it only once you’ve heard it. This technique rewards multiple viewings and gives your film a texture that feels rich instead of busy.
Step 4: Sync Sound Hits to Title Cards and Cuts
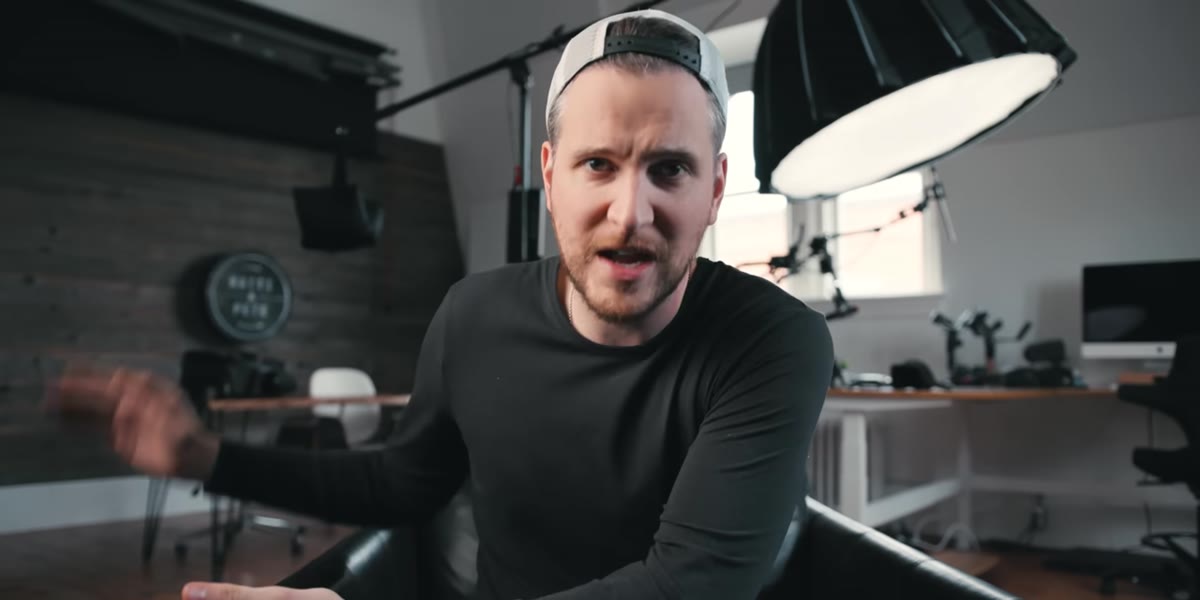 Piano hit landing exactly as title card appears on screen
Peter described a simple but high-impact trick: every time a title card appeared on screen, Henrik hit a single piano key. Different title, different key. Same rhythm, different note. The result is that the music and the visual information feel locked together, almost like the film is breathing in one piece.
In your editing timeline, zoom in and line up your cuts or title cards to the transients in your music track. Most editing software lets you snap to audio peaks. If you’re using a licensed track without obvious hits, you can add a single sound effect layer, like a subtle chime or a low thud, specifically to mark those moments. The viewer won’t consciously notice, but the rhythm will feel tight.
Step 5: Use Silence as Your Most Powerful Edit
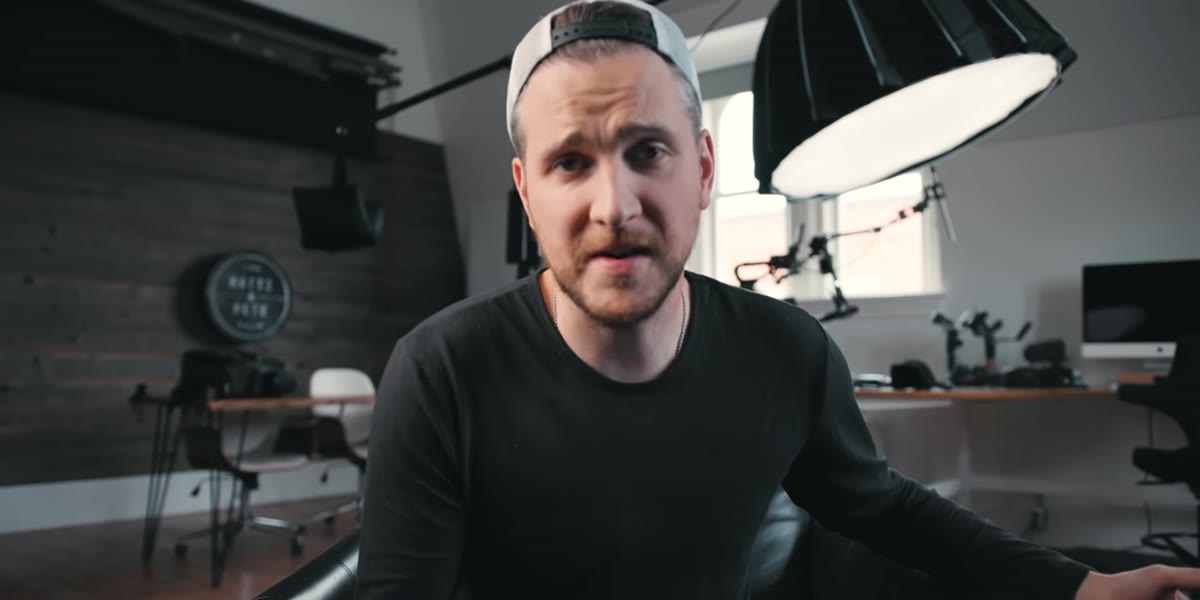 Sudden cut to stark silence after chaotic rapid-cut sequence
This was the moment in the tutorial that stopped me cold. Peter builds a sequence of fast, frenetic cuts: quick handheld shots, stacking sound on sound, louder and more intense until it’s almost overwhelming. And then, hard cut. Complete silence. Nothing.
He calls it the gut punch, and he’s right. The silence only works because of the chaos before it. Neither element is effective on its own. If you want your audience to feel something, you have to give them contrast. Build intensity deliberately, then cut it completely. This is a structural editing decision, not a color grade or a filter, and it’s free. Plan this moment before you even start editing. Know where your emotional peak is and what comes directly after it.
Step 6: Drag, Arrange, and Commit to Your Clip Order Early
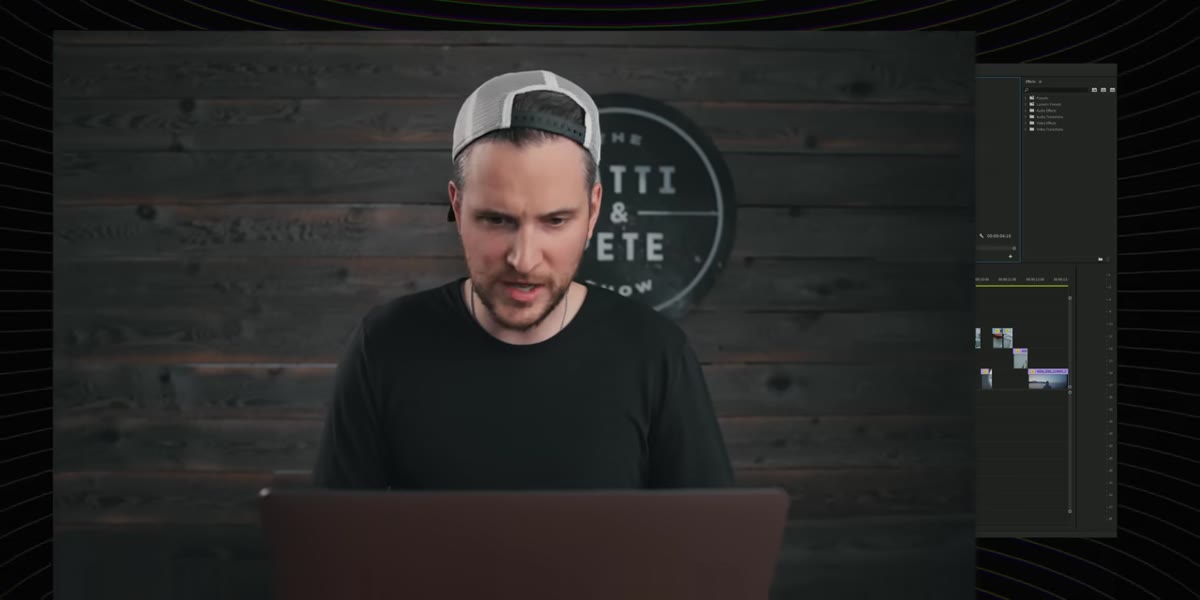 Clips being dragged onto editing timeline in sequence
Peter’s live editing segment shows him dragging clips onto the timeline in rough order before he fine-tunes anything. He’s making structural decisions first: which shots tell the story, in what order, at what pace. The polish comes later.
This is advice I’ve had to learn the hard way. When I used to edit, I’d obsess over individual clips before I had a clear sequence, and I’d waste hours color grading footage that ended up on the cutting room floor. Build the skeleton first. Rough-cut your whole story, even if it’s messy, then go back and refine.
A Note from My Own Editing Sessions
I make playlists for different shooting moods, so it shouldn’t have surprised me that treating music as architecture rather than background texture would change how I edit. But applying that same thinking to my own footage took some deliberate practice. The first time I tried the layered atmospheric sound technique on a waterfall video from a trip last spring, I ended up with something that actually sounded like being there. My usual approach had always felt a little like a slideshow with a good soundtrack attached. The difference is whether the sound and image are designed together or just placed next to each other.
If you shoot with your phone sometimes or work with limited gear, none of these techniques require anything expensive. They require intention and a willingness to treat your edit as a composition, not just an assembly.
The single most important idea in this entire tutorial is that contrast is what creates feeling. Loud means nothing without quiet. Fast means nothing without stillness. Build tension, then release it, and your audience will feel it every time.
Watch the full tutorial on YouTube to see Peter’s live edit and the finished Arctic film side by side. Watching the two together will make these steps click in a way that reading alone can’t quite replicate.
Comments
Leave a Comment