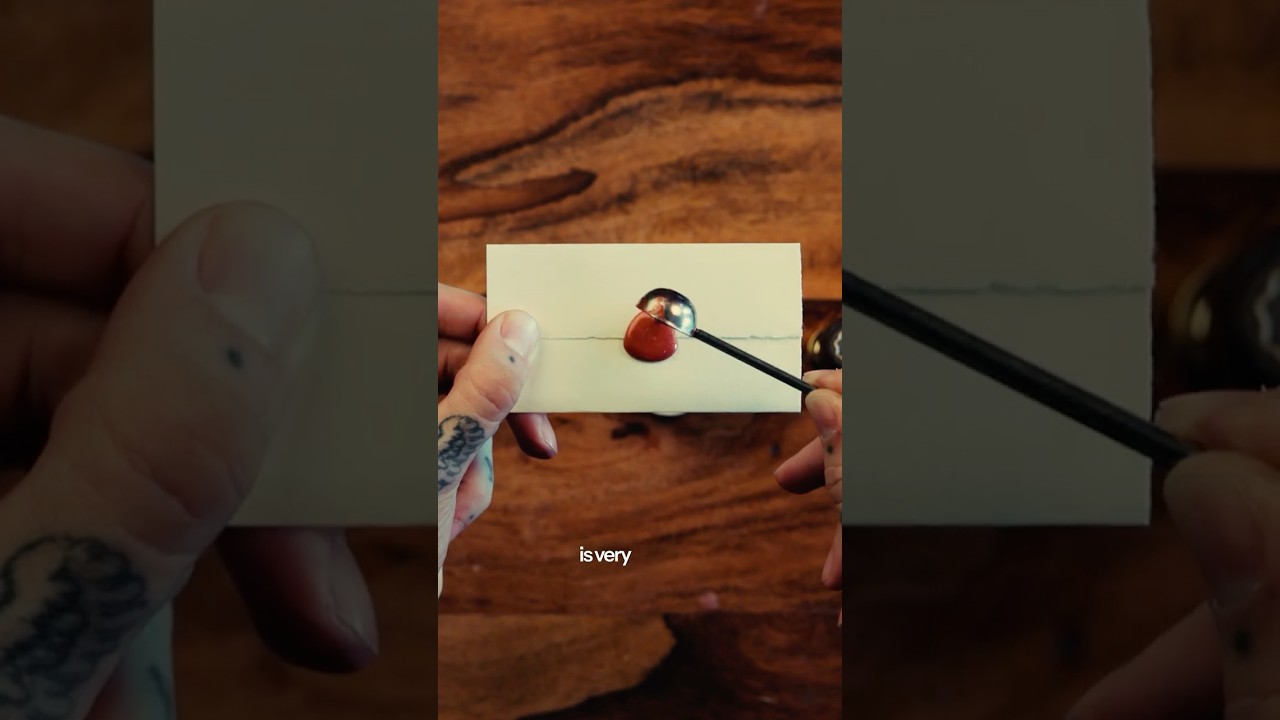
There’s a version of my job that lives entirely on screens. Editing in Lightroom, scheduling posts, resizing for Instagram, answering emails. It’s efficient, sure, but somewhere in that workflow the tactile joy of making things can disappear entirely. That’s why I’ve been genuinely obsessed lately with bringing small physical details back into my creative practice, and wax seals are one of the best examples I’ve found. They photograph beautifully, they make gifts and letters feel intentional, and honestly, the process of making one is just deeply satisfying in a way that no filter can replicate.
In this Peter McKinnon tutorial, he walks through the entire wax seal process from raw materials to finished stamp, and what struck me most was how he framed it. This isn’t just a craft project. It’s a reminder that creating something by hand and physically giving it to another person carries a weight that digital communication simply can’t match. I’ve started incorporating wax seals into my flat lay photography, into gift packaging for clients, and into personal correspondence, and every single time someone receives one, they comment on it. The tutorial is short, focused, and genuinely useful. Watch the full tutorial on YouTube alongside this guide if you want to see the finished result before you dive in.
Step 1: Gather Your Materials
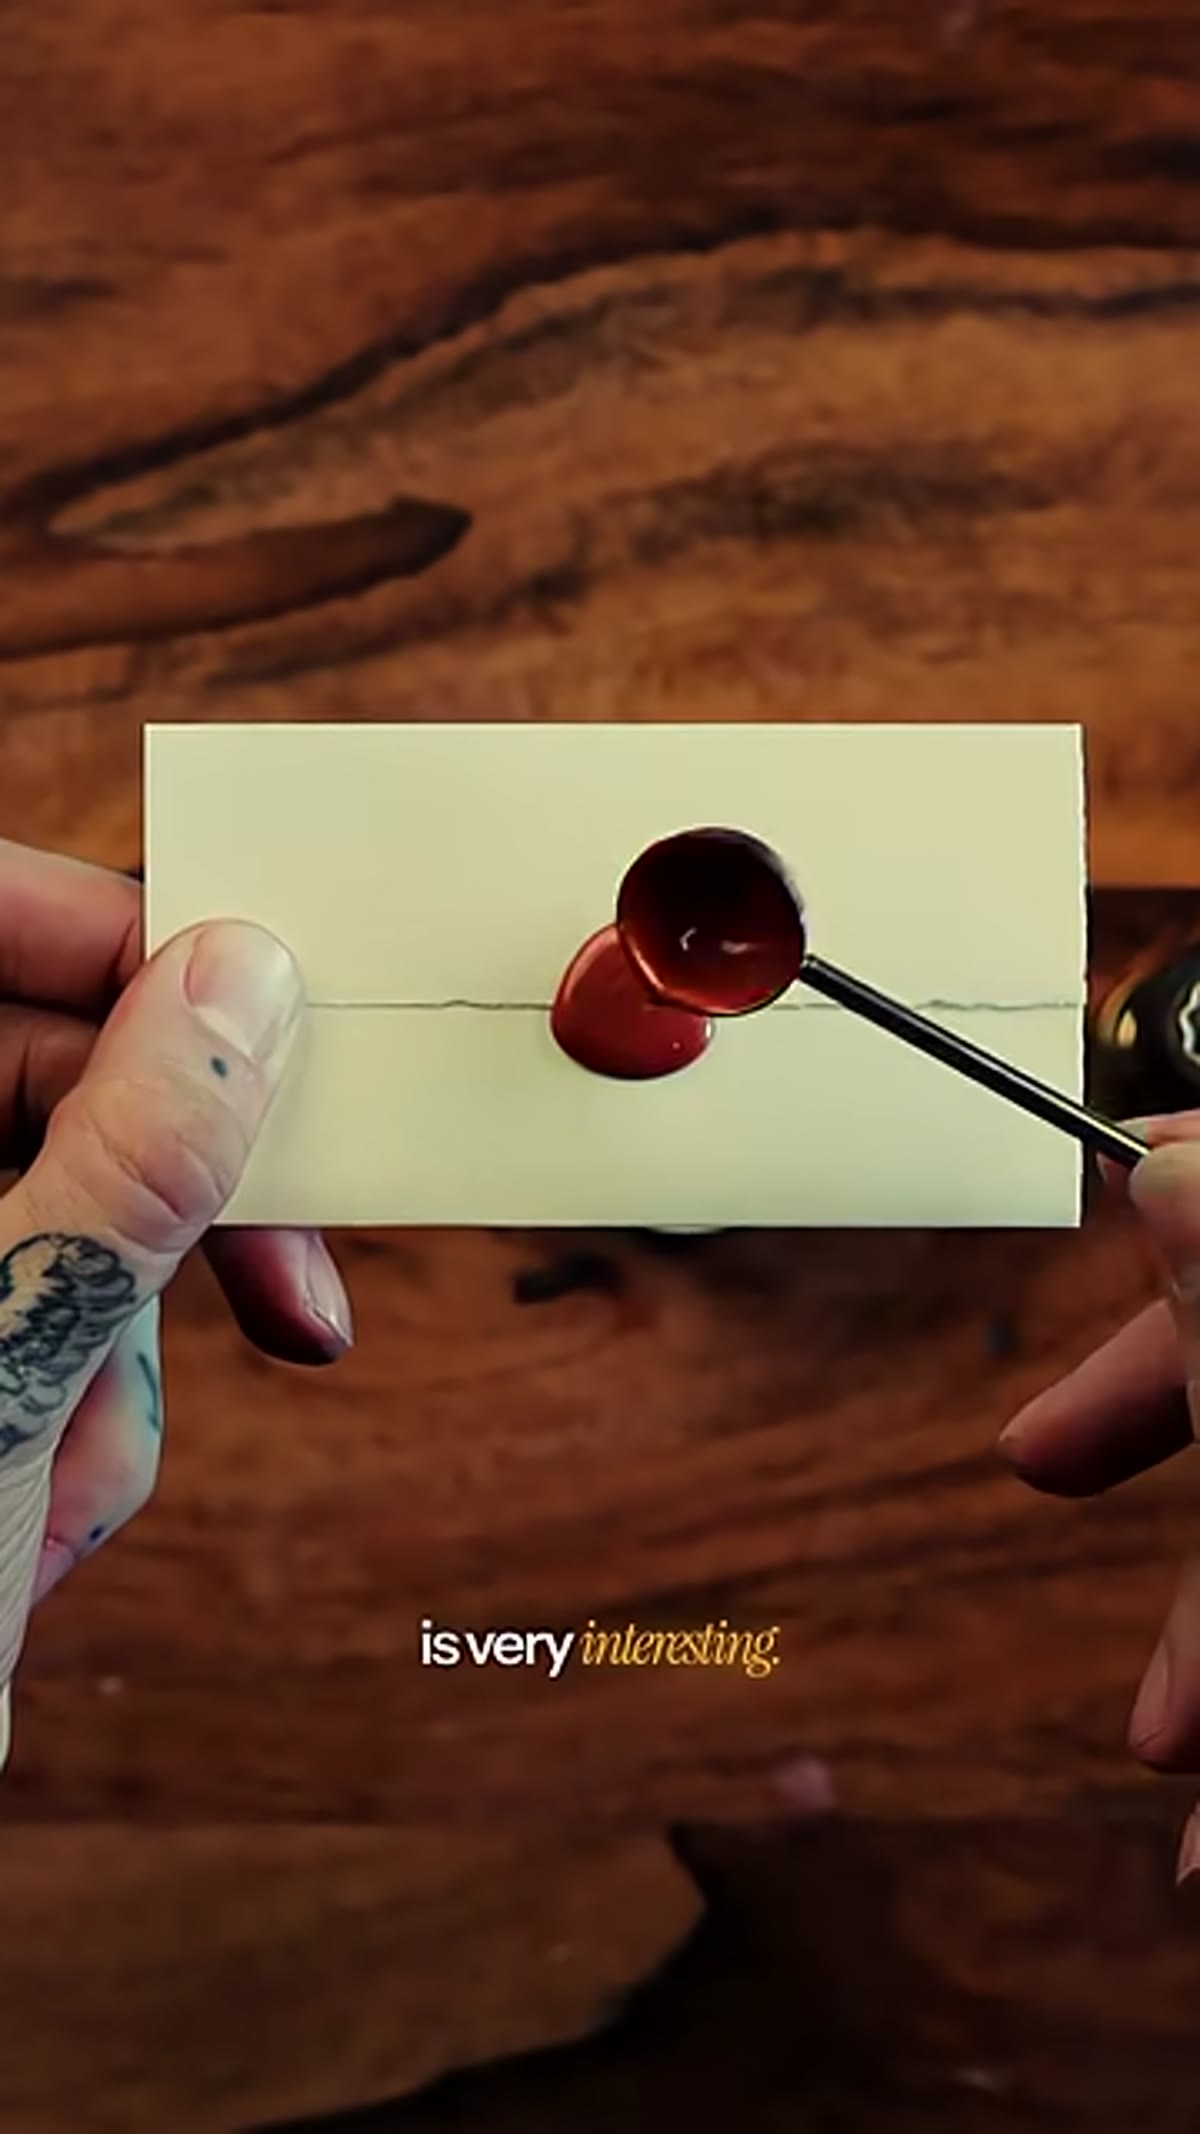 Wax stick, steel spoon, candle, and seal laid out
Before you light anything, get everything within arm’s reach. You’ll need a wax stick (these come in dozens of colors and are widely available at craft stores or online), a small steel spoon designed for melting wax, a tea light candle, a lighter, and the metal stamp seal itself. The spoon is a key detail here. Don’t try to substitute a regular kitchen spoon or hold the wax stick directly over the flame. A proper wax melting spoon gives you control over how much wax you pour and prevents scorching.
Wax stick, steel spoon, candle, and seal laid out
Before you light anything, get everything within arm’s reach. You’ll need a wax stick (these come in dozens of colors and are widely available at craft stores or online), a small steel spoon designed for melting wax, a tea light candle, a lighter, and the metal stamp seal itself. The spoon is a key detail here. Don’t try to substitute a regular kitchen spoon or hold the wax stick directly over the flame. A proper wax melting spoon gives you control over how much wax you pour and prevents scorching.
Lay everything out on a flat, heat-safe surface before you start. If you’re shooting this as part of a flat lay or a process photo series, this is also your chance to style the frame. The raw materials arranged together make a compelling “before” image.
Step 2: Light the Tea Light Candle
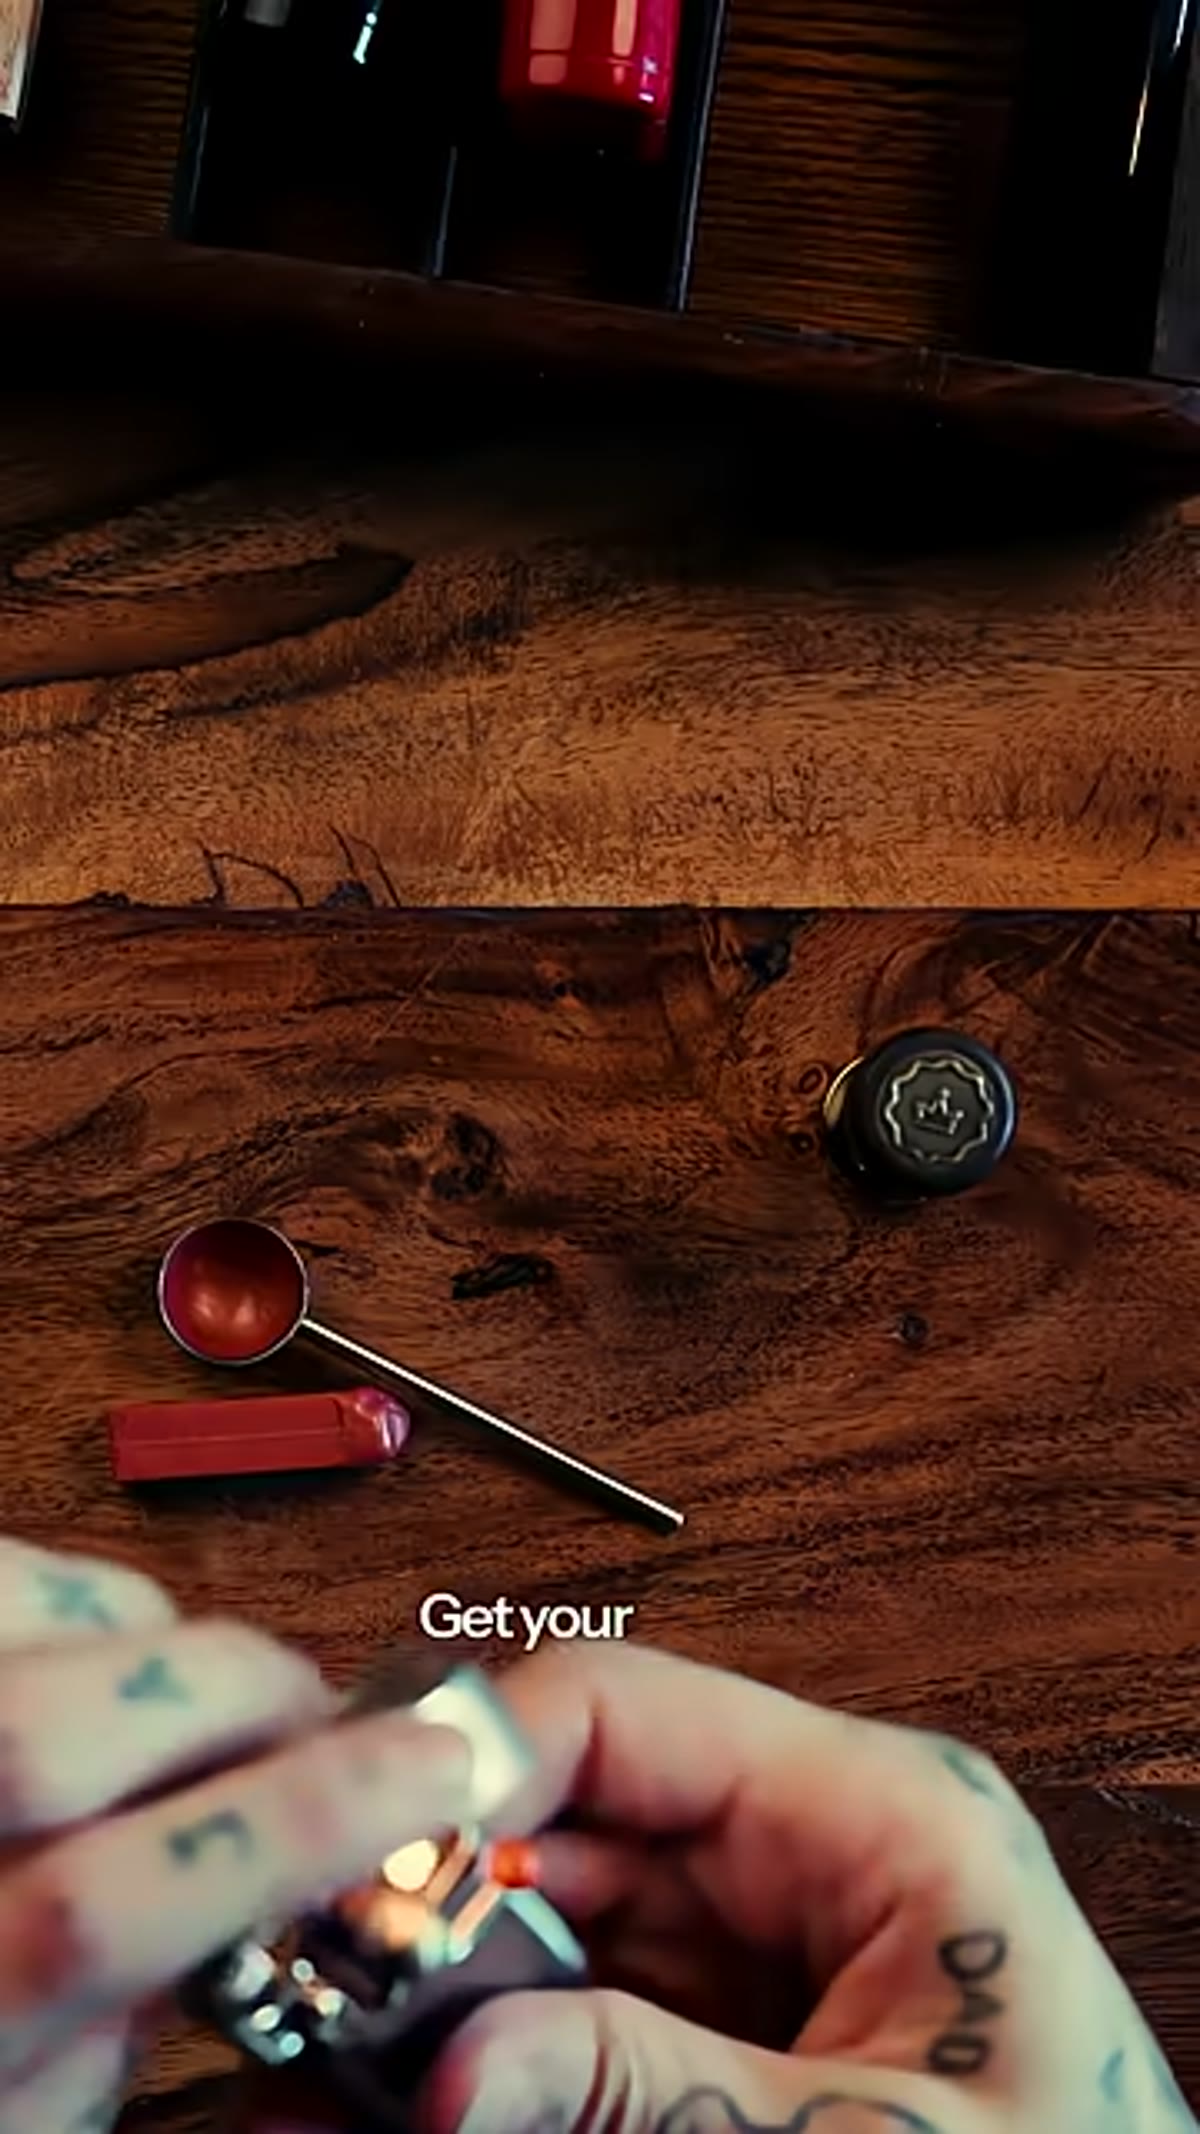 Lighting the tea light candle with a lighter
Use a standard tea light candle as your heat source. The small, contained flame gives you consistent, manageable heat, which matters when you’re trying to melt wax evenly without burning it. A larger candle can work, but the flame height becomes harder to control and you risk scorching the wax, which changes the color and can make it bubble or set unevenly.
Lighting the tea light candle with a lighter
Use a standard tea light candle as your heat source. The small, contained flame gives you consistent, manageable heat, which matters when you’re trying to melt wax evenly without burning it. A larger candle can work, but the flame height becomes harder to control and you risk scorching the wax, which changes the color and can make it bubble or set unevenly.
Once your candle is lit, give it a moment to settle into a steady flame before you bring the spoon over it. Patience here pays off. Rushing the melt is the most common beginner mistake and it shows in the final seal.
Step 3: Melt the Wax in the Spoon
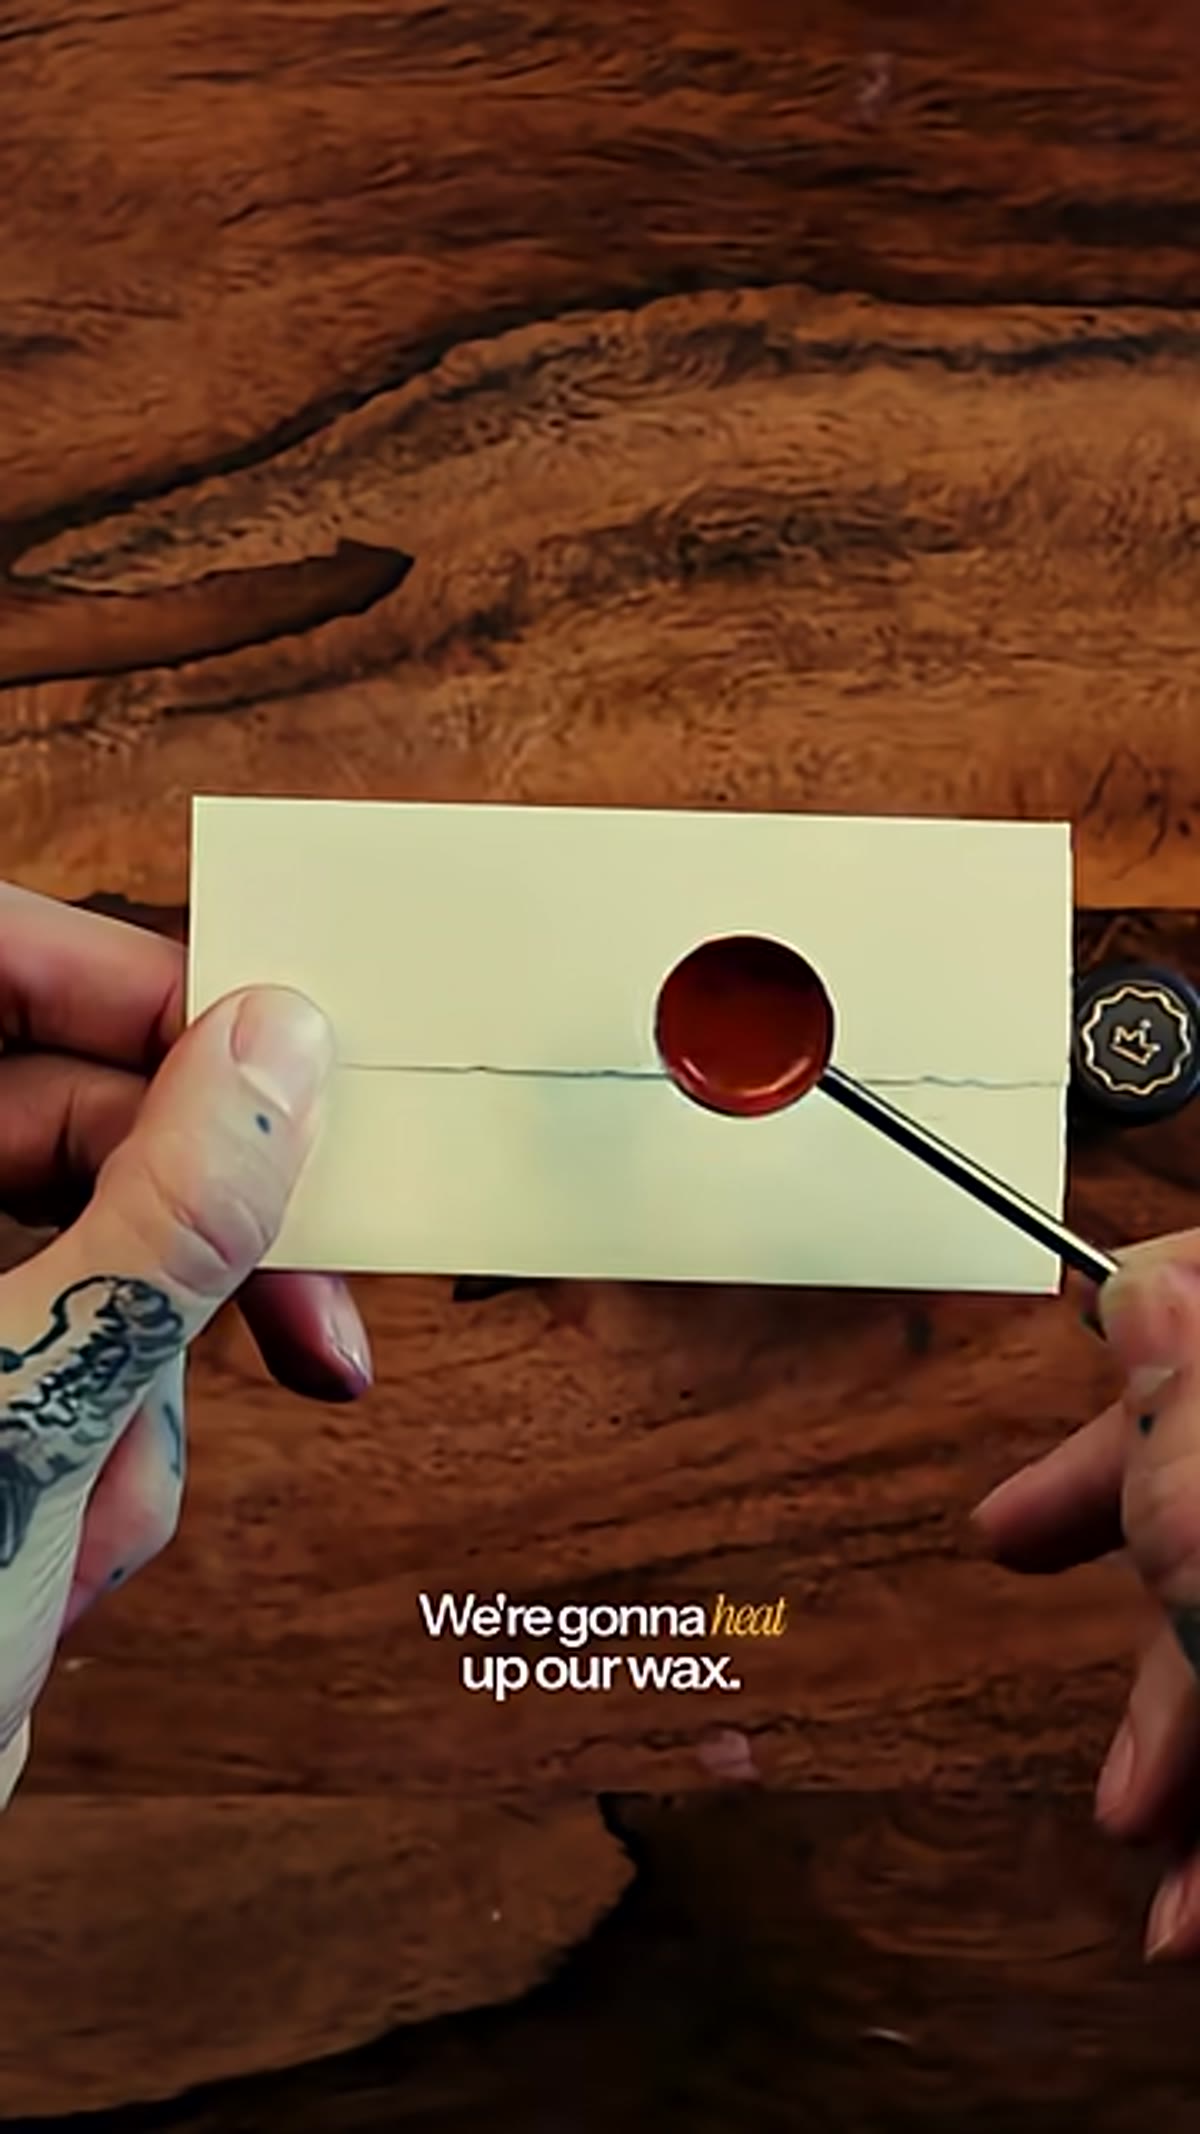 Steel spoon held over candle flame, wax melting
Hold the bowl of the spoon just above the candle flame and break or press the wax stick into it. You’re aiming to collect enough liquid wax to fill your stamp impression generously. One consistent mistake beginners make is underestimating how much wax they need. The wax pools, then the stamp displaces some of it, and if you started with too little you end up with a thin, incomplete seal that tears when you lift the stamp.
Steel spoon held over candle flame, wax melting
Hold the bowl of the spoon just above the candle flame and break or press the wax stick into it. You’re aiming to collect enough liquid wax to fill your stamp impression generously. One consistent mistake beginners make is underestimating how much wax they need. The wax pools, then the stamp displaces some of it, and if you started with too little you end up with a thin, incomplete seal that tears when you lift the stamp.
Melt slowly, letting the wax liquefy fully before you pour. Partially melted, lumpy wax creates an uneven surface that won’t take the stamp detail cleanly. The wax should flow freely when you tilt the spoon, like warm honey.
Step 4: Pour the Wax onto Your Surface
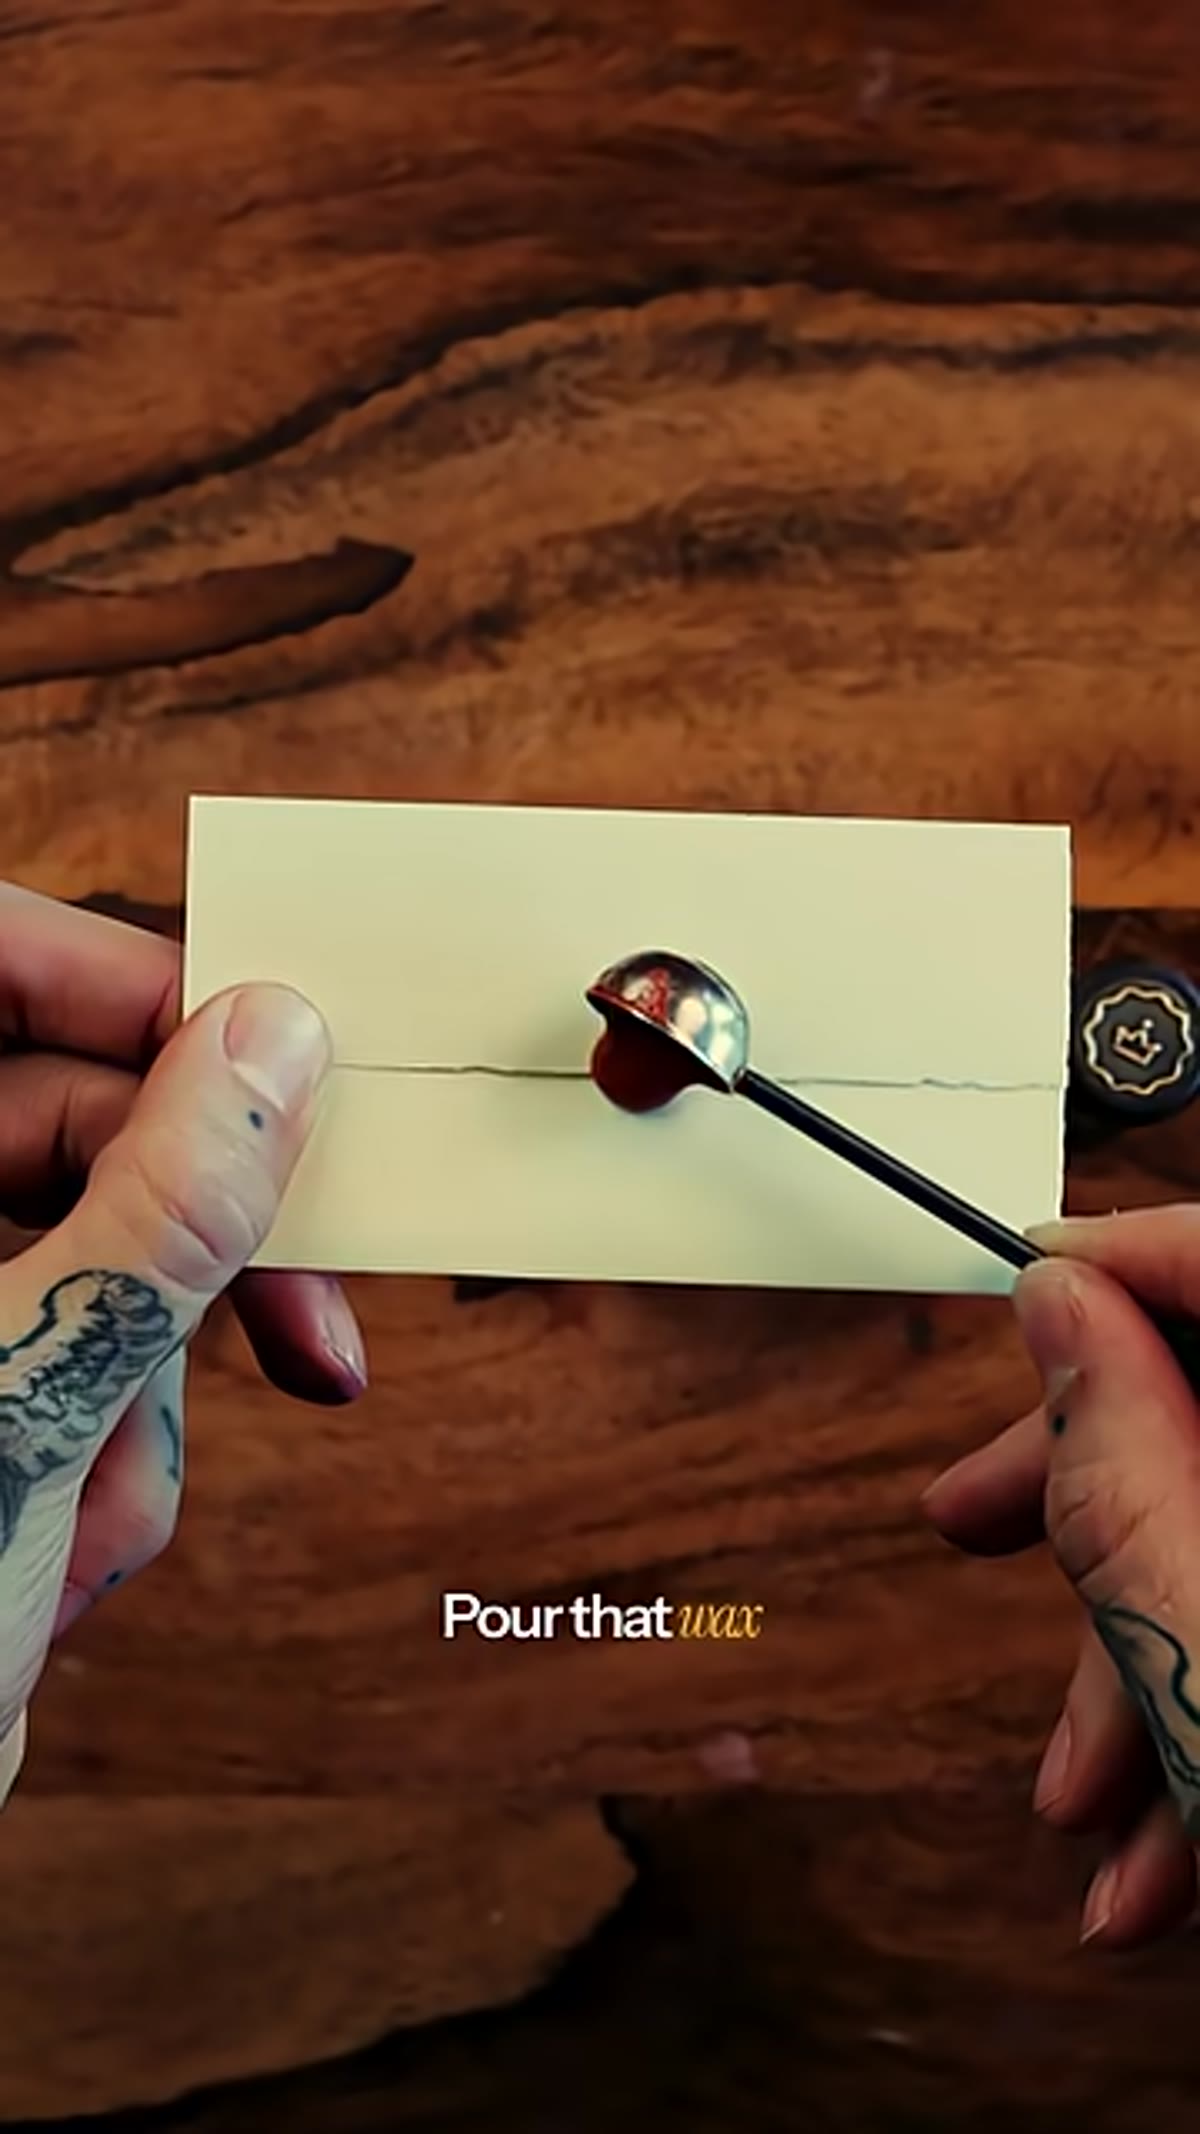 Liquid wax being poured from spoon onto paper
Pour the melted wax in a single, controlled motion directly onto the spot where you want your seal. Try to pour it in a rough circle and keep the spoon close to the surface so the wax doesn’t splash or spread too far before it starts to set. The less the wax travels through the air, the smoother the surface you’ll get.
Liquid wax being poured from spoon onto paper
Pour the melted wax in a single, controlled motion directly onto the spot where you want your seal. Try to pour it in a rough circle and keep the spoon close to the surface so the wax doesn’t splash or spread too far before it starts to set. The less the wax travels through the air, the smoother the surface you’ll get.
Here’s the part that surprises most people: the wax starts setting almost immediately. You have maybe ten to fifteen seconds from the moment it hits the paper before it’s too firm to stamp cleanly. Don’t walk away to adjust your camera angle or fidget with the stamp. Everything that comes next needs to happen quickly and deliberately.
Step 5: Press the Seal Down and Hold It
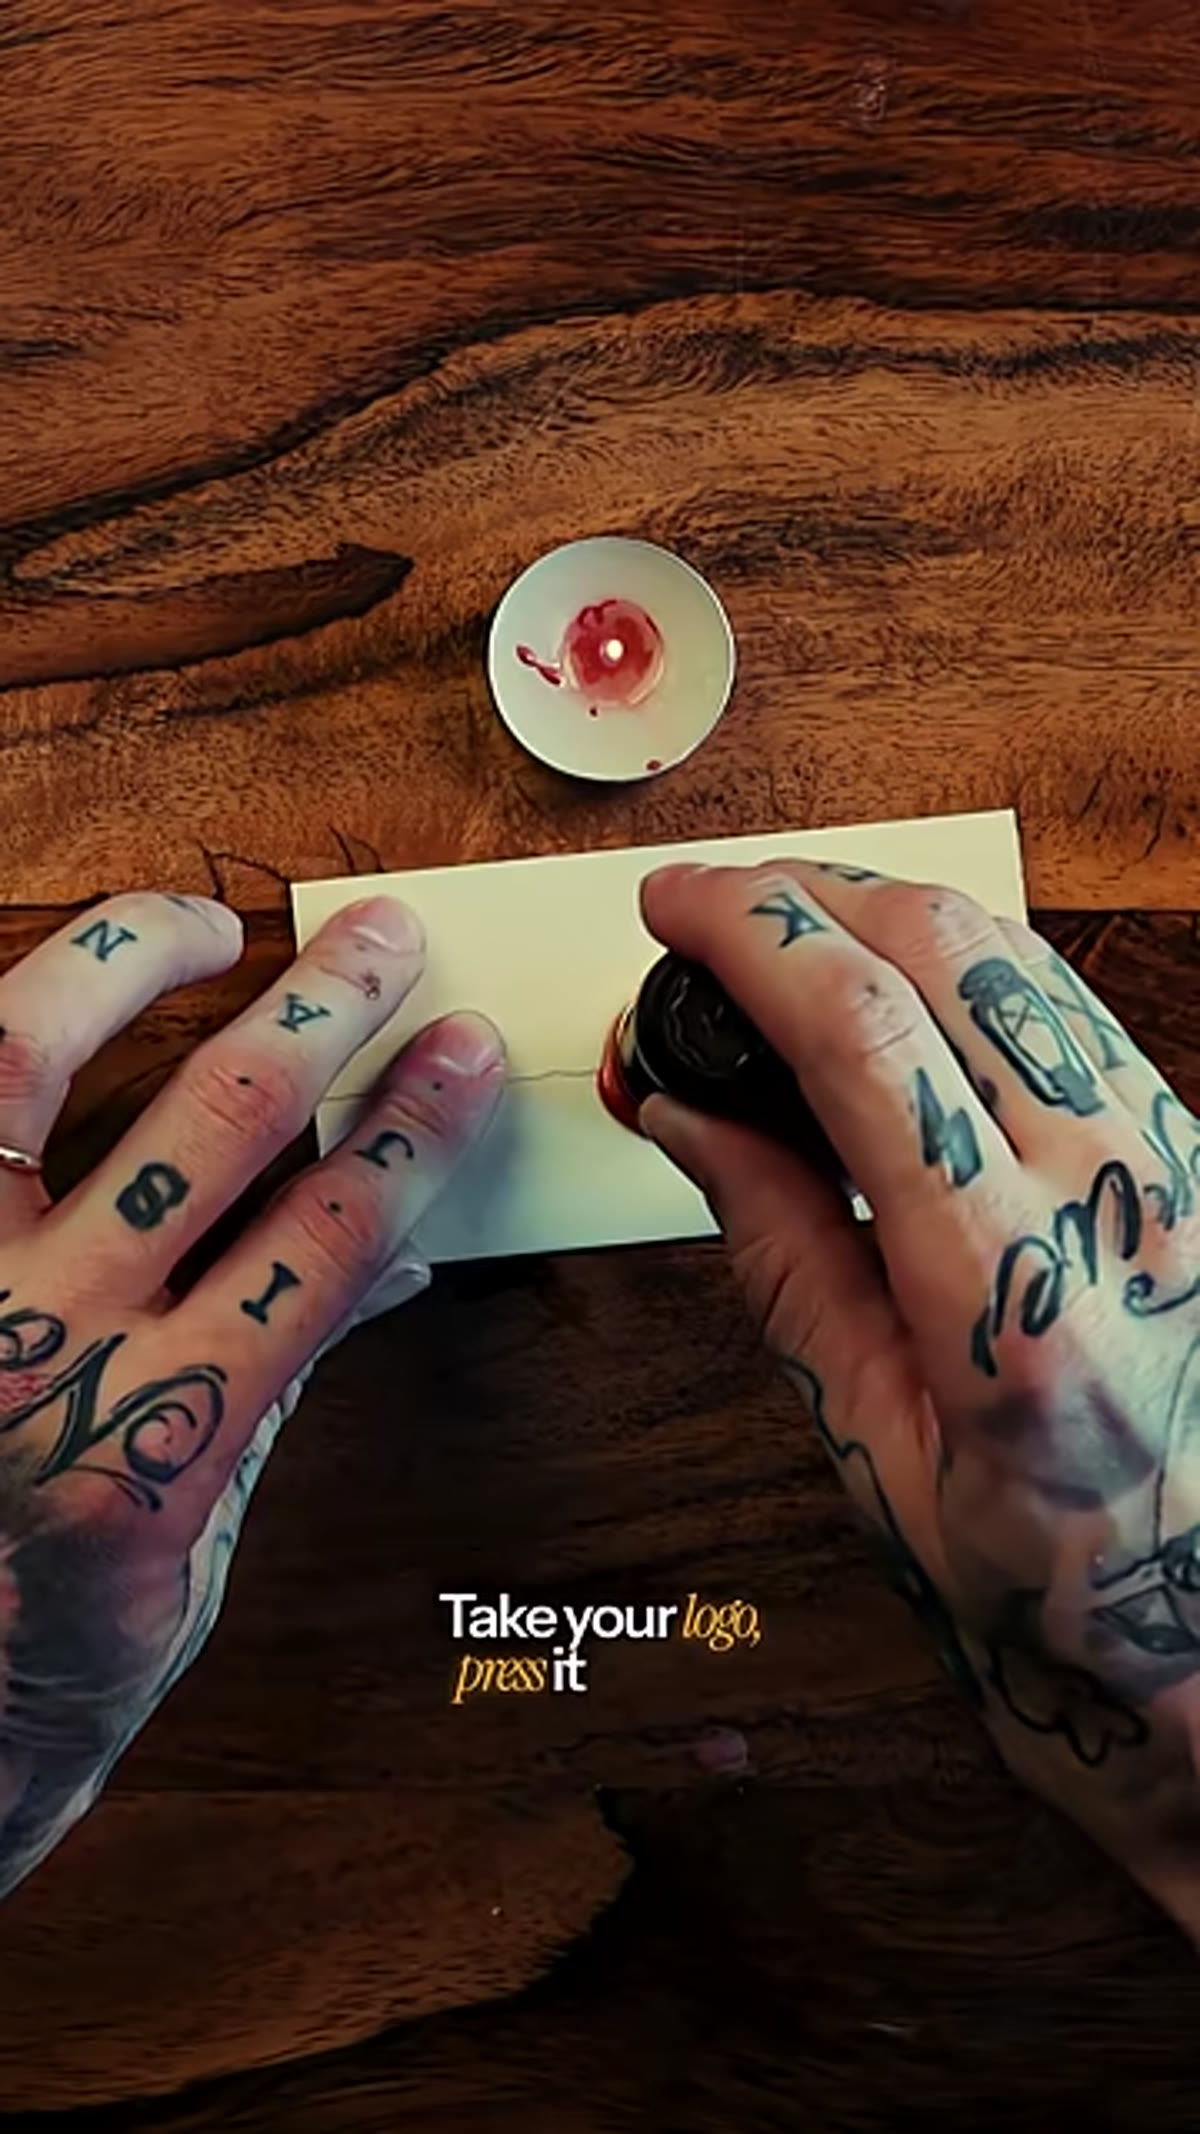 Metal stamp pressed into pooled wax, held in place
Press the metal stamp straight down into the center of the wax pool with firm, even pressure. Do not twist it, rock it, or adjust its position once it makes contact. Any movement will blur the impression and you’ll lose the fine detail in the design. Hold it perfectly still.
Metal stamp pressed into pooled wax, held in place
Press the metal stamp straight down into the center of the wax pool with firm, even pressure. Do not twist it, rock it, or adjust its position once it makes contact. Any movement will blur the impression and you’ll lose the fine detail in the design. Hold it perfectly still.
The waiting is genuinely the hardest part, especially when you’re new to this. It feels like it should only take a few seconds, but give it closer to ten to fifteen seconds of steady pressure. The wax needs to fully solidify around the stamp’s design before you lift. If you pull up too early, the wax is still soft enough to distort as the stamp releases.
Step 6: Lift the Stamp Cleanly
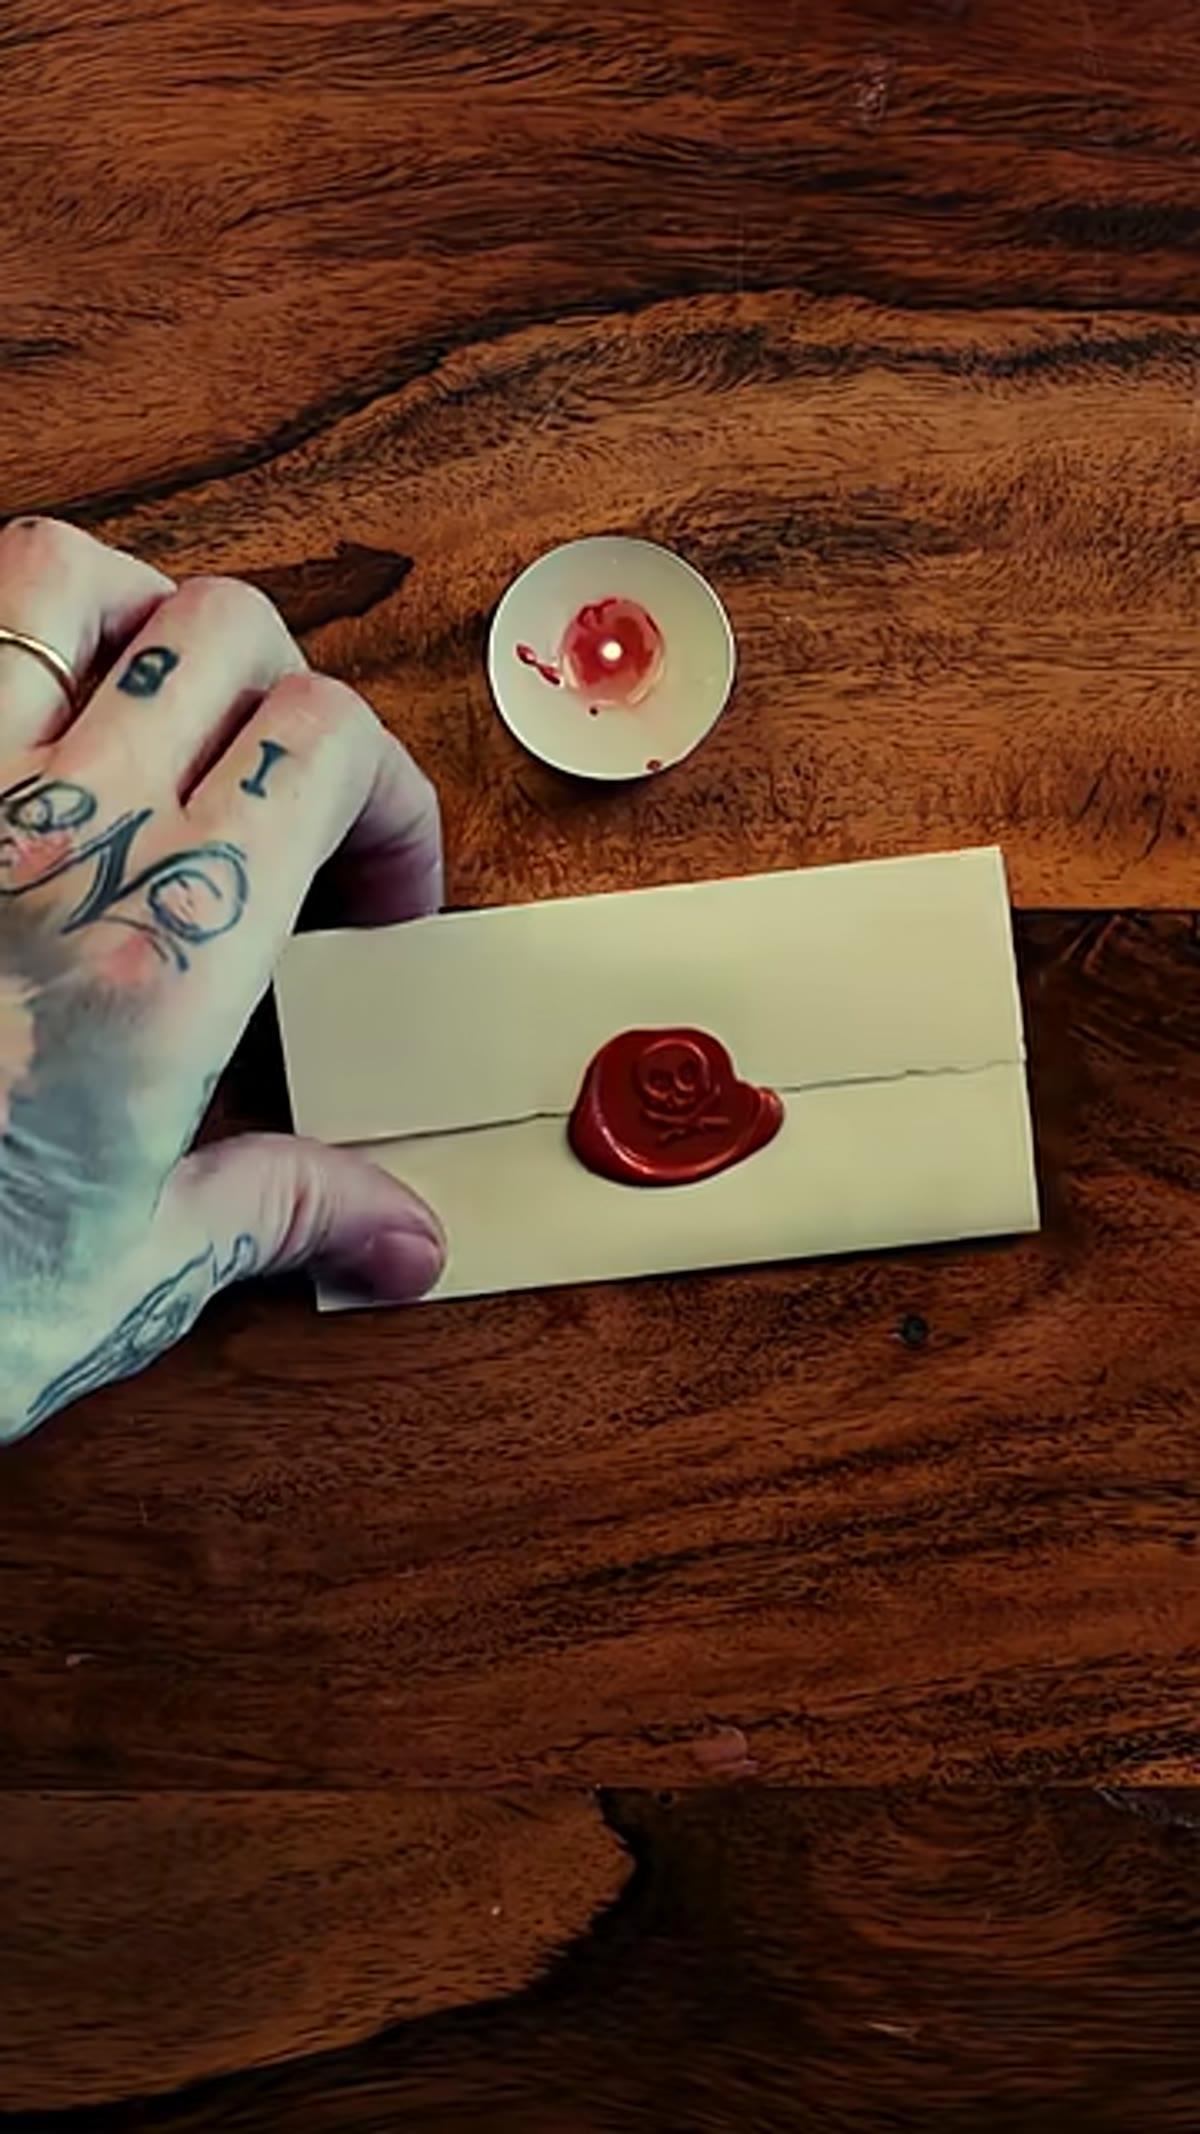 Stamp being lifted to reveal finished wax seal impression
Pull the stamp straight up. Don’t peel or angle it. A clean vertical lift is what separates a crisp seal from a smeared one. If you did everything in the previous steps correctly, the stamp should release easily and the impression should be sharp, detailed, and satisfying in the best possible way.
Stamp being lifted to reveal finished wax seal impression
Pull the stamp straight up. Don’t peel or angle it. A clean vertical lift is what separates a crisp seal from a smeared one. If you did everything in the previous steps correctly, the stamp should release easily and the impression should be sharp, detailed, and satisfying in the best possible way.
Take a moment to actually look at it before you move on. The detail that a well-executed wax seal captures is remarkable, and photographing it while it still has that fresh, slightly glossy finish is worth doing immediately.
A Note from My Own Practice
I started using wax seals specifically for client delivery packages, and the first thing I noticed was that people photographed the packaging before they even opened it. That’s the power of an analog detail in a world of poly mailers and bubble wrap. If you’re a photographer who also sells prints or does client gifting, a wax seal on your packaging is one of the simplest upgrades you can make to the entire experience.
One thing the tutorial doesn’t cover but I’ve learned through trial and error: different wax brands behave differently. Glue-gun style wax sticks (the flexible, bendy kind) produce a seal that’s more flexible and less likely to crack, which matters if the item is being mailed. Traditional brittle wax looks stunning but will shatter in transit. Match your wax type to how the sealed item will actually be used.
The single most important thing I took away from this tutorial is something Peter says almost in passing: creating something by hand and giving it to another person is special in a way that’s genuinely rare now. Wax seals are a small way to put that intention into the world, and they’re far easier to make than they look.
Watch the full tutorial on YouTube to see the technique in real time, then grab a wax kit and make your first seal this week. Yours won’t be perfect. That’s fine. Make ten of them.
Comments (2)
Just used this on a wedding shoot edit. Client was thrilled.
My workflow just got 10x faster. Not even kidding.
Leave a Comment