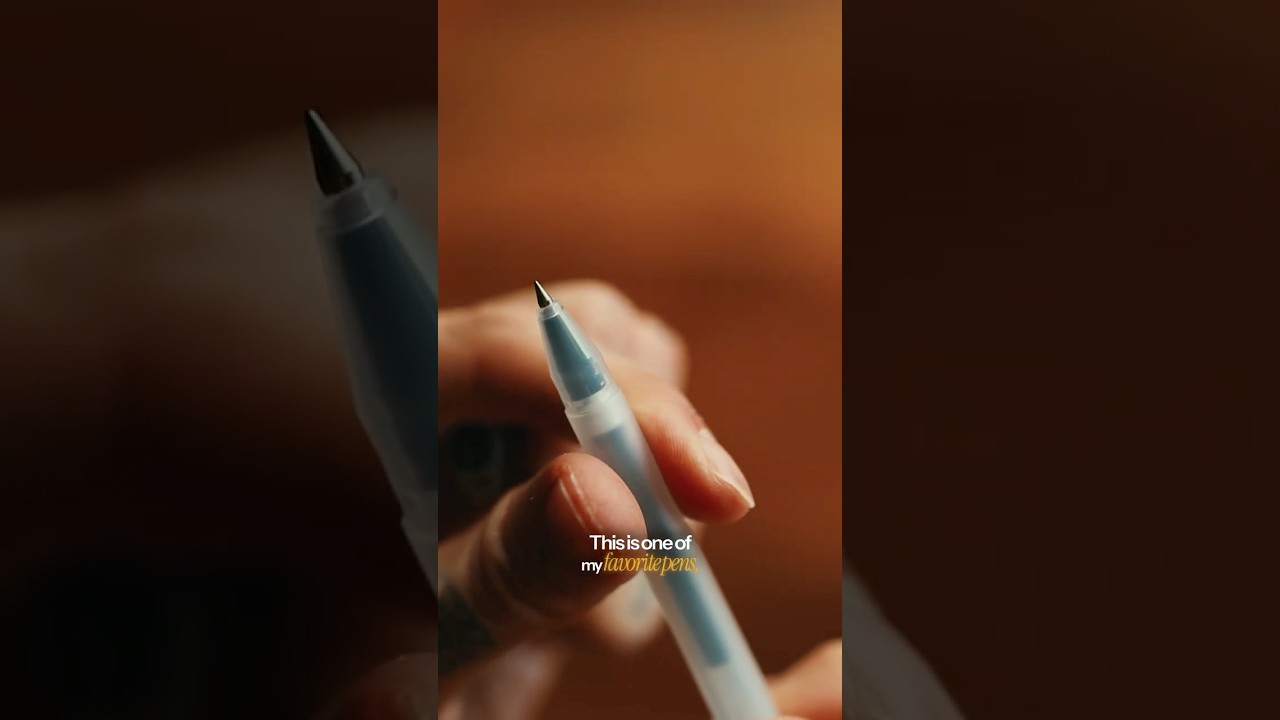
There’s a moment on every shoot where someone hands you a pen and you have to sign something, mark a print, or scribble a composition idea on the back of a call sheet, and the pen is so bad it practically ruins the mood. I’ve been there more times than I want to admit. A pen that skips, smears, or bleeds through paper is a small but genuinely annoying friction point in an otherwise smooth workflow. It sounds trivial until you’re trying to annotate a contact sheet or label a memory card envelope and the ink turns into a smudge before it dries.
That’s why I was genuinely delighted when I found this Peter McKinnon tutorial, where he sits down and tests a whole lineup of popular pens with the kind of honest, slightly chaotic energy that makes his content so watchable. It’s not a sponsored breakdown. It’s one creative person telling you, clearly and without hedging, what works and what doesn’t. Watch the full tutorial on YouTube and then come back here for the breakdown.
What follows is my walkthrough of his rankings, translated into practical guidance for photographers who care about the tools they carry, even the small ones.
Step 1: Start With the Muji 0.38
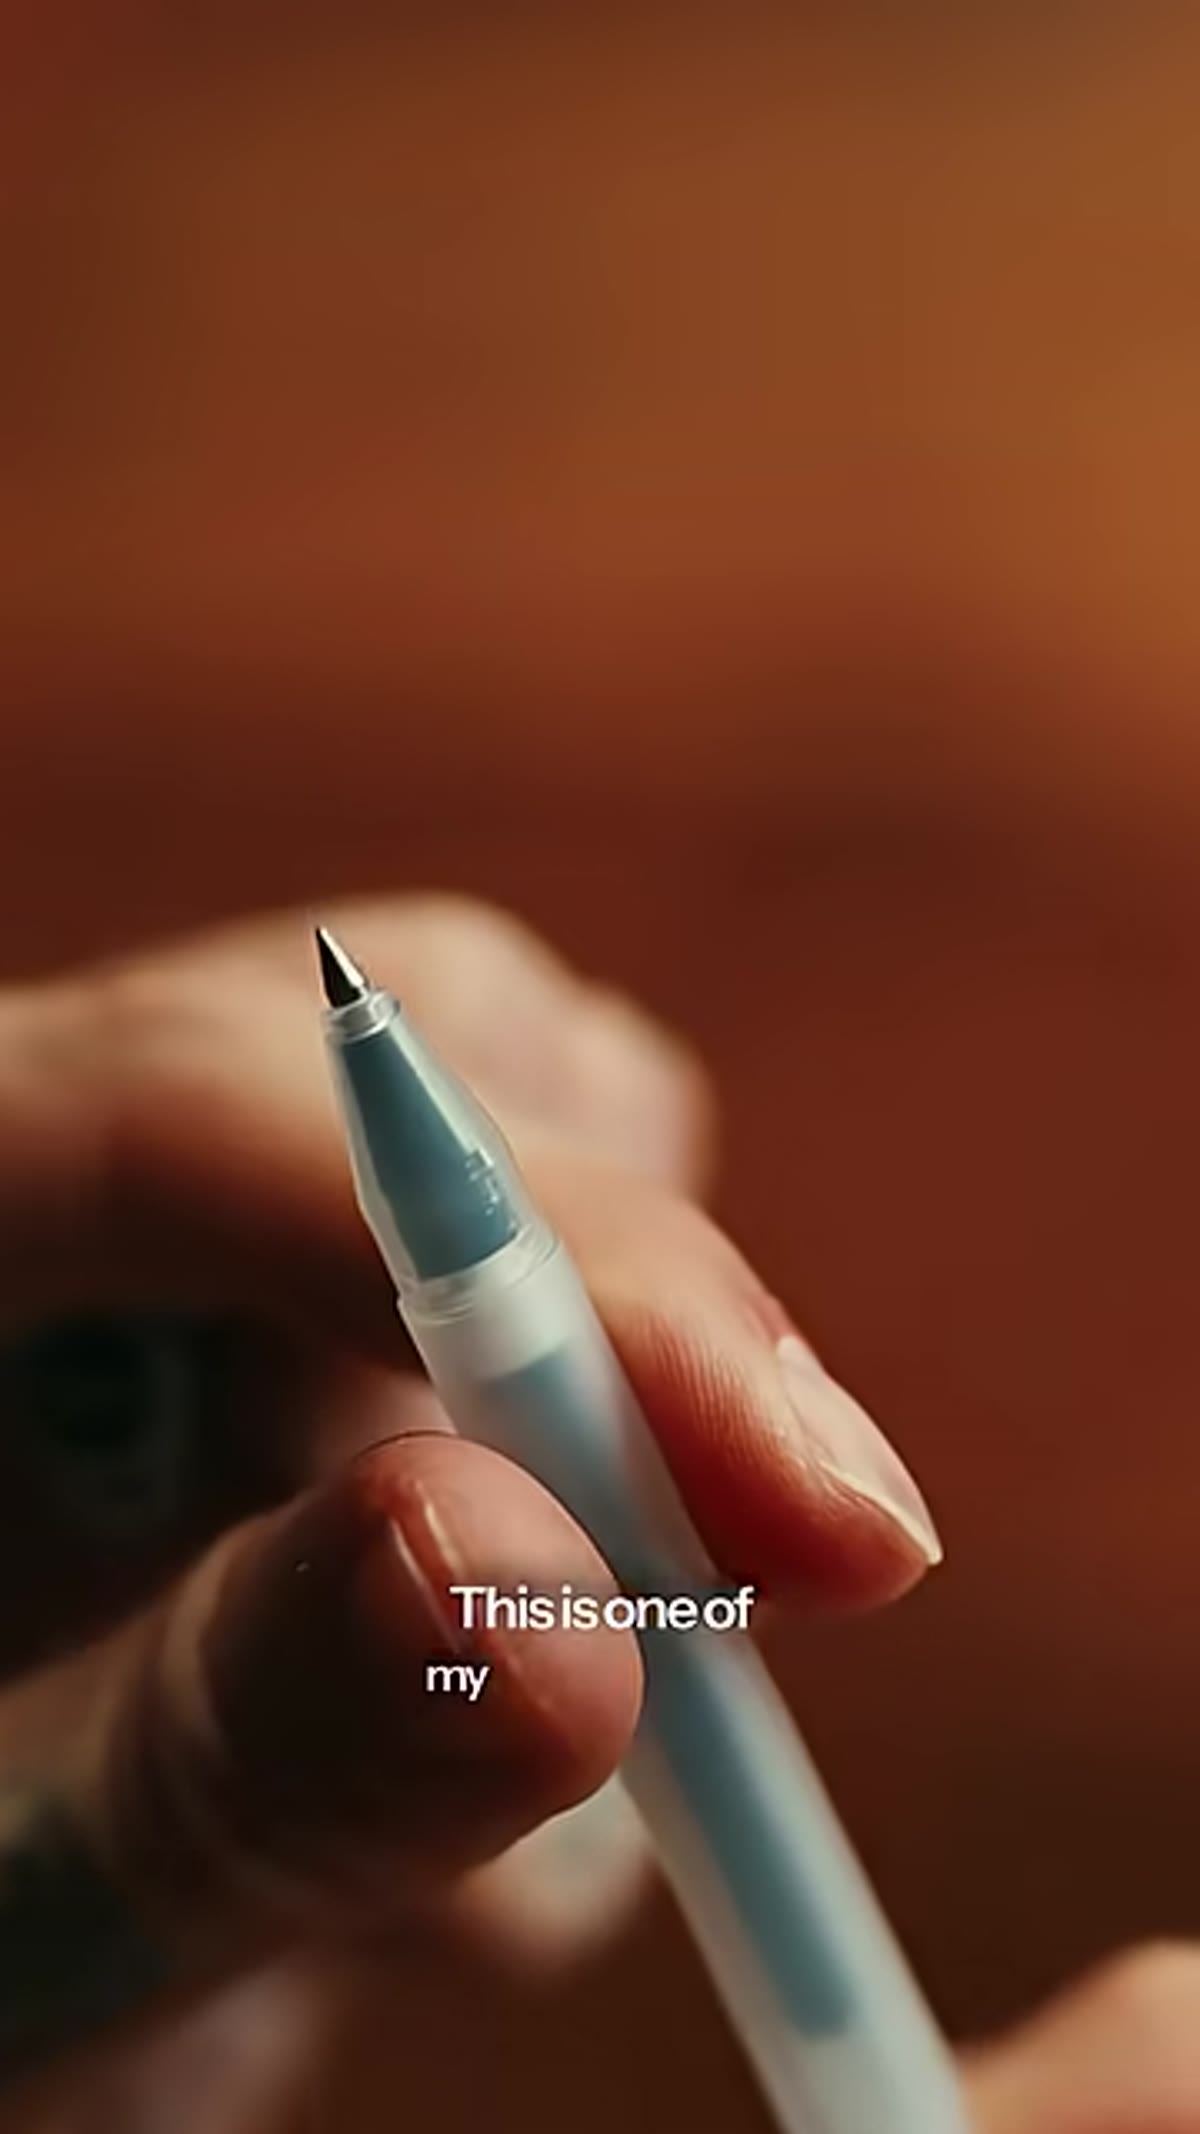 Peter holding the Muji 0.38 pen up to camera
The first pen McKinnon evaluates is the Muji 0.38, and his reaction is immediate and enthusiastic. The fine 0.38mm tip is the key detail here. For photographers who annotate prints, write on gaffer tape labels, or sketch out lighting diagrams in a notebook, a fine tip gives you control. You’re not fighting the pen to stay inside a margin or on a narrow label strip.
He places this firmly in his top tier, describing it as a time-tested classic. If you’ve never paid attention to pen tip sizing before, 0.38mm is on the finer end of the common range. It rewards slow, deliberate writing and handles detail work well. This is the pen you want in your camera bag for anything that requires precision.
Step 2: Evaluate the Uni 1.0 Jetstream
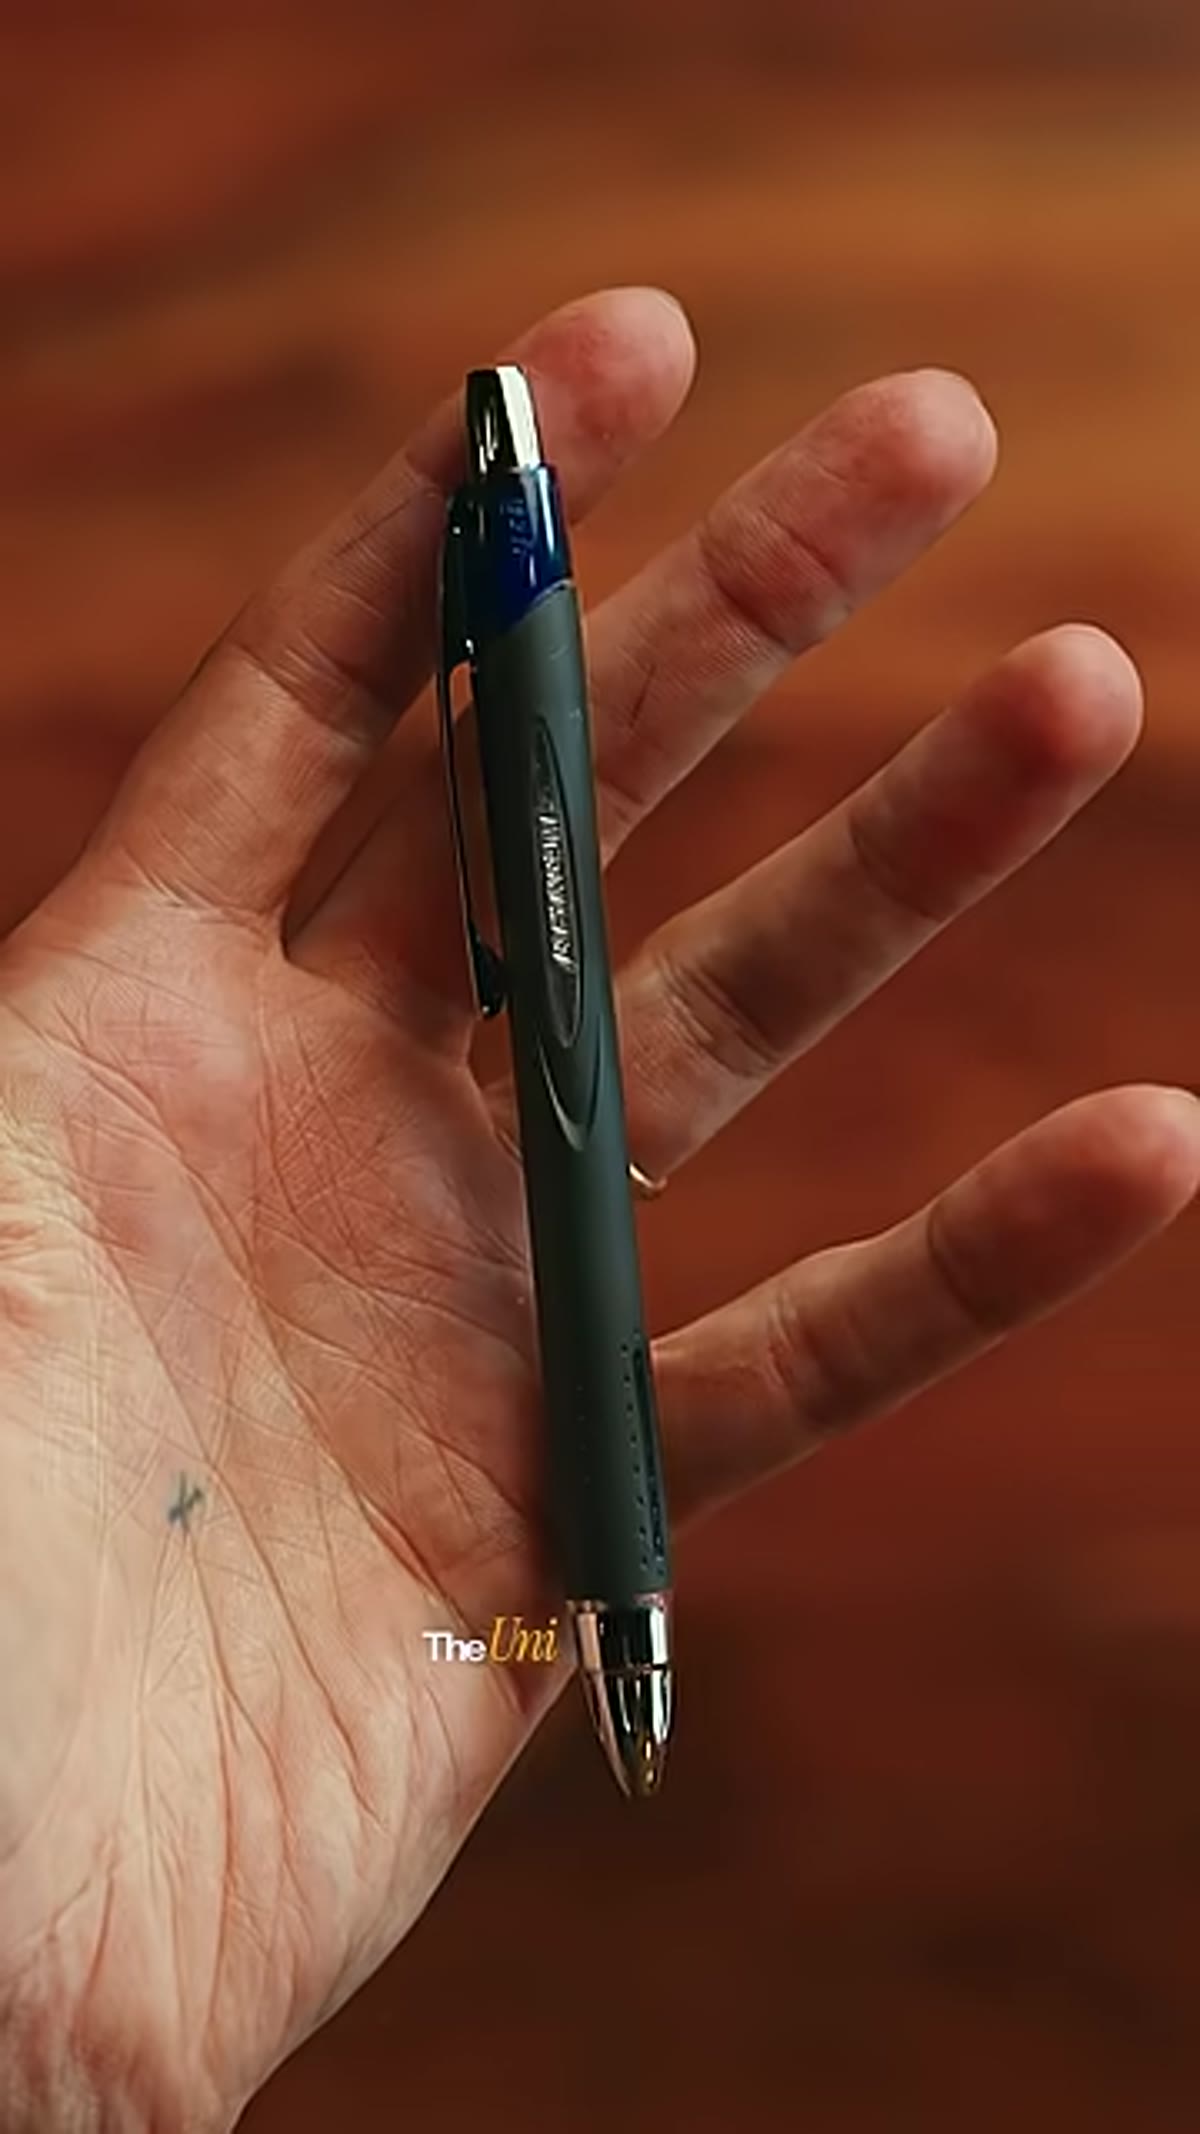 Close-up of the Uni 1.0 Jetstream being written with
The Uni Jetstream is a well-known name in the pen world, but McKinnon tests the 1.0mm version here and the verdict is not kind. The 1.0mm tip is simply too thick for most detailed work. He notes the lack of precision and the tendency to smear, which lands it at the bottom of his ranking.
For photographers, this is a useful reminder that tip size matters more than brand recognition. A thick ballpoint might feel sturdy and reliable, but if you’re trying to write a shoot reference number on a small sticker or mark up a proof sheet, you’ll lose detail fast. The Jetstream line does make finer-tipped versions that fare better, so if you’re a Uni loyalist, consider dropping down to a 0.5mm or 0.38mm variant before writing off the brand entirely.
Step 3: Assess the Uni-Ball 0.38
 Peter clicking the Uni-ball pen and examining the clip
The Uni-ball in 0.38mm earns a much warmer response. McKinnon notes the clip design, the pen’s overall build, and places it in his upper tier. He describes the click mechanism as moderate, which in practical terms means it’s reliable without being loud or stiff. That matters if you’re working in quiet environments like gallery shoots or intimate portrait sessions where every small sound is amplified.
He also points out the matte white aesthetic, which he compares to a stormtrooper. Honestly, that’s not a bad thing. A pen that looks distinctive is a pen you can find in a bag quickly. The write quality at 0.38mm keeps it consistent with the Muji: clean, controlled, and appropriate for detailed annotations.
Step 4: Understand Why the Zebra Sarasa 03 Drops in the Rankings
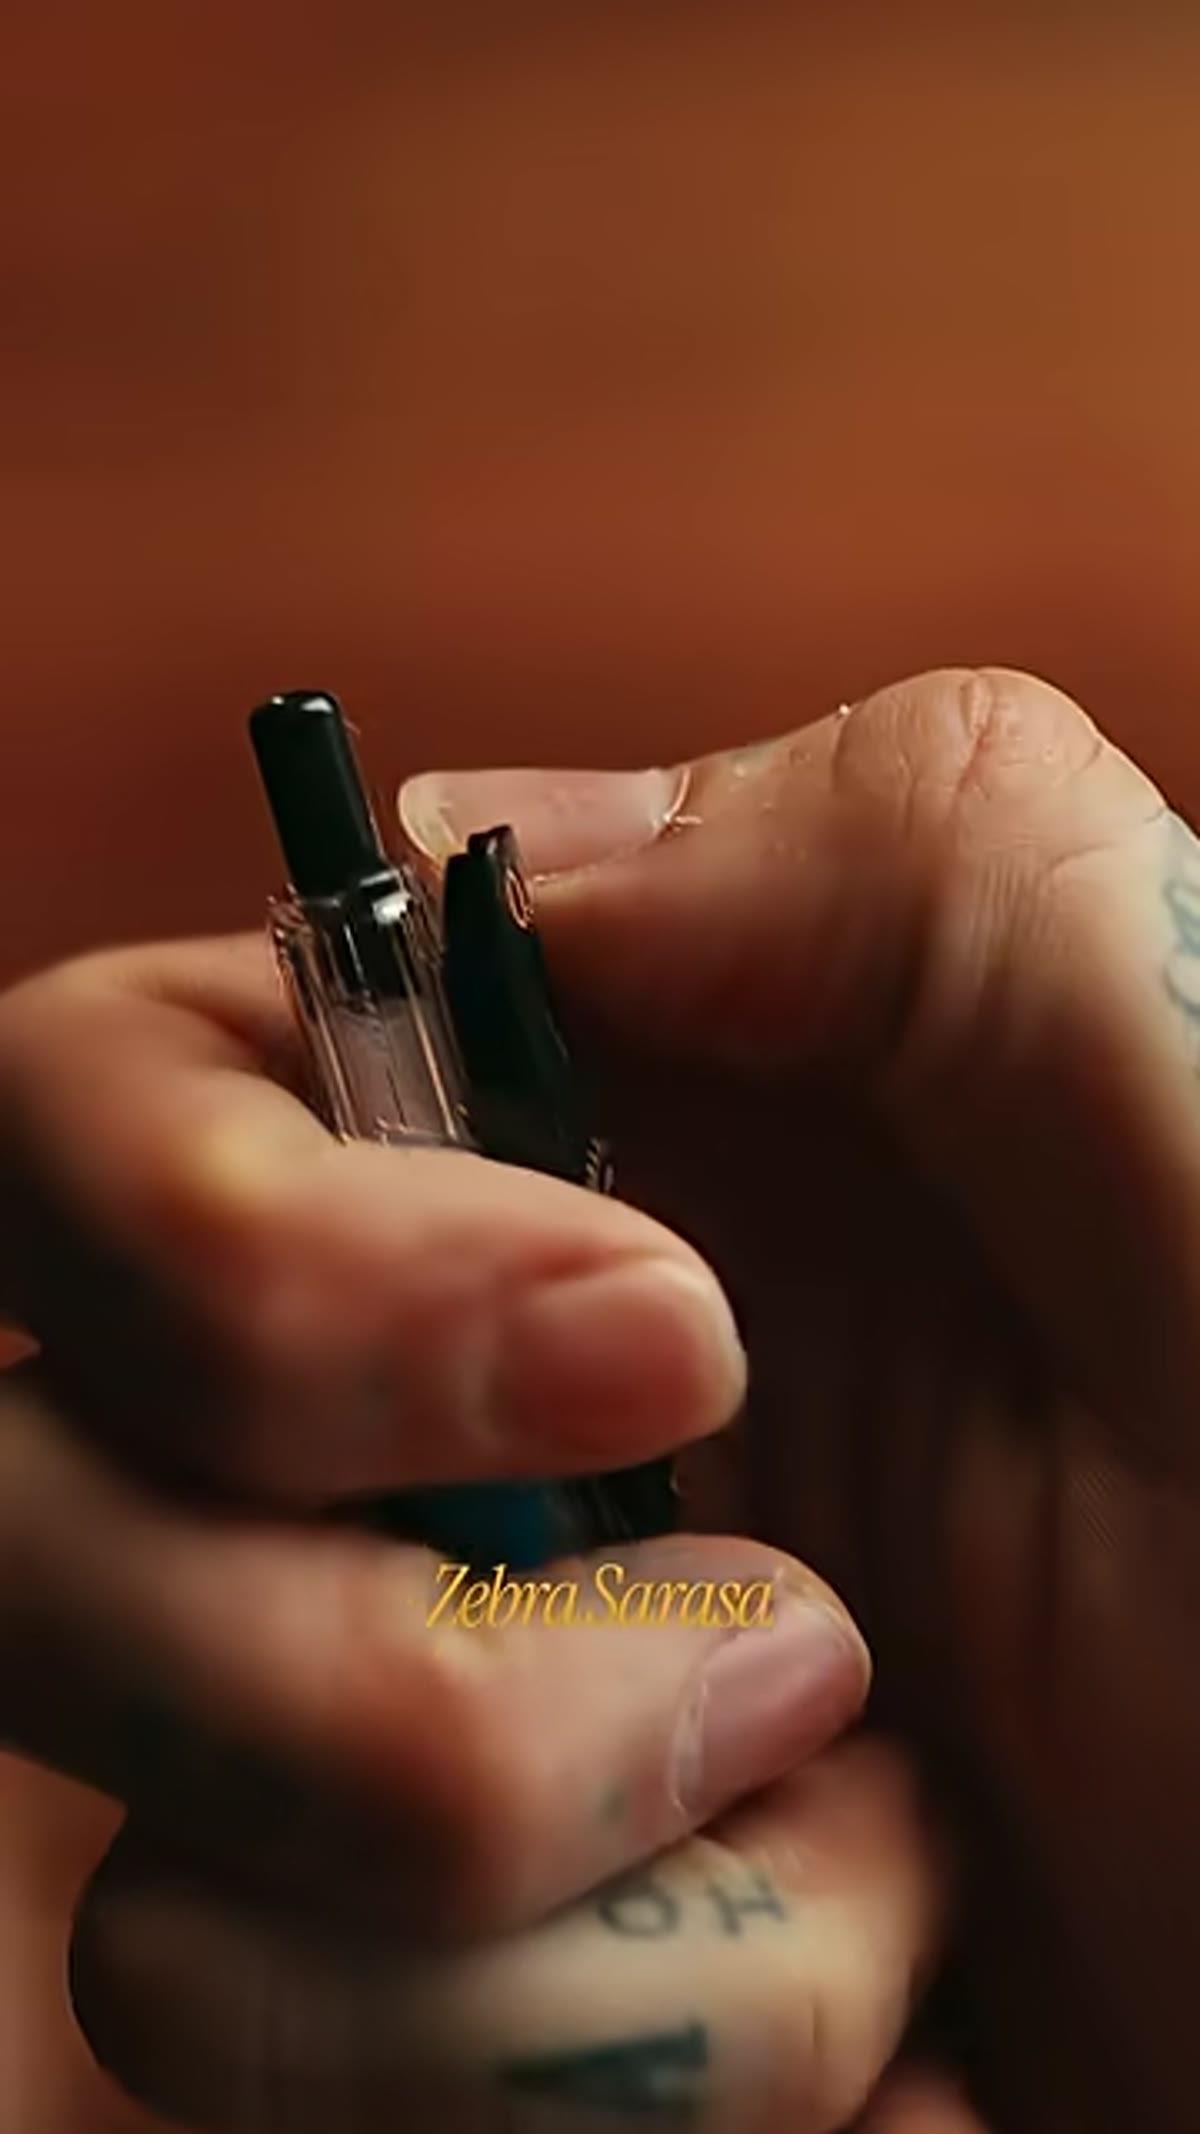 Writing sample from the Zebra Sarasa 03 being shown
The Zebra Sarasa 03 is a pen that looks promising on paper (pun intended) but delivers an unpleasant tactile experience. McKinnon describes the sensation as similar to chalk on a blackboard, something that creates an almost physical resistance to using it. He places it in the middle-lower tier, and his reasoning comes down to feel as much as function.
This is worth taking seriously if you write a lot by hand. For photographers who journal between shoots, keep shot lists, or draft creative briefs by hand, the experience of writing matters. A pen that makes you want to stop writing is a problem. The Sarasa line has other versions worth trying, but this particular configuration didn’t hold up under real use conditions.
Step 5: Apply the Ranking Framework to Your Own Kit
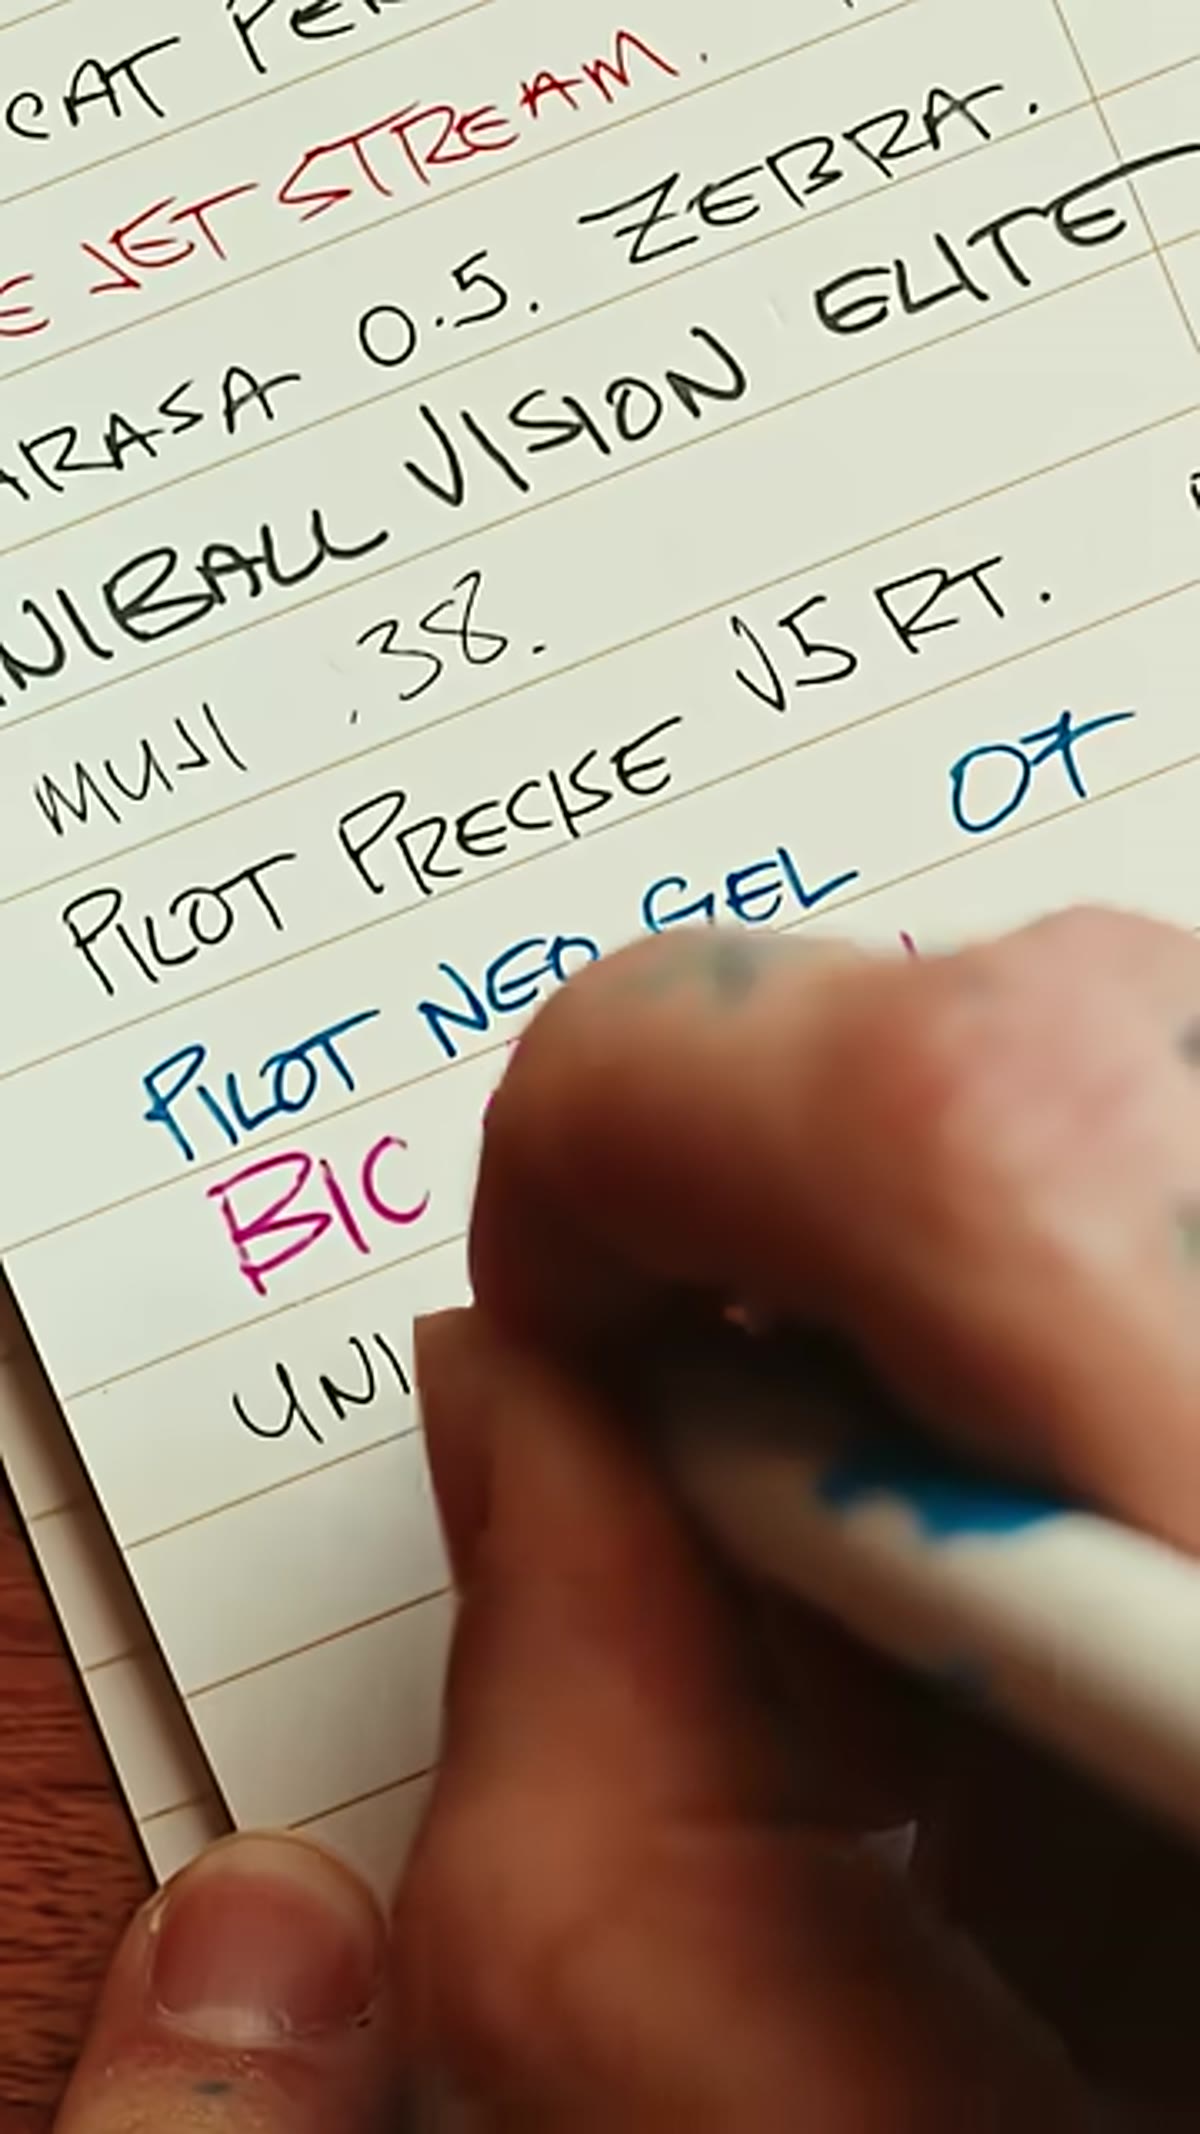
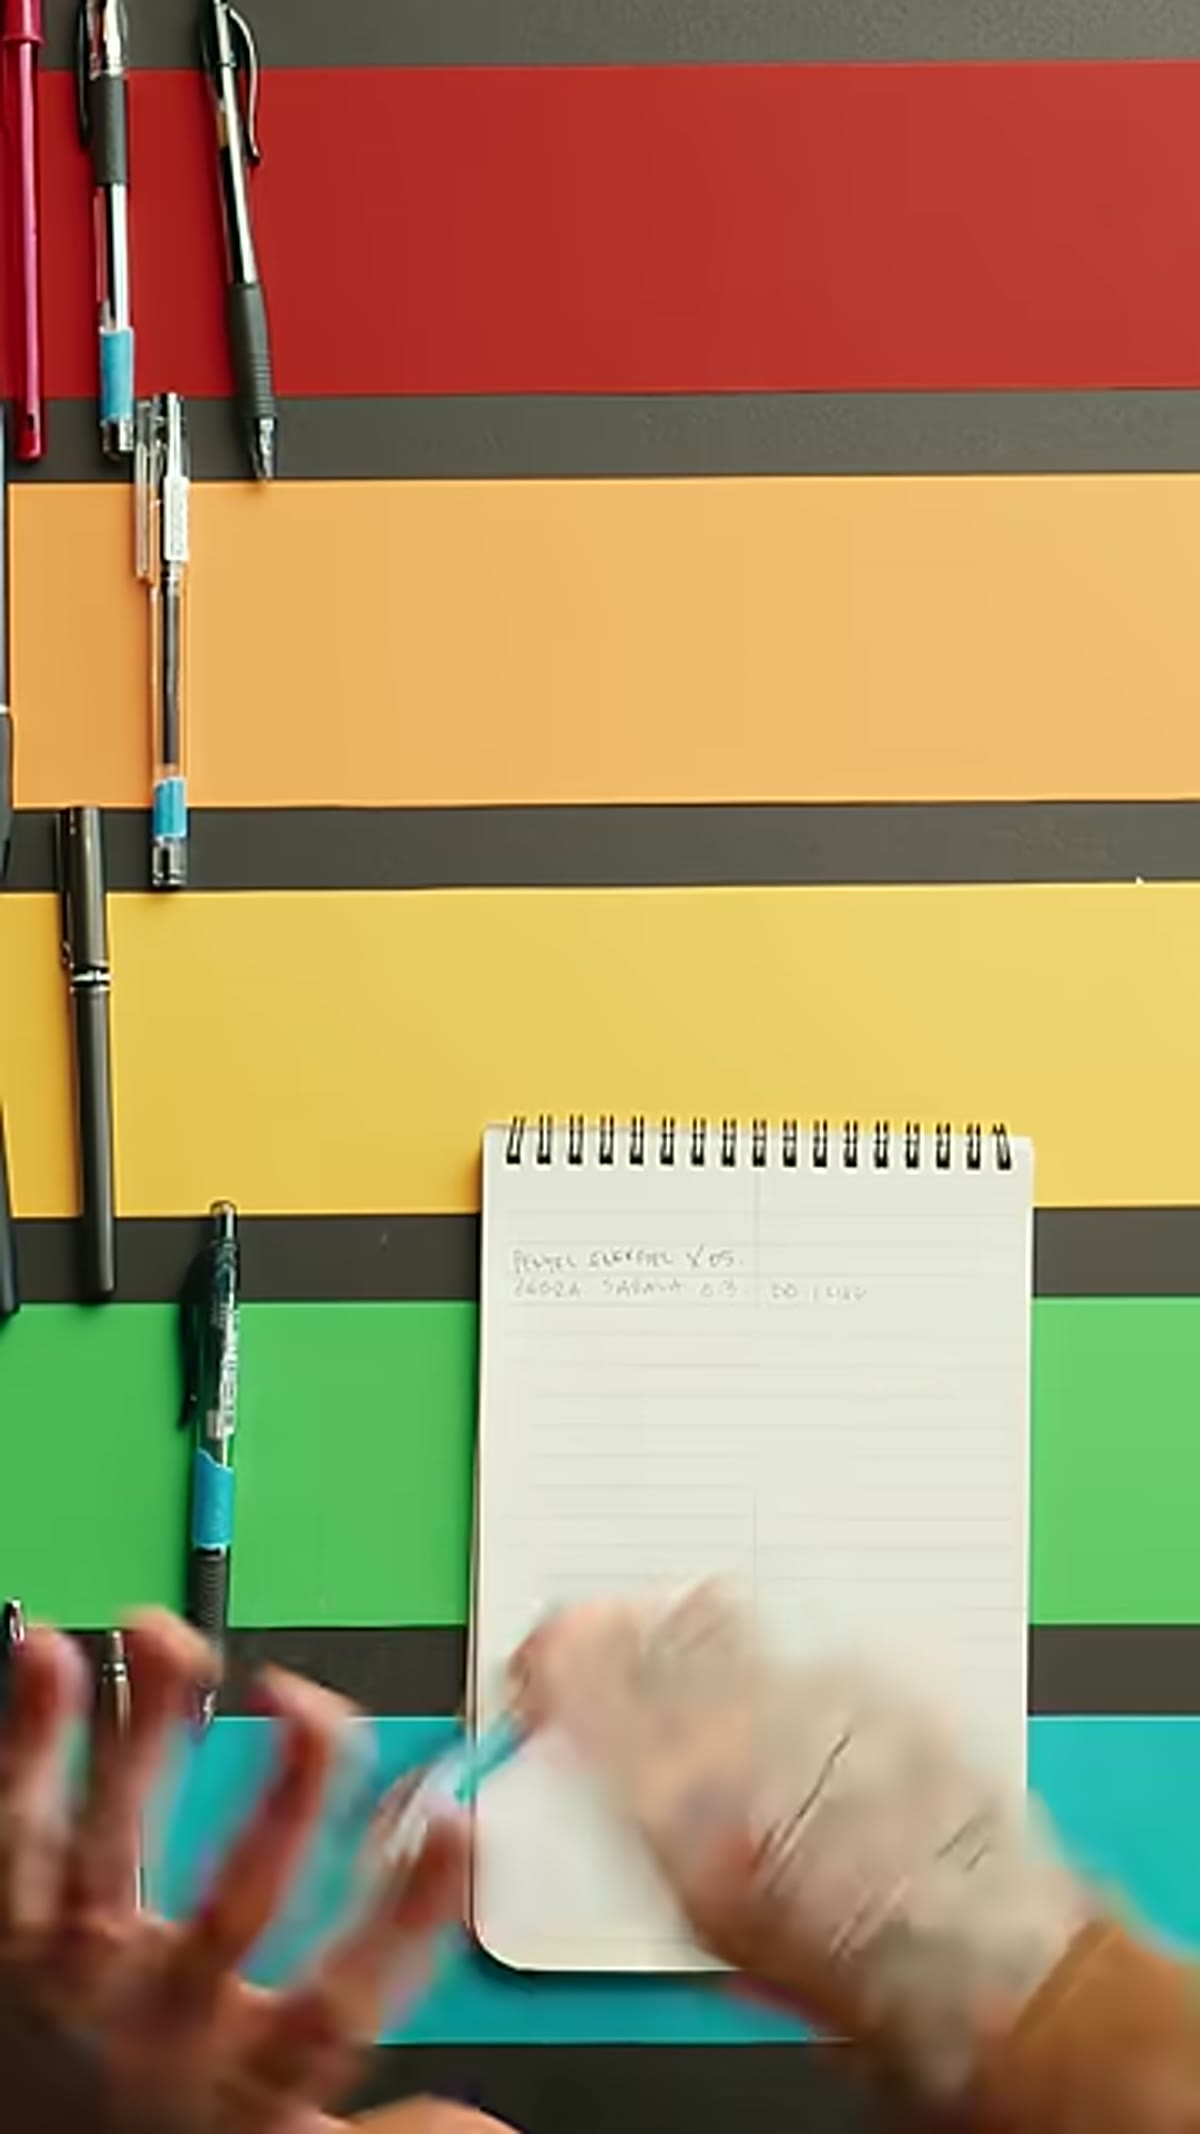 Peter comparing pens side by side on a flat surface
By this point in the video, McKinnon has established a clear evaluation framework: tip precision, ink quality and dry time, build and clip quality, click feel, and overall aesthetics. These five criteria are genuinely useful whether you’re buying pens or evaluating any small piece of gear.
Before you default to grabbing whatever pen is nearby, run it through that checklist quickly. Does it write cleanly on the paper you actually use? Does it dry fast enough that you’re not smearing it with your palm? Does the build feel like it’ll survive the bottom of a camera bag? These are low-stakes questions, but the answers add up to a kit that works smoothly instead of one that creates small frustrations on every job.
What I’d Add From My Own Experience
McKinnon’s breakdown focuses on writing quality, which is exactly right. But I want to add one criterion he doesn’t explicitly call out: performance on non-paper surfaces. As a photographer, you will eventually need to write on a lens filter case, a plastic bag, a gaffer tape strip, or the back of a print. Most gel pens, including some of the top-ranked ones here, struggle on non-porous surfaces.
For that use case, I keep a Staedtler Lumocolor permanent marker in my bag alongside whatever fine-tip gel pen I’m using for paper. The Lumocolor writes on almost anything, dries in seconds, and doesn’t smear. It’s not what you want for detailed notes, but it covers the gaps that even the best gel pen can’t. Think of it as a companion tool rather than a replacement.
The bigger lesson from this whole exercise is that the smallest tools in your kit deserve the same attention you give your lenses and cards. A pen that works is a pen you don’t have to think about, and anything that removes friction from your workflow is worth the two minutes it takes to find the right one.
Watch the full tutorial on YouTube to see McKinnon’s live write tests and his full commentary on each pen. His real-time reactions make it much easier to understand the texture and flow differences that are hard to describe in words.
Comments (2)
Just used this on a wedding shoot edit. Client was thrilled.
The tip about how to choose the right pen fo was the missing piece for me. Thank you.
Leave a Comment