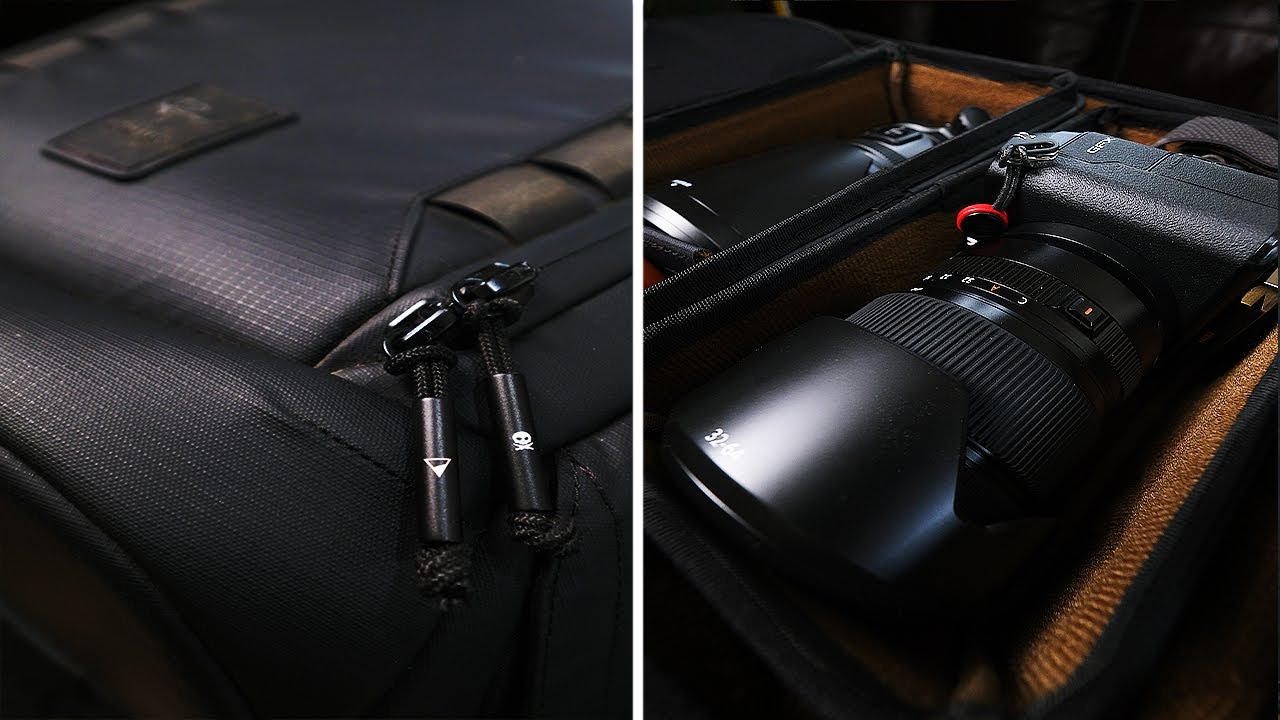
I have a complicated relationship with camera bags. I’ve bought at least six in the last four years, and every single one of them was purchased because it looked good in a product photo rather than because it solved an actual problem I had. One bag was too heavy before I even put a lens in it. Another had no water bottle holder, which sounds minor until you’re on a three-hour photo walk and your hydration is rattling loose in the main compartment. Getting gear selection right is genuinely hard, and most photographers learn it through expensive trial and error.
That’s what made this Mark Denney tutorial so useful to me. In this Watch the full tutorial on YouTube, Denney walks through the Nomatic Peter McKinnon Everyday Camera Bag with the kind of honest, working-photographer perspective that’s hard to find in a straight product review. He’s not a gear blogger. He’s a landscape photographer who cares about what the bag actually does when he’s on a trail at 5am. And because he came in slightly skeptical, having been underwhelmed by the previous McKinnon collaboration bag, his assessment carries real weight.
What I want to pull out of this video are the evaluative questions he’s asking, because those questions apply to any bag you’re considering, not just this one. Think of this as a framework for bag shopping, illustrated through his walkthrough of the Everyday Camera Bag.
Step 1: Check Whether the Bag Signals “Photographer” to Strangers
 Denney showing the bag’s minimal, all-black exterior design
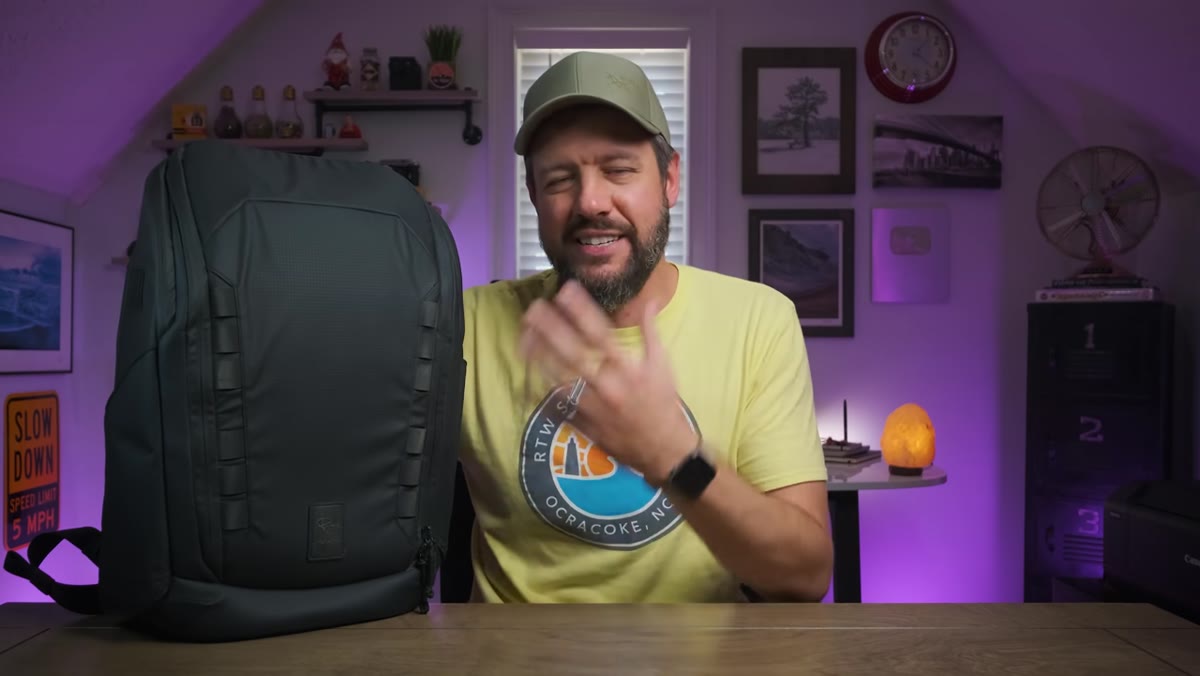
The first thing Denney looks at is how the bag reads to the outside world. A bag plastered with camera brand logos or covered in molle webbing and lens-shaped bulges is essentially advertising to anyone nearby that you’re carrying thousands of dollars of equipment. For travel photographers or anyone shooting in busy urban environments, a low-profile bag that could pass for a regular commuter pack is a meaningful safety consideration.
Denney showing the bag’s minimal, all-black exterior design
The first thing Denney looks at is how the bag reads to the outside world. A bag plastered with camera brand logos or covered in molle webbing and lens-shaped bulges is essentially advertising to anyone nearby that you’re carrying thousands of dollars of equipment. For travel photographers or anyone shooting in busy urban environments, a low-profile bag that could pass for a regular commuter pack is a meaningful safety consideration.
The Everyday Camera Bag earns points here. It has a clean, blacked-out aesthetic that Denney describes as having a “stealth” quality. If you’re shooting street photography in a new city or keeping your camera in checked luggage during transit, the bag not screaming “expensive gear inside” is a legitimate feature, not just a style preference.
Step 2: Evaluate the Attachment System for Your Specific Gear
 Denney pointing to the exterior attachment points and webbing
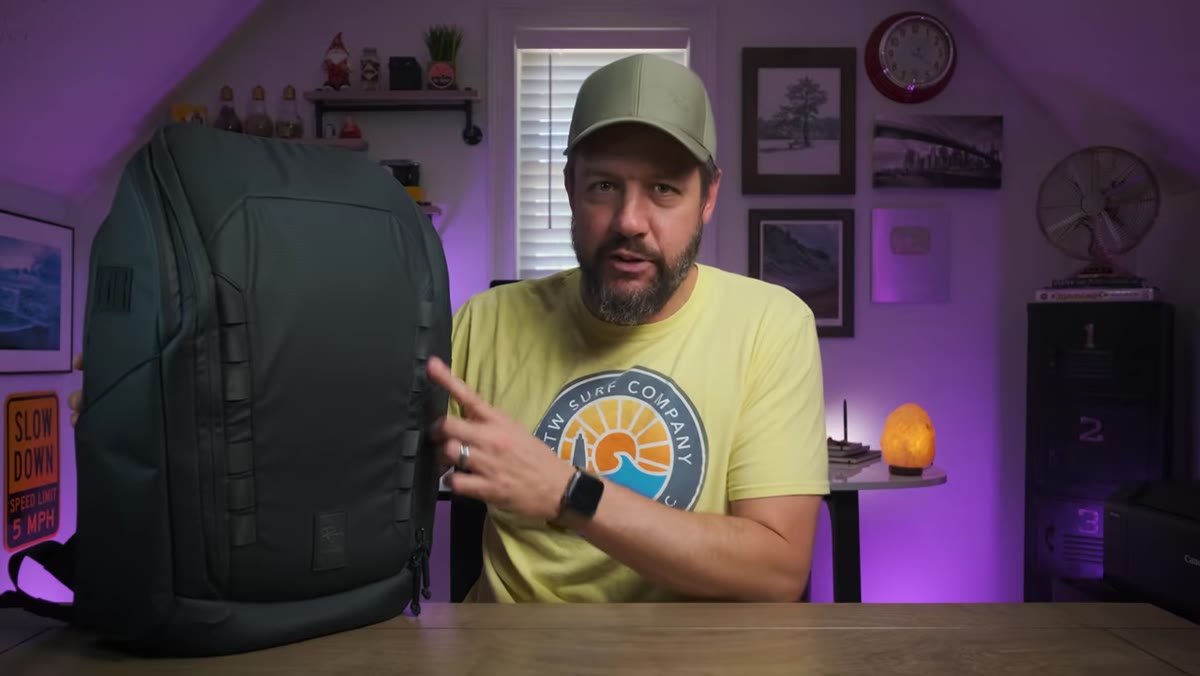
Denney walks through the exterior attachment points carefully, and this is where a lot of photographers skip too quickly in reviews. He notes that the bag has attachment points on the front panel and on both sides, which gives you flexibility for trekking poles, a small tripod, or other accessories you want accessible without opening the main compartment.
Denney pointing to the exterior attachment points and webbing
Denney walks through the exterior attachment points carefully, and this is where a lot of photographers skip too quickly in reviews. He notes that the bag has attachment points on the front panel and on both sides, which gives you flexibility for trekking poles, a small tripod, or other accessories you want accessible without opening the main compartment.
The key caveat he raises is worth writing down: this bag will not accommodate a full-size landscape tripod. If your kit includes a heavy carbon fiber tripod, that’s not going on the outside of this bag securely. He’s clear that the side pockets work well for travel-size tripods. Know what tripod you’re carrying before you buy any bag, and confirm the fit.
Step 3: Look at the Water Bottle Holder Mechanism Closely
 Close-up of the magnetic closure on the side water bottle pocket
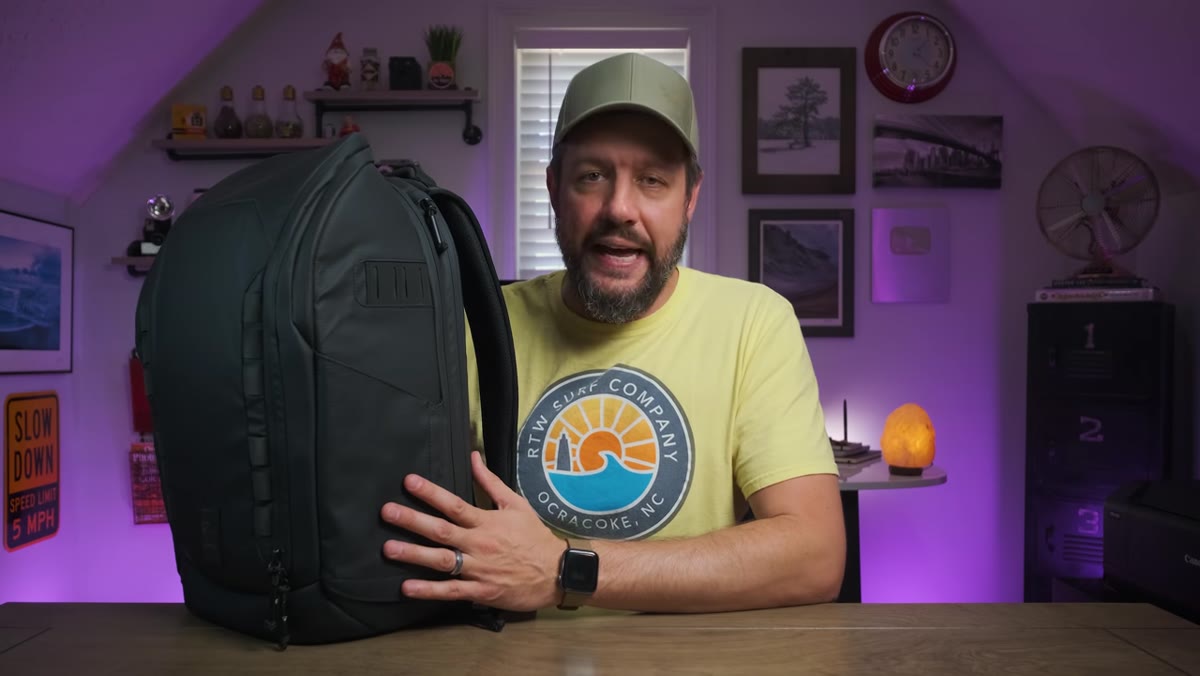
One of the more interesting design details Denney highlights is the magnetic closure on the water bottle and tripod side pockets. When the pocket isn’t in use, the flap closes flat against the bag and stays there magnetically, so it’s not flopping around or catching on things. That sounds like a small detail, but anyone who has hiked with a bag whose side pocket gaped open halfway up a trail will appreciate it immediately.
Close-up of the magnetic closure on the side water bottle pocket
One of the more interesting design details Denney highlights is the magnetic closure on the water bottle and tripod side pockets. When the pocket isn’t in use, the flap closes flat against the bag and stays there magnetically, so it’s not flopping around or catching on things. That sounds like a small detail, but anyone who has hiked with a bag whose side pocket gaped open halfway up a trail will appreciate it immediately.
The pocket itself is sized generously enough to hold a standard water bottle, which Denney confirms. For landscape photographers who are often moving through conditions where hydration matters, accessible water bottle storage that stays tidy when empty is a practical win.
Step 4: Test the Top Handle for Real-World Transit Use
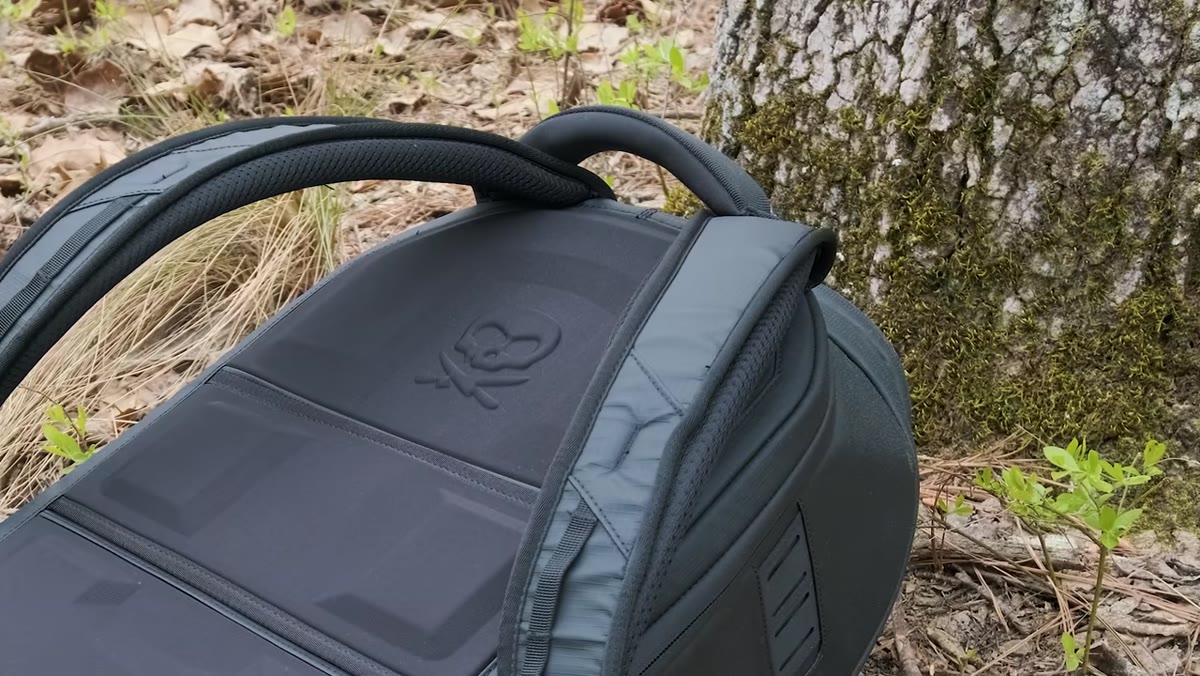 Denney gripping the padded top handle on the bag
Denney specifically calls out the padded top handle, and the use case he mentions is a useful one to think about: lifting the bag into an airplane overhead bin. That motion, lifting straight up with one hand while other passengers are waiting, is genuinely awkward with a bag that only has shoulder straps.
Denney gripping the padded top handle on the bag
Denney specifically calls out the padded top handle, and the use case he mentions is a useful one to think about: lifting the bag into an airplane overhead bin. That motion, lifting straight up with one hand while other passengers are waiting, is genuinely awkward with a bag that only has shoulder straps.
A solid, padded top handle solves that. It also helps when you’re hanging the bag on a hook, handing it to someone, or pulling it out of a car trunk. This feature is easy to overlook when you’re evaluating a bag at home but becomes obvious immediately when you’re moving through an airport at 6am. Check that the handle is reinforced at the attachment points, not just looped through thin fabric.
Step 5: Factor in Total Weight Before You Buy
 Denney referencing the previous large McKinnon bag and weight concerns
Here’s the lesson Denney draws from his experience with the earlier McKinnon bag that I think is the most transferable piece of advice in the entire video. His hesitation about that bag came down to one thing: if you fill a large, heavy bag to capacity with camera gear, you’re signing up for a punishing hike. The bag itself adds weight before a single lens goes in.
Denney referencing the previous large McKinnon bag and weight concerns
Here’s the lesson Denney draws from his experience with the earlier McKinnon bag that I think is the most transferable piece of advice in the entire video. His hesitation about that bag came down to one thing: if you fill a large, heavy bag to capacity with camera gear, you’re signing up for a punishing hike. The bag itself adds weight before a single lens goes in.
The Everyday Camera Bag is 28 liters, which positions it as a do-most-things bag rather than a haul-everything bag. For day hikes, city shoots, and travel, that’s probably right. For a week in the backcountry with two camera bodies and a full lens kit, you’ll hit the ceiling fast. Decide what 80% of your shooting actually looks like, and buy for that situation, not for the theoretical maximum.
My Take: The “Everyday” Frame Is the Right One to Borrow
I’ve started applying this logic to all my gear decisions, not just bags. What does my everyday shooting actually require? My Sunday morning photo walks around Seattle rarely need more than one body, two lenses, and a small tripod. For years I was carrying a bag designed for a full landscape expedition on those walks, and I was tired before I’d taken a single frame.
The Everyday Camera Bag seems built around the same honest self-assessment Denney brings to this review. It’s not trying to be everything. It has a clear use case: a medium-volume, low-profile bag for photographers who want their kit organized and protected without looking like they’re heading into the wilderness. If that matches your shooting life, it probably works. If you need to carry a full system into serious terrain, you’ll want something built specifically for that.
The single most important thing I took from this tutorial is something gear reviews almost never say out loud: buy the bag that fits how you actually shoot, not how you imagine you shoot. Denney’s honest reckoning with both the bag’s strengths and its limits is the kind of working-professional thinking that separates useful gear advice from marketing copy.
Watch the full tutorial on YouTube to see Denney’s complete walkthrough, including the interior organization and the camera cube system, which he covers in the second half of the video.
Comments (1)
Shared this with my photography group. Everyone loved it.
Leave a Comment