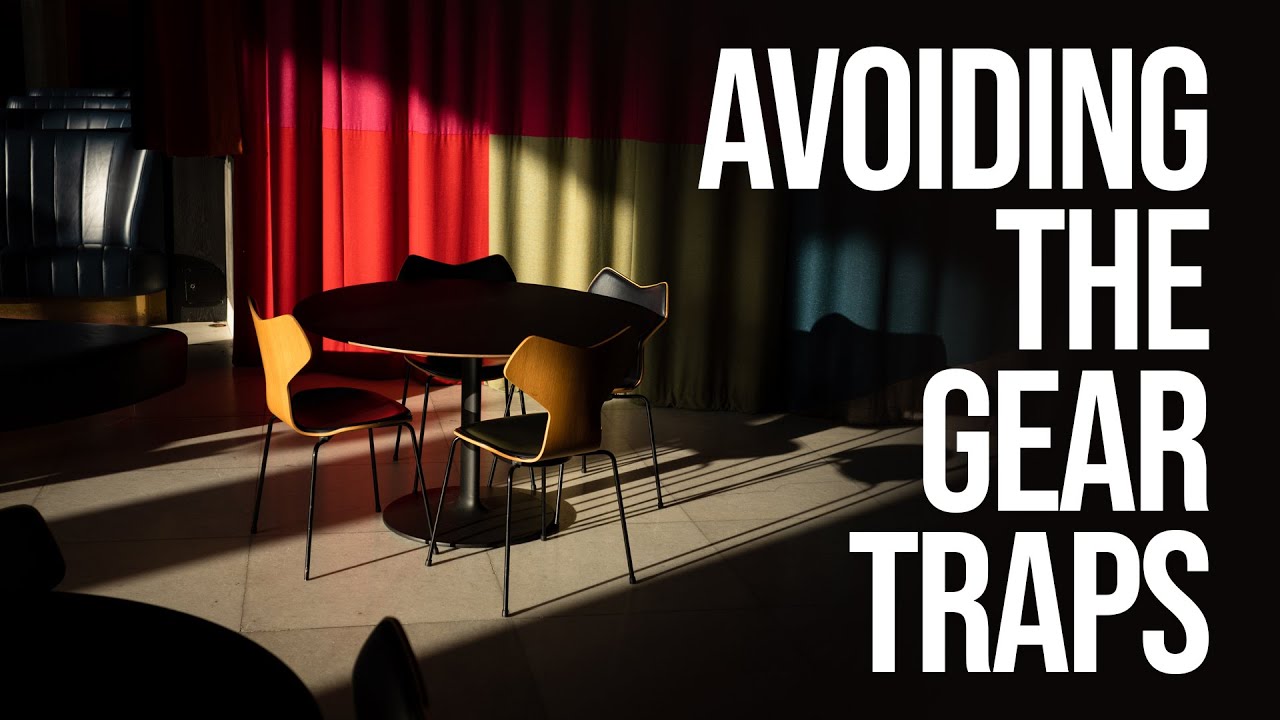
My most-liked Instagram photo was taken on a $200 phone. That one fact has shaped almost everything about how I think about gear since. Still, I’d be lying if I said I’ve never lost an afternoon to a camera spec comparison rabbit hole, convincing myself that a new body was the missing piece between me and better work. It wasn’t. It never is. What I actually needed was a clearer framework for making gear decisions — one that starts with the photography, not the product launch.
In this Sean Tucker tutorial, Watch the full tutorial on YouTube, Tucker walks through exactly how he thinks about purchasing new cameras in a way that keeps the creative work at the center. He uses his own recent purchase of the Sony a7C as a real-world case study, which makes the advice feel grounded rather than abstract. What follows is my breakdown of his decision-making process, step by step, so you can apply it the next time you’re tempted by a shiny new body.
Step 1: Start With a Specific Creative Problem, Not a Spec Sheet
 Tucker explaining his motivation for buying the Sony a7C
Before Tucker even names the camera he bought, he explains why he needed it. He has one ongoing creative constraint: he wants to travel with the smallest possible kit that still lets him shoot both stills and video without compromise. That constraint is the filter everything else runs through. He wasn’t shopping for “a better camera.” He was solving a defined problem.
Tucker explaining his motivation for buying the Sony a7C
Before Tucker even names the camera he bought, he explains why he needed it. He has one ongoing creative constraint: he wants to travel with the smallest possible kit that still lets him shoot both stills and video without compromise. That constraint is the filter everything else runs through. He wasn’t shopping for “a better camera.” He was solving a defined problem.
This is the step most of us skip. Before you open a single review tab, write down the actual limitation you’re hitting in your current work. Is it low-light performance on a specific kind of shoot? Weight on long hikes? The inability to film yourself? Be specific. Vague frustration leads to vague purchases that don’t actually fix anything.
Step 2: Identify the Non-Negotiables for Your Shooting Style
 Tucker listing his stills and video requirements side by side
Tucker shoots stills and video in roughly equal proportion, so any travel camera has to handle both well. That dual requirement immediately narrows the field. He also identifies 24 megapixels as his personal sweet spot, explaining that higher megapixel counts can create headaches in video, while lower counts may mean compromises in still image detail. That’s not a universal truth, but it’s his truth based on his workflow.
Tucker listing his stills and video requirements side by side
Tucker shoots stills and video in roughly equal proportion, so any travel camera has to handle both well. That dual requirement immediately narrows the field. He also identifies 24 megapixels as his personal sweet spot, explaining that higher megapixel counts can create headaches in video, while lower counts may mean compromises in still image detail. That’s not a universal truth, but it’s his truth based on his workflow.
Make your own version of this list. Write down the two or three things a camera absolutely must do for the work you actually make, not the work you imagine making someday. Then treat anything outside that list as a bonus, not a requirement. This is what keeps you from paying a premium for features you’ll use twice.
Step 3: Favor Familiarity Over Novelty When Possible
 Tucker noting the a7C shares a sensor with his existing Sony A7 III
One of Tucker’s quieter but smarter points: the a7C uses the same 24-megapixel sensor as his Sony A7 III, which he already knows inside and out. He knows how it renders color, which picture profiles work for his video style, and how it handles in different lighting conditions. By choosing a camera that shares core components with what he already owns, he eliminated a learning curve.
Tucker noting the a7C shares a sensor with his existing Sony A7 III
One of Tucker’s quieter but smarter points: the a7C uses the same 24-megapixel sensor as his Sony A7 III, which he already knows inside and out. He knows how it renders color, which picture profiles work for his video style, and how it handles in different lighting conditions. By choosing a camera that shares core components with what he already owns, he eliminated a learning curve.
If you’re already deep into one system and it’s meeting your needs, there’s real value in staying within that ecosystem when you upgrade or add a body. The hours you’d spend learning a new color science, new menu layout, or new autofocus behavior are hours you’re not spending making photographs. Familiarity is an underrated feature.
Step 4: Let the Flip Screen (or Your Specific Workflow Gap) Justify the Upgrade
 Tucker describing filming himself in a hotel room with the flip screen
The flip screen on the a7C solved a concrete frustration Tucker had been living with: filming himself while traveling meant guessing at his framing and hoping for the best. That one feature directly removes a specific workflow headache he experienced regularly. It wasn’t a “nice to have.” It was a fix for a real, recurring problem.
Tucker describing filming himself in a hotel room with the flip screen
The flip screen on the a7C solved a concrete frustration Tucker had been living with: filming himself while traveling meant guessing at his framing and hoping for the best. That one feature directly removes a specific workflow headache he experienced regularly. It wasn’t a “nice to have.” It was a fix for a real, recurring problem.
This is a useful test for any feature you’re excited about. Ask yourself: have I actually been frustrated by not having this, and how often? If you can remember specific moments where the missing feature cost you a shot or added significant friction, it’s worth factoring in. If you’re just excited because a reviewer mentioned it, that’s a different kind of motivation.
Step 5: Build a Lens Strategy Around the Camera, Not the Other Way Around
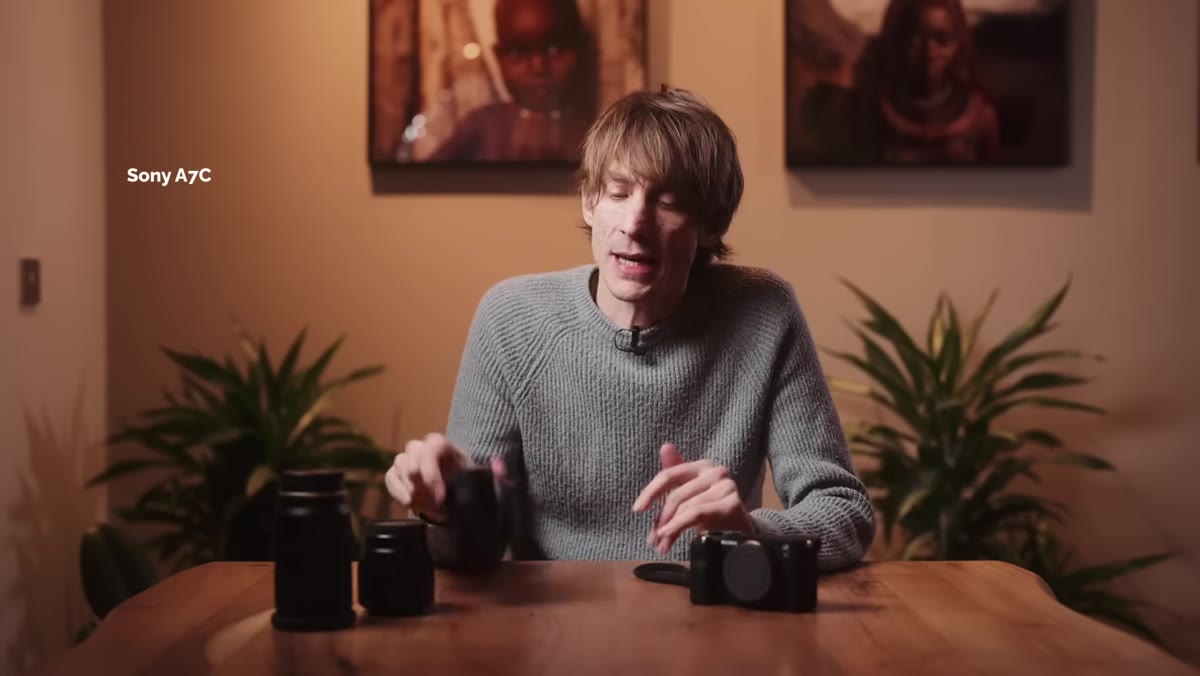 Tucker laying out his three-lens travel kit for the a7C
Tucker travels with exactly three lenses: a 35mm prime, a 55mm prime, and a 28-75mm zoom. Each one has a defined role. The primes handle low-light street and portrait work. The zoom covers everything video-related, where its focal range matters more than maximum aperture. He chose that zoom specifically because it’s significantly lighter than the Sony equivalent without meaningfully compromising image quality for its intended use.
Tucker laying out his three-lens travel kit for the a7C
Tucker travels with exactly three lenses: a 35mm prime, a 55mm prime, and a 28-75mm zoom. Each one has a defined role. The primes handle low-light street and portrait work. The zoom covers everything video-related, where its focal range matters more than maximum aperture. He chose that zoom specifically because it’s significantly lighter than the Sony equivalent without meaningfully compromising image quality for its intended use.
Gear decisions don’t happen in isolation. If you’re adding a body, think through the lenses it will work with and whether your current glass actually serves the use case you’re building for. A great body paired with the wrong lenses for your style is still a compromised kit. Map out the whole system before you commit.
Step 6: Sell What You’re Replacing to Fund What You Need
 Tucker describing selling all his Canon and Fuji gear to fund his Sony system
Tucker describes a decision he made five years ago: he walked into a camera store with three bags of Canon and Fuji gear, including four bodies and over ten lenses, traded it all in, and used the money to build a leaner Sony kit that fit into one backpack. He had no cameras in the world for a few hours that day. It was uncomfortable, and it was the right call.
Tucker describing selling all his Canon and Fuji gear to fund his Sony system
Tucker describes a decision he made five years ago: he walked into a camera store with three bags of Canon and Fuji gear, including four bodies and over ten lenses, traded it all in, and used the money to build a leaner Sony kit that fit into one backpack. He had no cameras in the world for a few hours that day. It was uncomfortable, and it was the right call.
This is the move that separates purposeful gear ownership from collection. If you’re buying something new that replaces an existing piece of kit, sell the old one. The proceeds help fund the new purchase, and the act of letting go forces you to be honest about whether you’re upgrading with intention or just accumulating.
What I’ve Learned From Applying This in My Own Practice
The Sunday photo walks I do every week have become my testing ground for exactly this kind of thinking. I once spent three weeks shooting those walks with just my phone to see what I genuinely missed. What I missed was shallow depth of field and low-light control, both specific, both things a camera with a fast prime actually solves. That exercise gave me a much cleaner answer than any spec comparison would have.
If you’re on the fence about a purchase, give yourself a constraint period first. Shoot with what you have and pay attention to where it actually fails you, not where you wish it were different in the abstract. The answer to “should I buy this?” is almost always somewhere in that gap.
The single biggest thing Tucker’s framework gave me is this: the question isn’t “is this a good camera?” The question is “does this solve a specific problem in my specific work?” Those are very different questions, and only the second one leads to a purchase you’ll be glad you made six months later.
Watch the full tutorial on YouTube to hear Tucker walk through his reasoning in his own words, including some sample footage and stills from the a7C that are worth seeing before you make any Sony decisions of your own.
Comments (4)
I keep coming back to this article. It's that useful.
Never thought of approaching it this way. Really creative.
Great article! I actually covered something related on my site — the color grading angle is really complementary to this.
The before and after really sells it. Incredible difference.
Leave a Comment