
Every few months I’ll look at my Instagram grid and feel like it was made by five different people. A moody forest shot next to a bright flat-lay next to some overexposed candid from a wedding I second-shot in 2019. If you’ve ever felt like your feed has no identity, you’re not alone, and more importantly, it’s fixable.
I’ve been going back through tutorials from photographers whose grids I actually admire, and this one from Peter McKinnon, shot on location in what quickly becomes a full-on rainstorm, hit differently. He’s joined by photographer Garrett (known as Shortstache on Instagram), and together they walk through how Garrett thinks about his visual style, his gear choices, and how he approaches a new location. It’s one of those videos that looks like a casual shoot but is quietly packed with decisions you can learn from. Watch the full tutorial on YouTube before or after reading this, either way works.
What I want to do here is unpack the actual techniques and thinking from the video so you walk away with something you can apply on your next shoot, rainy or otherwise.
Step 1: Start with a “signature lens” that trains your eye
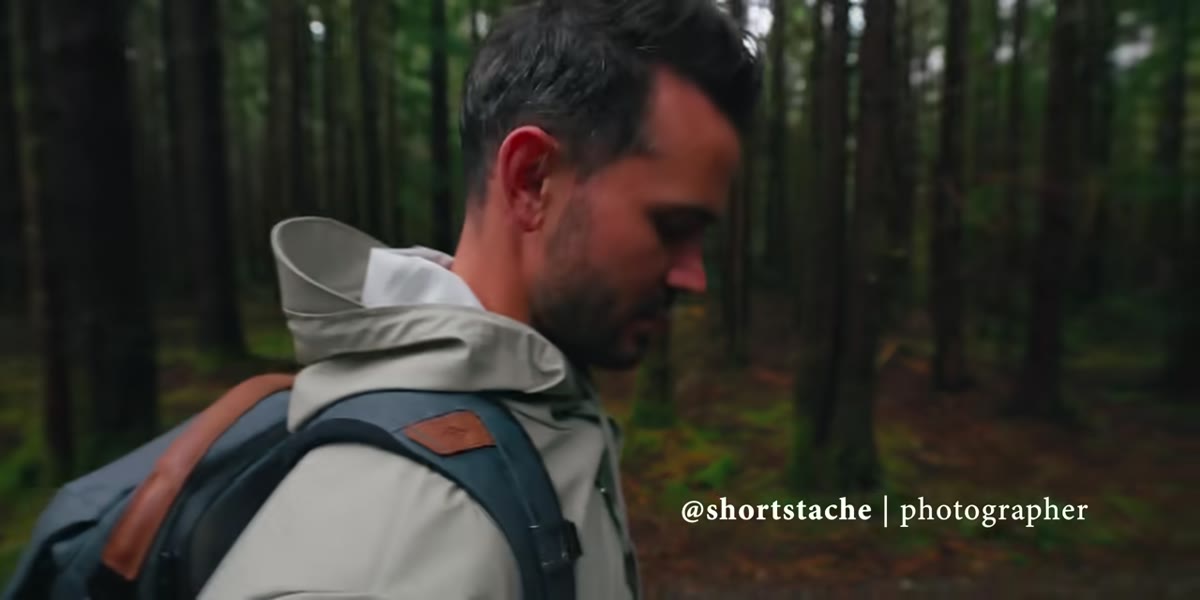 Peter and Garrett discussing the 50mm 1.2 lens
Garrett’s go-to lens is a 50mm f/1.2, and he talks about why with a clarity that a lot of photographers skip over. For him, it goes back to his first 50mm, a budget plastic nifty fifty, which was the first lens that gave him real depth of field. That experience of seeing a subject pop off a background for the first time changed how he thought about photography entirely.
Peter and Garrett discussing the 50mm 1.2 lens
Garrett’s go-to lens is a 50mm f/1.2, and he talks about why with a clarity that a lot of photographers skip over. For him, it goes back to his first 50mm, a budget plastic nifty fifty, which was the first lens that gave him real depth of field. That experience of seeing a subject pop off a background for the first time changed how he thought about photography entirely.
The lesson isn’t “buy a 50mm.” The lesson is to pick one focal length and shoot with it long enough that it becomes second nature. I shot almost exclusively with a 35mm for about a year when I was starting out, and that constraint forced me to move my feet, think about framing, and stop endlessly swapping glass hoping the lens would solve my composition problems. Pick a focal length that excites you and commit to it for a few months.
Step 2: Shoot in bad weather on purpose
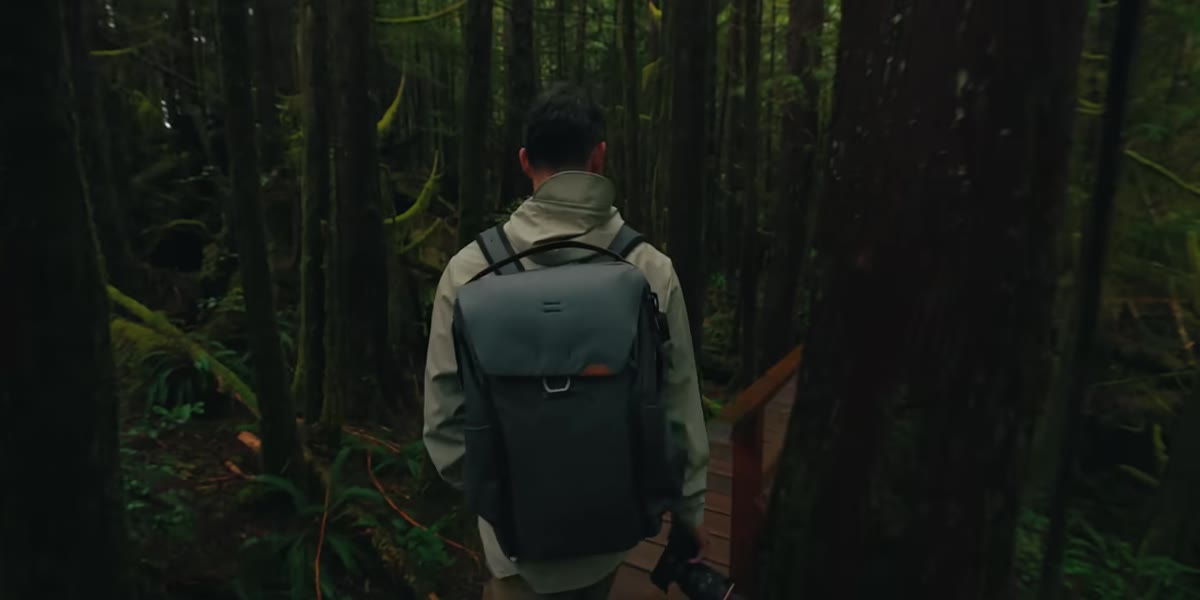 Garrett and Peter shooting in the rain on a wet street
The video takes a turn when it starts raining. Hard. Most photographers would pack it in. These two keep shooting, and Garrett makes a point worth writing down: the shots you get in bad weather are often the ones nobody else has, because nobody else stayed.
Garrett and Peter shooting in the rain on a wet street
The video takes a turn when it starts raining. Hard. Most photographers would pack it in. These two keep shooting, and Garrett makes a point worth writing down: the shots you get in bad weather are often the ones nobody else has, because nobody else stayed.
Rain, overcast skies, fog, and low light all add texture and mood that golden hour can’t always replicate. The flat, diffused light of a cloudy day is actually friendlier for portraits than harsh midday sun. If your gear has any weather sealing at all, use it. If it doesn’t, a $15 rain sleeve for your camera body buys you a lot of creative flexibility. I’ve taken some of my favorite street photos in Seattle drizzle precisely because everyone else ducked inside. The streets get quieter, the light gets soft, and the reflections on wet pavement are free texture.
Step 3: Define your style in specific, technical terms
 Garrett describing his cinematic, color-rich editing style on camera
When Peter asks Garrett to describe his style, Garrett doesn’t say “moody” and leave it at that. He breaks it down: rich, deep, cinematic undertones, whites pulled back slightly, colors that are muted but still saturated, consistent color theory across all his work. That level of specificity is what separates photographers who have a recognizable style from those who are still searching for one.
Garrett describing his cinematic, color-rich editing style on camera
When Peter asks Garrett to describe his style, Garrett doesn’t say “moody” and leave it at that. He breaks it down: rich, deep, cinematic undertones, whites pulled back slightly, colors that are muted but still saturated, consistent color theory across all his work. That level of specificity is what separates photographers who have a recognizable style from those who are still searching for one.
Try this exercise: look at your ten most recent photos and write down three adjectives that apply to all of them. If you can’t find three that fit every single one, that’s your starting point. You’re not trying to become predictable, you’re trying to become recognizable. Those are different things. Consistency in tone and color is what makes someone stop scrolling and think “oh, that’s a Garrett photo.”
Step 4: Open with a wide establishing shot, then hunt for detail
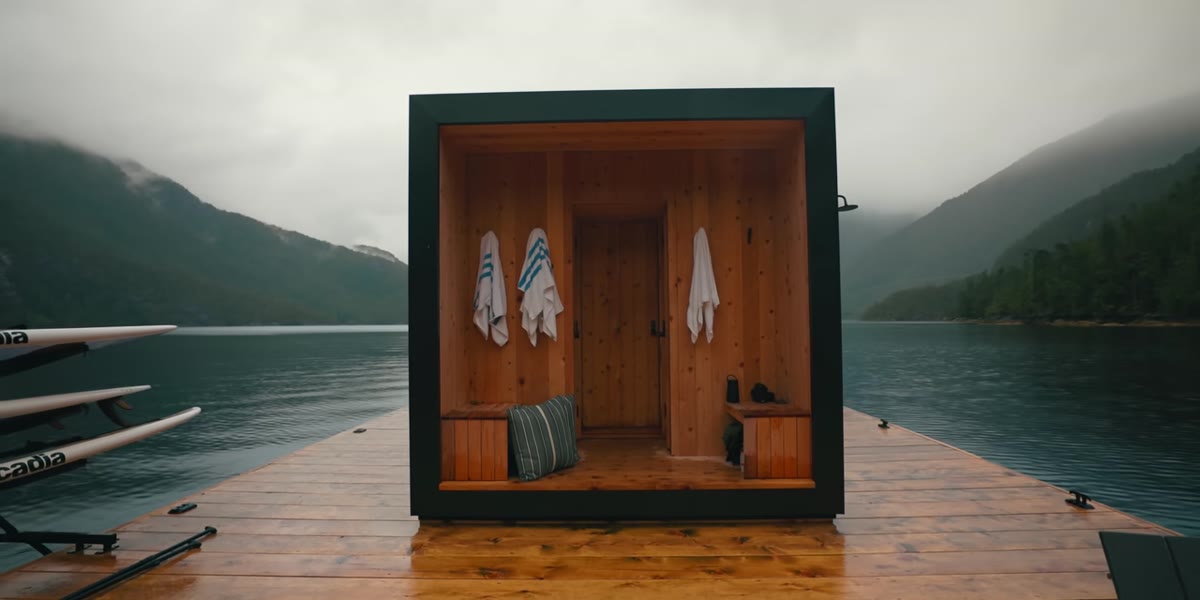 Garrett explaining his approach to shooting a new location
When Garrett arrives at a new location, a floating sauna in this case, his instinct is to start wide, not necessarily with a wide-angle lens, but with a shot that establishes place and context. After that, he immediately starts looking for details. Geometric lines, reflections in glass, symmetry, textures that hint at the larger environment without explaining it.
Garrett explaining his approach to shooting a new location
When Garrett arrives at a new location, a floating sauna in this case, his instinct is to start wide, not necessarily with a wide-angle lens, but with a shot that establishes place and context. After that, he immediately starts looking for details. Geometric lines, reflections in glass, symmetry, textures that hint at the larger environment without explaining it.
This is a practical workflow you can repeat anywhere. Arrive, take one or two establishing frames to orient the viewer, then zoom in on the specific details that make that place unique. Those detail shots are often what make a photo set feel cohesive and layered. They also give you more posting options without everything looking like the same wide-angle hero shot.
Step 5: Keep your aperture wide and let depth do the work
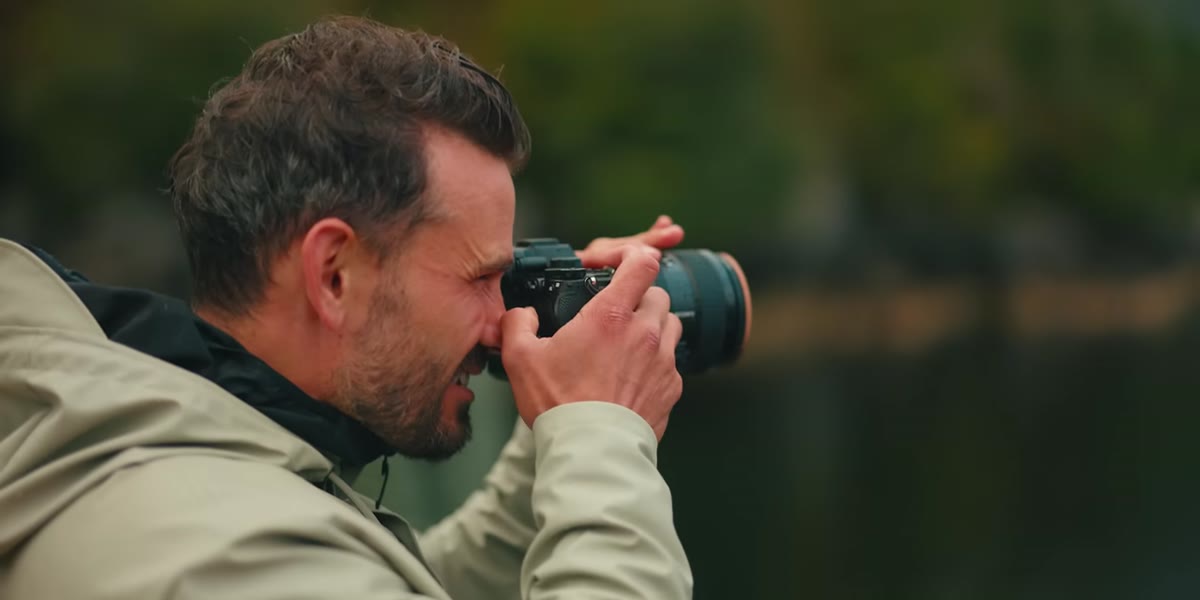 Garrett discussing his preference for shooting below f/3
Garrett mentions that he rarely shoots above f/3, and he knows that’s not technically “correct” for every situation. But it’s a deliberate choice, not a mistake. Shooting wide open or close to it keeps his images feeling intimate and cinematic, pulling subjects away from their backgrounds and giving every frame that sense of depth he fell in love with on his first 50mm.
Garrett discussing his preference for shooting below f/3
Garrett mentions that he rarely shoots above f/3, and he knows that’s not technically “correct” for every situation. But it’s a deliberate choice, not a mistake. Shooting wide open or close to it keeps his images feeling intimate and cinematic, pulling subjects away from their backgrounds and giving every frame that sense of depth he fell in love with on his first 50mm.
If you’re newer to shooting in manual or aperture priority mode, this is worth experimenting with intentionally. Try a full shoot where you stay at f/2 or f/2.8 and pay attention to how it changes the way you frame and position your subject. You’ll start thinking about background separation automatically, which is a skill that sticks with you even when you do need to stop down.
What I’d add from my own experience
The part of this video that stayed with me most is the conversation about style consistency across different lighting conditions. Garrett specifically says he can shoot beach lifestyle in full sun, golden hour in the city, and overcast moody scenes, and the same color foundation runs through all of it.
That’s the hard part, honestly. It’s easy to have a “moody style” when everything you shoot is already moody. The real test is whether your editing sensibility holds up when the light doesn’t cooperate with your aesthetic. I’ve started keeping a private Lightroom collection I call “style anchors,” a handful of photos I’m proud of across different conditions, and whenever I’m editing something new I’ll glance at them to check whether my current edit feels like it belongs in the same universe. It’s a small habit that’s made a big difference in how consistent my grid looks.
If you’re building a presence on Instagram right now and feeling like growth is impossible, the answer these two land on is the same one I keep coming back to: consistency of vision beats volume of posts every time. Someone who posts twice a week with a clear, recognizable style will build a more engaged audience than someone posting daily with no through-line.
The single most important takeaway from this video is that your style should be something you can describe out loud in specific, technical terms, not just a vibe. If you can name it, you can replicate it. And if you can replicate it, you can grow.
Watch the full tutorial on YouTube to see how Garrett and Peter actually work through a wet, real-world shoot together.
Comments (1)
Wow, I had no idea you could do this. Mind blown.
Leave a Comment