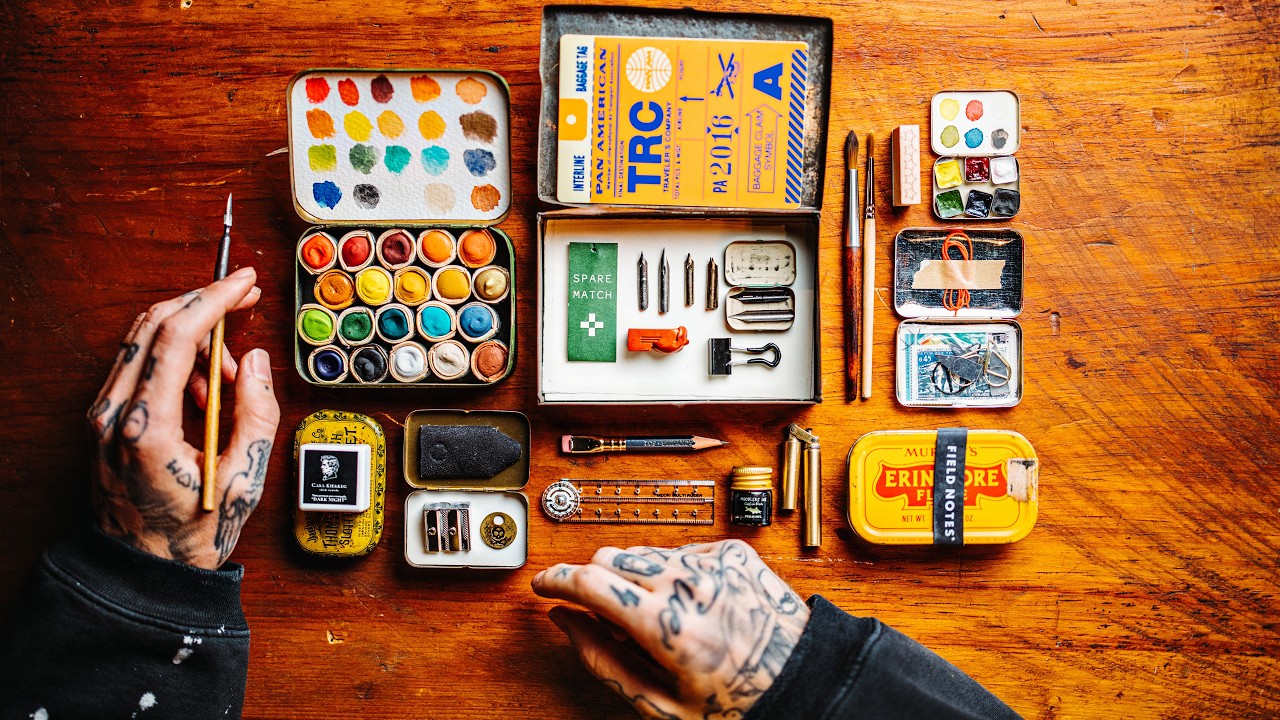
There is a specific kind of frustration I know well: you are somewhere genuinely interesting, the light is doing something strange and beautiful, and you want to sketch it, write a note about it, or stamp the date into a little notebook page to remember the moment, but you left the supplies at home because they were too bulky to bother with. I have missed more creative moments to that excuse than I care to count. The camera comes everywhere. The journaling stuff stays on the desk. That imbalance has always bothered me.
That is exactly why I was so glad to stumble onto this Peter McKinnon tutorial on building a compact, everyday carry journaling kit. McKinnon is someone I have followed for years, and what I appreciate about his creative process is that it is never just about the gear itself. It is about removing friction so the creative act can actually happen. Watch the full tutorial on YouTube and then come back here for a step-by-step breakdown you can follow to build your own version.
The core idea is deceptively simple: take a vintage tin, organize every journaling tool you actually use inside it, and design the layout so nothing rattles, shifts, or falls apart in transit. Everything lives together. You grab the tin, you go. Here is how he builds it.
Step 1: Choose Your Container First, Then Fit Everything to It
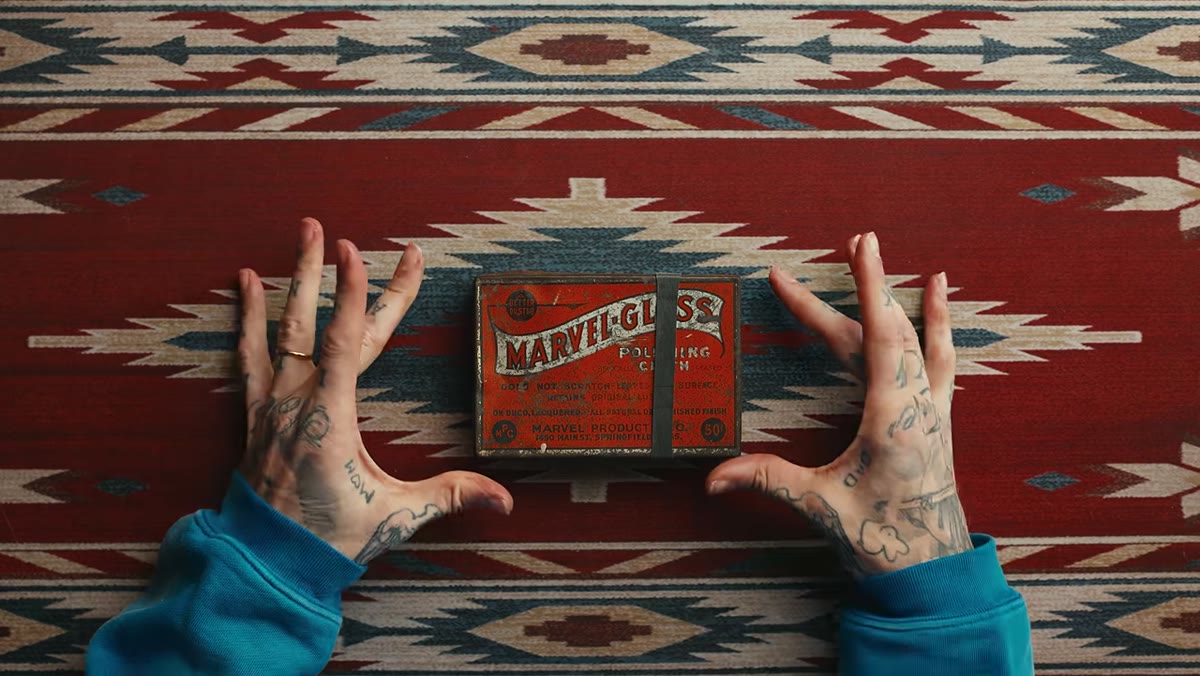 A vintage silver polishing tin sitting closed on a flat surface
The tin itself is the starting constraint, and that is actually the point. McKinnon uses a small vintage tin, the kind that looks like it once held silver polish, sourced through his friend Margot at Peg and Awl. Choosing a fixed-size container before you choose your tools forces you to edit ruthlessly. You cannot overpack what does not fit. Start by finding a tin, small box, or hard-sided case with a secure lid. It should be small enough to slide into a jacket pocket or camera bag side pocket without thinking about it. Once you have the container, everything else is a puzzle you are solving around its dimensions.
Step 2: Customize Your Brushes to Fit the Space
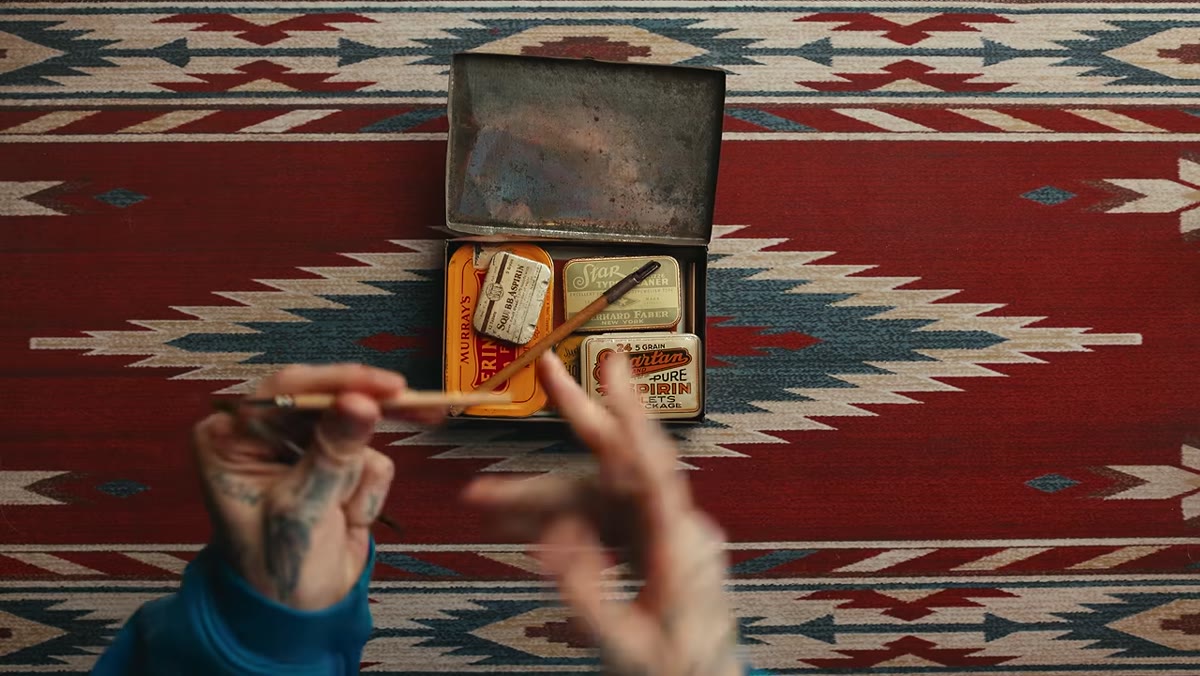 Two short-handled watercolor brushes laid inside the open tin
Standard watercolor brushes are too long for a compact tin. McKinnon solves this by literally cutting a brush handle down with the saw blade on a Leatherman multi-tool and sanding the cut end smooth. It is the kind of small, practical modification that most people would never think to do, but it makes a real difference. Take two or three brushes you already own, hold them against the inside length of your tin, and mark where to cut. A small hand saw, a rotary tool, or even a sturdy craft knife can score and snap thinner handles. Sand the end so it does not splinter in the tin. Two brushes, different tip sizes, are enough for most on-the-go watercolor work.
Step 3: Nest Smaller Tins Inside the Main One
 Several small nested tins arranged inside the larger tin
Inside the main tin, McKinnon fits several smaller tins, each holding something specific. One small tin, magnetic on the bottom so it sticks to the lid and does not slide, holds a compact set of watercolors. The watercolor pans themselves are held inside their tiny tin by small embedded magnets, which means they do not shift when the kit is moving around in a bag. This nesting structure is what makes the whole system work. Think of it like a camera bag with dividers: every item has a home, and nothing has room to travel. Source a few small tins or metal mint boxes, assign one purpose to each, and arrange them so the lid closes cleanly.
Step 4: Add a Dip Pen as Your Primary Writing Tool
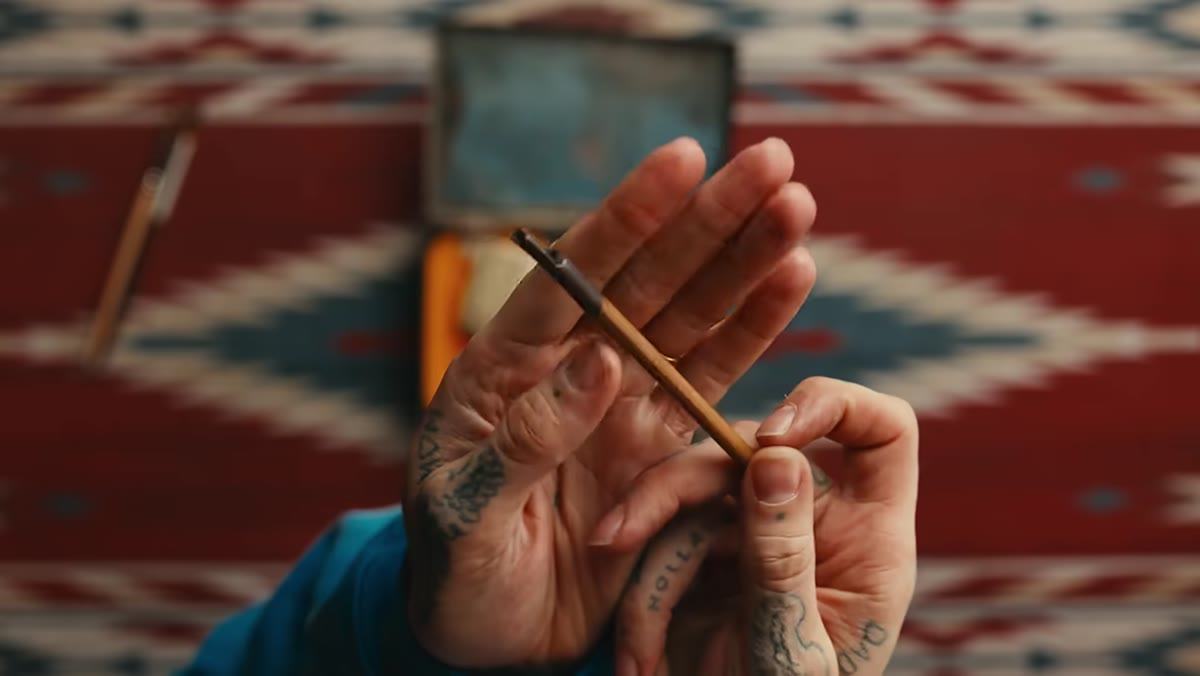 A single dip pen resting on top of the contents inside the open tin
McKinnon places his favorite dip pen at the very top of the kit, the first thing visible when you open the tin. A dip pen is a deliberate choice here. It is slower than a ballpoint, which naturally encourages you to write and draw more intentionally. It also pairs directly with the ink and watercolors already in the kit, so one tool serves multiple purposes. If you are new to dip pens, start with a basic steel nib holder and a handful of interchangeable nibs. Keep the pen at the top of your tin so it is the first thing your hand reaches, not something you have to dig for.
Step 5: Include a Nib Cleaner and Ink Pad for Stamping
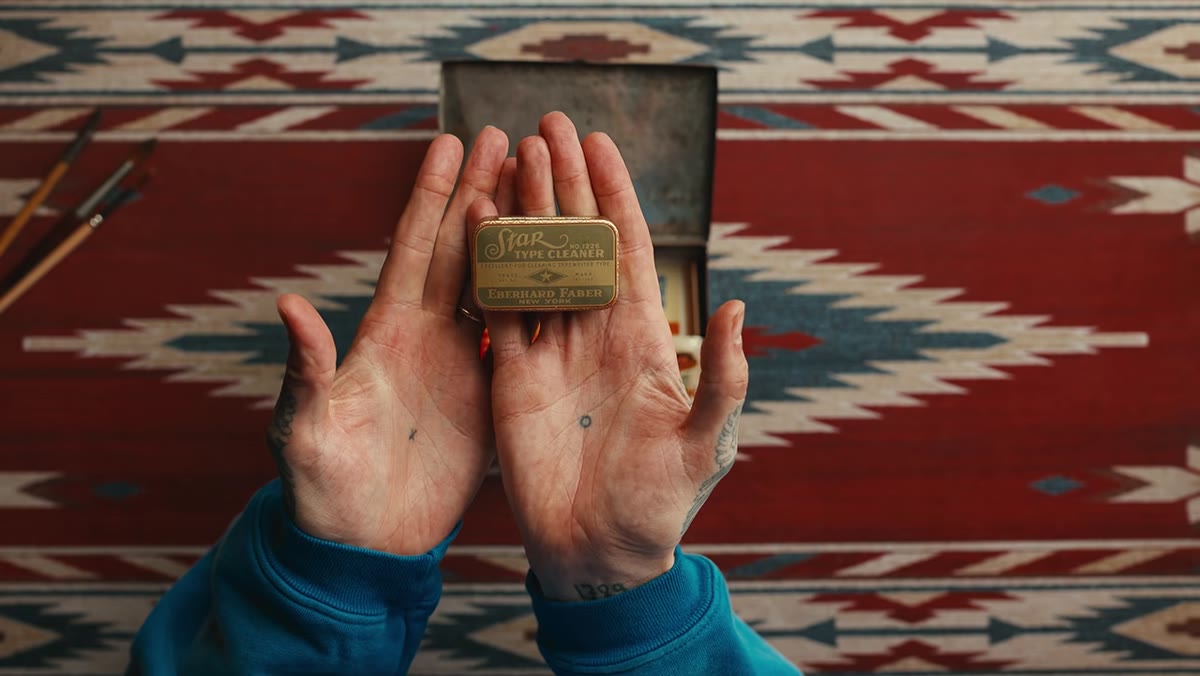 A small decorative tin holding nib cleaning tools and small stamps
One of the more unexpected details in McKinnon’s kit is the inclusion of a small nib cleaner and a tiny ink pad for stamping. The nib cleaner is a practical necessity if you are using a dip pen on the go, because dried ink on a nib ruins the writing experience quickly. The ink pad opens up a completely different creative option: small rubber stamps, a date stamp, a five-star rating stamp, anything you want to press into a journal page to add texture and personality without needing to draw it freehand. Both items are small enough to tuck into a corner of the tin. Treat the nib cleaner as non-negotiable. The stamps are the fun part.
Step 6: Watercolor Paper, Wax, and a Folding Ruler Complete the Kit
 An assortment of small tools and paper pieces laid out beside the open tin
The final layer of the kit handles paper and finishing tools. McKinnon includes small sheets of watercolor paper cut to fit the tin, a folding ruler for clean lines or layout guides, and sealing wax with a lighter for closing letters or finishing journal pages with a personal stamp. The watercolor paper should be cut or folded down to the interior dimensions of the tin so it lies flat without bending. The folding ruler is a compact Midori style that collapses to a few inches. The wax and lighter are what tip the kit from practical into something that feels genuinely considered, the kind of detail that makes sitting down to journal feel like an event rather than a chore.
One Thing I Would Add for Photographers Specifically
McKinnon’s kit is built around journaling and sketching, but if you are a working photographer carrying this alongside camera gear, there is one addition worth considering: a small card with your most-used camera settings or shot list for a current project. Nothing fancy, just a folded index card you swap out per trip. I started doing this after I realized I was keeping all my location notes in my phone and constantly pulling it out mid-shoot. Having a physical card in the tin means I can glance at it without unlocking anything. The tin becomes a creative anchor, not just an art supply box.
The single most important idea in McKinnon’s tutorial is that creativity on the road is a logistics problem before it is an inspiration problem. If the tools are not with you, the moment passes. A compact, shake-proof, always-packed kit removes the decision entirely. You do not have to think about whether to bring it. It is already in the bag.
Watch the full tutorial on YouTube to see exactly how McKinnon arranges everything inside the tin and to get links to every individual item he uses.
Comments (1)
Just subscribed. If the rest of your content is this good, I'm in.
Leave a Comment