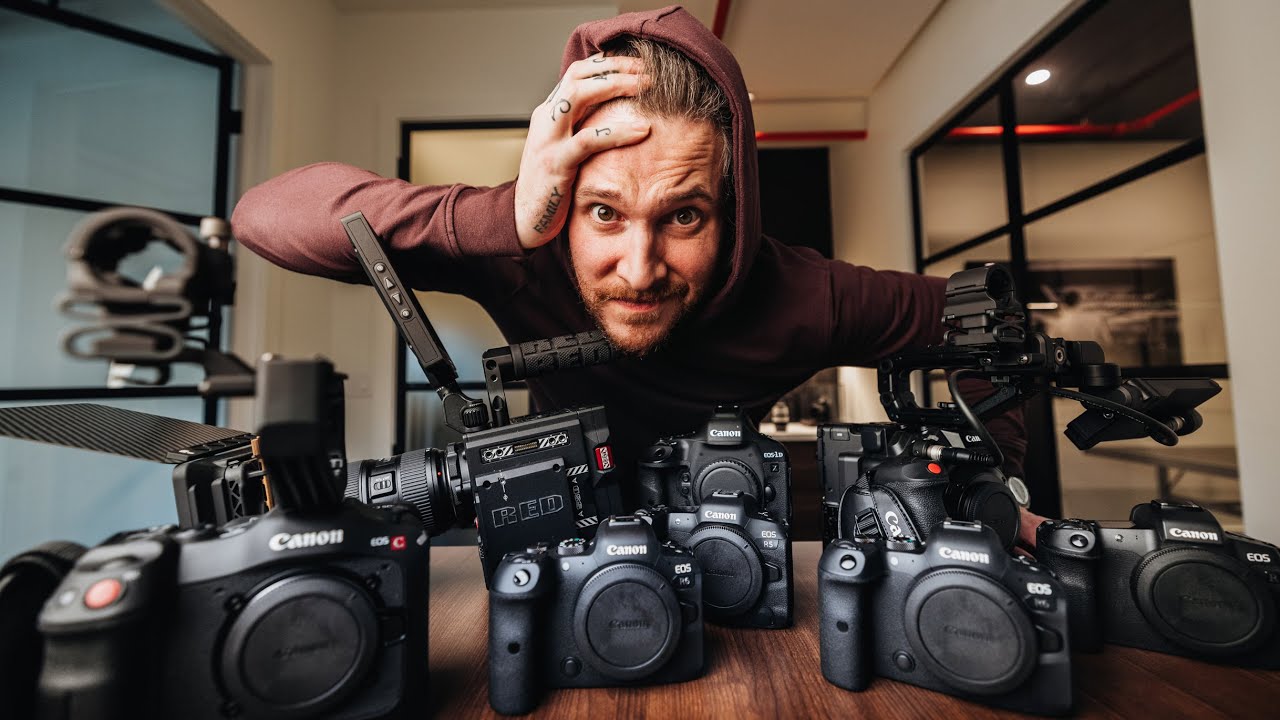
There’s a point most photographers hit where the gear starts owning them instead of the other way around. I know I hit it. I had two mirrorless bodies, a backup DSLR I hadn’t touched in eight months, and a film camera I kept “just in case.” Every time I packed for a Sunday photo walk, I’d spend twenty minutes debating which body to bring and end up annoyed before I’d taken a single shot. The gear wasn’t making me better. It was making me slower.
In this Peter McKinnon tutorial, he tackles that exact problem head-on by pulling every camera body he owns into one place and making honest, sometimes uncomfortable decisions about what stays and what goes. Watch the full tutorial on YouTube if you want to follow along, but what I’ve laid out below is a repeatable process you can apply to your own collection today, whether you own two cameras or ten.
What makes this video worth studying isn’t the specific cameras Peter owns. It’s the framework he uses to evaluate them. That framework is surprisingly transferable, and I think it’s one of the most practically useful things a working photographer can internalize.
Step 1: Physically Gather Everything in One Place
 All camera bodies laid out together on a surface
Before you can make any real decisions, you need to see the full picture. Peter pulls every single camera body out of drawers, shelves, and bags and puts them all in front of him at once. The count surprises even him. That surprise is the point.
All camera bodies laid out together on a surface
Before you can make any real decisions, you need to see the full picture. Peter pulls every single camera body out of drawers, shelves, and bags and puts them all in front of him at once. The count surprises even him. That surprise is the point.
Most of us carry a vague mental inventory of what we own, but we rarely confront the physical reality of it all together. When you do this, the redundancies become obvious immediately. Two bodies that do essentially the same job sitting side by side is a very different thing from knowing abstractly that you own two bodies. Do this step physically, not in a spreadsheet. The visual weight of it matters.
Step 2: Count and Name Every Item Before Judging Any of Them
 Peter counting each camera body one by one
Once everything is out, resist the urge to immediately start sorting. Instead, go through each item and simply name what it is and what it does. Peter goes through each body methodically: what it shoots, how long he’s used it, and what problems it solved when he bought it.
Peter counting each camera body one by one
Once everything is out, resist the urge to immediately start sorting. Instead, go through each item and simply name what it is and what it does. Peter goes through each body methodically: what it shoots, how long he’s used it, and what problems it solved when he bought it.
This step slows you down in a useful way. It forces you to reconnect with why you bought each piece of gear in the first place, which is the information you actually need to make a good decision later. If you genuinely can’t remember why you bought something or what it was supposed to solve, that’s already telling you something.
Step 3: Identify the Sentimental Traps First
 Peter holding the 1DX Mark II, visibly conflicted
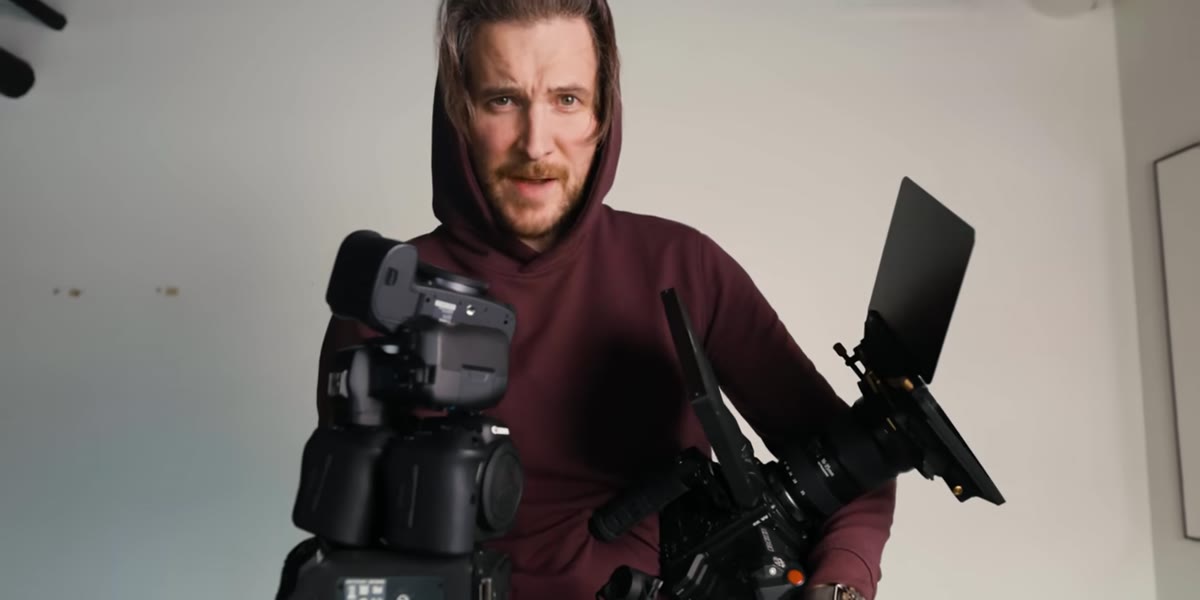
This is the hardest part of any gear audit, and Peter doesn’t try to skip it. He picks up his 1DX Mark II and immediately acknowledges the pull he feels toward keeping it purely for emotional reasons. He shot a huge amount of important work on that camera. He loves it. And he recognizes that’s not a good enough reason to keep it in active rotation.
Peter holding the 1DX Mark II, visibly conflicted
This is the hardest part of any gear audit, and Peter doesn’t try to skip it. He picks up his 1DX Mark II and immediately acknowledges the pull he feels toward keeping it purely for emotional reasons. He shot a huge amount of important work on that camera. He loves it. And he recognizes that’s not a good enough reason to keep it in active rotation.
Sentimentality is the most common reason photographers hold onto equipment that no longer serves them. The fix isn’t to ignore the feeling. It’s to separate “I have meaningful memories with this” from “this camera is the right tool for where I’m going.” One of those is about the past. The other is about your work. Be honest about which argument you’re actually making when you justify keeping something.
Step 4: Flag the Duplicates as Your Easiest Cuts
 Two identical camera bodies placed side by side
After the sentimental items, the easiest wins in any gear audit are the duplicates. Peter has two Canon R5 bodies and two R6 bodies. His reasoning for cutting one of each is clean: he’d rather have two bodies that do different things than two bodies that do the same thing.
Two identical camera bodies placed side by side
After the sentimental items, the easiest wins in any gear audit are the duplicates. Peter has two Canon R5 bodies and two R6 bodies. His reasoning for cutting one of each is clean: he’d rather have two bodies that do different things than two bodies that do the same thing.
For most photographers, especially those not running a large production company, duplicate bodies are a form of comfort spending. The logic usually goes, “what if one breaks?” But if that camera is sitting unused most of the time anyway, it’s already broken in the ways that matter. Having distinct tools with distinct strengths gives your kit actual flexibility. Redundancy for its own sake just adds noise.
Step 5: Evaluate Each Remaining Body Against Your Current Work, Not Your Past Work
 Peter evaluating the EOS R against newer R5 features
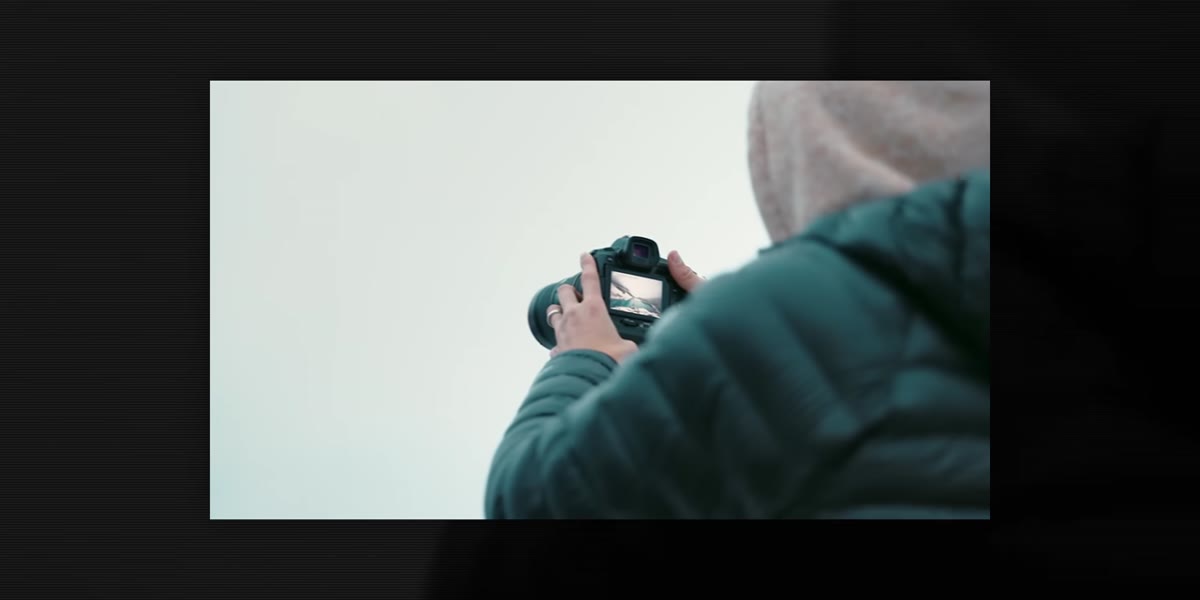
When Peter gets to the original EOS R, he makes the case quickly: the R5 solves most of what frustrated him about that camera, so there’s no longer a reason to keep it. This sounds simple, but it requires a mindset shift. You’re not evaluating the camera against the version of your work from when you bought it. You’re evaluating it against what you actually shoot right now.
Peter evaluating the EOS R against newer R5 features
When Peter gets to the original EOS R, he makes the case quickly: the R5 solves most of what frustrated him about that camera, so there’s no longer a reason to keep it. This sounds simple, but it requires a mindset shift. You’re not evaluating the camera against the version of your work from when you bought it. You’re evaluating it against what you actually shoot right now.
Pull up your last month of work. What did you actually use? What settings did you reach for? What did you wish your camera could do? If the body you’re evaluating doesn’t answer that question better than something else you already own, it’s a candidate for the sell pile. Past value doesn’t equal current utility.
Step 6: Make the Pile, Commit to It, Then Stop Second-Guessing
 Peter placing camera bodies into a designated sell pile
Once you’ve evaluated everything, physically separate your keep pile from your sell pile and stop moving things between them. Peter commits to his decisions out loud, even when it clearly stings a little. That verbal or physical commitment matters. Gear audits that end with “I’ll think about it” tend to end with everything going back on the shelf.
Peter placing camera bodies into a designated sell pile
Once you’ve evaluated everything, physically separate your keep pile from your sell pile and stop moving things between them. Peter commits to his decisions out loud, even when it clearly stings a little. That verbal or physical commitment matters. Gear audits that end with “I’ll think about it” tend to end with everything going back on the shelf.
If you’re genuinely stuck on a camera, give yourself one concrete test: use it as your only body for two weeks. Carry it everywhere. Shoot your regular work with it. At the end of those two weeks, you’ll know whether you miss the other body or whether you forgot it existed.
What I’d Add From My Own Experience
Peter is working through a large professional kit here, but the same logic applies if you’re sitting on a $400 starter DSLR alongside your current mirrorless body. The question is never “is this a good camera?” Almost every modern camera is a good camera. The question is whether it’s the right camera for how you actually work.
I’ll be honest: I still shoot on my phone sometimes, not because I have to, but because constraints sharpen your eye in ways that having every option available simply doesn’t. One of the most useful things a gear audit can do is remind you that more equipment has never once been the reason a photo was great. Clarity about your tools, though, absolutely has been.
The single most important thing Peter does in this tutorial isn’t selling the cameras. It’s refusing to let “what if I need it someday” be a good enough reason to hold onto something that isn’t serving him today. That standard, applied honestly to your own bag, will tell you everything you need to know.
Watch the full tutorial on YouTube to see Peter walk through each camera in real time, including his reasoning on some of the tougher calls.
Comments (4)
Just subscribed. If the rest of your content is this good, I'm in.
Shared this with my photography group. Everyone loved it.
Finally someone explains this in a way that actually makes sense.
Excellent tutorial. I'd add that from a color grading standpoint, this technique is incredibly versatile.
Leave a Comment