One of the questions I get most often from readers is some version of: “I’ve watched hundreds of tutorials, but I still feel stuck. What’s missing?” I know exactly what they mean, because I felt it too. Generic advice gets you only so far. At some point, you need someone to look at your photos, spot your specific habits, and tell you what to fix. That gap between consuming information and actually improving is real, and it’s the reason personalized photography instruction matters more than people give it credit for.
I came across this short announcement from Tony Northrup - one half of the Tony & Chelsea Northrup channel, which has taught millions of photographers through their books and YouTube content - and it caught my attention because he’s offering exactly that kind of direct, personalized instruction. Watch the full tutorial on YouTube. The format is flexible enough to serve photographers regardless of where they live or what skill level they’re at. Let me break down each option so you know which one might actually make sense for you.
Step 1: Decide Whether You Want Self-Paced or Live Feedback
 Tony explaining the online mentoring option to camera
The first decision is simple: are you in New York, or not? If you’re remote, Tony offers online mentoring. This is not a prerecorded course or a passive learning format. You send him a portfolio or a curated selection of your images along with any specific questions you have, and he records a personalized video response and sends it back. Think of it like a detailed critique session, but on your schedule. This works well if you learn better by reviewing feedback on your own time and revisiting it multiple times.
Step 2: Submit Your Portfolio or Photo Selection
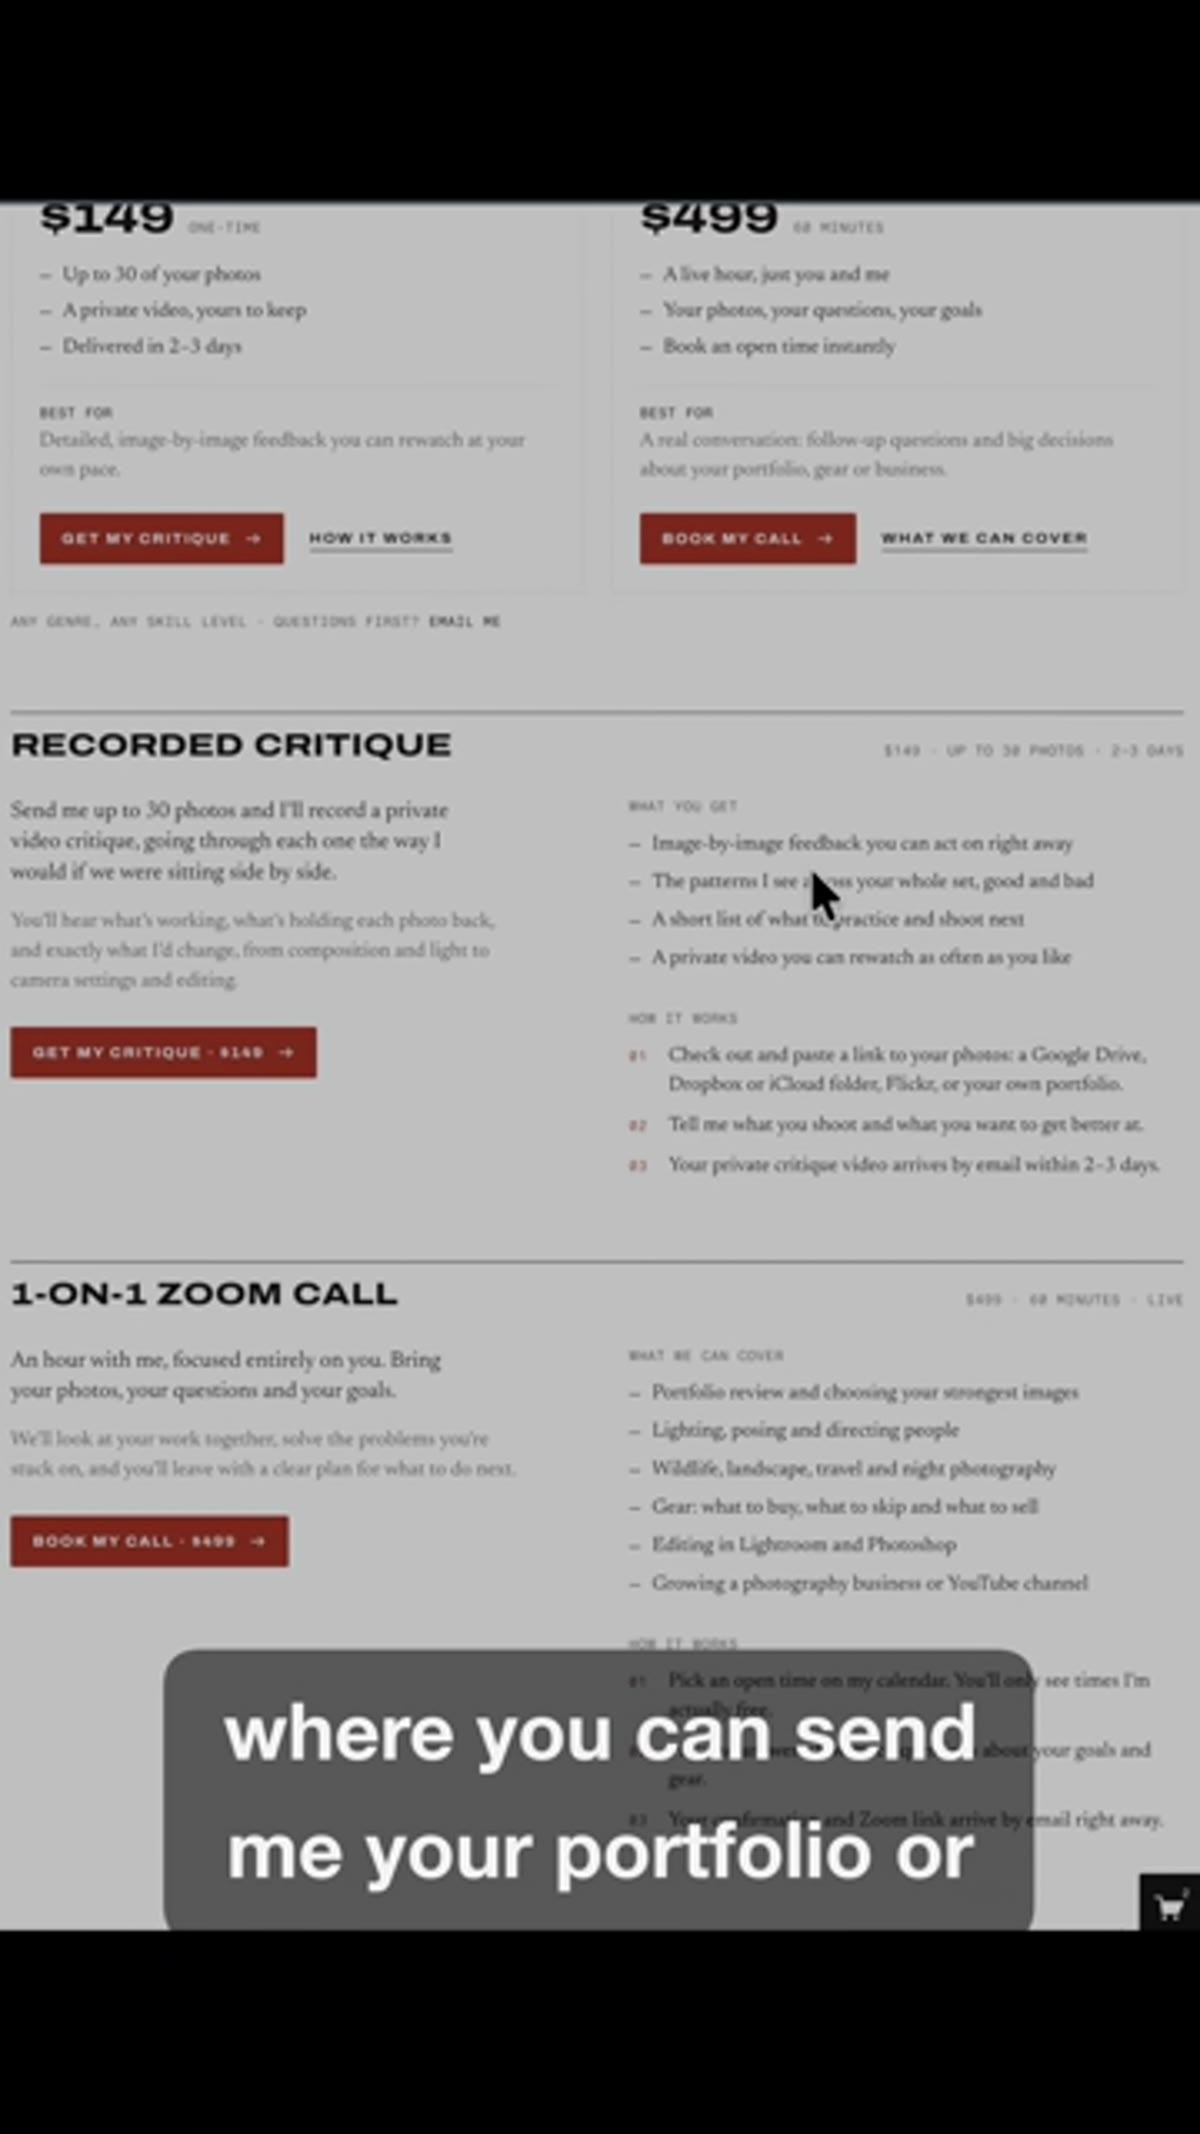 Description of sending photos and questions for review
When using the portfolio review option, be strategic about what you send. Don’t just dump your 200 best shots. Pick 10 to 20 images that represent the kind of photography you want to improve at, and include at least a few that you know aren’t quite working but aren’t sure why. Write your questions out specifically. “How do I make my photos better?” will get you a general answer. “I’m struggling to get sharp eyes in low light portraits at f/1.8 - is this a focus point issue or a technique issue?” will get you something actionable. Tony then records his response as a video, which means you can rewatch it, pause it, and take notes.
Step 3: Book a One-on-One Zoom Session for Real-Time Coaching
 Mention of scheduling a one-on-one Zoom session
If you want live, back-and-forth instruction, the Zoom session option lets you work through your Lightroom catalog in real time with Tony walking alongside you. This is a genuinely different learning experience from asynchronous feedback. You can ask follow-up questions on the spot, share your screen, and go down whatever rabbit holes matter to you that day. It’s closer to having a mentor sitting next to you than anything else available remotely. If you’ve ever wanted someone to look at your editing decisions and explain why they are or aren’t working, this is the format for that.
Step 4: Attend the Wildlife Photography Workshop in Central Park
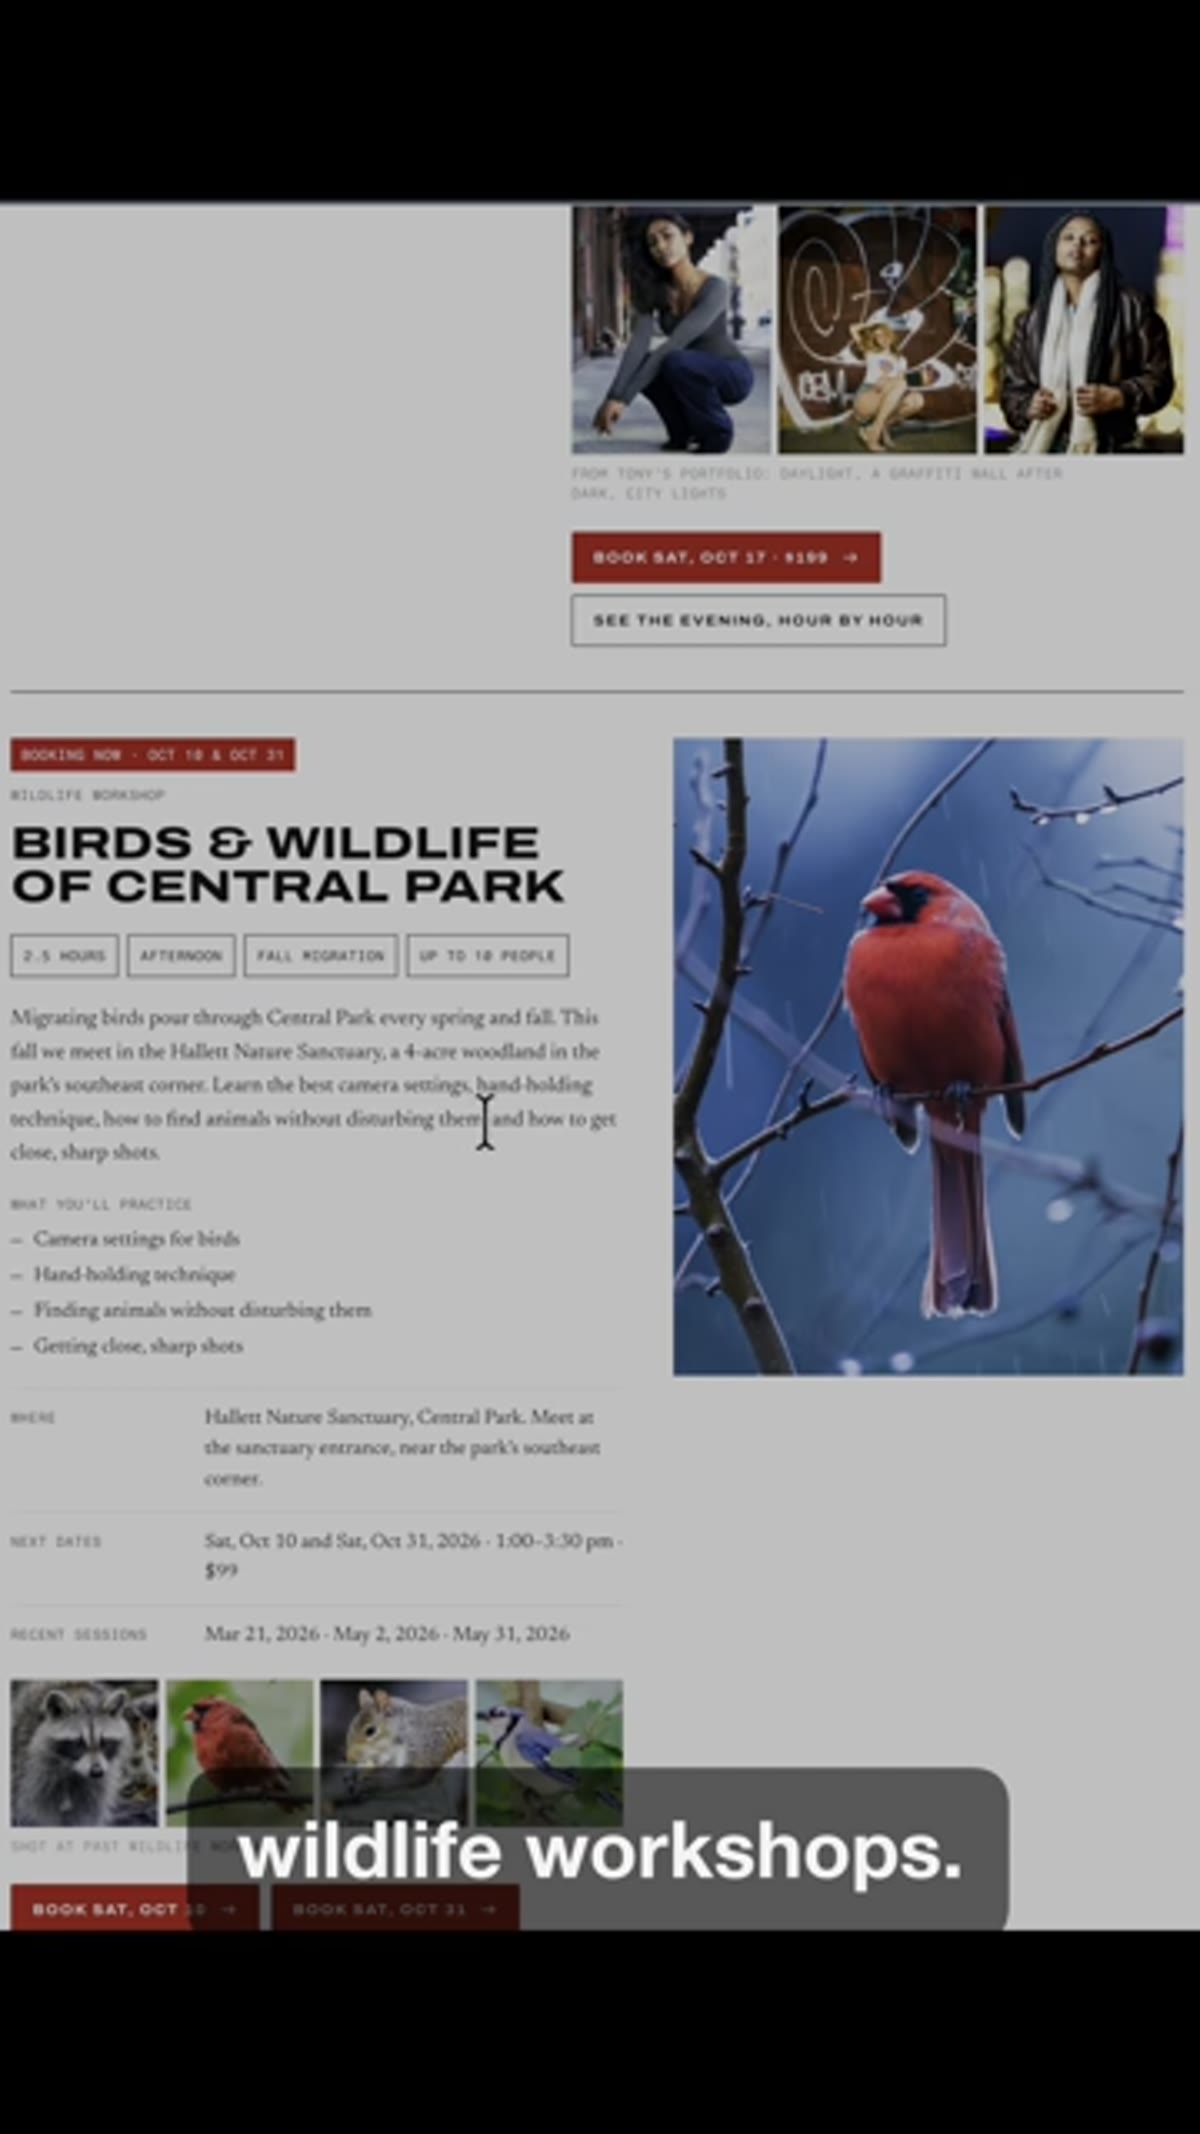 Tony describing the Central Park wildlife workshop
For those who can get to New York, Tony has scheduled wildlife photography workshops set in Central Park. The curriculum covers camera settings for wildlife (think fast shutter speeds, burst mode, autofocus tracking), techniques for getting sharp images of moving subjects, and the more practical skill of how to actually approach animals without spooking them. That last point doesn’t get taught enough. You can have perfect settings and still blow the shot because you moved too fast or approached from the wrong angle. Tony describes this as an inexpensive workshop, which makes it a low-risk way to get hands-on instruction in a genuinely photogenic environment. Central Park has surprisingly strong wildlife - herons, hawks, turtles, and more - especially if you know where to look and when to show up.
Step 5: Join the Outdoor Portrait Photography Workshop in NYC
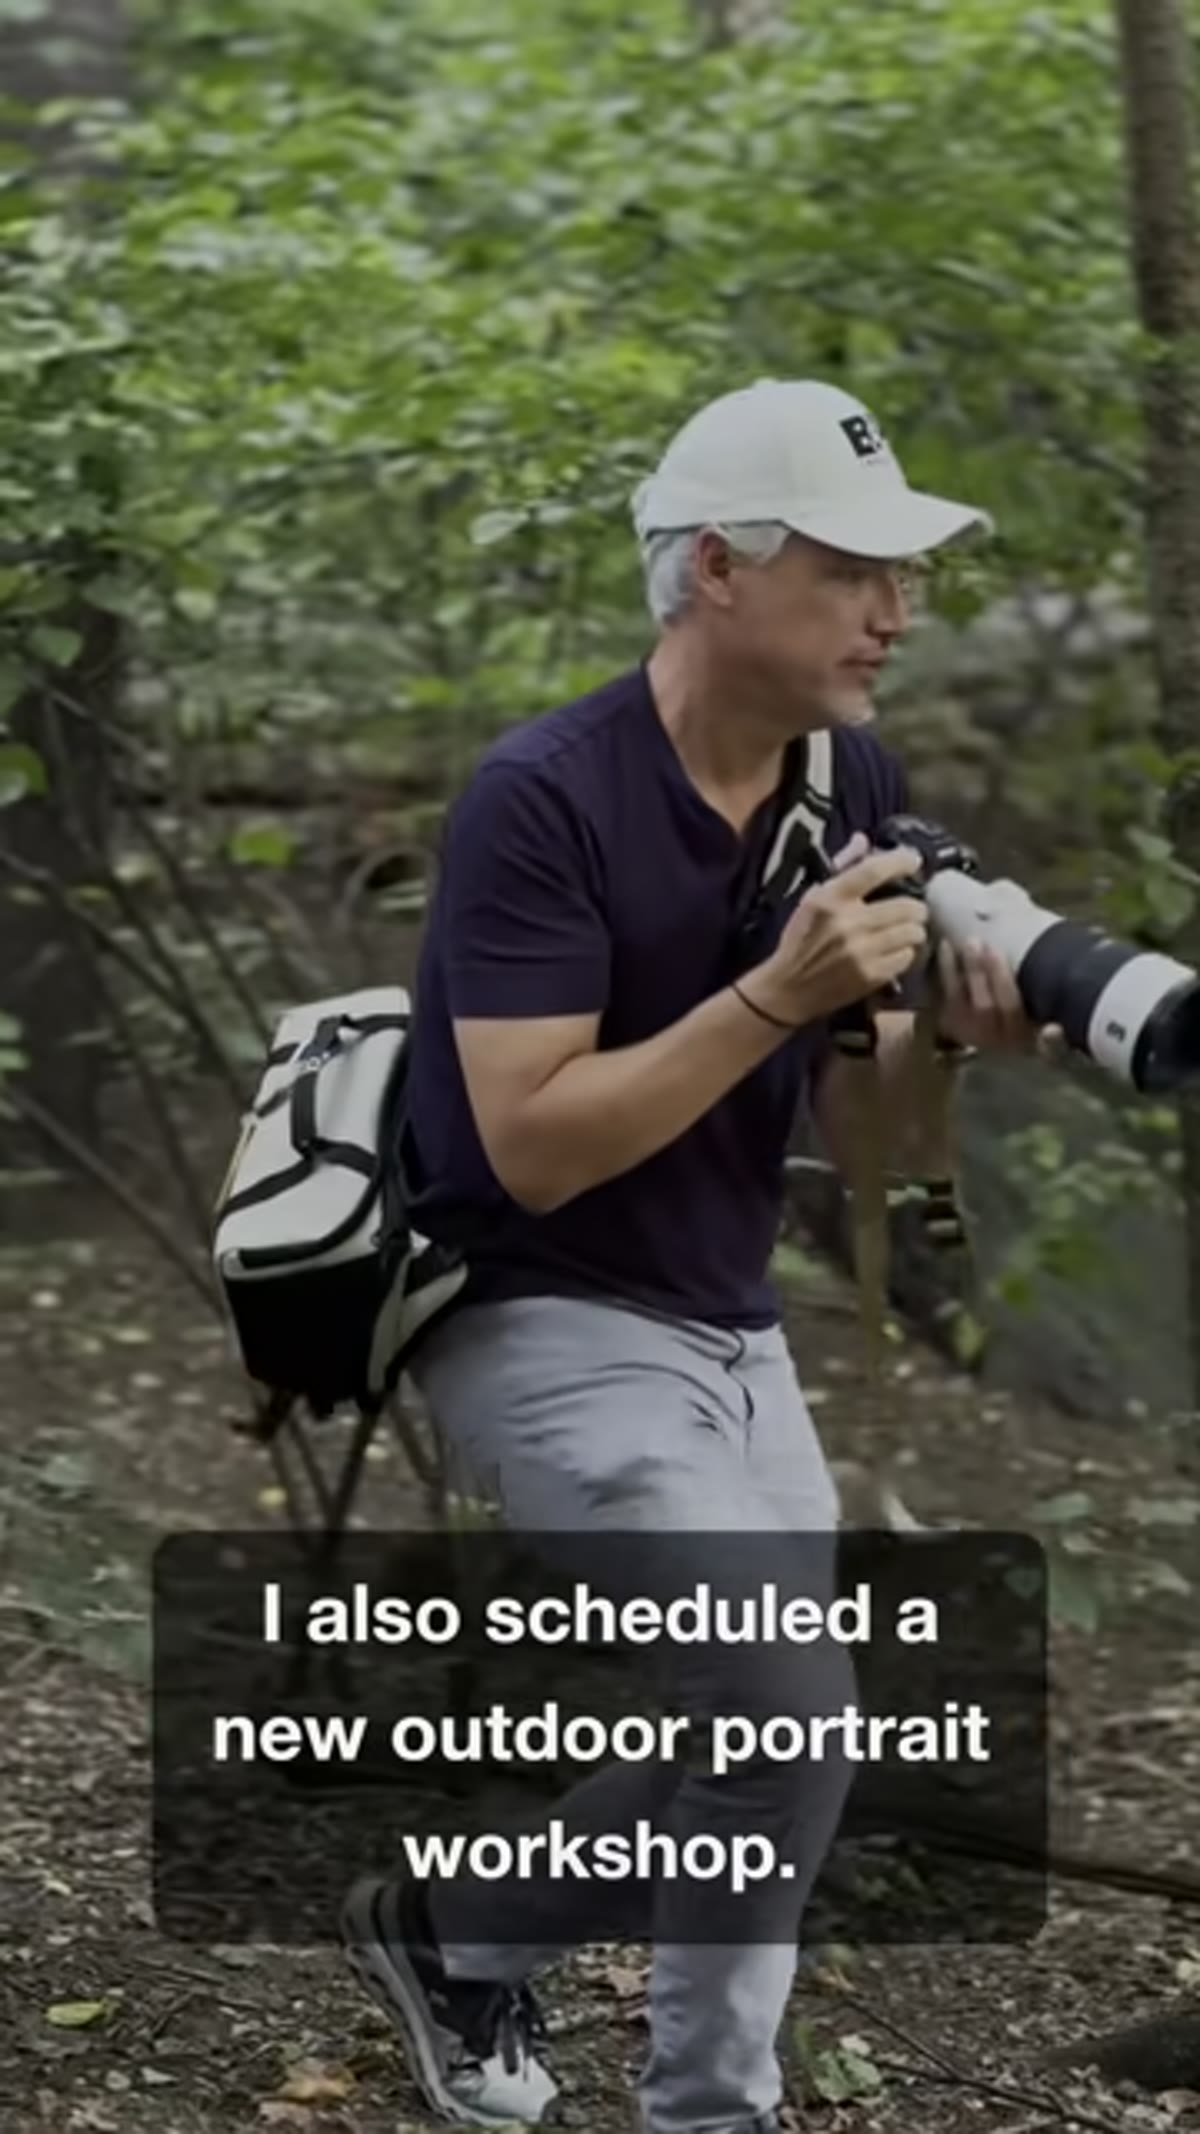 Tony describing the outdoor portrait workshop with a model and co-instructor
The portrait workshop is a larger production. You’ll be joined by Tony, a working model, and a second instructor called Cash (the Soho Shooter). The group walks the streets of New York, which means you’re learning on real locations rather than a controlled studio environment. The workshop moves through graffiti walls during the day, which teach you how to use bold, busy backgrounds without losing your subject, and then shifts to a specific skyline location at sunset. That transition is the core lesson: learning to balance the warm ambient light of a city at dusk against the cooler output of a flash or strobe.
Step 6: Learn to Balance Flash with Ambient City Light
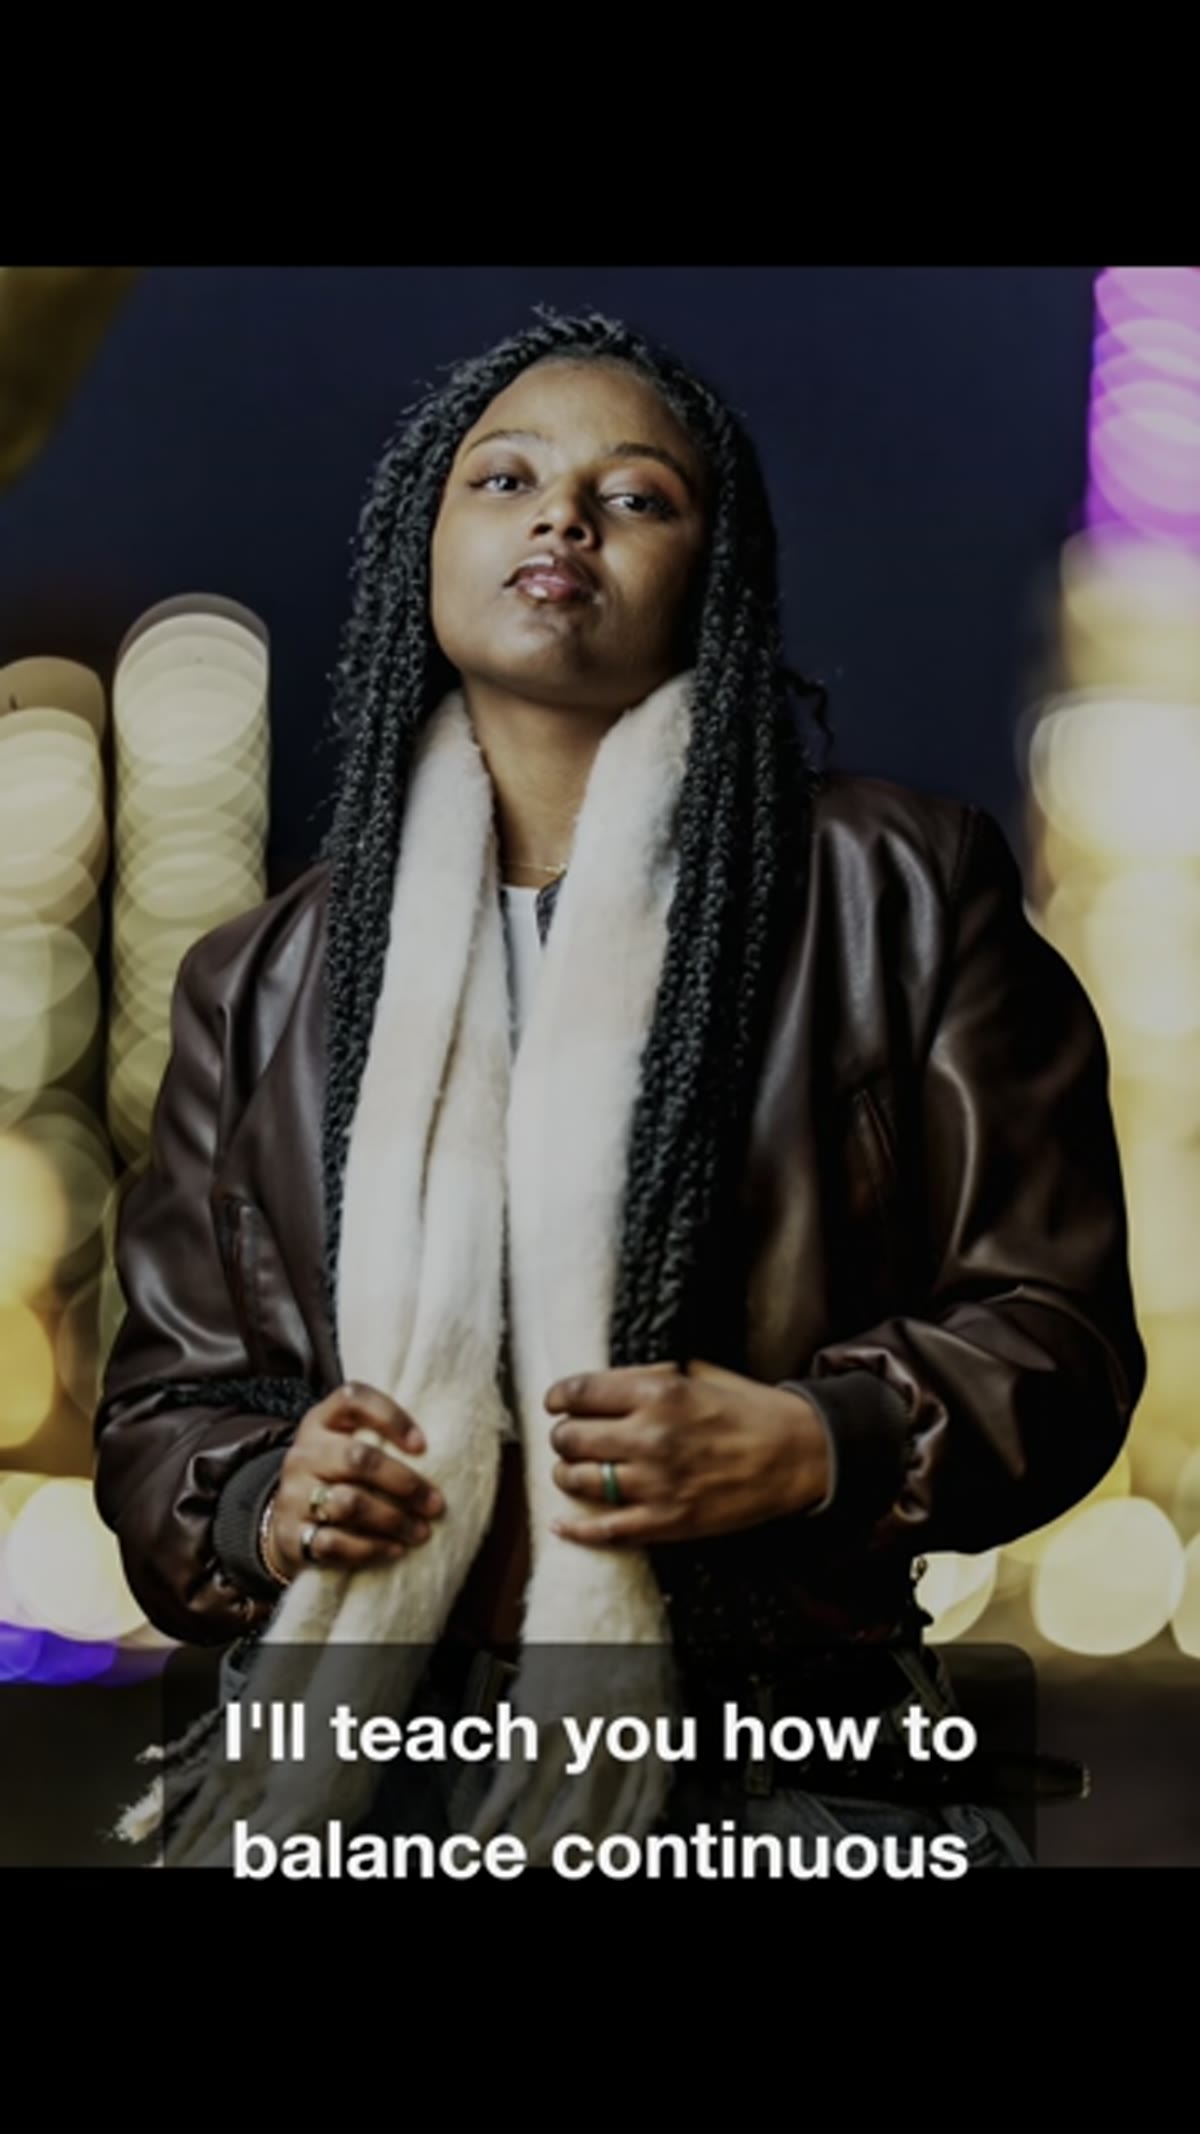 Tony explaining balancing flash with ambient city lighting
This is the technique I’d pay attention to most if you sign up for the portrait workshop. Balancing constant light with flash in an outdoor urban setting at sunset is one of those skills that separates photographers who look polished from those who look like they’re still figuring it out. The key is exposure control: you use your shutter speed to control the brightness of the ambient background and your flash power or distance to control how much light hits your subject. You want the two to blend naturally, not fight each other. Tony also covers using compression - meaning longer focal lengths like 85mm to 200mm - to produce background blur (bokeh) while keeping the city recognizable in the frame behind your subject.
Step 7: Register Through the Link or Comment “Workshop”
 Tony directing viewers to the link in his bio
To sign up, the link goes to northropphotography.com, or if you’re watching on YouTube, you can write “workshop” in the comments and Tony will send you a direct message. That second option is a smart move if you have questions before committing, since you’ll get a response before handing over any payment.
What I’d Add From My Own Experience
I’ve been shooting and teaching for years now, and the one thing I always tell students who are plateauing is this: critique accelerates growth faster than any tutorial can. Watching a video teaches you the concept. Having someone look at your specific work and say “you keep front-focusing on portraits” or “your horizon tilts left in 80 percent of your landscape shots” is what actually changes behavior. The online mentoring format Tony offers is the closest thing to having a working pro in your corner without relocating. If you’re in a creative rut, one honest portfolio review can do more than a month of passive learning. I know this because the first time I got real critique on my travel work, it was uncomfortable and also immediately, obviously useful in ways I hadn’t expected.
The most important thing to take away here is that personalized feedback is the fastest path to real improvement - and both of these options, remote or in-person, are designed around that principle rather than one-size-fits-all instruction.
Watch the full tutorial on YouTube and visit northropphotography.com for registration details on the workshops and mentoring sessions.
Comments
Leave a Comment