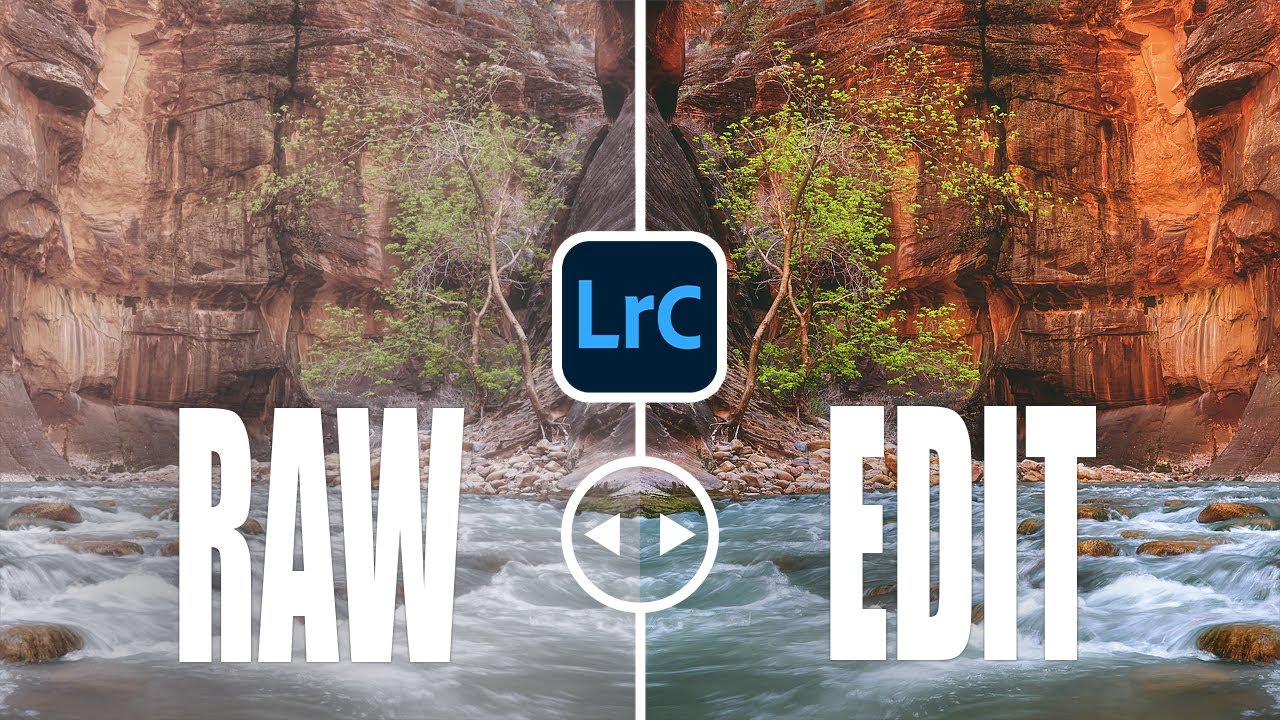
I spent an entire vacation chasing a waterfall shot. Five days, missed dinners, soaked boots. When I finally got home and opened the RAW files, I had no idea what I was doing in Lightroom and nearly threw away some of the best frames I’d ever captured. That experience is exactly why I get a little emotional when beginners tell me they just shoot JPEG because it’s “easier.” I understand the logic. JPEG looks good straight out of the camera. RAW looks like someone left the lens cap on halfway. But learning to edit RAW files is the thing that actually moved me from hobbyist to working photographer, and it is much less intimidating than it looks.
In this Mark Denney tutorial, he walks through a five-step workflow he uses on every single landscape image he edits. What I love about his approach is that it is genuinely repeatable. It is not a bag of one-off tricks for a specific photo. It is a foundation you can apply to your next shoot, and the one after that. Watch the full tutorial on YouTube if you want to see the before and after on his actual image, but here is the full breakdown so you can follow along with your own files.
Step 1: Crop First, Edit Second
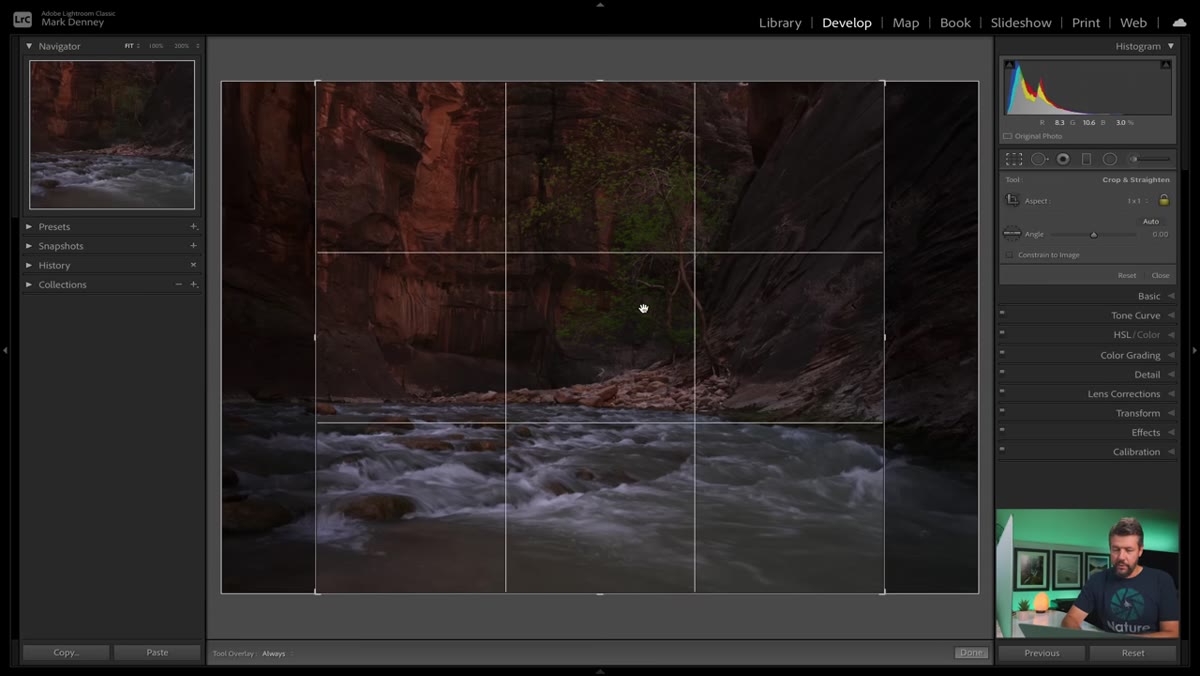 Crop tool applied to raw landscape image in Lightroom
Before touching a single tone slider, Mark crops his image to match his intended composition. This order matters more than most beginners realize. If you adjust exposure and color before cropping, you are doing work on parts of the frame you are about to throw away. More importantly, once you have the crop locked in, you can see whether your tonal adjustments actually serve the final image. Set your aspect ratio, straighten the horizon if it needs it, and commit to the frame before moving on.
Crop tool applied to raw landscape image in Lightroom
Before touching a single tone slider, Mark crops his image to match his intended composition. This order matters more than most beginners realize. If you adjust exposure and color before cropping, you are doing work on parts of the frame you are about to throw away. More importantly, once you have the crop locked in, you can see whether your tonal adjustments actually serve the final image. Set your aspect ratio, straighten the horizon if it needs it, and commit to the frame before moving on.
Step 2: Fix Exposure Using the Histogram as Your Guide
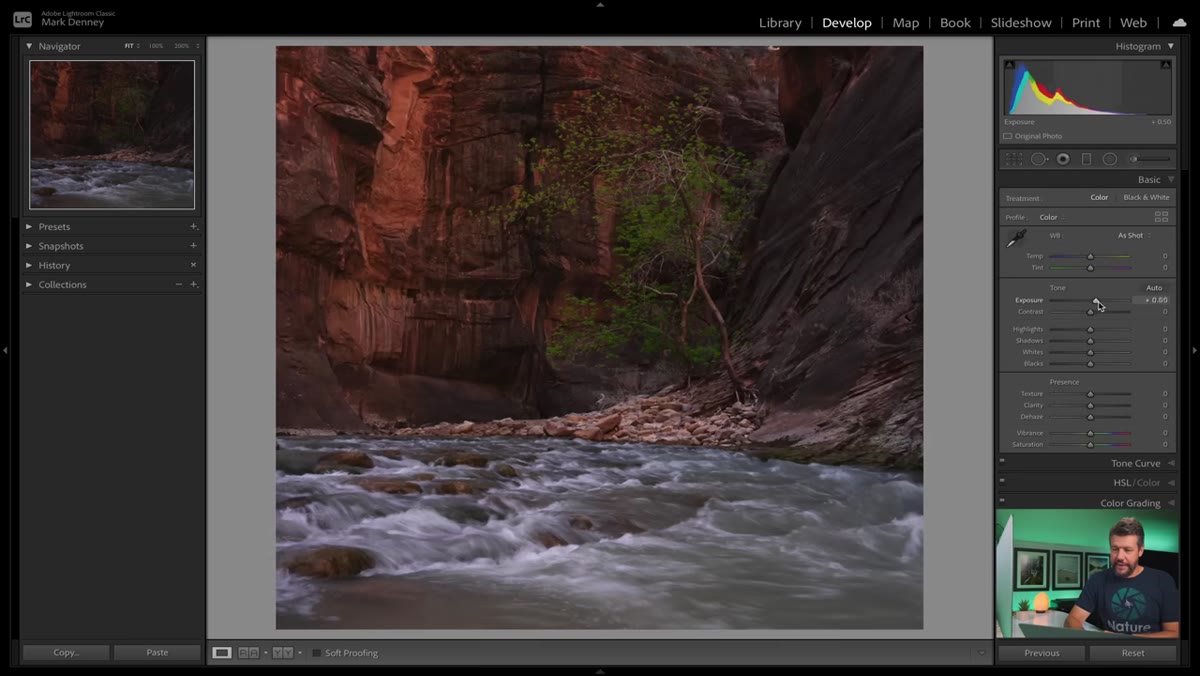 Exposure slider being adjusted with histogram visible in Lightroom
With the crop done, the next move is to correct the overall exposure. RAW files frequently come in underexposed because cameras expose to protect highlights, and the result is a flat, dark image that looks discouraging. Do not let that fool you. Open the Exposure slider in the Basic panel and start pushing it right while watching the histogram. You want to shift that mountain of data away from the left wall, where pure blacks pile up, and move it toward the center.
Exposure slider being adjusted with histogram visible in Lightroom
With the crop done, the next move is to correct the overall exposure. RAW files frequently come in underexposed because cameras expose to protect highlights, and the result is a flat, dark image that looks discouraging. Do not let that fool you. Open the Exposure slider in the Basic panel and start pushing it right while watching the histogram. You want to shift that mountain of data away from the left wall, where pure blacks pile up, and move it toward the center.
Here is a genuinely useful trick Mark shares: hold the Shift key and double-click the word “Exposure” directly. Lightroom will auto-suggest a corrected value based on its analysis of the image. That number is not gospel, but it is a solid starting point. Think of it as Lightroom handing you a rough draft. Take the suggestion, then trust your eye to fine-tune from there.
Step 3: Reign in the Highlights
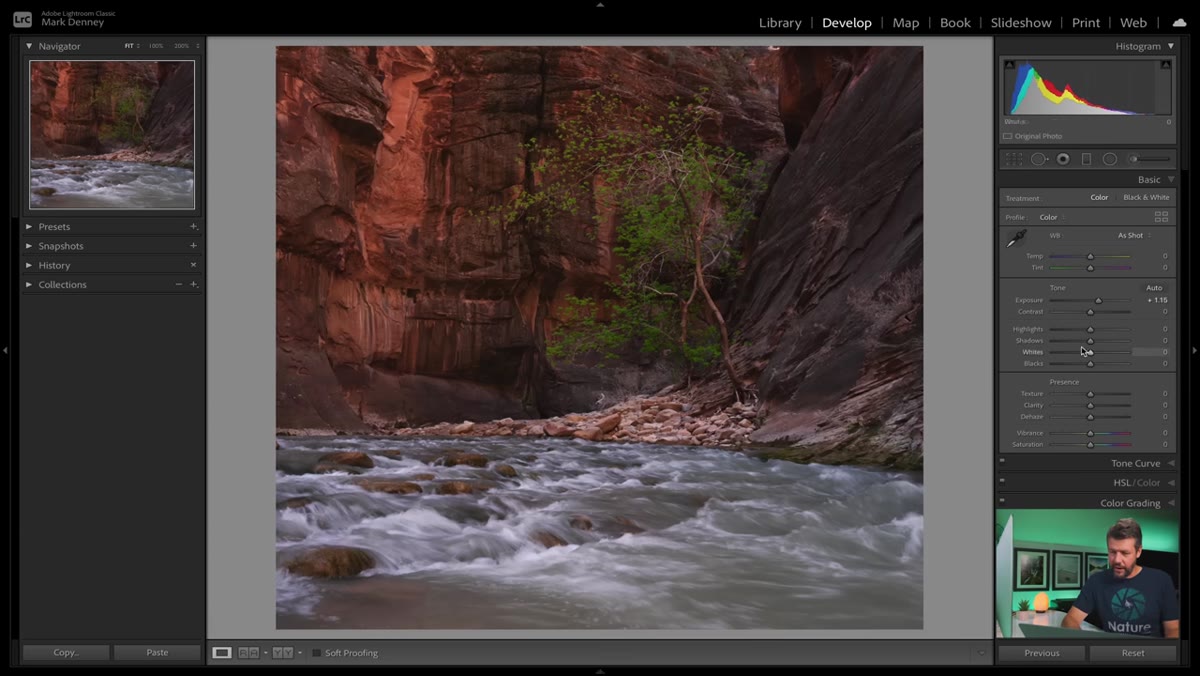 Highlights slider pulled down to recover bright water detail
Once exposure is in a workable range, bright areas of the image often need to be pulled back down. In landscape photography especially, water and sky can blow out quickly when you lift overall exposure. Mark brings the Highlights slider down to recover detail in those areas without affecting the rest of the image. You are not trying to make the image darker overall. You are just keeping the brightest regions from losing texture entirely. Watch the top-right corner of the histogram as you drag. If data is clipped against the right wall, pulling highlights down will bring it back.
Highlights slider pulled down to recover bright water detail
Once exposure is in a workable range, bright areas of the image often need to be pulled back down. In landscape photography especially, water and sky can blow out quickly when you lift overall exposure. Mark brings the Highlights slider down to recover detail in those areas without affecting the rest of the image. You are not trying to make the image darker overall. You are just keeping the brightest regions from losing texture entirely. Watch the top-right corner of the histogram as you drag. If data is clipped against the right wall, pulling highlights down will bring it back.
Step 4: Open Up the Shadows
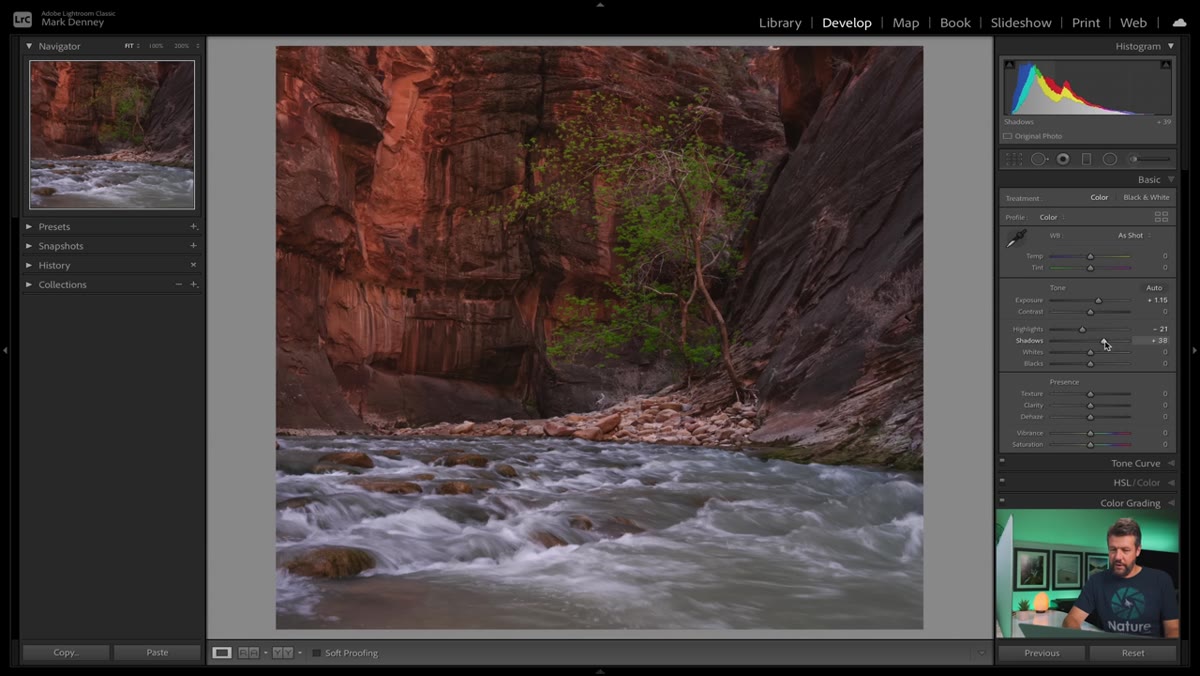 Shadows slider increased to reveal foreground detail in landscape
This is where RAW format earns its reputation. Try doing this with a JPEG and you will get noise and muddy color. With a RAW file, you can push the Shadows slider significantly to the right and reveal a remarkable amount of detail in the dark areas of your frame. For landscape shots, this often means foreground rocks, dark tree lines, or shadowed hillsides suddenly become visible and interesting rather than just black shapes.
Shadows slider increased to reveal foreground detail in landscape
This is where RAW format earns its reputation. Try doing this with a JPEG and you will get noise and muddy color. With a RAW file, you can push the Shadows slider significantly to the right and reveal a remarkable amount of detail in the dark areas of your frame. For landscape shots, this often means foreground rocks, dark tree lines, or shadowed hillsides suddenly become visible and interesting rather than just black shapes.
Do not overdo it. If everything in the image is the same brightness, the photo starts to look artificial and flat in a different way. Leave enough contrast between your shadows and midtones so the image still has dimension. A good test is to zoom to 100 percent and check that the shadow areas look clean, not milky.
Step 5: Set Your Blacks and Whites
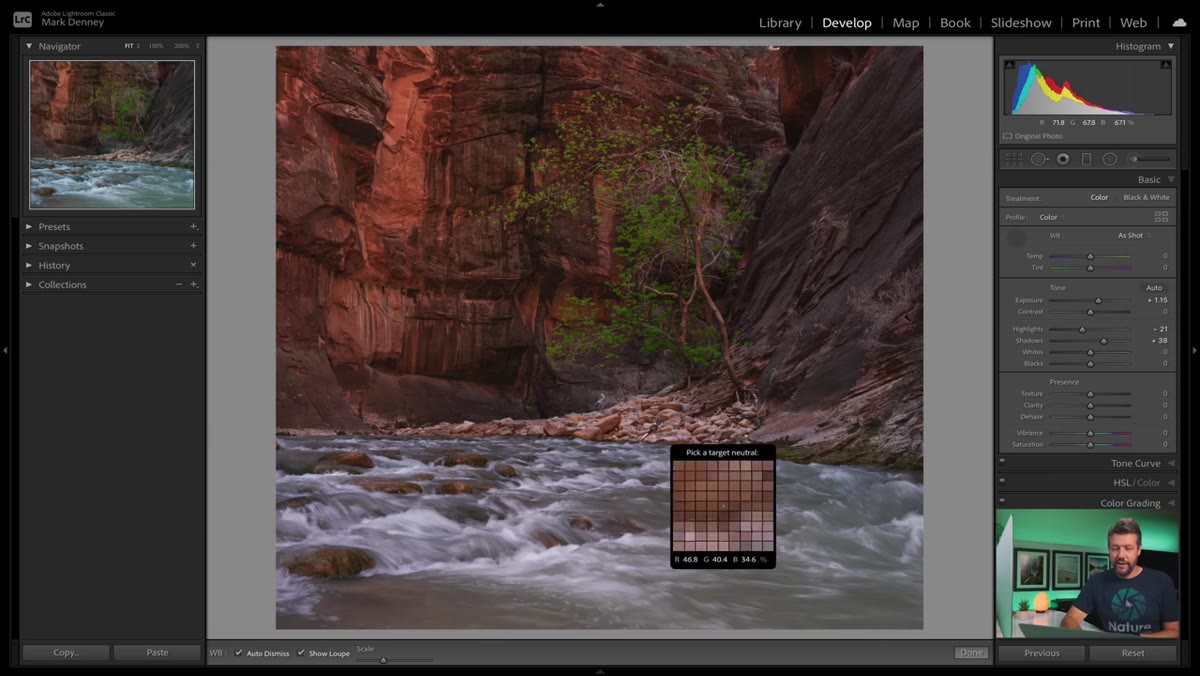 Blacks and Whites sliders adjusted to anchor tonal range in Lightroom
The final tonal move is to anchor the edges of your dynamic range by setting the Blacks and Whites sliders. Mark uses a click-and-hold technique here that is easy to remember: hold Alt (or Option on Mac) while dragging the Whites slider. The screen will go black, and any area that starts glowing white is clipping into pure white with no detail. Pull back until those areas just disappear. Do the same thing with the Blacks slider. Hold Alt and drag left. The screen goes white this time, and any area that goes pure black is losing shadow detail. This gives you a precise, controlled tonal range without guessing.
Blacks and Whites sliders adjusted to anchor tonal range in Lightroom
The final tonal move is to anchor the edges of your dynamic range by setting the Blacks and Whites sliders. Mark uses a click-and-hold technique here that is easy to remember: hold Alt (or Option on Mac) while dragging the Whites slider. The screen will go black, and any area that starts glowing white is clipping into pure white with no detail. Pull back until those areas just disappear. Do the same thing with the Blacks slider. Hold Alt and drag left. The screen goes white this time, and any area that goes pure black is losing shadow detail. This gives you a precise, controlled tonal range without guessing.
One Thing I’d Add From My Own Editing Practice
Mark’s workflow gives you a clean, well-exposed image, which is exactly the goal. Where I have taken this a step further in my own work is adding a quick Color Calibration pass after the tonal adjustments are done. The default color rendering in Lightroom does not always match what I saw with my eyes, especially in golden hour landscape work where greens can go a little yellow and blues can shift cool in ways that feel sterile. Spending two minutes in the Color Calibration panel adjusting the Hue sliders for the red, green, and blue primaries can bring your colors much closer to the emotional memory of the scene. It is not a required step, but once you try it you will stop wondering why your landscapes look “almost right” but not quite.
The single biggest shift this workflow created for me was realizing that a flat RAW file is not a bad photo. It is an unfinished one. Every step above is just you finishing what the camera started. Get comfortable with that idea and the intimidation around editing RAW disappears quickly.
Mark’s tutorial is one of the clearest breakdowns of this process I have seen for beginners, and I recommend watching the full video to see the before-and-after transformation on a real image. Watch the full tutorial on YouTube and then come back and run through these steps on one of your own RAW files. That first edit is the one that changes everything.
Comments
Leave a Comment