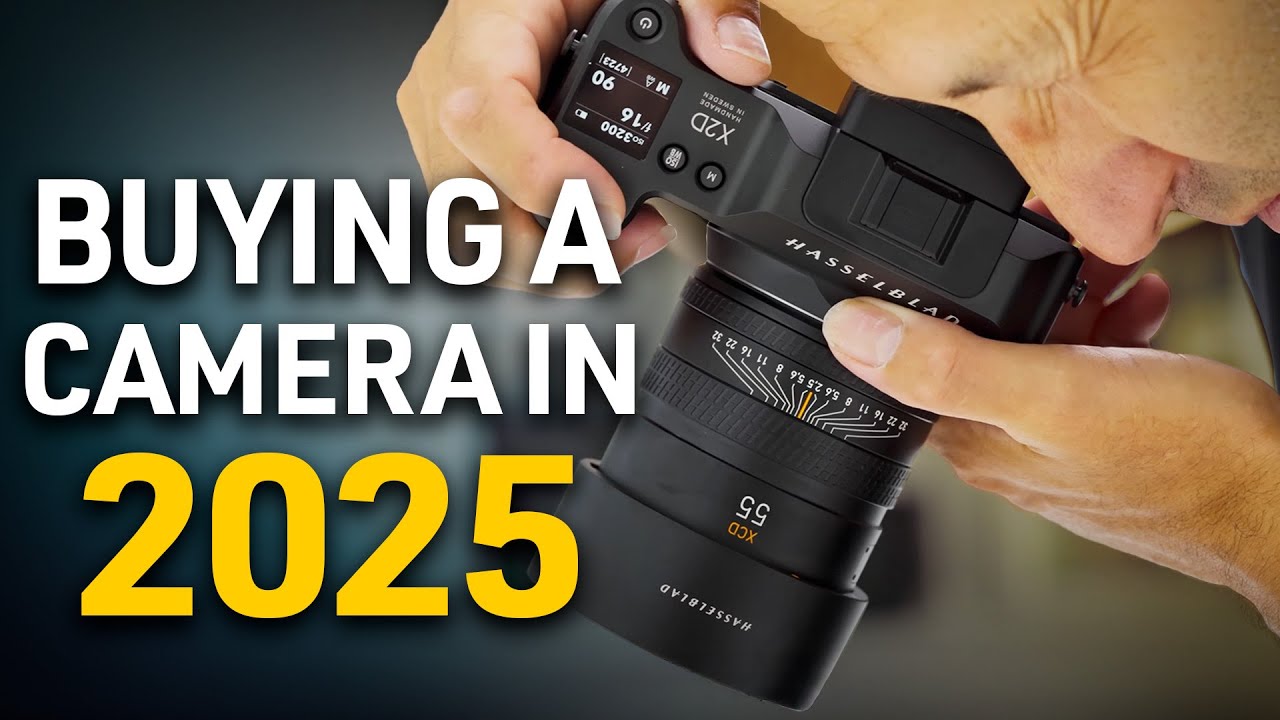
Every few months, someone finds me on a Sunday photo walk and asks some version of the same question: “Which camera should I buy?” I used to fumble through an answer. Now I send them to do their homework first, because the honest truth is that the best camera system for you depends on a handful of very specific factors, and skipping even one of them can lead to an expensive mistake.
I recently worked through a tutorial from Visual Education that lays this out more clearly than almost anything else I’ve seen on the topic. Watch the full tutorial on YouTube before or after reading this, because the side-by-side image comparisons alone are worth your time. What I want to do here is walk you through the framework the tutorial builds, and add a few things I’ve learned from my own years of switching systems.
The tutorial is presented from the perspective of a product and advertising photographer, which means image quality sits at the very top of his priority list. Your list might look different. That’s exactly the point.
Step 1: Start With Your Budget and Be Honest About It
 Presenter listing the first camera selection factors
Before you fall in love with any camera, write a real number down. Not an aspirational number, an actual one. The tutorial opens here for a reason: budget sets the boundary for every other decision. A camera system includes not just the body, but lenses, memory cards, batteries, and any accessories your genre demands. That 50mm prime that makes portraits sing costs money on top of the body.
Presenter listing the first camera selection factors
Before you fall in love with any camera, write a real number down. Not an aspirational number, an actual one. The tutorial opens here for a reason: budget sets the boundary for every other decision. A camera system includes not just the body, but lenses, memory cards, batteries, and any accessories your genre demands. That 50mm prime that makes portraits sing costs money on top of the body.
The other thing worth knowing early: buying into a camera system is a long-term commitment. Lenses don’t transfer between brands without adapters, and adapters introduce their own compromises. Spend where the system has room to grow with you.
Step 2: Match the Lens Ecosystem to Your Genre
 Presenter explaining lens choices and system compatibility
The tutorial frames lens selection as two separate questions, and I think that’s smart. First, does the system actually make lenses for the kind of work you do? A wildlife shooter needs long telephoto reach. A product photographer might live at macro distances. Some systems have deep catalogs; others have gaps.
Presenter explaining lens choices and system compatibility
The tutorial frames lens selection as two separate questions, and I think that’s smart. First, does the system actually make lenses for the kind of work you do? A wildlife shooter needs long telephoto reach. A product photographer might live at macro distances. Some systems have deep catalogs; others have gaps.
Second, are those lenses optically good enough? The tutorial mentions MTF charts (Modulation Transfer Function charts) as one tool for evaluating lens sharpness and contrast. You don’t need to become an optical engineer, but pulling up an MTF chart for a lens you’re considering takes five minutes and can save you from a soft, disappointing purchase. Look for high, flat lines across the frame.
Step 3: Consider Focusing Speed Relative to What You Shoot
 Presenter discussing autofocus speed as a genre-specific factor
Autofocus speed matters enormously to some photographers and almost not at all to others. If you shoot sports, birds in flight, or fast-moving kids, a camera’s ability to lock focus quickly and track a subject across the frame is a core feature, not a bonus. If you shoot landscapes, architecture, or studio still life, you can probably live with a system that’s slower to acquire focus.
Presenter discussing autofocus speed as a genre-specific factor
Autofocus speed matters enormously to some photographers and almost not at all to others. If you shoot sports, birds in flight, or fast-moving kids, a camera’s ability to lock focus quickly and track a subject across the frame is a core feature, not a bonus. If you shoot landscapes, architecture, or studio still life, you can probably live with a system that’s slower to acquire focus.
I bring this up because it’s easy to get seduced by specs that don’t actually apply to your work. A 30-frames-per-second burst rate is impressive. It’s also irrelevant if you’re shooting a waterfall at golden hour.
Step 4: Factor In Durability for Your Shooting Environment
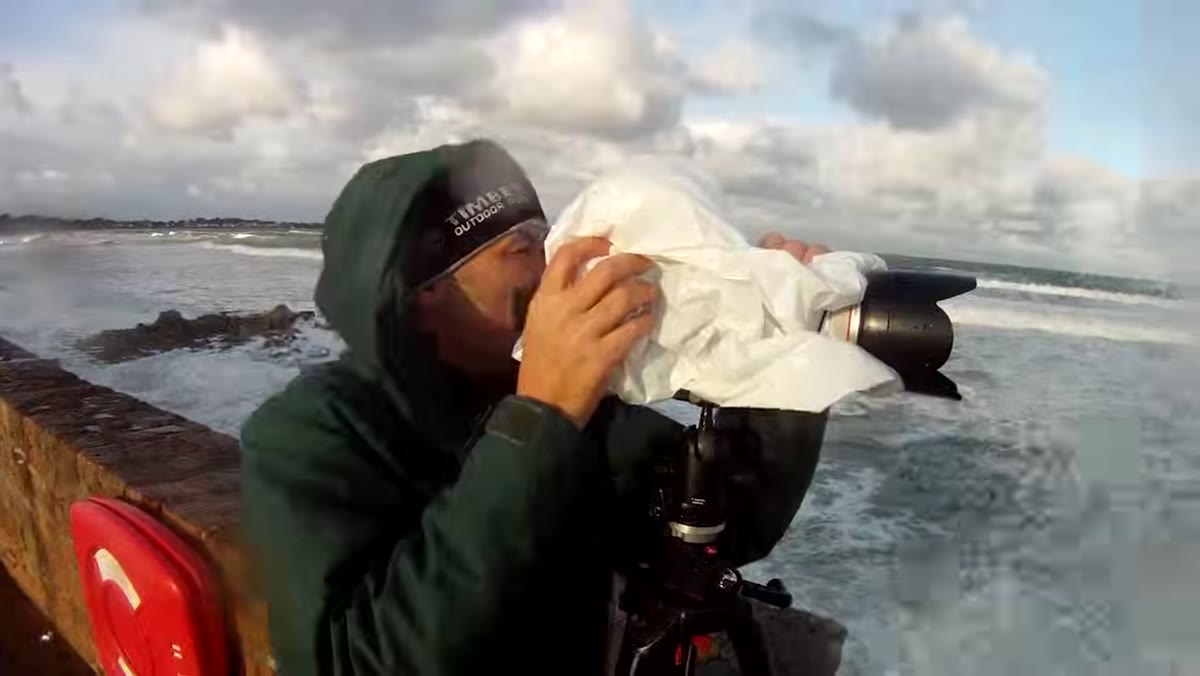 Presenter describing weather sealing and location shooting conditions
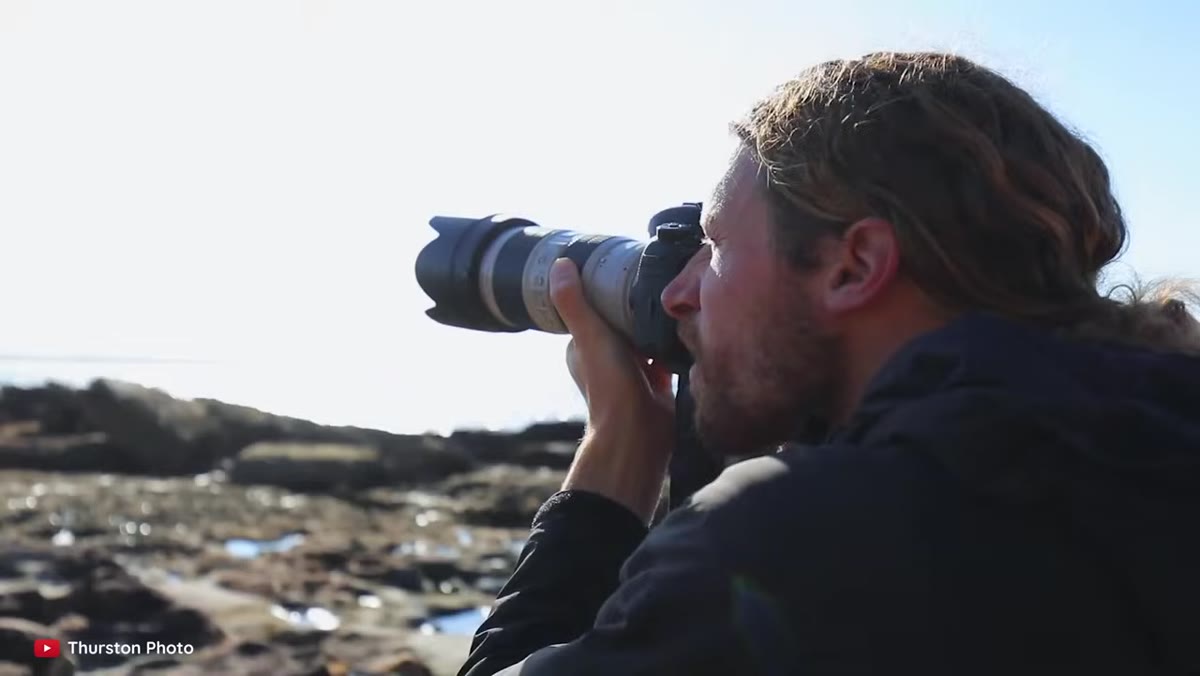
The tutorial specifically calls out durability as a concern for landscape and wildlife photographers working in rough conditions outdoors. Weather sealing, magnesium alloy bodies, and robust port covers are the difference between confidence and anxiety when you’re hiking in the rain or shooting on a salt flat.
Presenter describing weather sealing and location shooting conditions
The tutorial specifically calls out durability as a concern for landscape and wildlife photographers working in rough conditions outdoors. Weather sealing, magnesium alloy bodies, and robust port covers are the difference between confidence and anxiety when you’re hiking in the rain or shooting on a salt flat.
If you mostly shoot in a controlled studio, this moves way down your list. But if your idea of a great shoot involves scrambling up a hillside or standing in a tide pool, check the weather-sealing rating before you buy. “Splash resistant” and “fully sealed” are not the same thing.
Step 5: Let Your Genre Drive the Technical Specs
 Presenter comparing genre requirements like sports vs. portrait vs. product
The tutorial walks through several genres and the different camera priorities each one creates. Sports and wildlife demand fast burst rates. Portrait and fashion work benefits from smooth color rendering and good high-ISO performance for mixed or low light. Product and commercial photography often prioritizes maximum resolution for the fine detail clients expect when an image is printed large or cropped heavily.
Presenter comparing genre requirements like sports vs. portrait vs. product
The tutorial walks through several genres and the different camera priorities each one creates. Sports and wildlife demand fast burst rates. Portrait and fashion work benefits from smooth color rendering and good high-ISO performance for mixed or low light. Product and commercial photography often prioritizes maximum resolution for the fine detail clients expect when an image is printed large or cropped heavily.
This is the step most beginners skip. They read a “best cameras of the year” list without filtering it through their own work. A camera that earns a perfect score for a photojournalist might be a mediocre choice for someone shooting furniture catalogs. Know your genre, then read the reviews through that lens.
Step 6: Hold It Before You Buy It
 Presenter discussing ergonomics, size, and how the camera feels in hand
Ergonomics is one of those factors that sounds soft until you’ve spent six hours holding a camera that doesn’t fit your hand. The tutorial puts real weight on how a camera feels, how it balances with your most-used lens, and whether the size works for how you actually travel and shoot.
Presenter discussing ergonomics, size, and how the camera feels in hand
Ergonomics is one of those factors that sounds soft until you’ve spent six hours holding a camera that doesn’t fit your hand. The tutorial puts real weight on how a camera feels, how it balances with your most-used lens, and whether the size works for how you actually travel and shoot.
If you’re a travel photographer or you do a lot of street work, a smaller, lighter system might serve you better than a flagship body with every feature imaginable. Comfort affects how long you shoot, how steady your hold is, and honestly, how much you enjoy the process. Rent or borrow before you commit if you can.
Step 7: Don’t Get Lost in the Tech Spec Rabbit Hole
 Presenter noting that manual mode reduces relevance of many camera features
The tutorial makes a point I really respect here. Modern cameras are loaded with technology: advanced metering modes, auto bracketing, high-speed flash sync, dozens of shooting modes. For many working photographers, the majority of those features go untouched. The presenter notes that he works in full manual mode and is really just controlling three things, shutter speed, aperture, and ISO, the same three variables that have always defined exposure.
Presenter noting that manual mode reduces relevance of many camera features
The tutorial makes a point I really respect here. Modern cameras are loaded with technology: advanced metering modes, auto bracketing, high-speed flash sync, dozens of shooting modes. For many working photographers, the majority of those features go untouched. The presenter notes that he works in full manual mode and is really just controlling three things, shutter speed, aperture, and ISO, the same three variables that have always defined exposure.
That doesn’t mean specs don’t matter. It means you should identify which specs are actually relevant to how you work, and stop letting the rest inflate the price you’re willing to pay or the complexity you’re willing to manage.
What I’d Add From My Own Experience
I shoot lifestyle and travel work, and for years I chased resolution numbers the way some people chase follower counts. What actually moved the needle for me was simplifying. My most-liked Instagram photo was taken on a $200 phone, and that moment genuinely forced me to rethink what I was optimizing for.
The tutorial’s testing section, where the presenter compares a Hasselblad H6, a Hasselblad X2D, and a Sony a1 side by side using a color checker and neutralized white balance, is a useful reminder that differences between systems at the top of the market are subtle. The bigger differences almost always come from the photographer’s understanding of light, composition, and the specific demands of their genre. Do your research, but then go shoot something.
The single most important question you can ask before buying a camera system is this: does this system have what I need for the work I actually do, not the work I imagine I might do someday? Nail that answer and the rest of the decision gets a lot cleaner.
Watch the full tutorial on YouTube for the full side-by-side image quality comparison, including the color calibration and exposure matching process that shows you exactly how to evaluate cameras against each other with your own eyes.
Comments
Leave a Comment