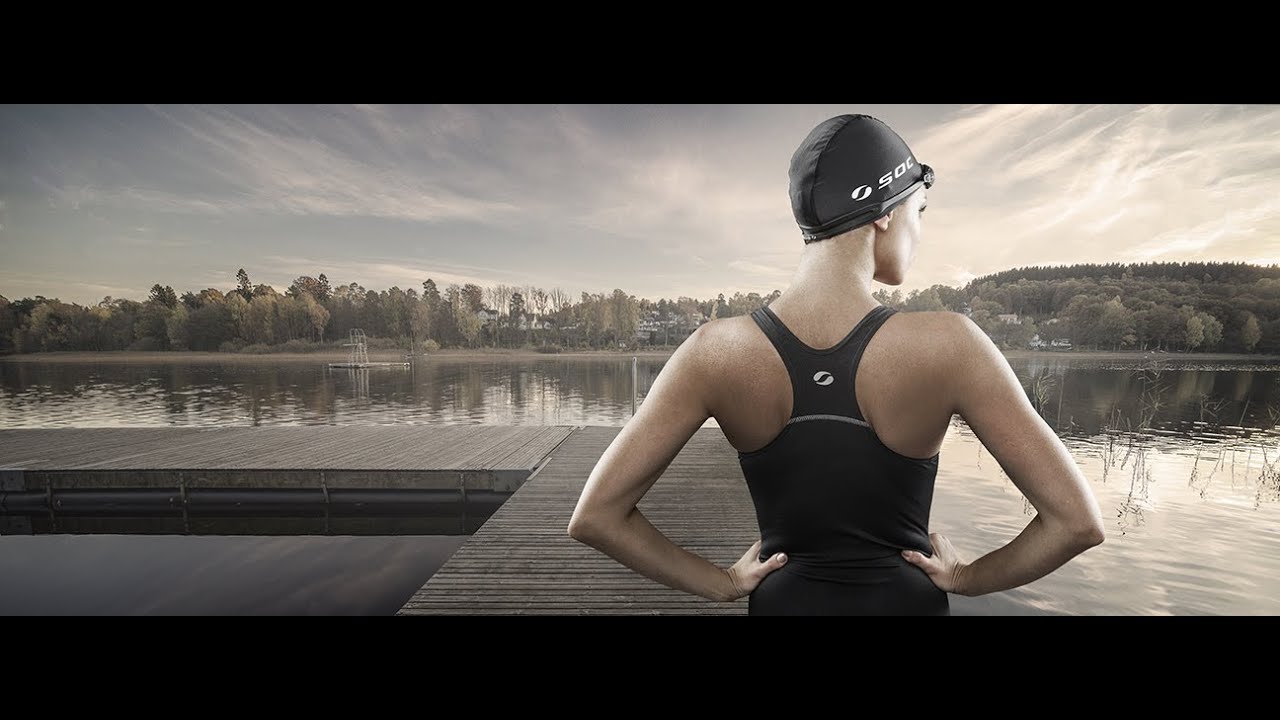
Every Sunday morning I take a photo walk around Seattle, and I keep running into the same frustration: I want a wide environmental feel around my subject, but I don’t want the distortion and spatial stretching that comes with slapping a 16mm lens on my camera. The subject looks like they’re standing on the moon, everything pushed apart, the background practically a postage stamp. For a long time I thought the only fix was to shoot at a longer focal length and just accept a tighter frame.
Then I watched this tutorial from Joel Grimes, commercial photographer and founder of the Joel Grimes Academy, where he walks through a Q&A session covering tilt-shift lenses and how they interact with perspective in ways most photographers never fully think through. What he explains isn’t just a gear endorsement. It’s a genuine optical concept that reframes how you think about focal length entirely.
Watch the full tutorial on YouTube
The short version: tilt-shift lenses let you get a wider angle of view while preserving the spatial compression of a longer focal length. That combination is hard to get any other way, and once you understand why, you’ll look at your lens choices differently.
Step 1: Understand What “Angle of View” Actually Means Across Formats
 Joel explaining format sizes and corresponding focal lengths
Before touching a tilt-shift lens, you need a solid mental model of how sensor size and focal length interact. Joel walks through this by comparing how different formats, 35mm, medium format, and large format (4x5 and 8x10), require different focal lengths to achieve the same angle of view.
Joel explaining format sizes and corresponding focal lengths
Before touching a tilt-shift lens, you need a solid mental model of how sensor size and focal length interact. Joel walks through this by comparing how different formats, 35mm, medium format, and large format (4x5 and 8x10), require different focal lengths to achieve the same angle of view.
On a full-frame 35mm camera, roughly 24mm gives you about 84 degrees of angle of view. On a medium format body like the Mamiya RZ67 6x7, you’d need a 50mm lens to match that same 84 degrees. On a 4x5 large format camera, you’d be reaching for a 90mm. Same angle of view, progressively longer focal lengths as the format gets bigger.
Step 2: Recognize How Longer Focal Lengths Compress Space Differently
 Diagram or verbal explanation of foreground-subject-background compression
Here’s where it gets interesting, and where a lot of photographers miss something important. When you use a longer focal length to achieve the same angle of view on a larger format, the spatial relationships in the image change. A subject standing 10 feet in front of you, with a fence in the foreground and mountains behind, will look compressed differently depending on which format you’re shooting on.
Diagram or verbal explanation of foreground-subject-background compression
Here’s where it gets interesting, and where a lot of photographers miss something important. When you use a longer focal length to achieve the same angle of view on a larger format, the spatial relationships in the image change. A subject standing 10 feet in front of you, with a fence in the foreground and mountains behind, will look compressed differently depending on which format you’re shooting on.
On large format with a 90mm, that subject and those mountains appear closer together. They feel stacked. On a crop sensor camera using a wide lens to match the same angle of view, everything spreads out. The mountains look far away, the foreground feels distant from the subject. The wider the effective lens on a smaller sensor, the more “stretched” the spatial relationships look. This is not just an aesthetic preference. It fundamentally changes how your subject reads in the frame.
Step 3: See the Tilt-Shift Lens as a Perspective Tool, Not Just a Resolution Tool
 Joel describing the shift function and its effect on effective focal length
Joel is straightforward about this: most people think tilt-shift lenses are about getting more megapixels by stitching multiple shifted frames together. And yes, that works. His Canon 5DS R becomes an 80-100 megapixel camera with that technique. But he’s emphatic that the more compelling reason to use tilt-shift is what the shift function does to perspective.
Joel describing the shift function and its effect on effective focal length
Joel is straightforward about this: most people think tilt-shift lenses are about getting more megapixels by stitching multiple shifted frames together. And yes, that works. His Canon 5DS R becomes an 80-100 megapixel camera with that technique. But he’s emphatic that the more compelling reason to use tilt-shift is what the shift function does to perspective.
When you mount a 24mm tilt-shift lens and start shifting the lens element laterally, you’re not changing your camera position. You’re capturing a different slice of the image circle the lens projects. The result is that you get a wider effective angle of view, closer to what a 16mm might capture, but the spatial compression in the image still behaves like a 24mm. Your subject doesn’t get stretched away from the foreground. The background doesn’t go tiny. You get width without the distortion penalty.
Step 4: Match the Tilt-Shift Focal Length to Your Intended Compression Feel
 Joel listing Canon tilt-shift lens options and focal lengths
Canon makes tilt-shift lenses in several focal lengths: 17mm, 24mm, 45mm, and 50mm (the 45mm has been updated to a 50mm). Each one gives you a different base compression. Joel tends to favor the 24mm for portrait and commercial work because it sits in a useful middle range, wide enough to show environment but long enough to keep the subject looking natural.
Joel listing Canon tilt-shift lens options and focal lengths
Canon makes tilt-shift lenses in several focal lengths: 17mm, 24mm, 45mm, and 50mm (the 45mm has been updated to a 50mm). Each one gives you a different base compression. Joel tends to favor the 24mm for portrait and commercial work because it sits in a useful middle range, wide enough to show environment but long enough to keep the subject looking natural.
The way to think about it: your tilt-shift focal length determines the compression character of the image. The shift gives you the wider capture area without pushing you into the distortion of a shorter native focal length. So a 17mm tilt-shift shifted fully can give you roughly the capture width of an 11mm lens while the image still feels spatially like a 17mm. That’s a creative tool, not just a resolution trick.
Step 5: Apply This to Your Actual Shooting Setup
 Joel shooting with tilt-shift behind the scenes footage referenced
Once you understand the optical logic, the practical application becomes clearer. For environmental portraits where you want the location to breathe around the subject without pushing them into the distance, mount a 24mm tilt-shift and shift left and right to build a panoramic capture. For tighter commercial work where you want the compression of a medium format look without renting medium format gear, a 45mm or 50mm tilt-shift will get you closer to that stacked, cinematic feel.
Joel shooting with tilt-shift behind the scenes footage referenced
Once you understand the optical logic, the practical application becomes clearer. For environmental portraits where you want the location to breathe around the subject without pushing them into the distance, mount a 24mm tilt-shift and shift left and right to build a panoramic capture. For tighter commercial work where you want the compression of a medium format look without renting medium format gear, a 45mm or 50mm tilt-shift will get you closer to that stacked, cinematic feel.
You don’t need to use the tilt function at all, and Joel mentions he rarely does. The shift alone handles most of what makes these lenses worth the investment for him.
My Take: This Works Even When You’re Not Shooting at the High End
I’ll be honest: I don’t own a tilt-shift lens. They’re expensive and specific. But understanding this principle has changed how I think about lens selection on every shoot. When I’m working with a 35mm prime on my full-frame mirrorless and the space starts to feel stretched, I remember the underlying reason: I’m essentially asking a shorter focal length to behave like a longer one would on a bigger format, and the geometry doesn’t cooperate.
Even on my phone, which I still pull out sometimes just to test whether gear is really the barrier, I notice how the wide default lens pushes subjects apart. Knowing why it happens means I can compensate by changing my position, choosing a longer focal length setting, or at least making an intentional choice rather than a frustrated one.
The single most useful thing Joel’s breakdown gave me is this: focal length and angle of view are not the same thing, and once you internalize that gap, you start seeing your lens decisions as perspective decisions rather than just zoom decisions.
Watch the full tutorial on YouTube to hear Joel walk through the full optical reasoning in his own words, including how he uses the Canon 5DS R with tilt-shift to hit the megapixel targets his commercial clients expect.
Comments
Leave a Comment