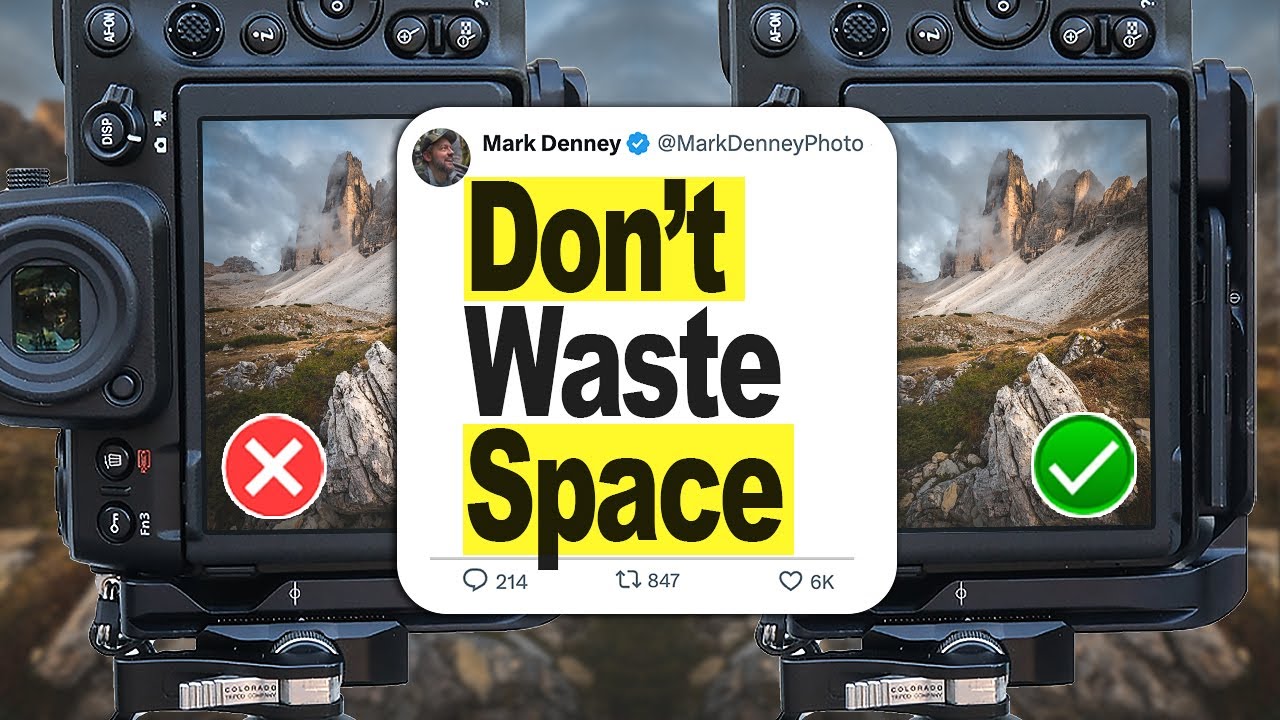
For a long time, composition felt like the part of photography where the rules multiplied faster than I could memorize them. Rule of thirds, leading lines, negative space, golden ratio — all useful, all valid, and yet somehow none of it answered the most practical question I kept running into in the field: what do I actually do when I’m not sure if I have the shot?
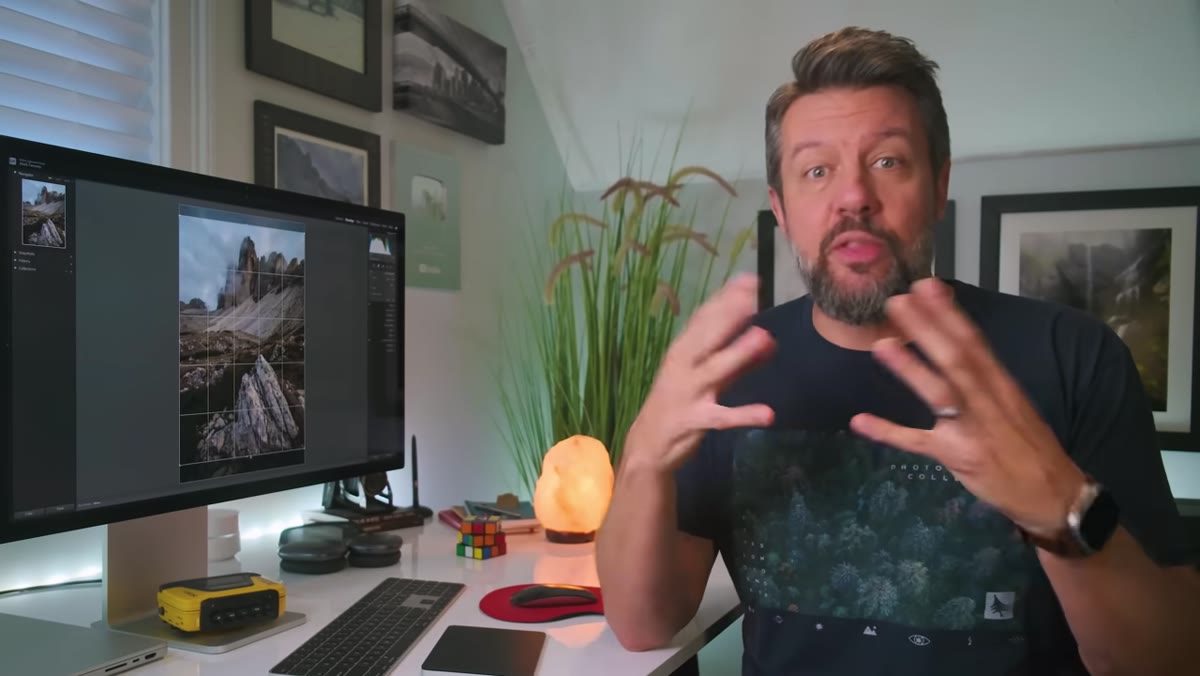
I’d come home from a shoot, pull up my files, and realize the thing that was bothering me about an image was something I could have fixed right there on location if I’d only given myself a little room to work. That’s the gap this technique fills. In this Mark Denney tutorial, he walks through a single Dolomites landscape image and uses it to explain a deceptively simple idea: stop trying to nail your composition perfectly in-camera, and start giving yourself options. The whole thing clicked for me on the first watch.
What he’s really teaching is a two-part workflow: a field habit called “shooting for the crop,” and a post-processing mindset that treats the crop tool as a compositional instrument, not just a sizing utility. Here’s how to put both into practice.
Step 1: Recognize That Your Frame Has Limited Real Estate
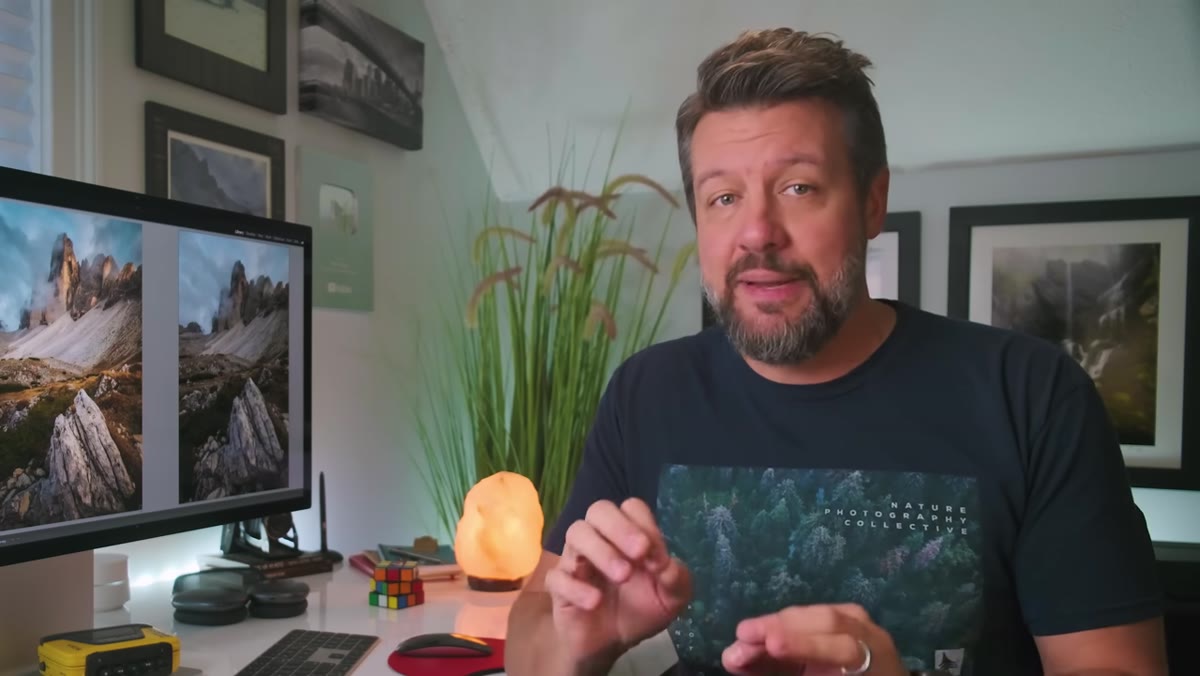 Wide shot of Dolomites raw file displayed in Lightroom
Before you touch a crop tool, you need to shift how you think about your frame. Every element you include is using up space, and space is finite. The question Denney asks himself isn’t “is this area of the scene interesting?” It’s “is this area adding value?” That’s a sharper question, and it leads to sharper decisions. Start applying it before you even raise your camera. Look at the scene and identify what you’d be genuinely disappointed to lose versus what’s just… there.
Wide shot of Dolomites raw file displayed in Lightroom
Before you touch a crop tool, you need to shift how you think about your frame. Every element you include is using up space, and space is finite. The question Denney asks himself isn’t “is this area of the scene interesting?” It’s “is this area adding value?” That’s a sharper question, and it leads to sharper decisions. Start applying it before you even raise your camera. Look at the scene and identify what you’d be genuinely disappointed to lose versus what’s just… there.
Step 2: Shoot for the Crop Before You Leave the Location
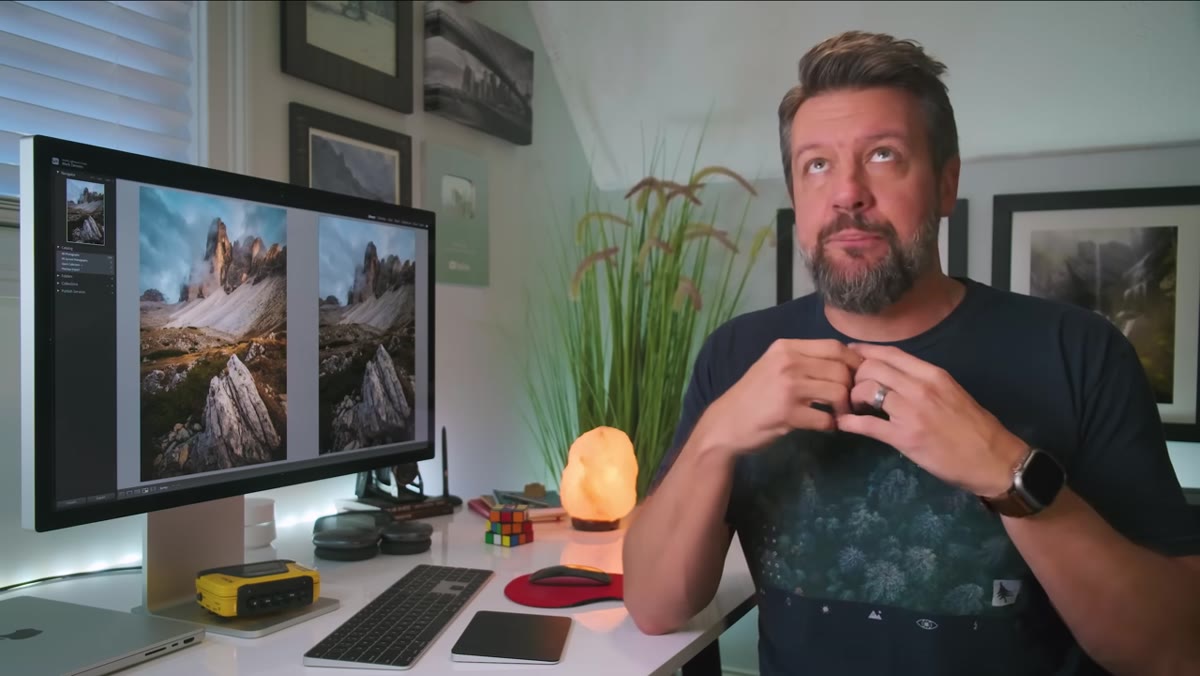 Raw file shown in Lightroom with full uncropped frame visible
Here’s the field habit that will save you from a lot of frustration later. Once you’ve built a composition you like and you’re ready to shoot, zoom out slightly from your final framing. Just a few millimeters. You’re not changing the shot, you’re creating buffer space around the edges of your intended frame. Denney uses this approach even with wide-angle lenses (he’s shooting at 14mm in this example), where the natural field of view already pulls in a lot. The logic is simple: you can always crop in during editing, but you cannot crop out. If you lock in your composition too tightly on location and then want to adjust the framing later, you’ll have no pixels to work with.
Raw file shown in Lightroom with full uncropped frame visible
Here’s the field habit that will save you from a lot of frustration later. Once you’ve built a composition you like and you’re ready to shoot, zoom out slightly from your final framing. Just a few millimeters. You’re not changing the shot, you’re creating buffer space around the edges of your intended frame. Denney uses this approach even with wide-angle lenses (he’s shooting at 14mm in this example), where the natural field of view already pulls in a lot. The logic is simple: you can always crop in during editing, but you cannot crop out. If you lock in your composition too tightly on location and then want to adjust the framing later, you’ll have no pixels to work with.
This is especially useful when light is moving fast. Denney mentions he only got one or two handheld shots before the moment passed. When you’re working under that kind of pressure, shooting a touch wider buys you flexibility when you’re back at your desk with time to think clearly.
Step 3: Open the Crop Tool and Set a Starting Aspect Ratio
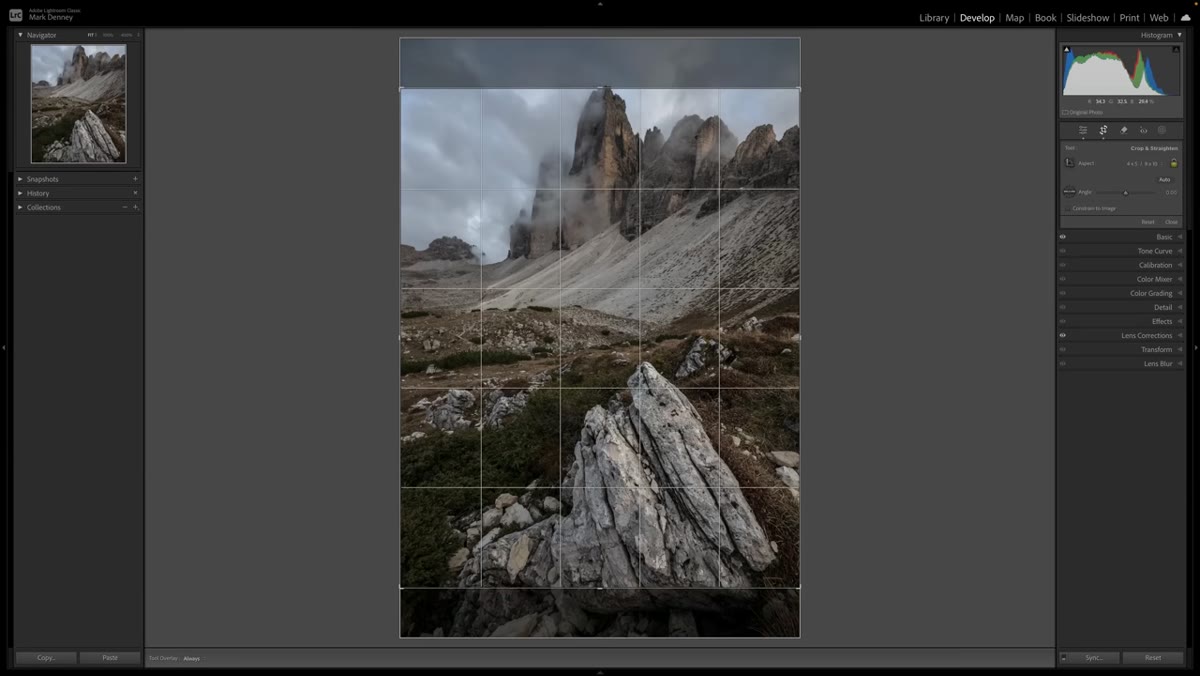 Lightroom crop tool panel open with 4x5 ratio selected
In Lightroom (or whatever editing software you use), open the crop overlay tool. Denney’s first move is to lock in a 4x5 aspect ratio. Wide-angle lenses in portrait orientation tend to produce images that are extremely tall, and that extra height often doesn’t serve the composition. The 4x5 ratio brings things back to proportions that feel more natural for vertical images, and it’s a good starting point before you start making specific adjustments. Think of this step as narrowing your options before you get more precise.
Lightroom crop tool panel open with 4x5 ratio selected
In Lightroom (or whatever editing software you use), open the crop overlay tool. Denney’s first move is to lock in a 4x5 aspect ratio. Wide-angle lenses in portrait orientation tend to produce images that are extremely tall, and that extra height often doesn’t serve the composition. The 4x5 ratio brings things back to proportions that feel more natural for vertical images, and it’s a good starting point before you start making specific adjustments. Think of this step as narrowing your options before you get more precise.
Step 4: Ask What Each Area of the Frame Is Contributing
 Crop being adjusted to evaluate bottom of frame near rocks
This is where the compositional thinking actually happens. With your rough crop in place, look at each edge of the frame and ask: what is this region doing for the image? In Denney’s example, the sky is an easy yes. It has color, texture, and mood. The rocky foreground at the bottom of the frame is less certain. He’s honest about the fact that he wasn’t sure in the field, which is exactly why he captured it. In post, with the pressure off, he can evaluate it clearly. His conclusion: the lower portion of the frame isn’t contributing enough to earn its space.
Crop being adjusted to evaluate bottom of frame near rocks
This is where the compositional thinking actually happens. With your rough crop in place, look at each edge of the frame and ask: what is this region doing for the image? In Denney’s example, the sky is an easy yes. It has color, texture, and mood. The rocky foreground at the bottom of the frame is less certain. He’s honest about the fact that he wasn’t sure in the field, which is exactly why he captured it. In post, with the pressure off, he can evaluate it clearly. His conclusion: the lower portion of the frame isn’t contributing enough to earn its space.
Apply this same audit to your own images. Work edge by edge. Top, bottom, left, right. If you can’t articulate what an area adds, it probably doesn’t need to be there.
Step 5: Refine the Crop to Emphasize What Matters Most
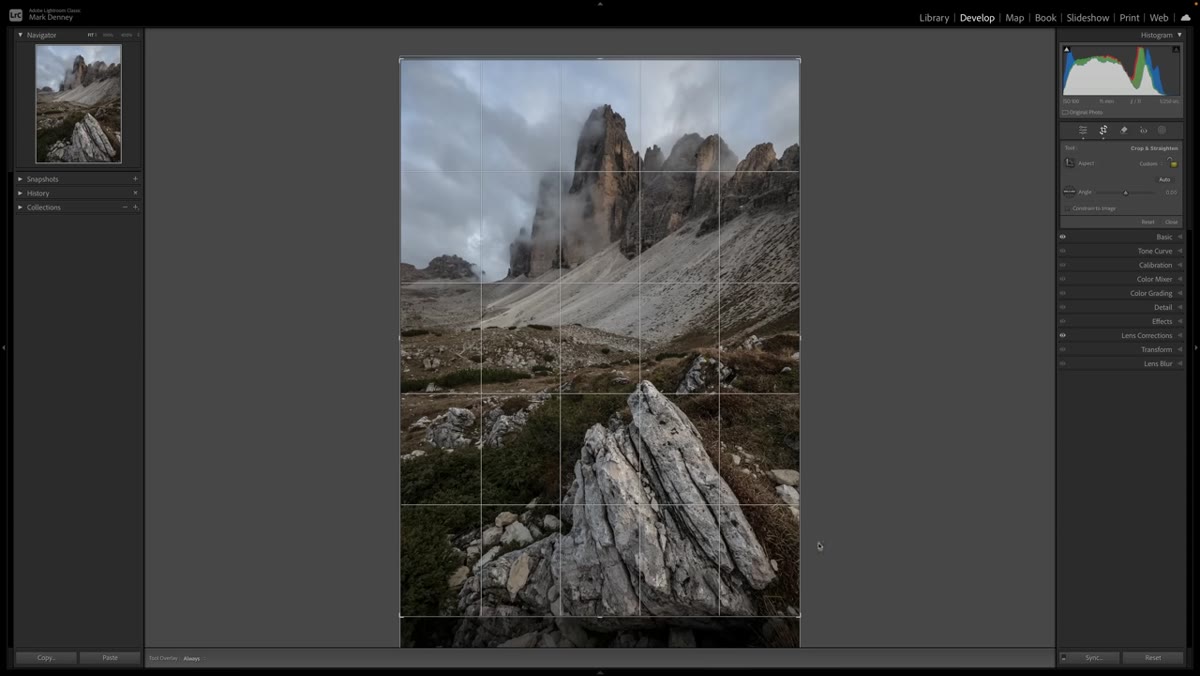 Crop handles being dragged to tighten frame around key subject
With your evaluation done, start moving the crop handles deliberately. Bring the bottom up to remove the foreground that wasn’t pulling its weight. Pull the sides in to cut any negative space that isn’t serving the composition. Denney adjusts each side independently, checking after each move whether the remaining frame feels stronger. This is not about symmetry or hitting specific ratio targets. It’s about keeping only what earns its place.
Crop handles being dragged to tighten frame around key subject
With your evaluation done, start moving the crop handles deliberately. Bring the bottom up to remove the foreground that wasn’t pulling its weight. Pull the sides in to cut any negative space that isn’t serving the composition. Denney adjusts each side independently, checking after each move whether the remaining frame feels stronger. This is not about symmetry or hitting specific ratio targets. It’s about keeping only what earns its place.
One practical note: make these adjustments slowly. Overcropping is easy to do and easy to miss until you’ve moved too far. Make a small adjustment, step back visually, and ask if the image improved. Repeat.
A Note From My Own Shooting Practice
The “shooting for the crop” habit is one of those things that feels slightly awkward the first few times, especially if you’ve spent years trying to compose precisely in-camera. I understand that instinct. There’s something satisfying about getting it right before you press the shutter. But I’ve started thinking about in-camera composition as the rough draft and the crop as the final edit, and that reframe (no pun intended) has made me a lot less precious about my in-field framing.
I still use my phone on photo walks sometimes, partly to keep things fun, partly because the exercise of shooting wide and cropping down on a tiny sensor makes you hyper-aware of what the crop is actually doing to an image. If you want a low-stakes way to practice this technique, leave your main camera at home on your next casual outing and work through it on your phone. You’ll start seeing your frames differently.
The single biggest takeaway from Denney’s tutorial is this: don’t treat your composition as finished when you click the shutter. Treat it as a starting point. Give yourself room to work by zooming out slightly in the field, then use the crop tool in post to make the deliberate, pressure-free compositional decisions that are hard to make when the light is fading and you’re rushing.
It’s a small shift in workflow. The difference in your images can be significant.
Watch the full tutorial on YouTube to see Denney walk through the Dolomites image step by step. Watching him move the crop handles in real time, talking through his reasoning as he goes, is worth your fifteen minutes.
Comments (2)
Love how you break down complex stuff into manageable steps.
Well explained. I think my audience would really benefit from this — mind if I link to it?
Leave a Comment