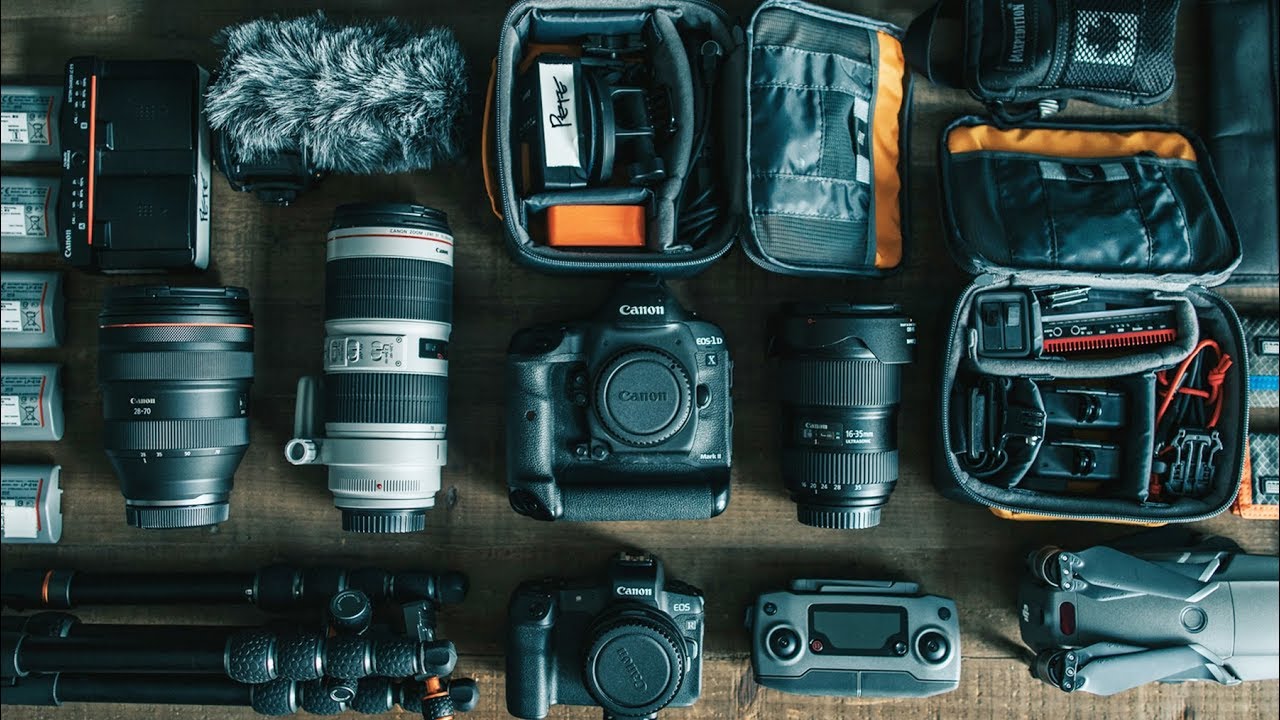
Every Sunday morning I do a photo walk around Seattle. Rain, shine, occasionally a very dramatic fog situation. And for years, I wasted the first fifteen minutes of every single one just digging around in my bag for a lens cap or a spare battery I was sure I’d packed. My bag was a disaster. Good gear, chaotic organization, and I was losing the best light standing on a sidewalk muttering to myself.
That changed when I sat down with Peter McKinnon’s camera bag breakdown. In this Peter McKinnon tutorial from 2019, he walks through every piece of gear he carries, but more importantly, he explains the why behind how he packs it. It’s not just a gear flex. It’s a system. And for someone who shoots on the move as much as he does, a system is everything. Watch the full tutorial on YouTube
What I took from it wasn’t his specific gear list. It was the philosophy underneath it. Here’s how to apply that thinking to your own kit.
Step 1: Choose a Bag That Matches How You Actually Move
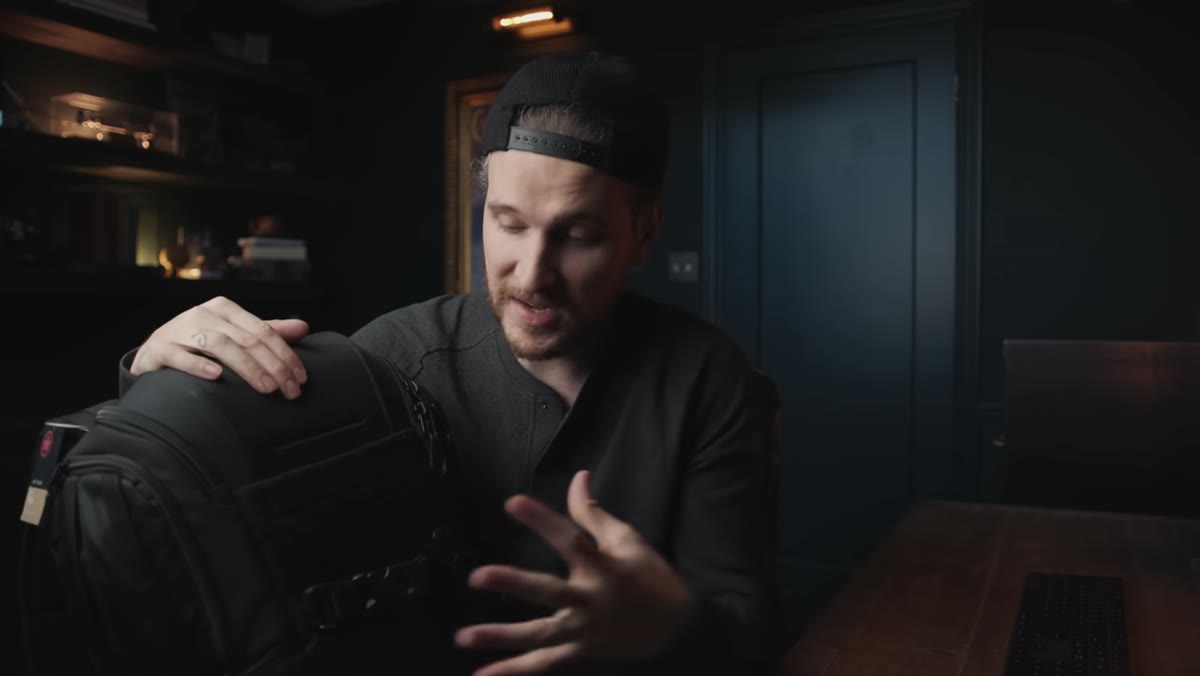
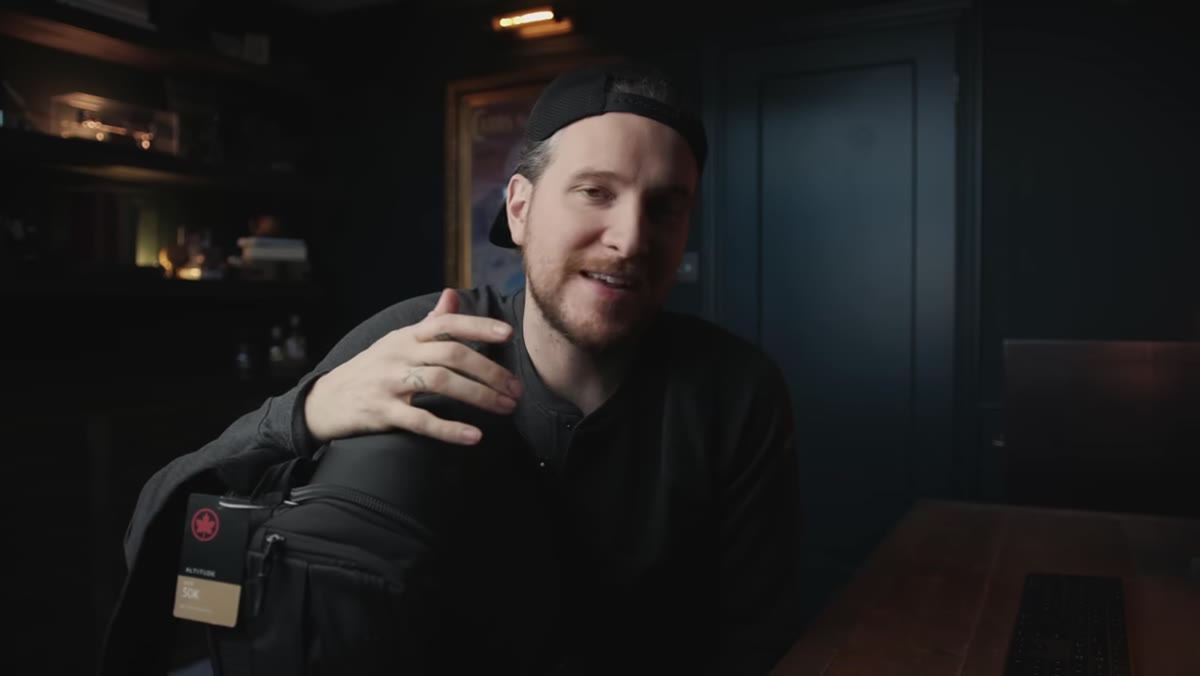 Peter holding the Lowepro ProTactic 450 AW II backpack
Before you think about what goes in the bag, the bag itself has to work for your body and your workflow. McKinnon uses the Lowepro ProTactic 450 AW II and spends real time explaining why. He travels constantly, which means airports, overhead bins, and long days on his feet. A shoulder bag puts all the weight on one side, which compounds over a long shoot. A backpack distributes that load and keeps both hands free.
Peter holding the Lowepro ProTactic 450 AW II backpack
Before you think about what goes in the bag, the bag itself has to work for your body and your workflow. McKinnon uses the Lowepro ProTactic 450 AW II and spends real time explaining why. He travels constantly, which means airports, overhead bins, and long days on his feet. A shoulder bag puts all the weight on one side, which compounds over a long shoot. A backpack distributes that load and keeps both hands free.
Look at your own situation honestly. If you drive to most of your shoots and work from a trunk setup, you might prioritize capacity over portability. If you walk everywhere like I do, weight distribution and quick access matter more than total volume. The features McKinnon highlights, like exterior webbing for attaching a tripod or gimbal, a hardshell top to protect against overhead bin chaos, and a back-panel access zipper that keeps the main compartment against your body (making it harder for someone to open without you noticing), are all solutions to problems he’s actually run into. Match your bag to your problems, not to someone else’s.
Step 2: Use Interior Pouches to Corral Small Accessories
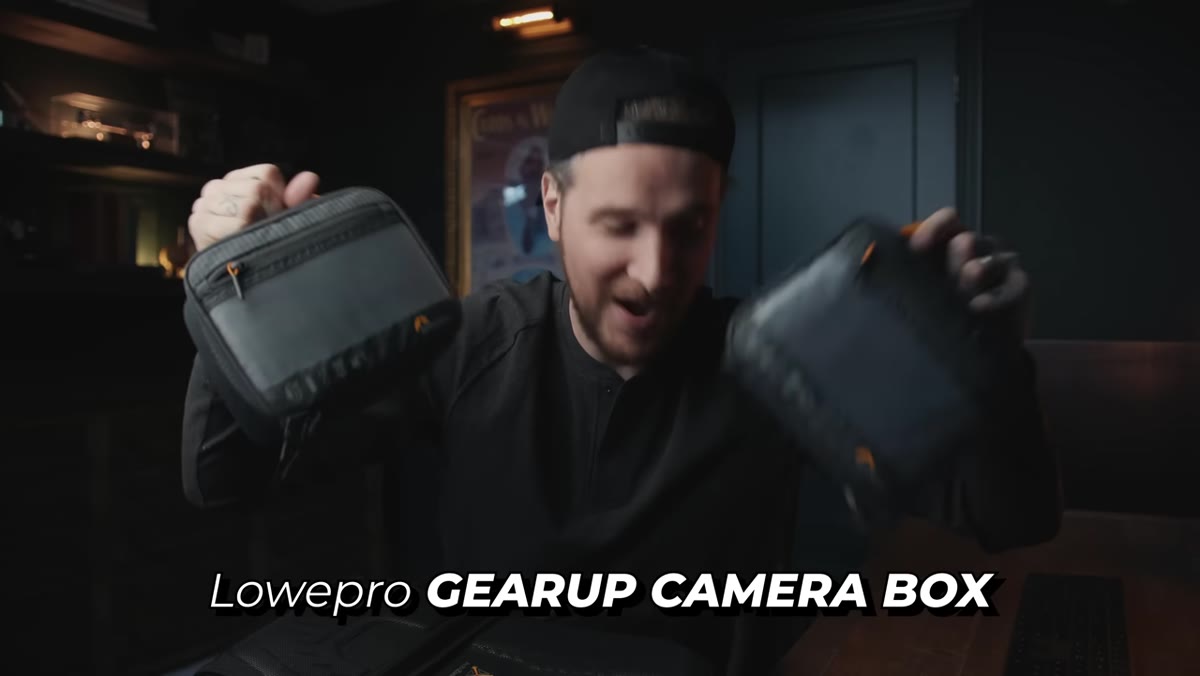 Two Lowepro branded pouches sitting inside the bag compartments
This is the tip I implemented immediately and honestly should have figured out years ago. McKinnon keeps two branded pouches inside the main compartments of his bag specifically to contain the small stuff: memory cards, batteries, lens cloths, adapters, anything that would otherwise migrate to the bottom of a pocket and disappear.
Two Lowepro branded pouches sitting inside the bag compartments
This is the tip I implemented immediately and honestly should have figured out years ago. McKinnon keeps two branded pouches inside the main compartments of his bag specifically to contain the small stuff: memory cards, batteries, lens cloths, adapters, anything that would otherwise migrate to the bottom of a pocket and disappear.
The logic is simple. Camera bags have dividers for bodies and lenses, but those big open side compartments become black holes for accessories. Dedicated pouches mean you pull out one thing instead of excavating. He also notes that having everything match (he uses Lowepro pouches in a Lowepro bag) is partly an OCD thing, but it does make the system visually intuitive at a glance. You don’t have to use matching branded pouches. Any zippered organizer pouches work. The point is containment. One pouch for power (batteries, charger, cables). One pouch for media and small accessories. Know which is which without thinking.
Step 3: Dedicate a Section to Your Action or Secondary Camera Gear
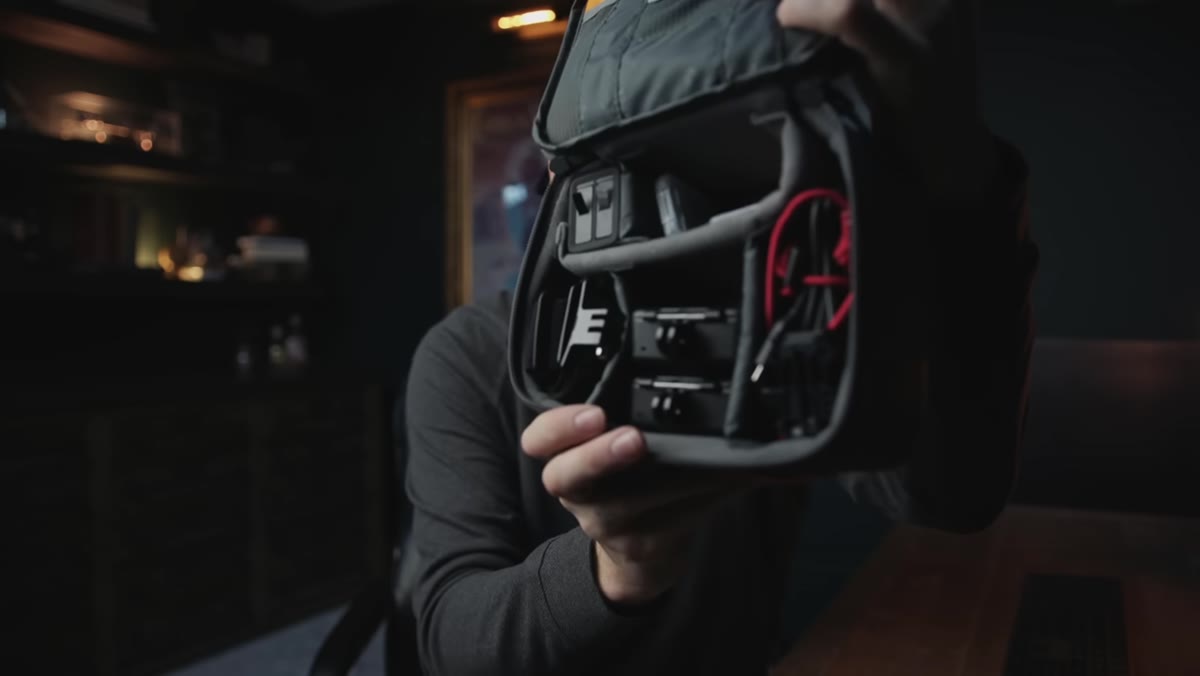 GoPro, mounts, and action camera accessories laid out on the floor
McKinnon separates his GoPro setup, mounts, and action camera accessories into their own organized section. This matters because action camera gear has a way of multiplying. The camera itself is small, but between the housing, mounts, adhesive pads, and charging cables, it can take over a bag fast.
GoPro, mounts, and action camera accessories laid out on the floor
McKinnon separates his GoPro setup, mounts, and action camera accessories into their own organized section. This matters because action camera gear has a way of multiplying. The camera itself is small, but between the housing, mounts, adhesive pads, and charging cables, it can take over a bag fast.
Treat your secondary camera system as a self-contained kit. Everything it needs to function should live together. That way, if you decide to leave the GoPro at home for a particular shoot, you remove the whole section cleanly rather than hunting for individual pieces. The same principle applies if your secondary system is a drone controller, a film camera, or even just your phone rig. Group by system, not by object type.
Step 4: Attach What Won’t Fit Rather Than Forcing It Inside
 Tripod and gimbal attached to exterior webbing on the bag
One of the most practical habits McKinnon demonstrates is using the exterior of the bag as overflow. Tripods, gimbals, and other long or bulky items get clamped to the MOLLE-style webbing on the outside rather than crammed inside or left behind.
Tripod and gimbal attached to exterior webbing on the bag
One of the most practical habits McKinnon demonstrates is using the exterior of the bag as overflow. Tripods, gimbals, and other long or bulky items get clamped to the MOLLE-style webbing on the outside rather than crammed inside or left behind.
This is a mindset shift worth making. A lot of photographers treat the bag’s interior as the only valid storage space, which means either upgrading to a bigger bag (more weight) or leaving gear at home. Exterior attachment points let you scale up for a specific shoot without changing your whole system. If your current bag doesn’t have exterior webbing, look for bags with side compression straps or tripod loops as a minimum. It’s a feature worth prioritizing on your next purchase.
Step 5: Build a Laptop Slot Into Your Workflow, Not As an Afterthought
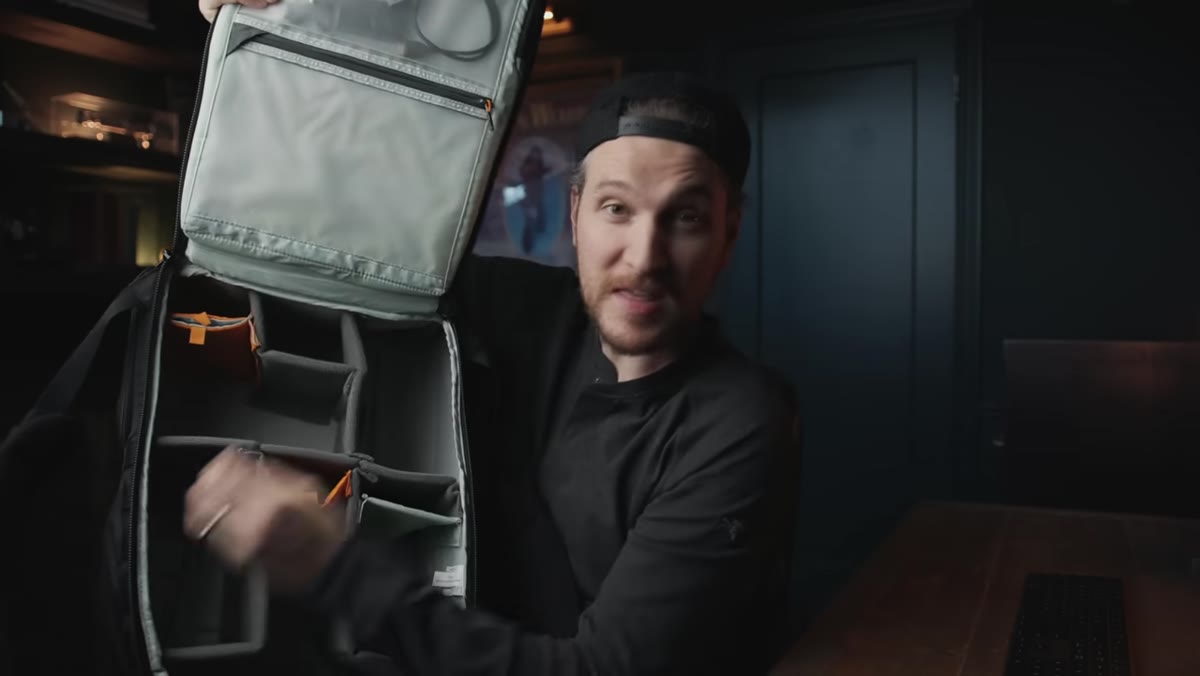 Laptop slot shown in the back panel of the bag
McKinnon’s bag has a dedicated laptop slot integrated into the back panel, and he treats it as part of the bag’s structure rather than a bonus feature. When you’re traveling between shoots or editing on location, having the laptop accessible without unpacking everything else is genuinely useful.
Laptop slot shown in the back panel of the bag
McKinnon’s bag has a dedicated laptop slot integrated into the back panel, and he treats it as part of the bag’s structure rather than a bonus feature. When you’re traveling between shoots or editing on location, having the laptop accessible without unpacking everything else is genuinely useful.
If you edit on location at all, even occasionally, a bag without a proper laptop sleeve is going to frustrate you. The laptop should be retrievable at airport security or a coffee shop without disturbing your camera gear. Back-panel laptop access (where the sleeve opens toward your back when the bag is worn) also adds a layer of security, the same logic as the back-panel camera access McKinnon mentions.
What I’d Add From My Own Experience
McKinnon’s system is built around frequent travel and a high volume of gear. My kit is lighter, but the organizational principles translate directly. One thing I’d add: label your pouches. I used a small piece of gaffer tape on the outside of each one. It sounds fussy, but at 6am on a Sunday walk when I haven’t had coffee yet, “POWER” and “MEDIA” written in marker saves me a real moment.
I’d also suggest building in a “reset ritual” after every shoot. Before you zip the bag, return every item to its designated spot. It takes three minutes and means you never start a shoot with a dead battery in the wrong pocket or a missing memory card. McKinnon’s system works because it’s consistent. The bag looks the same every time he reaches into it. That consistency is the actual skill.
The single most important thing I took from this tutorial: a camera bag is not just storage. It’s a workflow tool. How you pack it either speeds you up or slows you down at the exact moments when speed matters. Build the system intentionally once, and it pays you back on every shoot after that.
Watch the full tutorial on YouTube to see the complete gear list and how McKinnon walks through each piece himself.
Comments (2)
Clear and practical. No fluff. Appreciate that.
Quality content like this is rare. Keep it up.
Leave a Comment