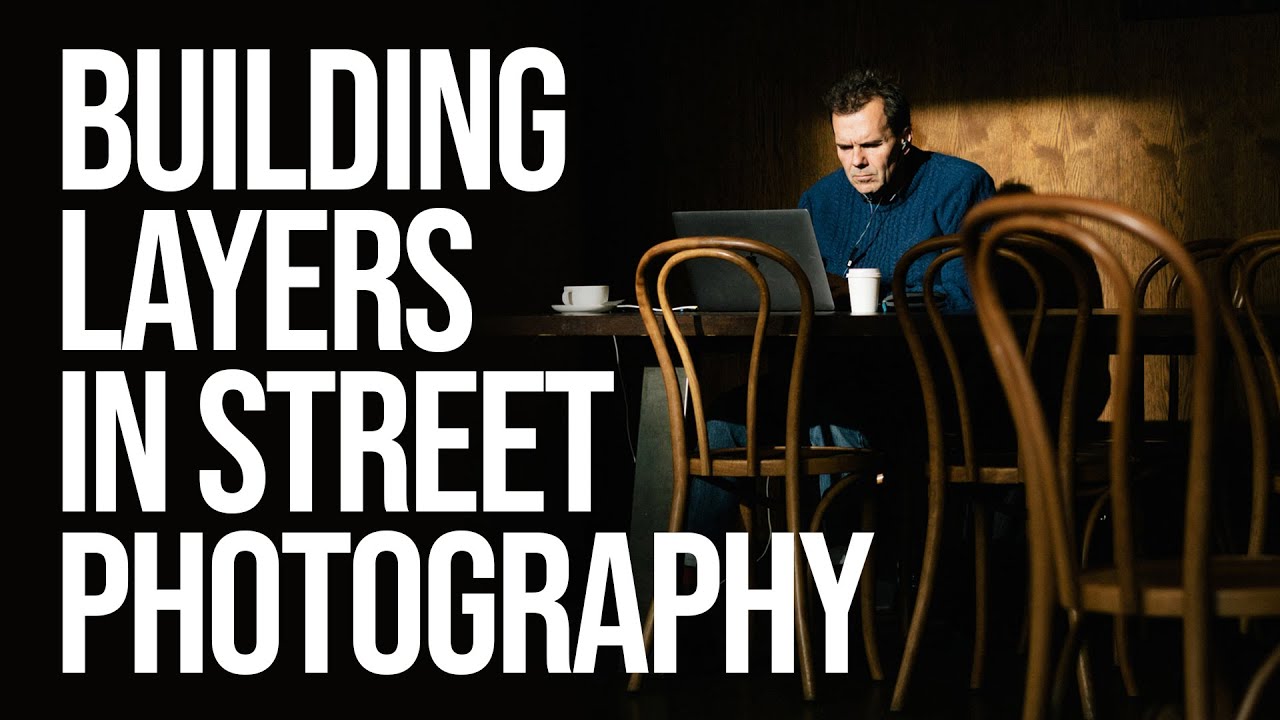
Every Sunday morning I do a photo walk. Rain, shine, Seattle gray — doesn’t matter. I’m out the door with coffee and a camera. And for years, I’d come home frustrated if I didn’t have at least one image I felt proud of. I’d scroll through 200 frames, find maybe three that were decent, and wonder what I was doing wrong. It took me a long time to realize that frustration wasn’t a skill problem. It was an expectations problem.
In this Sean Tucker tutorial, Watch the full tutorial on YouTube, Tucker breaks down something he calls the “layers of interest” framework — a way of evaluating and building street photographs that completely reframed how I think about what I’m chasing when I’m out shooting. He’s honest in a way that’s rare: he only expects about five truly great images per year, even while posting over a hundred to Instagram. That single admission, and everything he builds on it, is worth unpacking carefully.
The whole video sits at the intersection of mindset and craft, and it’s one of those tutorials that doesn’t teach you a camera setting — it teaches you how to see. Here’s how to actually apply what Tucker is teaching.
Step 1: Reset Your Expectations Around Hit Rate
 Tucker explaining the concept of hit rate in photography
Before you can improve your street photography, you have to understand what you’re actually measuring. Tucker introduces the concept of a “hit rate” — the ratio between how many times you press the shutter and how many of those frames you’d genuinely call a keeper. A lot of photographers treat a high hit rate as a badge of skill, but Tucker points out the flaw in that thinking: hit rate is meaningless until you define what a “hit” actually is.
Tucker explaining the concept of hit rate in photography
Before you can improve your street photography, you have to understand what you’re actually measuring. Tucker introduces the concept of a “hit rate” — the ratio between how many times you press the shutter and how many of those frames you’d genuinely call a keeper. A lot of photographers treat a high hit rate as a badge of skill, but Tucker points out the flaw in that thinking: hit rate is meaningless until you define what a “hit” actually is.
Set honest personal standards before your next outing. Ask yourself: what would I need to see in a frame for it to qualify as one of my best this year? Not best this week. This year. That’s a much harder, more clarifying question.
Step 2: Separate “Shareable” from “Great”
 Tucker describing images posted to Instagram versus truly great work
Tucker makes a distinction that I wish someone had spelled out for me five years ago. The images he posts regularly to social media are not, in his view, great photographs. They’re good. They’re worth sharing. But they’re not the same category as the images he considers his best work. Conflating the two is where the frustration creeps in.
Tucker describing images posted to Instagram versus truly great work
Tucker makes a distinction that I wish someone had spelled out for me five years ago. The images he posts regularly to social media are not, in his view, great photographs. They’re good. They’re worth sharing. But they’re not the same category as the images he considers his best work. Conflating the two is where the frustration creeps in.
Think of your social media feed as a public sketchbook, not a gallery show. When you treat every post as evidence of your ceiling, you set yourself up to feel like you’re failing constantly. Separating these two categories mentally gives you room to practice without every session feeling like a test.
Step 3: Understand the Aesthetics Layer
 Tucker outlining the aesthetics layer — light, shadow, composition, color
Tucker describes one of the foundational layers of a strong street photograph as the aesthetics layer. This includes your exposure decisions, the quality of light and shadow in the frame, your compositional choices, and how colors interact. These are the technical and creative fundamentals — and most photographers spend the bulk of their time developing exactly these skills.
Tucker outlining the aesthetics layer — light, shadow, composition, color
Tucker describes one of the foundational layers of a strong street photograph as the aesthetics layer. This includes your exposure decisions, the quality of light and shadow in the frame, your compositional choices, and how colors interact. These are the technical and creative fundamentals — and most photographers spend the bulk of their time developing exactly these skills.
The important caveat Tucker adds is this: a photograph that only has this layer is one layer deep. It might be beautiful. It might perform well on Instagram. But it isn’t, by his definition, a great street photograph. Nail this layer first — it’s the foundation everything else sits on — but don’t stop here.
Step 4: Learn to See a Scene as a Starting Point, Not a Finished Frame
 Tucker describing his friend Joshua’s habit of spotting scenes that need more
Tucker credits a friend and collaborator, Joshua K. Jackson, with the idea that changed how he shoots. Jackson’s habit when they’re out together is to look at a scene and say something like, “This is great, but it needs something else.” He doesn’t take the first version of a shot. He waits, or moves, or watches — looking for a second or third element to add to what first caught his attention.
Tucker describing his friend Joshua’s habit of spotting scenes that need more
Tucker credits a friend and collaborator, Joshua K. Jackson, with the idea that changed how he shoots. Jackson’s habit when they’re out together is to look at a scene and say something like, “This is great, but it needs something else.” He doesn’t take the first version of a shot. He waits, or moves, or watches — looking for a second or third element to add to what first caught his attention.
Practice this on your next walk by treating every interesting scene as a setup, not a shot. If the light is extraordinary on a doorway, don’t just photograph the doorway. Wait and watch who walks through it. If a wall has a vivid shadow pattern, think about what human moment would complete it. The scene is the invitation. Your job is to find what else belongs in it.
Step 5: Build Layers Deliberately
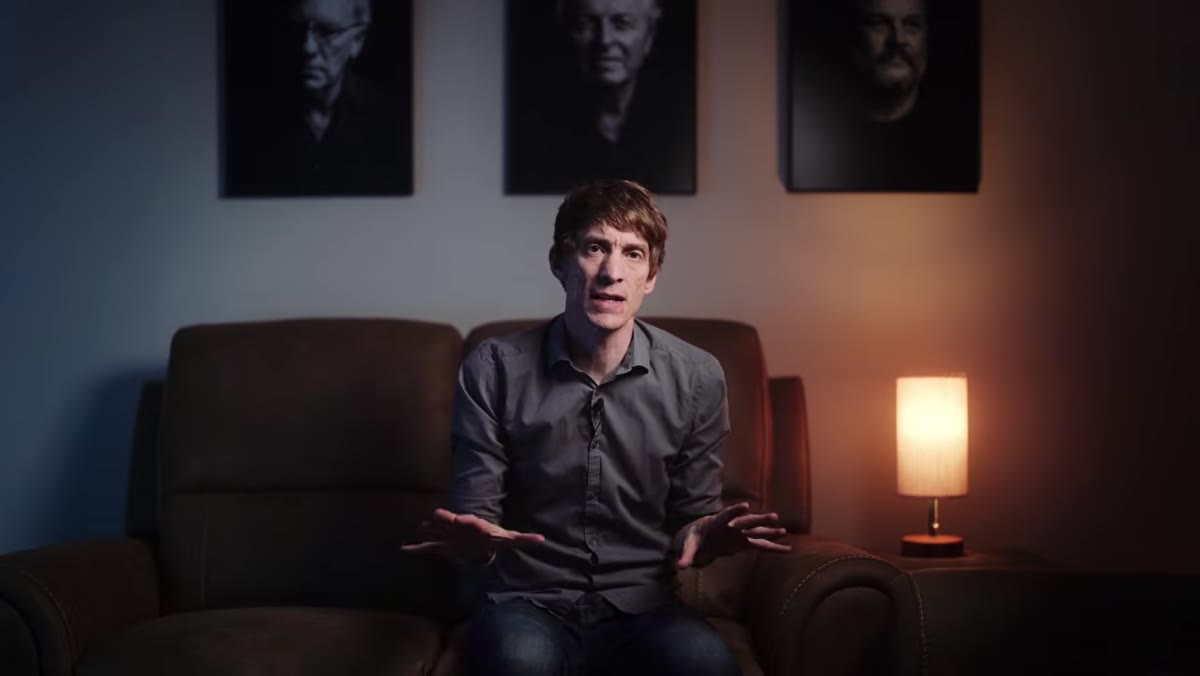 Tucker listing layers of interest that strengthen a street photograph
The core of Tucker’s framework is that stronger photographs stack multiple layers of interest simultaneously. The aesthetics layer is one. A compelling subject is another. An action or gesture that says something is another. The relationship between subjects, or between a subject and their environment, can be another. None of these layers has more inherent value than the others, and there’s no fixed order to stack them in.
Tucker listing layers of interest that strengthen a street photograph
The core of Tucker’s framework is that stronger photographs stack multiple layers of interest simultaneously. The aesthetics layer is one. A compelling subject is another. An action or gesture that says something is another. The relationship between subjects, or between a subject and their environment, can be another. None of these layers has more inherent value than the others, and there’s no fixed order to stack them in.
When you’re editing your work after a shoot, try scoring your frames not by whether they’re “good” but by how many layers you can identify. A technically beautiful image with one strong layer is still one layer. An imperfect frame with three genuine layers of meaning is doing something more interesting. That habit of noticing will train your eye to seek multiple layers while you’re shooting.
Step 6: Reframe Failure as Practice Data
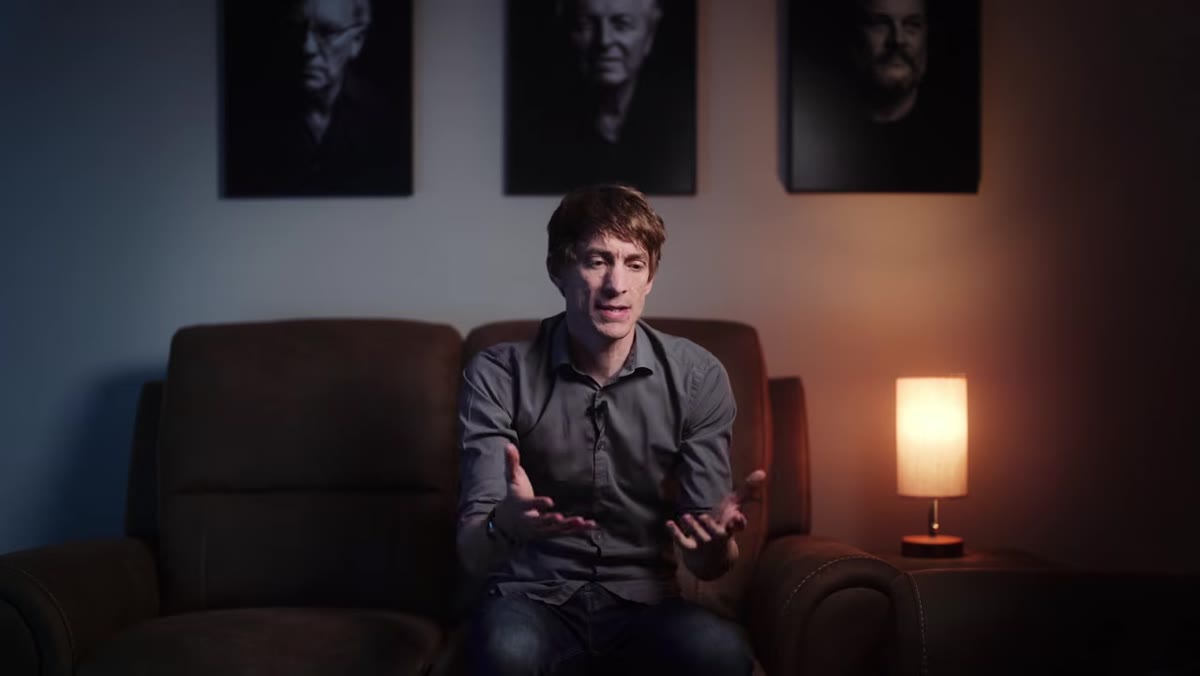 Tucker noting photographers exhaling with relief at realistic expectations
Tucker mentions that when he told a workshop group he only expects five great images per year, several photographers visibly relaxed. That reaction tells you something. A huge amount of creative frustration in photography comes from holding every single outing to an impossible standard.
Tucker noting photographers exhaling with relief at realistic expectations
Tucker mentions that when he told a workshop group he only expects five great images per year, several photographers visibly relaxed. That reaction tells you something. A huge amount of creative frustration in photography comes from holding every single outing to an impossible standard.
The reframe is simple but requires repetition to stick: most of what you shoot is practice. Intentional, valuable, skill-building practice. A session where you come home with nothing you’d call a keeper but you spent two hours looking for layered scenes trained your eye in ways that will show up later. Log what you were trying to do, not just whether it worked.
My Own Addition: The Single-Layer Drill
I run a drill on my Sunday walks that builds directly on Tucker’s framework. I give myself the first 20 minutes to shoot only aesthetics. Pure visual notes, no pressure. It warms up my eye and gets the “I need to document this” impulse out of my system. Then for the next hour, I only press the shutter if I can name at least two layers present in the frame before I shoot. It sounds slow, and it is at first. But it completely changed how I read a scene. I miss more shots because I’m waiting. I also come home with frames that actually hold up a week later.
The single most important thing Tucker says in this tutorial is also the simplest: define what a great photograph actually is before you try to measure whether you’re making them. Without that definition, hit rate is just a number, and every shoot becomes a test you can’t grade. Watch the full thing — it’s worth your time: Watch the full tutorial on YouTube.
Comments
Leave a Comment