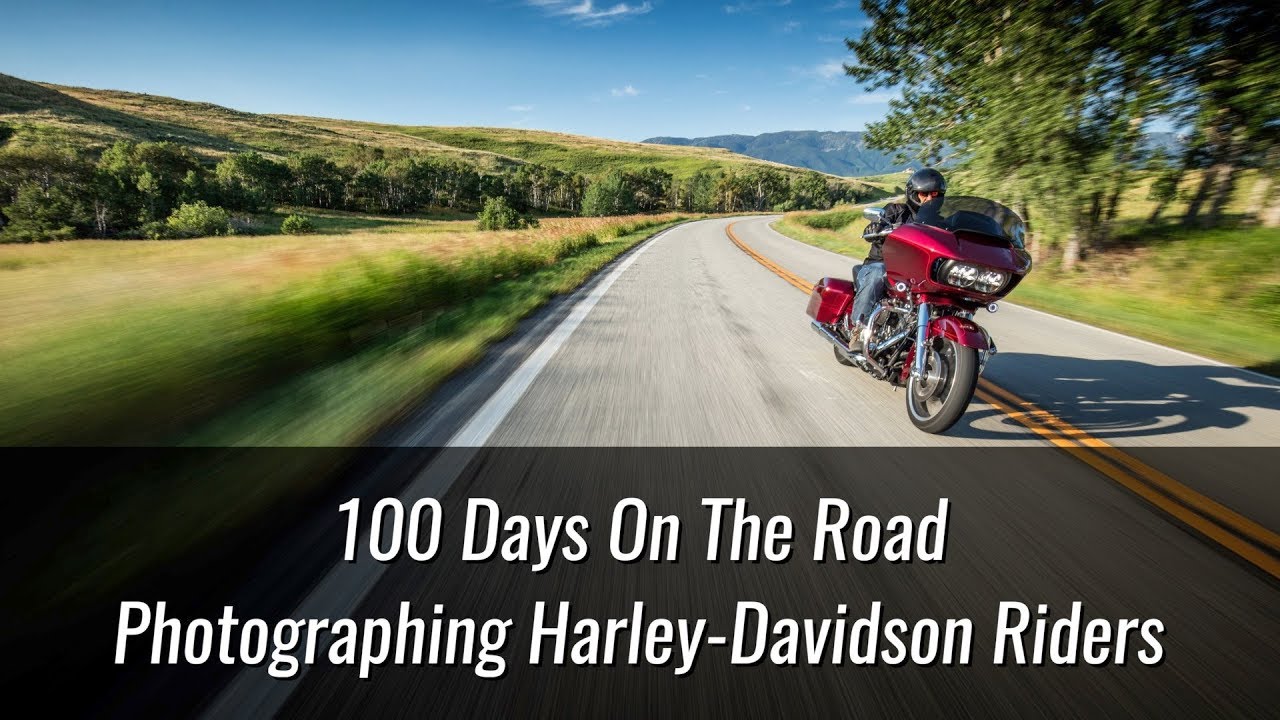
There’s a question I get asked constantly in my Sunday morning photo walks, usually from someone who’s been shooting for a year or two and feels like their portfolio is just… scattered. They’ve got landscapes, some street shots, a few portraits from a friend’s birthday, maybe a pet photo. Good individual images. No cohesive story. I never had a clean answer for that until I watched this tutorial from Joel Grimes.
In this Joel Grimes tutorial, Watch the full tutorial on YouTube, he walks through what he learned from spending 100 consecutive days on the road, covering 13,000 miles across America, photographing Harley-Davidson riders and their bikes. That’s not a weekend project. That’s a commitment. And the reason I keep coming back to this video is that it isn’t really about motorcycles. It’s about what happens when you repeat a photographic process long enough and consistently enough that you actually become the person people think of for that subject.
The practical stuff he covers, including how he set up portable backdrops, how he recruited strangers, and how he built technical consistency across hundreds of sessions, is immediately usable whether you’re shooting bikers, surfers, or baristas. Here’s how it breaks down.
Step 1: Choose a Subject and Commit to Repeating It
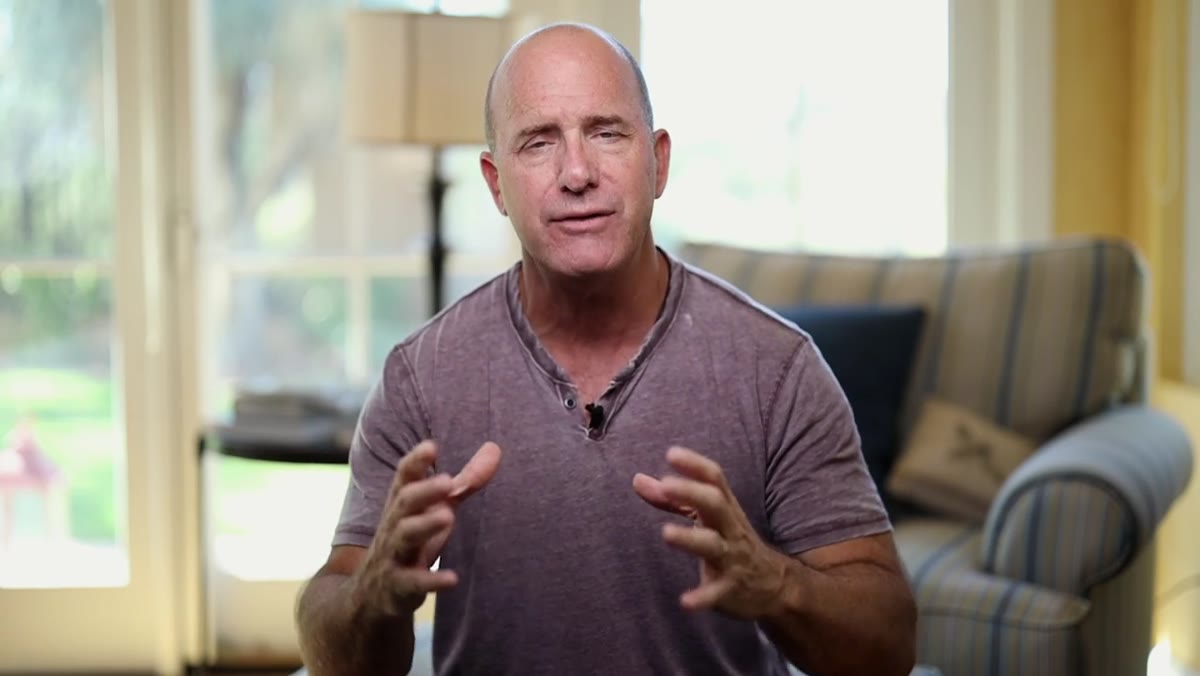 Joel describing the idea of repeating a subject to build expertise
The foundation of this whole project isn’t gear or technique. It’s the decision to go deep on one subject. Joel’s argument is straightforward: if you photograph the same type of subject enough times, you become an expert in that niche. Not because you read about it, but because you’ve solved every weird lighting problem, every awkward social situation, every technical snag that niche throws at you. He’s not the only photographer who has ever pointed a camera at a Harley rider. But after 100 days of it, he’s one of very few who has done it at that volume and consistency.
Joel describing the idea of repeating a subject to build expertise
The foundation of this whole project isn’t gear or technique. It’s the decision to go deep on one subject. Joel’s argument is straightforward: if you photograph the same type of subject enough times, you become an expert in that niche. Not because you read about it, but because you’ve solved every weird lighting problem, every awkward social situation, every technical snag that niche throws at you. He’s not the only photographer who has ever pointed a camera at a Harley rider. But after 100 days of it, he’s one of very few who has done it at that volume and consistency.
Pick your subject before you pick your gear. Surfers, dancers, tradespeople, weekend farmers markets, local musicians. The subject matters less than the commitment to repeating it. Set a minimum number of sessions before you let yourself pivot.
Step 2: Build a Recruitment Strategy Before You Arrive Anywhere
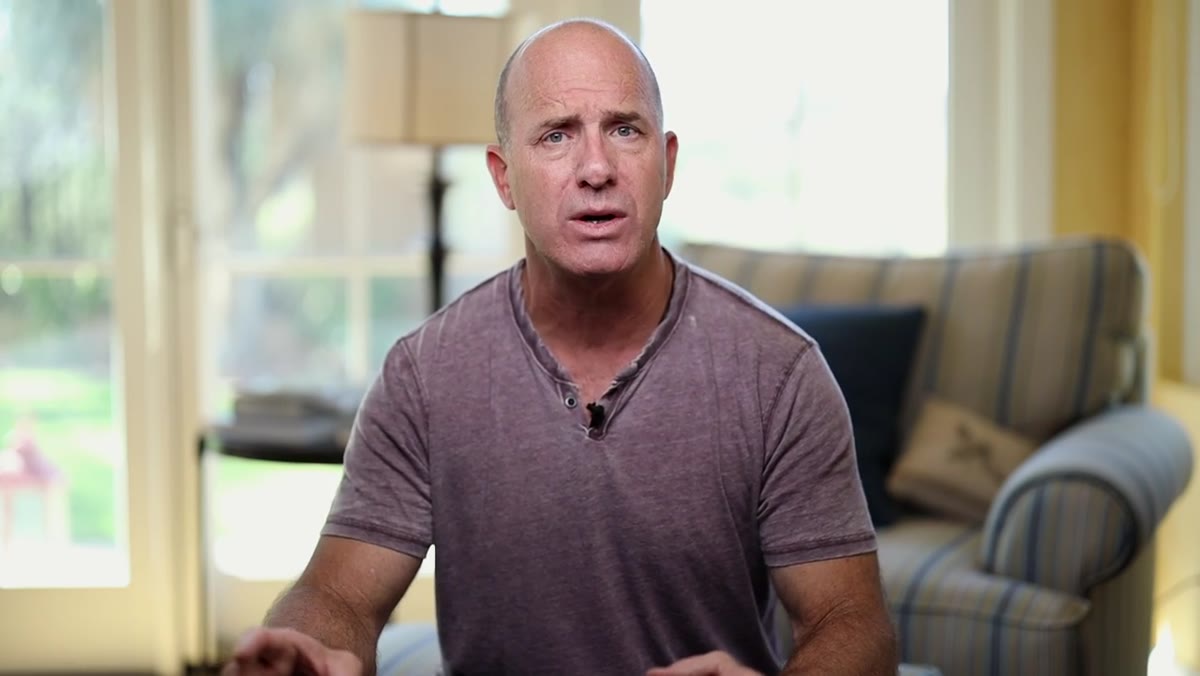 Joel explaining pulling into towns and finding Harley dealerships
Joel didn’t pre-schedule his subjects. He pulled into towns cold, found the local Harley dealership, asked questions, and worked his way into the community through word of mouth. That sounds intimidating, and he admits it was. Walking up to a stranger who looks like they could end your afternoon takes some nerve.
Joel explaining pulling into towns and finding Harley dealerships
Joel didn’t pre-schedule his subjects. He pulled into towns cold, found the local Harley dealership, asked questions, and worked his way into the community through word of mouth. That sounds intimidating, and he admits it was. Walking up to a stranger who looks like they could end your afternoon takes some nerve.
The insight here is that participation is your best recruiting tool. When you show genuine interest in what someone loves, whether that’s their custom bike, their garden, or their craft, they become far more willing to participate in what you love. Don’t lead with the camera. Lead with curiosity. Ask about their hobby, their story, their community. The camera comes out after trust is established, even if that trust only took five minutes to build.
Step 3: Create a Repeatable Portable Studio Setup
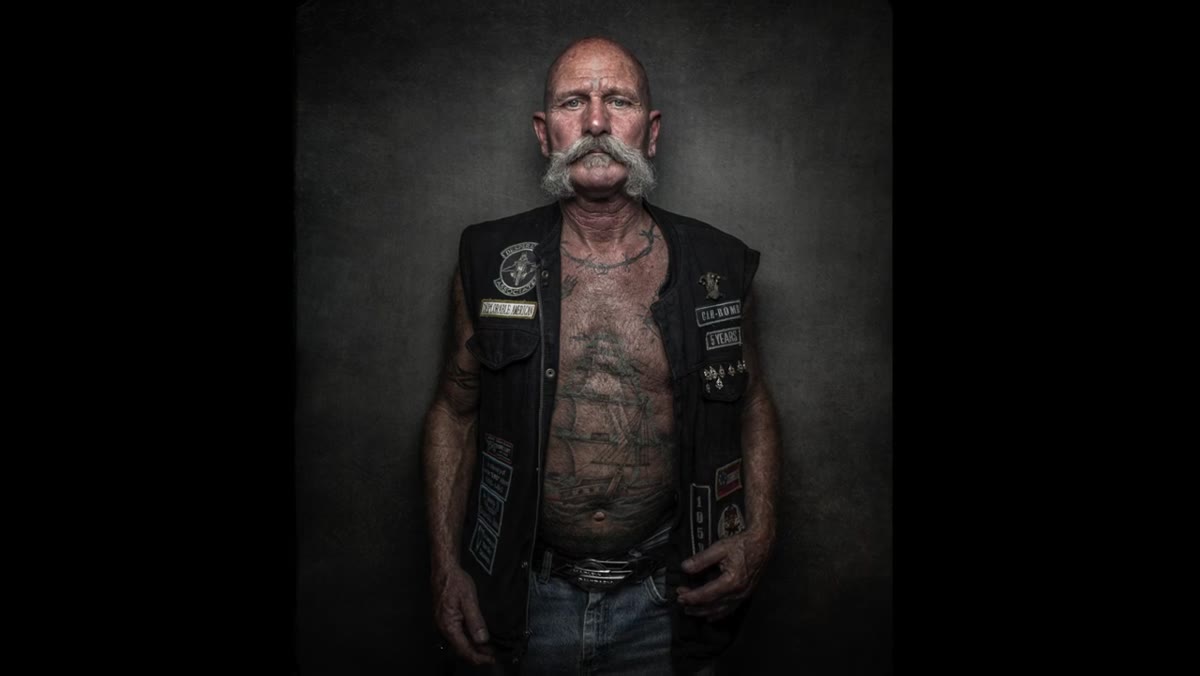 Joel describing the Westcott X-Drop backdrop setup
For the portrait work, Joel used a single consistent backdrop: a Westcott X-Drop in a roughly 60-by-85-inch size. It’s a collapsible frame system that sets up fast and travels easily. The key decision was to use the same backdrop for every portrait session across all 100 days. That consistency is what makes a body of work look like a body of work rather than a collection of individual shots.
Joel describing the Westcott X-Drop backdrop setup
For the portrait work, Joel used a single consistent backdrop: a Westcott X-Drop in a roughly 60-by-85-inch size. It’s a collapsible frame system that sets up fast and travels easily. The key decision was to use the same backdrop for every portrait session across all 100 days. That consistency is what makes a body of work look like a body of work rather than a collection of individual shots.
If you’re going to do a long-form project with portraits, standardize your backdrop early. It doesn’t have to be expensive. What matters is that it’s portable, quick to set up, and identical from session to session. That sameness becomes your visual signature across the series.
Step 4: Shoot on a 50% Gray Background for Maximum Post-Processing Flexibility
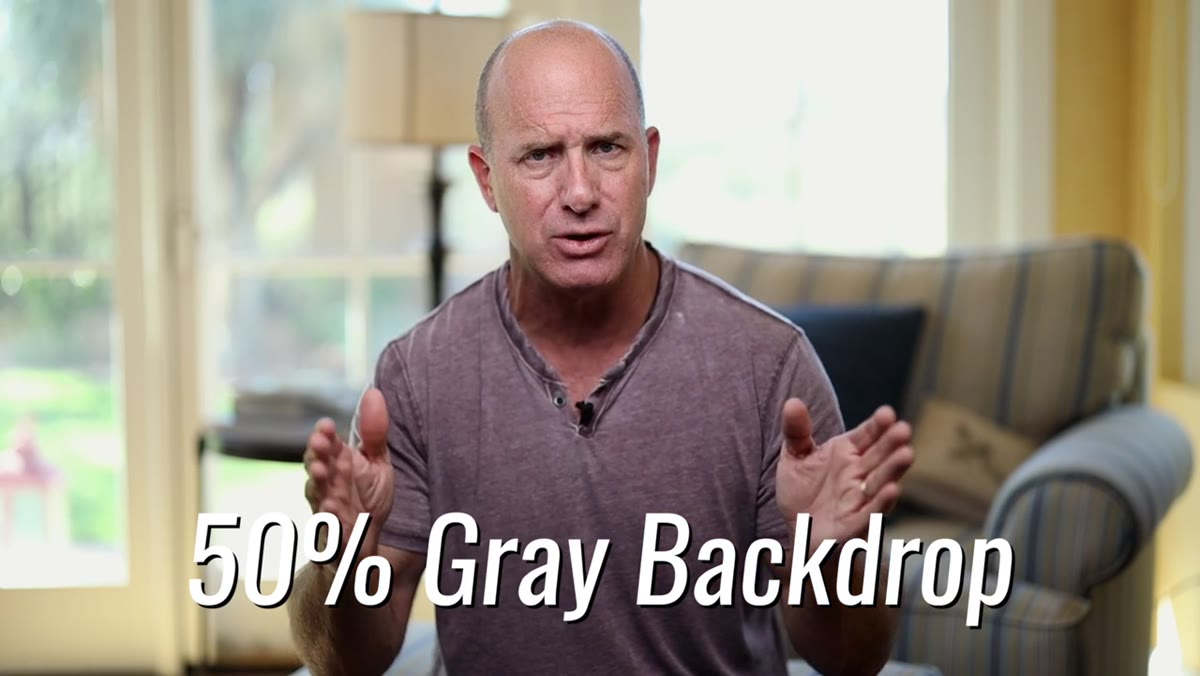 Joel explaining the 50% gray backdrop and blending modes
The backdrop Joel chose wasn’t white or black. It was 50% gray, exactly halfway between the two extremes. That specific value is intentional. In Photoshop, a 50% gray layer works with certain blending modes (Overlay and Soft Light are the most useful) in a way that lets you swap in any texture you want without affecting the color or exposure of the subject in front of it.
Joel explaining the 50% gray backdrop and blending modes
The backdrop Joel chose wasn’t white or black. It was 50% gray, exactly halfway between the two extremes. That specific value is intentional. In Photoshop, a 50% gray layer works with certain blending modes (Overlay and Soft Light are the most useful) in a way that lets you swap in any texture you want without affecting the color or exposure of the subject in front of it.
Here’s the practical workflow: photograph your subject in front of the gray backdrop, then in post, photograph any texture you like (concrete, old wood, a stucco wall, crumpled paper) and place it on a layer above the backdrop using Overlay or Soft Light blending mode. You can adjust the opacity to control how strong the texture reads. Because of how those blending modes interact with 50% gray, the texture blends in naturally. You’re not locked into one background look at the shoot. You make that creative decision later, and you can change it anytime.
Step 5: Separate Your Approach for Portraits Versus Bike Shots
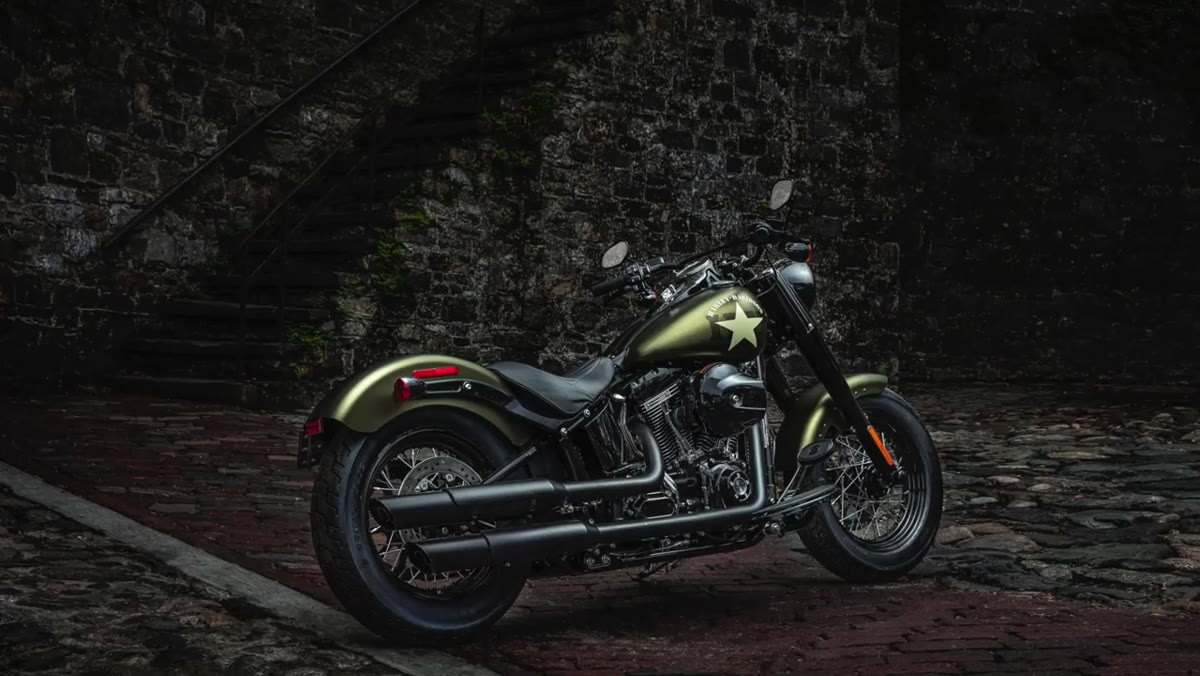 Joel transitioning to discussing the bike photography approach
Joel treated the rider portraits and the motorcycle shots as two distinct creative problems that required different setups and different thinking. The portraits got the controlled backdrop treatment. The bikes, from what he sets up to discuss, required a different approach entirely because the subject is larger, more reflective, and more environment-dependent.
Joel transitioning to discussing the bike photography approach
Joel treated the rider portraits and the motorcycle shots as two distinct creative problems that required different setups and different thinking. The portraits got the controlled backdrop treatment. The bikes, from what he sets up to discuss, required a different approach entirely because the subject is larger, more reflective, and more environment-dependent.
When you’re building a project that includes both people and objects, resist the temptation to force the same setup onto both. What works for a face doesn’t work for chrome and paint. Plan your lighting and composition approaches separately for each subject type, even if they’ll live in the same final series.
A Note From My Own Experience: Consistency Is a Creative Constraint That Frees You
When I hear photographers worry that shooting the same subject repeatedly will make their work feel formulaic, I think they’re underestimating what creative constraints actually do. Some of my most technically adventurous work has come from projects where I locked in one variable (a location, a backdrop, a lens) and then had to find all my variation within that limit. Joel’s gray backdrop is a great example. He standardized the setup, but the flexibility comes later in post, and the consistency across the series actually makes each individual image stronger because it belongs to something bigger.
I’d push one step further than Joel describes here: make a small document, even just a notes app list, of your setup specs before you start a long project. Backdrop brand and size, light placement, camera settings baseline, post-processing texture folder. Give yourself something to return to on day 47 when you’re tired and just want to grab a shot. Your future self will thank you.
The single most important idea in this whole tutorial is that expertise isn’t something you research your way into. You shoot your way into it. A hundred days, a consistent setup, a willingness to walk up to strangers and ask if you can photograph them. That’s the whole formula.
Watch the full tutorial on YouTube to hear Joel walk through the bike photography setup and his full post-processing approach for the textured backdrops. It’s worth the full watch.
Comments
Leave a Comment