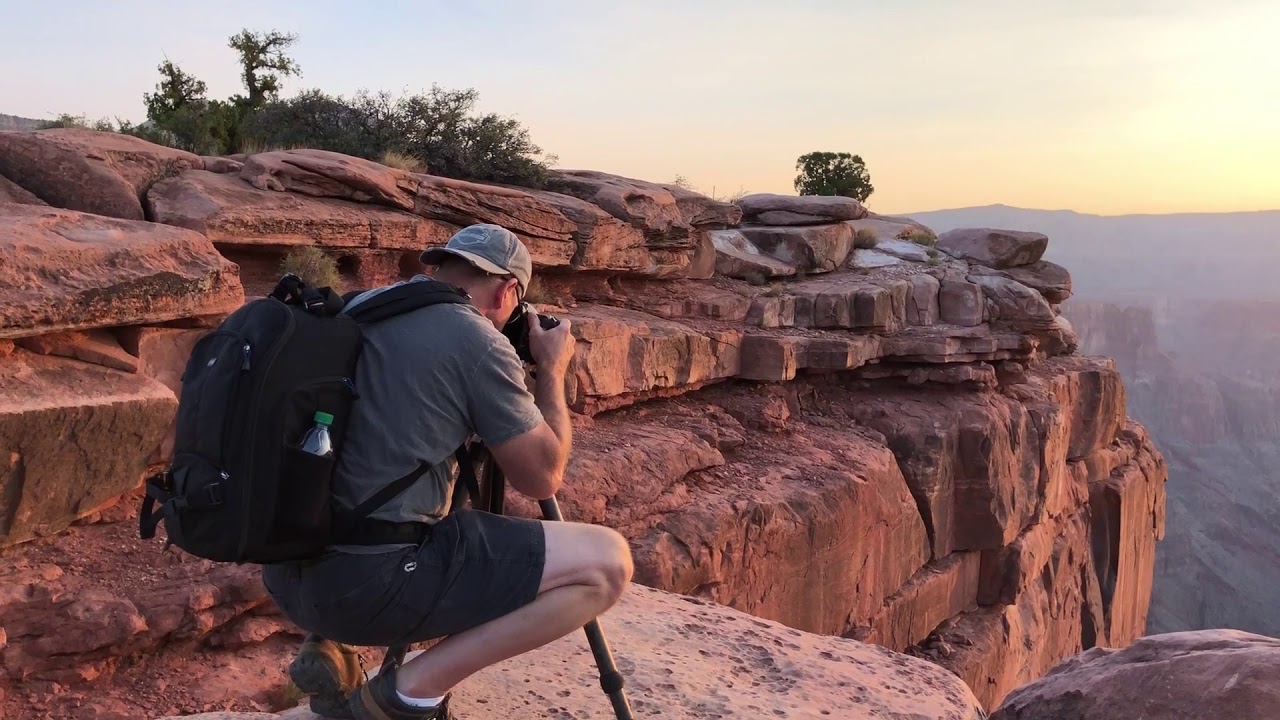
There’s a particular kind of torture that comes with standing in front of a breathtaking landscape and knowing your camera can’t hold what your eyes are seeing. The sky is blowing out, the shadows are a muddy mess, and a single frame just doesn’t capture the scale of what you’re standing in front of. I’ve been there more times than I want to admit, including one memorable trip where I spent three days trying to photograph a waterfall and kept walking away with images that felt flat and small compared to the real thing.
That’s exactly why I keep coming back to Joel Grimes’ work. In this Watch the full tutorial on YouTube, he walks through his full process for shooting at Toroweap Overlook on the North Rim of the Grand Canyon. It’s not a heavily edited talking-head video. It’s Joel, on location at sunrise, showing you exactly how he thinks and shoots. And what he’s doing is more technically layered than it looks at first glance.
The core challenge at a place like Toroweap is the same one you face at any dramatic overlook: enormous dynamic range, a scene too wide for a single frame, and no second chance once the light shifts. Joel’s solution combines three techniques simultaneously. Here’s how it works.
Step 1: Arrive Before Anyone Else (This Is Actually a Technique)
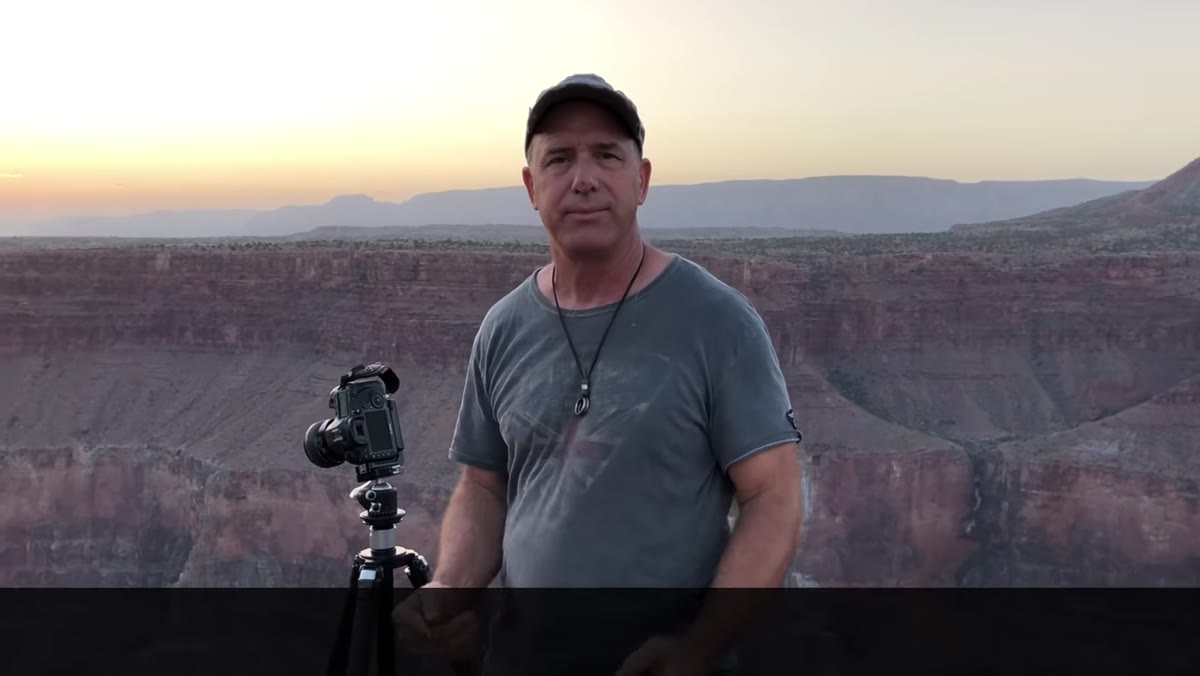 Joel standing alone at the rim before sunrise
Sixty miles of unpaved road keeps the crowds away from Toroweap, and Joel leans into that fully. He’s shooting before sunrise, before the other campers even wake up. This isn’t just about getting pretty golden light. It’s about having unobstructed access to the edge, the foreground rocks, and the angles you need to execute a multi-frame panorama without someone walking into your shot mid-sequence.
Joel standing alone at the rim before sunrise
Sixty miles of unpaved road keeps the crowds away from Toroweap, and Joel leans into that fully. He’s shooting before sunrise, before the other campers even wake up. This isn’t just about getting pretty golden light. It’s about having unobstructed access to the edge, the foreground rocks, and the angles you need to execute a multi-frame panorama without someone walking into your shot mid-sequence.
For your own work, this translates to one principle: scout the crowds before you scout the light. Find locations where you have enough physical space and enough time to execute a deliberate, multi-shot technique without interruption. A tilt-shift panorama with HDR bracketing is not something you can rush.
Step 2: Set Up the Tilt-Shift Lens for Horizontal Shifting
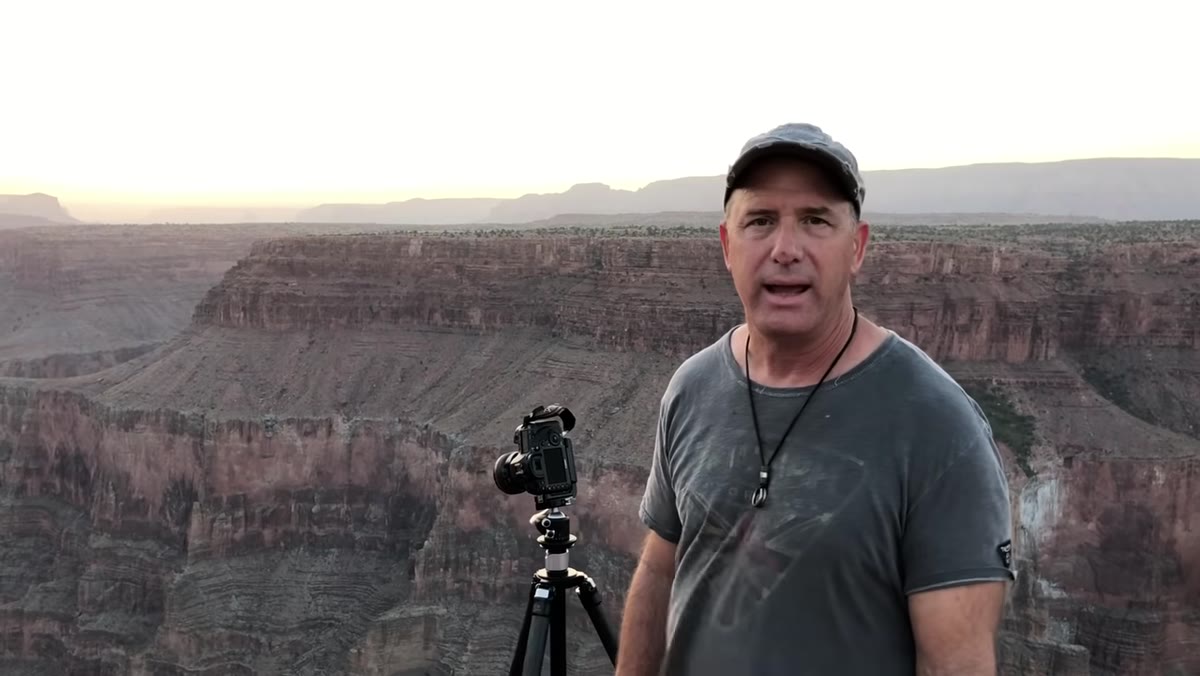 Joel’s 17mm tilt-shift lens mounted on the 5DSR
Joel is shooting a Canon 5DSR with a 17mm tilt-shift lens. The key move here is using the shift function horizontally, which lets him slide the lens optical axis across a scene without physically rotating the camera. This keeps the horizon line perfectly level across all frames, which is critical when you’re going to stitch them together later.
Joel’s 17mm tilt-shift lens mounted on the 5DSR
Joel is shooting a Canon 5DSR with a 17mm tilt-shift lens. The key move here is using the shift function horizontally, which lets him slide the lens optical axis across a scene without physically rotating the camera. This keeps the horizon line perfectly level across all frames, which is critical when you’re going to stitch them together later.
If you’ve never used a tilt-shift lens, think of it this way: instead of rotating your camera left and right on a tripod head (which causes parallax issues at the edges), you keep the camera fixed and move the lens element across the image plane. The result is a set of frames that blend together cleanly with consistent geometry. Joel shoots three positions: shift left, center, and shift right.
Step 3: Bracket Each Position for HDR
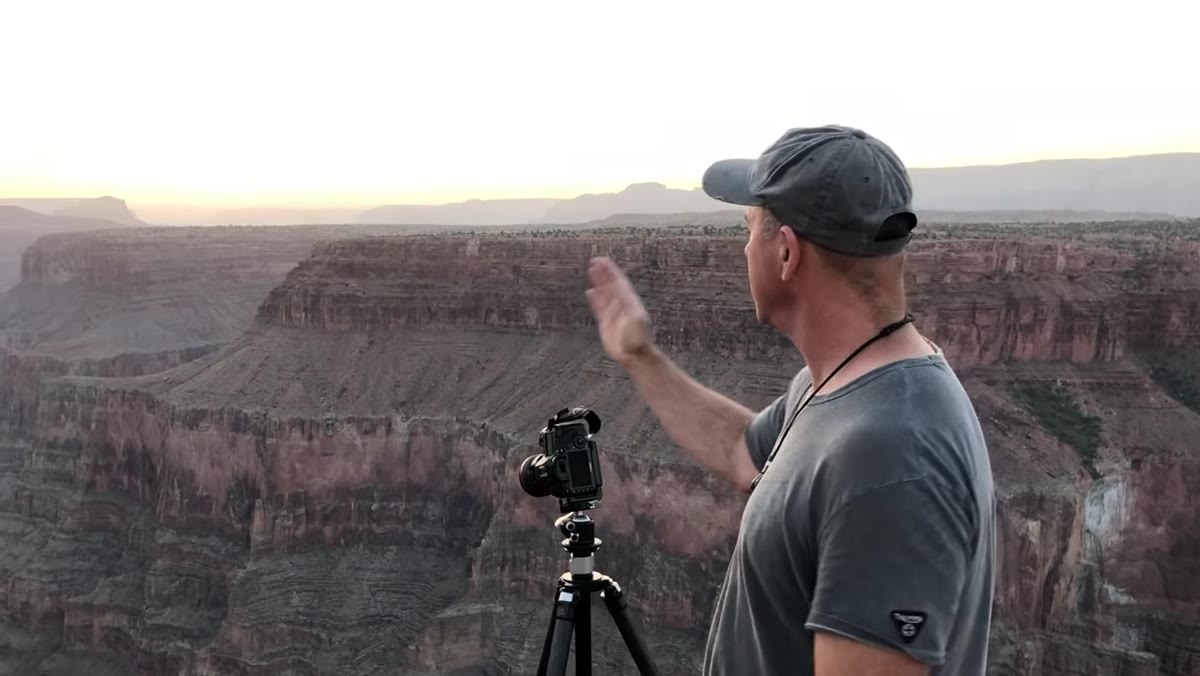 Multiple bracketed frames being captured in sequence
At each of those three shift positions, Joel isn’t taking a single shot. He’s bracketing exposures, capturing multiple frames at different shutter speeds to cover the full dynamic range of the scene. A high-contrast canyon at sunrise, with deep shadows in the rock walls and a bright sky, is exactly the kind of situation where a single exposure will fail you on one end or the other.
Multiple bracketed frames being captured in sequence
At each of those three shift positions, Joel isn’t taking a single shot. He’s bracketing exposures, capturing multiple frames at different shutter speeds to cover the full dynamic range of the scene. A high-contrast canyon at sunrise, with deep shadows in the rock walls and a bright sky, is exactly the kind of situation where a single exposure will fail you on one end or the other.
The workflow looks like this: shift to position one, fire the bracketed sequence. Shift to position two, fire again. Shift to position three, fire again. You end up with a grid of images that will be merged in two stages. First, the brackets at each position get blended into a single HDR image. Then the three HDR images get stitched into one wide panorama.
Step 4: Do the Math on Your Final File Size
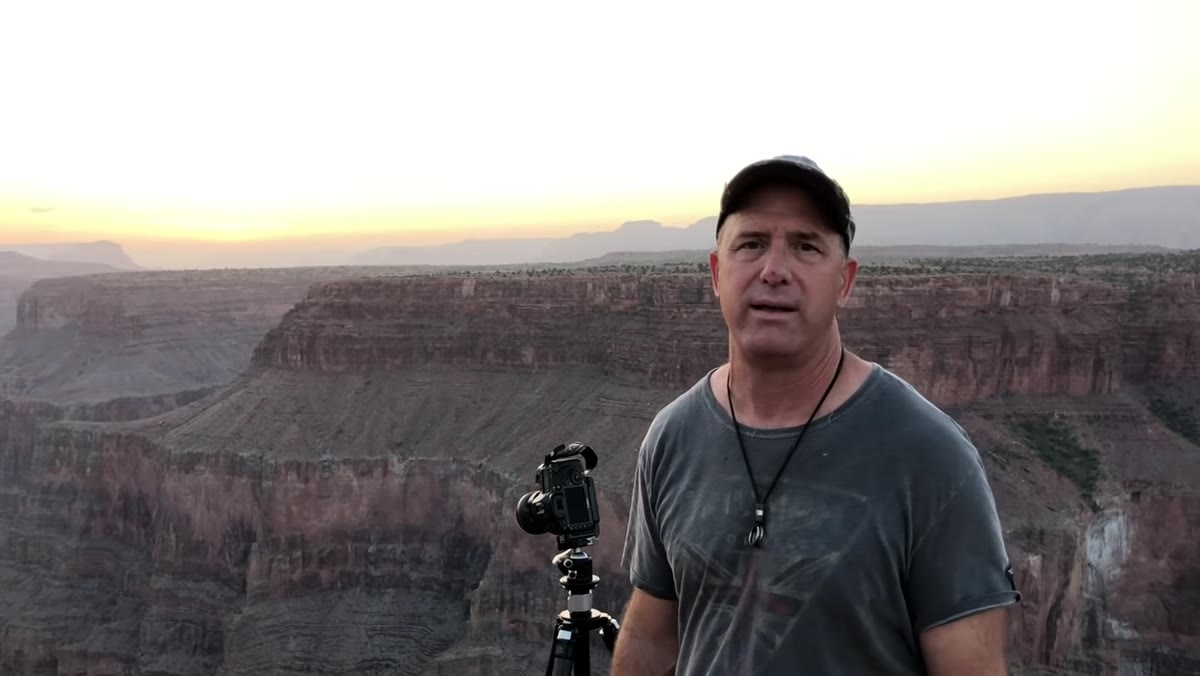 Joel describing the output megapixel count
Joel mentions this almost in passing, but it’s worth stopping on. By combining a high-resolution sensor (the 5DSR shoots around 50 megapixels) with a three-position shift panorama, he’s ending up with a final stitched file somewhere around 120 to 130 megapixels. That’s enough to print at 44 by 60 inches with no quality loss.
Joel describing the output megapixel count
Joel mentions this almost in passing, but it’s worth stopping on. By combining a high-resolution sensor (the 5DSR shoots around 50 megapixels) with a three-position shift panorama, he’s ending up with a final stitched file somewhere around 120 to 130 megapixels. That’s enough to print at 44 by 60 inches with no quality loss.
This matters whether you’re selling prints or not, because resolution gives you options in post. You can crop aggressively, reframe a composition you weren’t sure about, or deliver to a client at whatever size they need. Before you shoot, think about your exit size. If you’re posting to Instagram, this workflow is overkill. If you’re selling wall art, it’s exactly right.
Step 5: Scout a Foreground While the Light Is Still Low
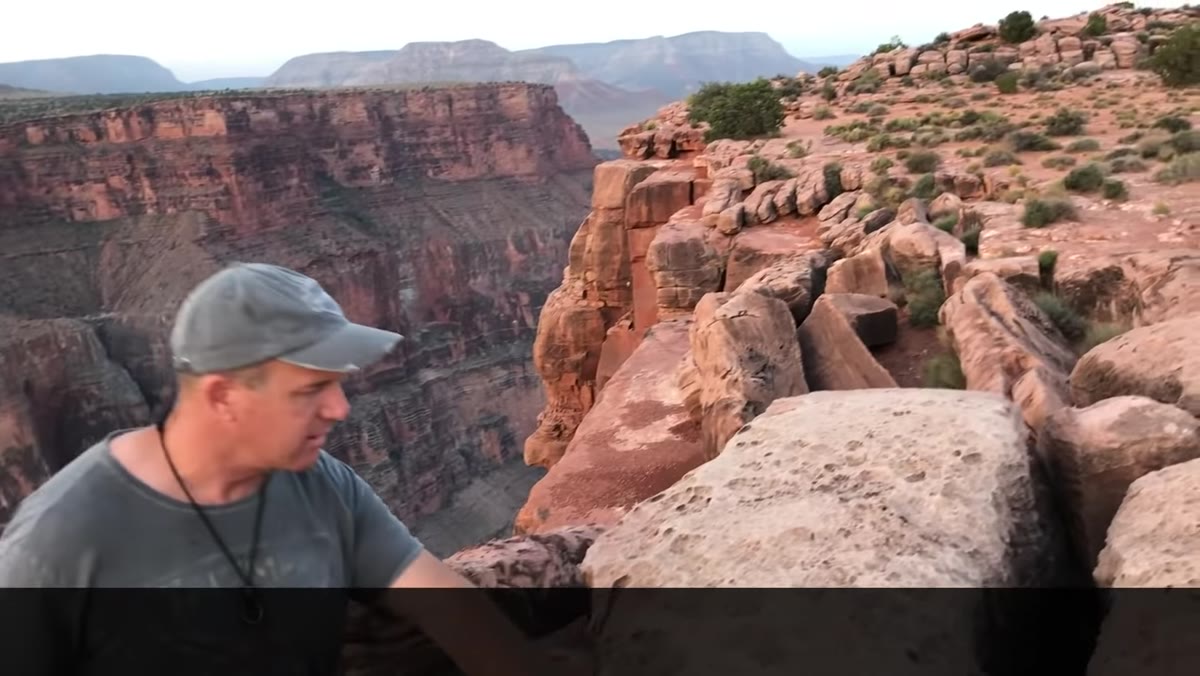 Joel examining sculptural rock formations in foreground
Before locking in his main composition, Joel walks the rim looking for foreground elements. He finds a cluster of weathered sandstone formations that have the kind of strong, sculptural shape that can anchor a wide landscape shot. His reasoning: once the sun clears the horizon and starts raking across the rock face, those textures will catch light in a way that makes the foreground feel alive rather than just a dark blob at the bottom of the frame.
Joel examining sculptural rock formations in foreground
Before locking in his main composition, Joel walks the rim looking for foreground elements. He finds a cluster of weathered sandstone formations that have the kind of strong, sculptural shape that can anchor a wide landscape shot. His reasoning: once the sun clears the horizon and starts raking across the rock face, those textures will catch light in a way that makes the foreground feel alive rather than just a dark blob at the bottom of the frame.
Look for foreground elements that have three-dimensional form. Flat ground, even if it’s interesting in texture, tends to disappear in a wide landscape shot. Rocks with height and shape create depth and give the viewer’s eye somewhere to travel before it reaches the horizon.
Step 6: Use Live View and Manual Focus for the Foreground Frame
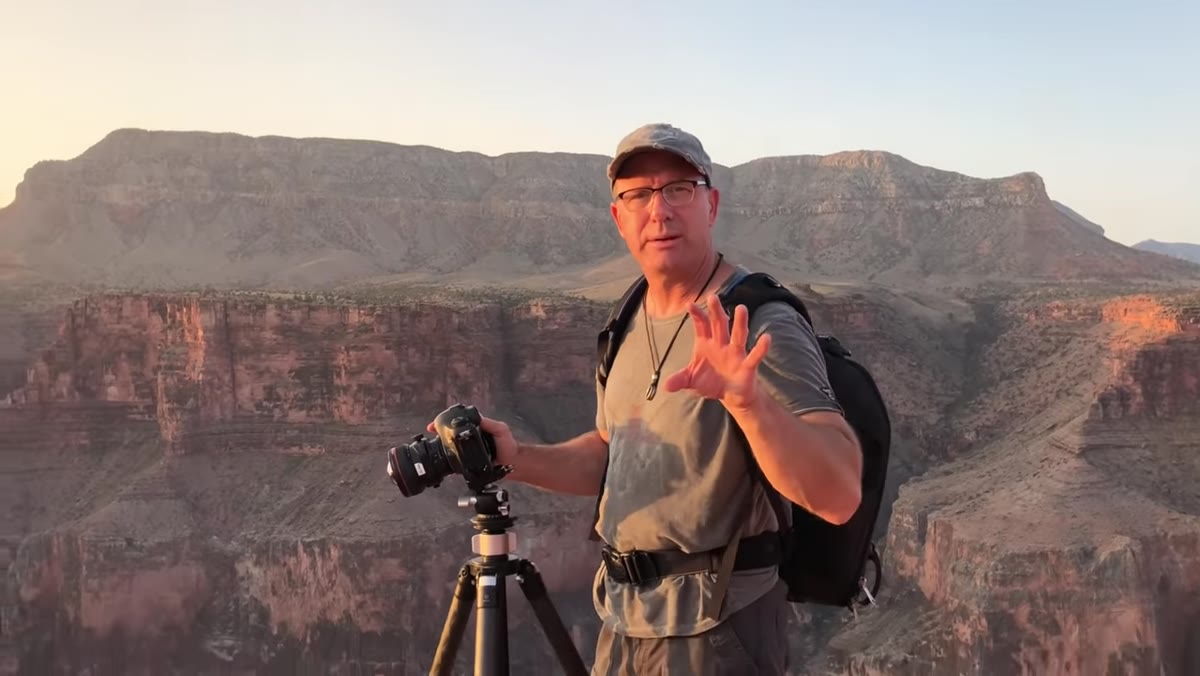 Joel shifting lens down and using live view to focus on rocks
For the foreground-focused frame, Joel shifts the lens downward and switches to live view with a magnified focus point. He’s manually focusing directly on the rocks at close range, and he drops his aperture from f/13 down to f/9 for this specific frame.
Joel shifting lens down and using live view to focus on rocks
For the foreground-focused frame, Joel shifts the lens downward and switches to live view with a magnified focus point. He’s manually focusing directly on the rocks at close range, and he drops his aperture from f/13 down to f/9 for this specific frame.
This is a focus-blending setup. He’s capturing one set of frames sharp on the foreground, which he’ll layer in Photoshop with the wider panorama that’s sharp on the midground and background. The slightly wider aperture at f/9 still gives him plenty of depth of field across the rock formation without introducing diffraction softness that you start to see at very small apertures like f/16 or f/22.
What I’d Add From My Own Experience
Tilt-shift lenses are expensive and have a real learning curve. But the underlying logic of this technique, capturing multiple overlapping frames to build a larger, more dynamic image, translates to any lens. On my Sunday morning photo walks around Seattle, I regularly shoot hand-held panoramas with a 35mm prime and bracket two stops above and below my metered exposure. Free panorama stitching tools like Lightroom’s Merge to Panorama or Hugin handle the alignment. The files aren’t 130 megapixels, but they’re a lot bigger and richer than a single shot.
The tilt-shift approach becomes worth the investment when you’re doing this seriously and often, especially if print sales are part of your business. But don’t let not having that lens stop you from practicing the core idea.
The biggest thing I took from watching Joel work is this: the technique is in service of the scale. He’s not using tilt-shift and HDR bracketing to show off. He’s using them because the scene genuinely demands it, and he’s thought carefully in advance about what the final image needs to be. Match your technique to your intention, and you’ll almost always make better decisions on location.
Watch the full tutorial on YouTube to see Joel working through this in real time at sunrise. Watching him physically shift the lens and choose his foreground locked in this workflow for me in a way that reading about it never quite did.
Comments (2)
Shared this with my photography group. Everyone loved it.
Shared this with my photography group. Everyone loved it.
Leave a Comment