I had a frustrating shoot a few months ago in downtown Seattle. The sky was doing everything right, big clouds, weird pre-storm light, the whole drama. I pointed my camera at the skyline and came home with a card full of photos that looked… fine. Competent. Completely forgettable. The sky looked washed out. The mood I saw with my own eyes just did not transfer.
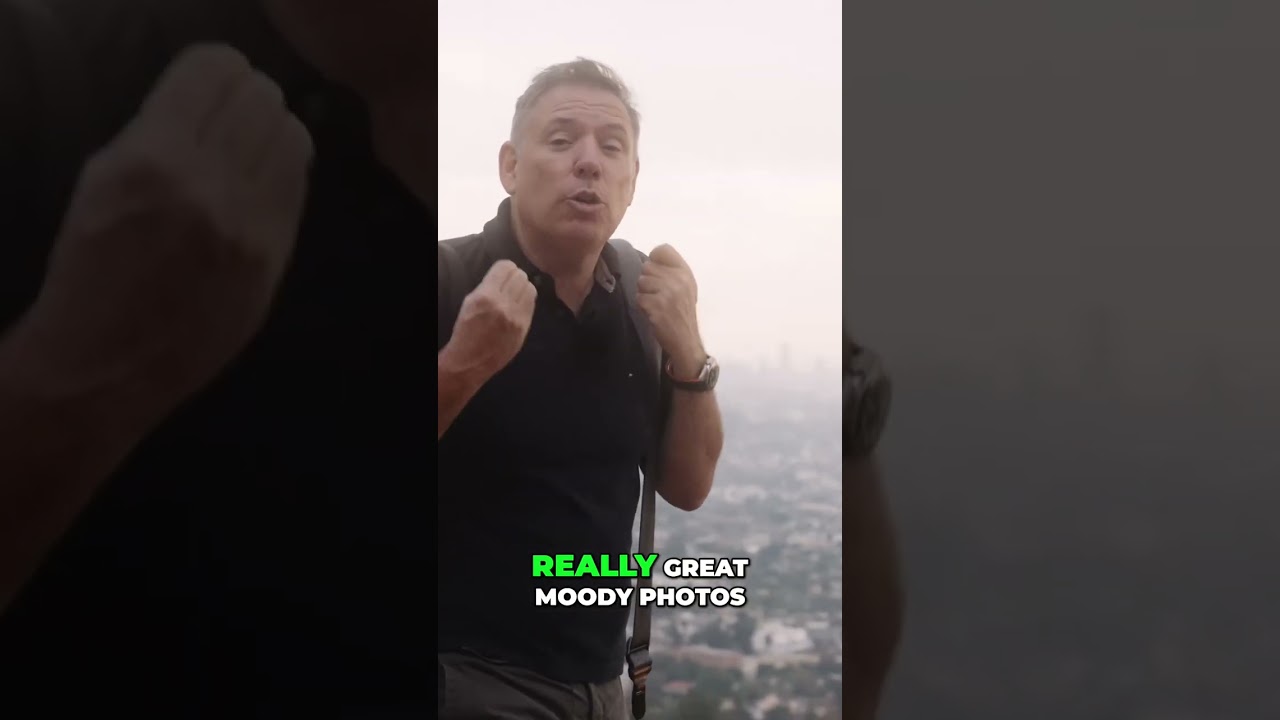
So when I came across this Serge Ramelli tutorial on shooting downtown Los Angeles, something clicked almost immediately. Watch the full tutorial on YouTube — he walks through this in real time on location, which is worth seeing for yourself. But here’s what I pulled from it and how I’ve been applying it ever since.
The Problem With “Correct” Exposure in Cityscape Photography
Most of us are trained to expose for a balanced, accurate image. The histogram looks pretty, nothing is clipped, the scene looks like what we saw. For portraits, for product work, that approach makes sense. For moody cityscapes? It’s killing your photos.
When you expose to make a dramatic sky look “correct,” you flatten it. The clouds lose their weight. The shadows lose their depth. The whole atmosphere evaporates. What Ramelli demonstrates in this tutorial is that the correct exposure and the expressive exposure are often two completely different things, and in urban shooting with a strong sky overhead, underexposing is almost always the right creative call.
How to Actually Underexpose With Intention (Not Just Darken the Image)
This is where the technique gets specific, and specifics are where most tutorials lose people. Underexposing is not the same as just lowering brightness in Lightroom after the fact. You want to dial it in at capture.
Start by evaluating your sky. If you have dramatic cloud cover, golden hour light, or that blue hour transition window right after sunset, you have the raw material. Set your exposure based on the sky, not the midtones of the scene. Yes, your foreground and any shadows in the frame will go dark. That’s the point.
In practice, I’ll often go one to two full stops underexposed from what my meter recommends. On my Sony, that means dialing exposure compensation down to -1 or -1.7 and checking my live view. What I’m looking for is a sky that looks close to what my eyes actually see outside, not what the camera’s sensor wants to average out. If the clouds have texture and depth in the live view, I know I’m in the right range.
The payoff is immediate. Shadows become intentional. The city sits below a sky that feels like it has actual weight. Any figure in the frame, a person on a bench, someone crossing a street, suddenly reads with real dramatic presence because the contrast is working for you.
Why One Simple Subject Anchors the Whole Frame
One thing Ramelli points out that I think gets underappreciated is how a single element in the frame, one person, one bench, one light source, completely changes the emotional read of an underexposed cityscape. Without it, you have a moody atmospheric photo. With it, you have a story.
This is something I’ve started actively looking for on my Sunday morning photo walks. Before I trip the shutter, I ask: is there one thing in this frame that gives the eye somewhere to land? It doesn’t need to be big or obvious. A lone figure in the lower third, backlit by the city glow, does exactly what it needs to do. It grounds the viewer and creates a sense of scale that makes the dramatic sky feel even bigger by comparison.
Where This Technique Falls Apart (and What I Do Instead)
I’ll be honest with you. This approach has a weakness, and it shows up when the sky is completely overcast without texture. A flat gray sky underexposed is just a darker flat gray sky. There’s no drama to pull out because there was none to begin with.
On those days in Seattle (which is most days from November through March, let’s be real), I’ve shifted my focus entirely to the street level. I use underexposure differently in that context, bringing down the exposure to preserve any artificial light sources: neon signs, traffic streaks, lit windows. The sky becomes a dark backdrop instead of a dramatic subject. It’s a different shot, but the same underlying principle applies. Expose for what you want to keep, let everything else go dark with intention.
The Camera-to-Computer Workflow Ramelli Uses
One thing worth noting for anyone shooting JPEGs: this technique plays much more nicely with RAW files. When you underexpose a RAW file, you have real latitude to bring up shadow detail selectively in post while keeping the sky intact. If you shoot JPEG, a two-stop underexposure may clip your shadows permanently.
Ramelli’s editing approach leans into this, preserving the moody character of the in-camera exposure while giving the image clarity and punch. The goal in post is not to “fix” the underexposure. It’s to refine it. Lift the shadows just enough to show detail without losing the drama, and leave the highlights exactly where they are.
The single most transferable idea from this whole tutorial is this: a dramatic sky is a resource, and underexposing is how you spend it wisely. Stop trying to balance it away.
Watch the full tutorial on YouTube to see Ramelli work through this technique live on location in downtown LA. Watching him make real-time decisions about exposure while standing in front of the scene is genuinely the best way to internalize this.
Comments
Leave a Comment