I’ve been putting off video for years. Not because I don’t want to share my work in motion, but because every time I opened a video editor I felt like I’d wandered into someone else’s cockpit. The timelines, the render queues, the color grading panels, all of it. I’m a photographer. I know light. I do not know what a keyframe is, and until recently I didn’t particularly want to.
Then I came across this Serge Ramelli tutorial on using Claude AI to handle video editing through plain-language instructions, and something clicked. Watch the full tutorial on YouTube. Serge’s angle is that you don’t need to learn editing software at all. You just need to describe what you want, the way you’d describe it to a competent assistant, and Claude handles the technical execution. For someone who still sometimes shoots on her phone just to stay sharp on composition instead of gear, that framing made complete sense to me. The camera shouldn’t be the obstacle. Neither should the software.
What Serge demonstrates is specifically useful for photographers who are starting to create educational or behind-the-scenes content. You have photos. You have something to say about them. You record yourself talking. This workflow takes that raw material and produces something that looks like it was edited by a professional, complete with animations, before-and-after comparisons, captions, and color grading, without you touching a single timeline.
Step 1: Organize Your Assets Into One Folder Before You Touch Claude
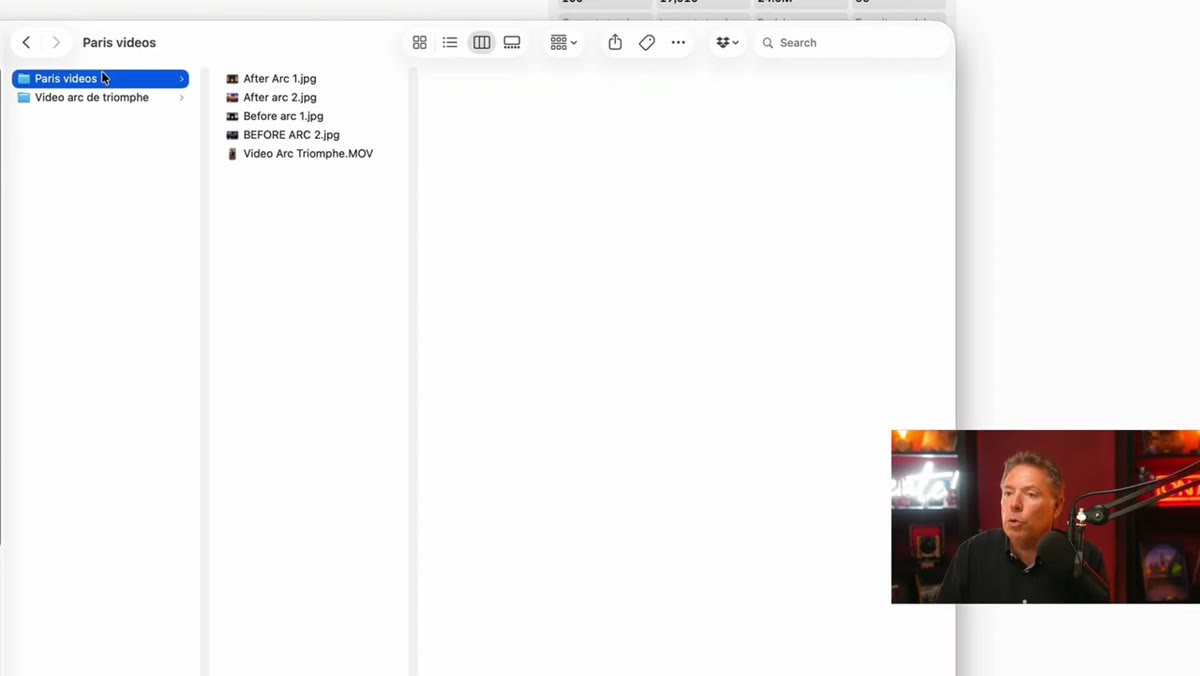 Paris video folder open with before and after photo pairs visible
Before you open Claude or type a single prompt, get your files sorted. Serge starts by building a simple project folder containing his raw video file and matched pairs of before-and-after photographs. In his case, that meant two views of the Arc de Triomphe, each with a before and an after version.
Paris video folder open with before and after photo pairs visible
Before you open Claude or type a single prompt, get your files sorted. Serge starts by building a simple project folder containing his raw video file and matched pairs of before-and-after photographs. In his case, that meant two views of the Arc de Triomphe, each with a before and an after version.
Keep the naming simple and consistent. Something like before_shot1.jpg and after_shot1.jpg works fine. Claude will reference these files directly, so a cluttered or confusingly named folder will slow things down. Put everything, the video, the photos, all of it, in one place before you do anything else.
Step 2: Copy and Paste the Setup Prompt Into Claude Code
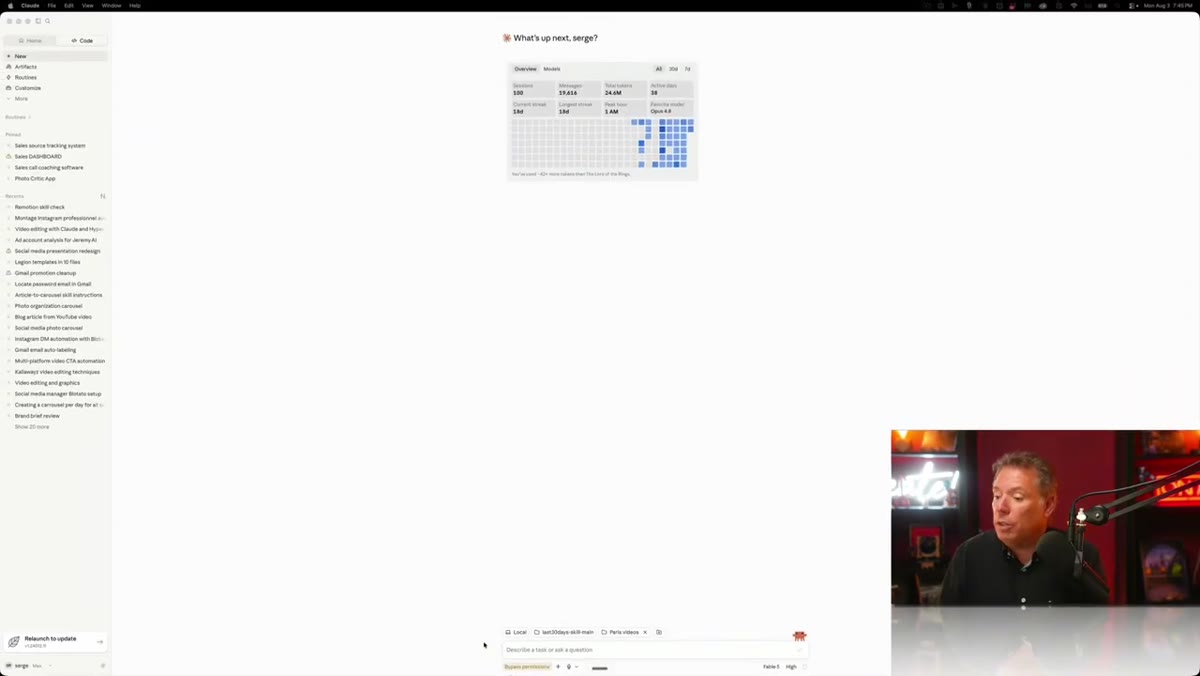 Claude interface with the beginner setup prompt pasted in
This is the step most tutorials skip over, but it’s the most important one. Serge provides a ready-made setup prompt (you’ll find it in the video description) that instructs Claude to install everything it needs to work with video on your machine. That includes FFmpeg for video processing, Node.js as a runtime environment, and a free local transcription engine so your spoken words can be converted to text without any paid subscriptions or API keys.
Claude interface with the beginner setup prompt pasted in
This is the step most tutorials skip over, but it’s the most important one. Serge provides a ready-made setup prompt (you’ll find it in the video description) that instructs Claude to install everything it needs to work with video on your machine. That includes FFmpeg for video processing, Node.js as a runtime environment, and a free local transcription engine so your spoken words can be converted to text without any paid subscriptions or API keys.
You paste this prompt into Claude Code, which is Anthropic’s code-execution environment, attach your project folder using the plus icon in the interface, and let Claude run. It will tell you if it needs your password or permission at any point during installation, and it will confirm when setup is complete. You do this once. After that, your machine is configured and you don’t repeat this step.
Step 3: Install the video-use Skill and HyperFrames From GitHub
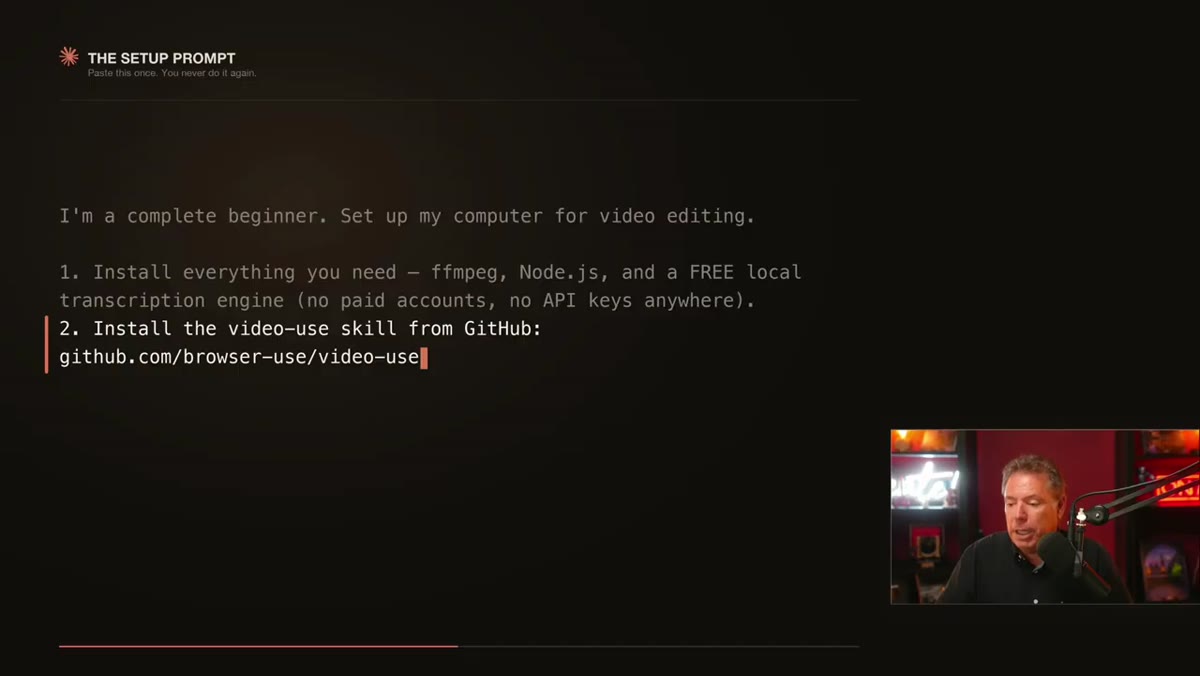 Claude running GitHub installation commands in terminal view
The setup prompt also instructs Claude to pull two additional tools from GitHub. The first is video-use, a skill that gives Claude the ability to actually manipulate video files. The second is HyperFrames, which handles animated graphics, things like lower-thirds, zoom effects, and transition overlays.
Claude running GitHub installation commands in terminal view
The setup prompt also instructs Claude to pull two additional tools from GitHub. The first is video-use, a skill that gives Claude the ability to actually manipulate video files. The second is HyperFrames, which handles animated graphics, things like lower-thirds, zoom effects, and transition overlays.
You don’t need to visit GitHub yourself or understand what these packages contain. The prompt handles it. Think of this step the way you’d think about installing a plugin in Lightroom. You trust that it works, you let it install, and then you use it. The reason Serge bakes this into the beginner prompt is so that photographers with no development background don’t have to figure out dependencies on their own.
Step 4: Describe Your Edit in Plain Language
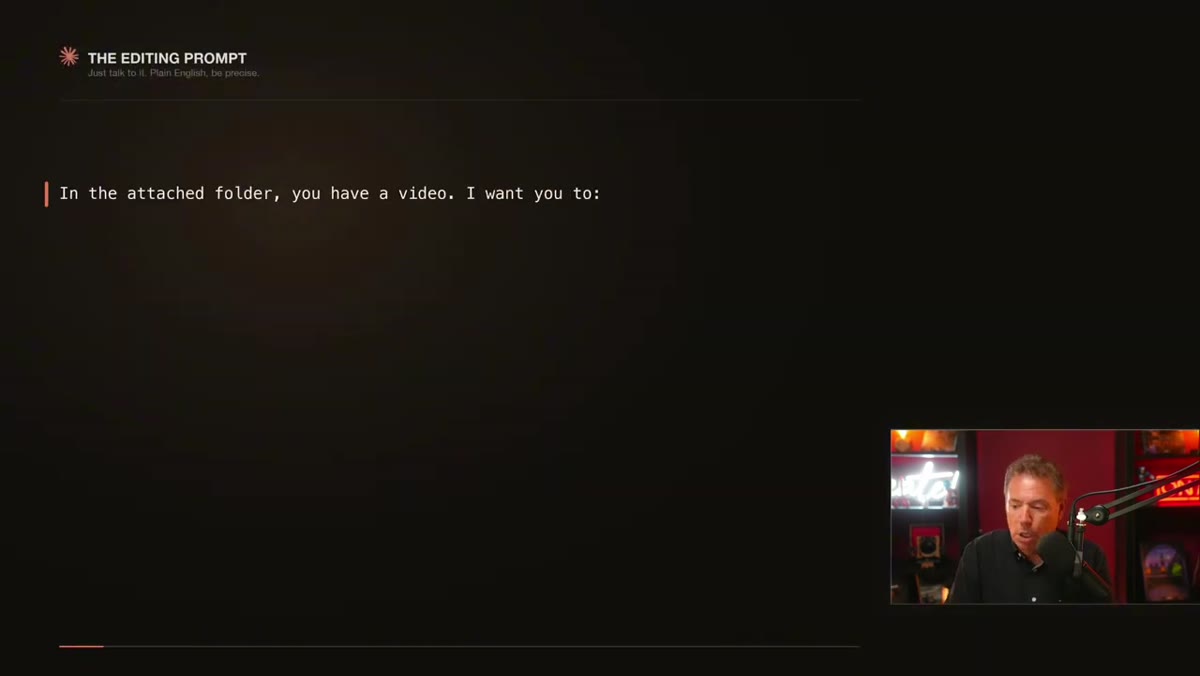 Claude chat window with a natural-language editing request typed out
Once setup is complete, you simply tell Claude what you want done with your video. Serge talks directly to his computer using a voice input tool, which he prefers because it’s faster and more natural than typing. You can do the same using the microphone option in Claude, or just type it out.
Claude chat window with a natural-language editing request typed out
Once setup is complete, you simply tell Claude what you want done with your video. Serge talks directly to his computer using a voice input tool, which he prefers because it’s faster and more natural than typing. You can do the same using the microphone option in Claude, or just type it out.
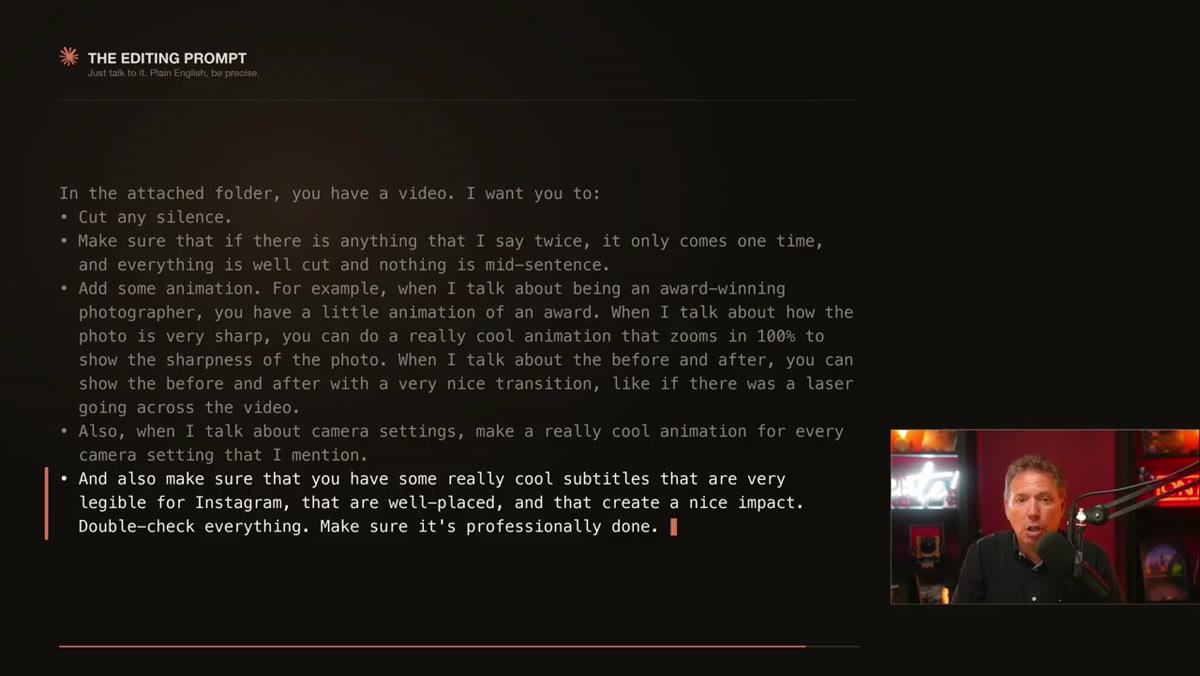
The description you give should be specific but conversational. Serge asks Claude to cut silences, remove any repeated lines, and make sure nothing is cut mid-sentence. He then layers in animation requests tied to specific topics he covers in the video, a zoom-in animation when he talks about sharpness, a before-and-after wipe transition for his editing comparisons, and icon-style animations when he mentions camera settings. He also asks for styled subtitles optimized for Instagram and a slight color grade with more shadow and saturation. All of that in one message, in plain English.
Step 5: Let Claude Execute and Review the Output
 Claude processing the video with progress feedback visible in terminal
After you send your prompt, Claude goes to work. It will transcribe the audio using the local engine installed in Step 2, identify the sections you described, apply cuts and animations, and render a new version of the video. Depending on your machine and the length of the footage, this will take a few minutes.
Claude processing the video with progress feedback visible in terminal
After you send your prompt, Claude goes to work. It will transcribe the audio using the local engine installed in Step 2, identify the sections you described, apply cuts and animations, and render a new version of the video. Depending on your machine and the length of the footage, this will take a few minutes.
When it’s done, Claude will tell you the file is ready and where to find it. Open it, watch it through, and note anything you’d change. If something isn’t right, you describe the fix the same way you described the original edit. You’re not adjusting sliders. You’re having a conversation.
A Note on Model Choice and Expectations
Serge uses Claude’s most capable model for his demonstration, and he’s transparent about the fact that it costs more. For most photography educators or hobbyists creating content around their work, a mid-tier model will get you very close to the same result. Start there and upgrade only if you find the outputs consistently missing what you asked for.
One thing I’d add from my own testing: be more specific than you think you need to be on the animation side. Saying “add an animation when I mention sharpness” is a good start, but “zoom in to 150% on the subject’s eye over 1.5 seconds when I mention sharpness” gives Claude something concrete to execute. The more precise your language, the less back-and-forth you’ll need.
The biggest shift this workflow offers isn’t really about saving time, though it does. It’s about removing the skill barrier that keeps photographers from showing their process. You already know how to talk about your work. You do it at coffee shops, on photo walks, in DMs. This just gives that conversation a finished video at the end of it.
Watch the full tutorial on YouTube to see Serge walk through the complete process from empty folder to finished video, and copy his setup prompt from the description to get started on your own machine.
Comments
Leave a Comment