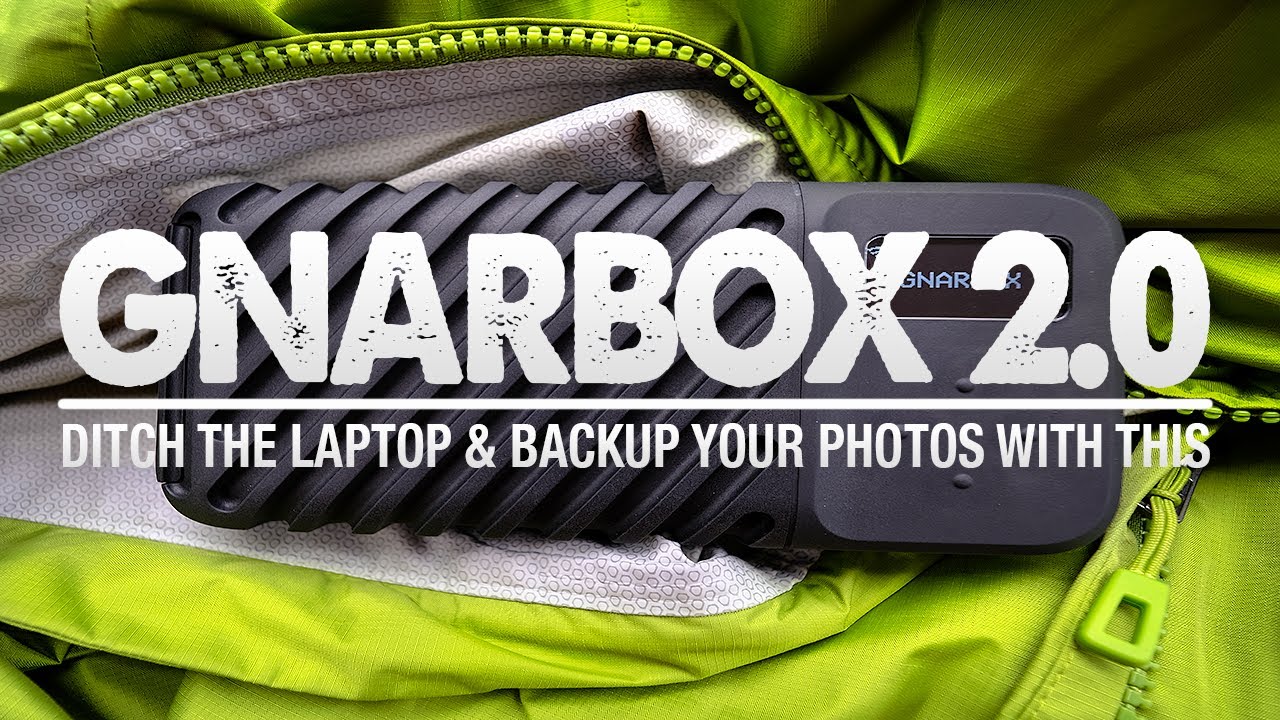
Every time I pack for a photo trip, I play the same exhausting game of bag Tetris. Camera body, check. Lenses, check. Tripod, check. And then, because apparently I love suffering, I wedge in my laptop, which is easily the heaviest single item I own, just so I can move files from one small device to another small device. The laptop is nothing more than an expensive, power-hungry middleman.
In this Mark Denney tutorial, he puts that exact frustration into words and then introduces a solution that genuinely changes the field workflow for travel and landscape photographers. Watch the full tutorial on YouTube before or after reading through these steps. The device he’s covering is the GNARBOX 2.0, a rugged, standalone backup unit that lets your SD card talk directly to your backup drive with no laptop required. It sounds simple, and it is. That’s the whole point.
I’ve been doing Sunday morning photo walks around Seattle long enough to know that the gear you actually bring is more valuable than the gear you leave in the car. Anything that lightens the load without cutting into image security gets my attention fast.
Step 1: Understand What Problem This Actually Solves
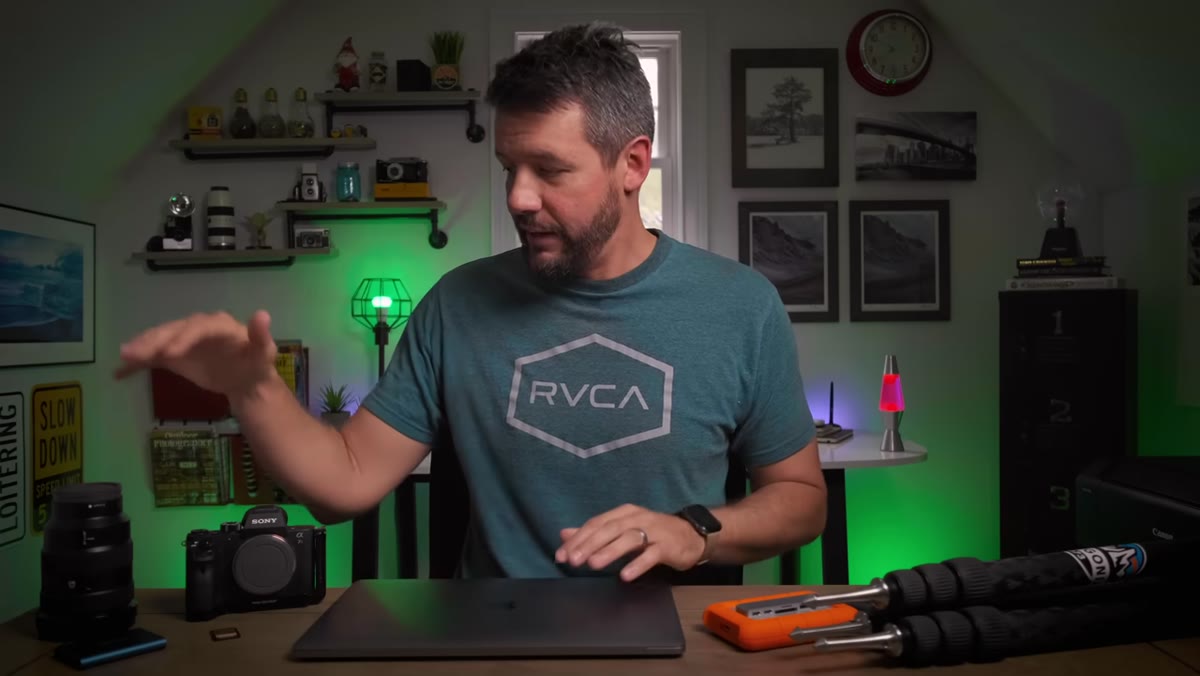 Laptop, SD card, and backup drive laid out side by side
Before touching any hardware, it helps to be clear on the workflow bottleneck. Right now, most photographers carry an SD card full of images and a portable backup drive, but those two devices cannot communicate directly. The laptop has to sit in the middle, ingesting the card and then copying to the drive. That means you’re hauling a full computer just to facilitate a file transfer.
Laptop, SD card, and backup drive laid out side by side
Before touching any hardware, it helps to be clear on the workflow bottleneck. Right now, most photographers carry an SD card full of images and a portable backup drive, but those two devices cannot communicate directly. The laptop has to sit in the middle, ingesting the card and then copying to the drive. That means you’re hauling a full computer just to facilitate a file transfer.
The GNARBOX 2.0 eliminates that middleman entirely. It’s a self-contained unit with its own processor, its own storage, and its own card reader. You insert your SD card into the GNARBOX, and it handles the backup without any other computer in the chain. That’s the whole idea, and once you see it laid out clearly, it’s hard to justify packing the laptop for trips where you’re not editing anyway.
Step 2: Get Familiar With the Physical Hardware
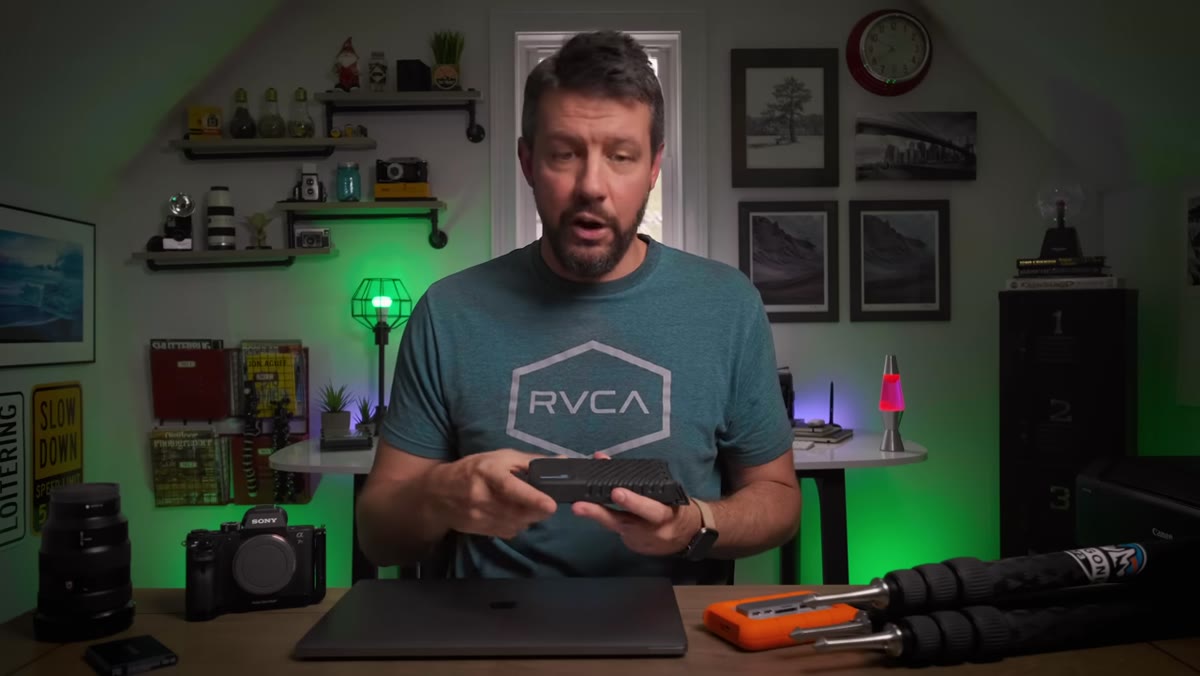
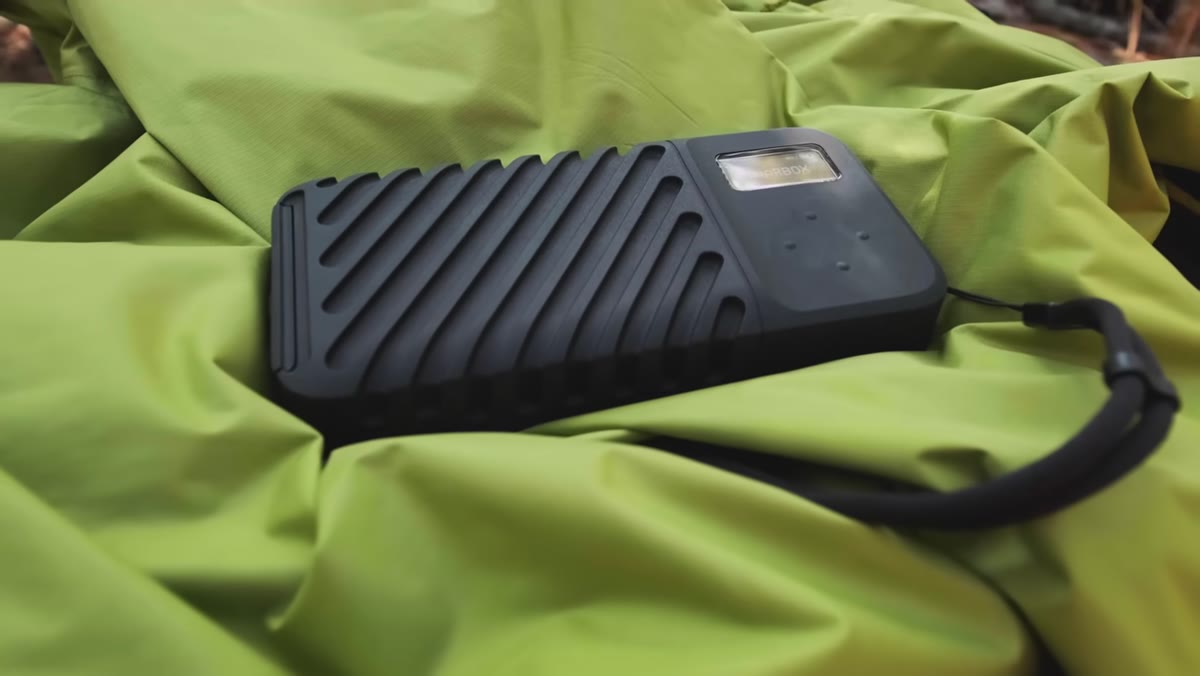 Close-up of GNARBOX 2.0 body and rugged casing
The GNARBOX 2.0 is built for the field, not a desk. Mark describes it as dust-resistant, water-resistant, and shockproof. This matters because if you’re doing the kind of shooting where you actually need a portable backup solution, you’re probably not in a clean studio environment. You might be on a beach, on a trail, or in weather that would make your laptop very nervous.
Close-up of GNARBOX 2.0 body and rugged casing
The GNARBOX 2.0 is built for the field, not a desk. Mark describes it as dust-resistant, water-resistant, and shockproof. This matters because if you’re doing the kind of shooting where you actually need a portable backup solution, you’re probably not in a clean studio environment. You might be on a beach, on a trail, or in weather that would make your laptop very nervous.
The unit is compact enough to fit in a jacket pocket or a small pouch on your camera bag. Physically, it feels more like a rugged hard drive than a computer, which is exactly what you want. No fragile hinges, no glass screen to crack. Just a solid enclosure designed to take some abuse.
Step 3: Locate and Use the Port Panel
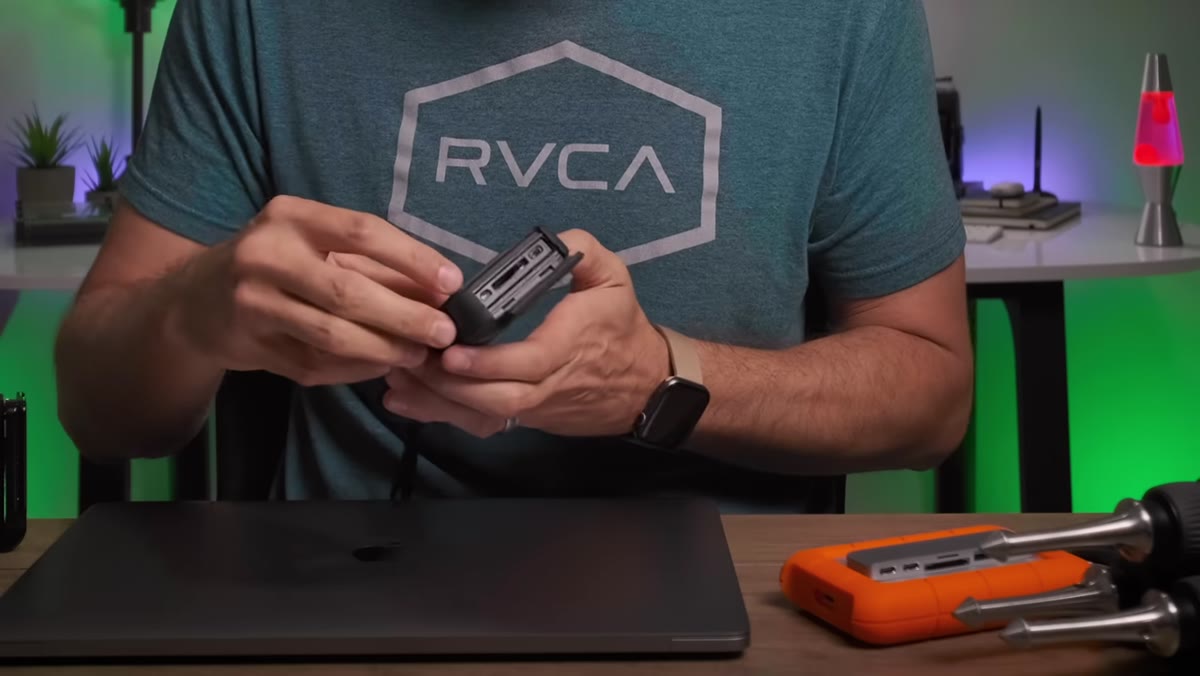 Port panel open showing SD slot, USB-C, and micro HDMI
On one side of the GNARBOX 2.0 is a covered port panel. Opening it reveals three connections: a built-in SD card reader, a USB-C port, and a micro HDMI port. The SD card slot is the one you’ll use most often in a standard field backup workflow.
Port panel open showing SD slot, USB-C, and micro HDMI
On one side of the GNARBOX 2.0 is a covered port panel. Opening it reveals three connections: a built-in SD card reader, a USB-C port, and a micro HDMI port. The SD card slot is the one you’ll use most often in a standard field backup workflow.
Slide your SD card directly into the slot. No adapter, no dongle, no cable. The device recognizes the card and prepares to copy the contents to its internal storage. The USB-C port gives you flexibility to connect other devices or to charge, and the micro HDMI opens up options for outputting to a display if you want to review footage on a larger screen. For most photographers focused on stills, the SD slot is the main event.
Step 4: Initiate the Backup and Monitor Progress
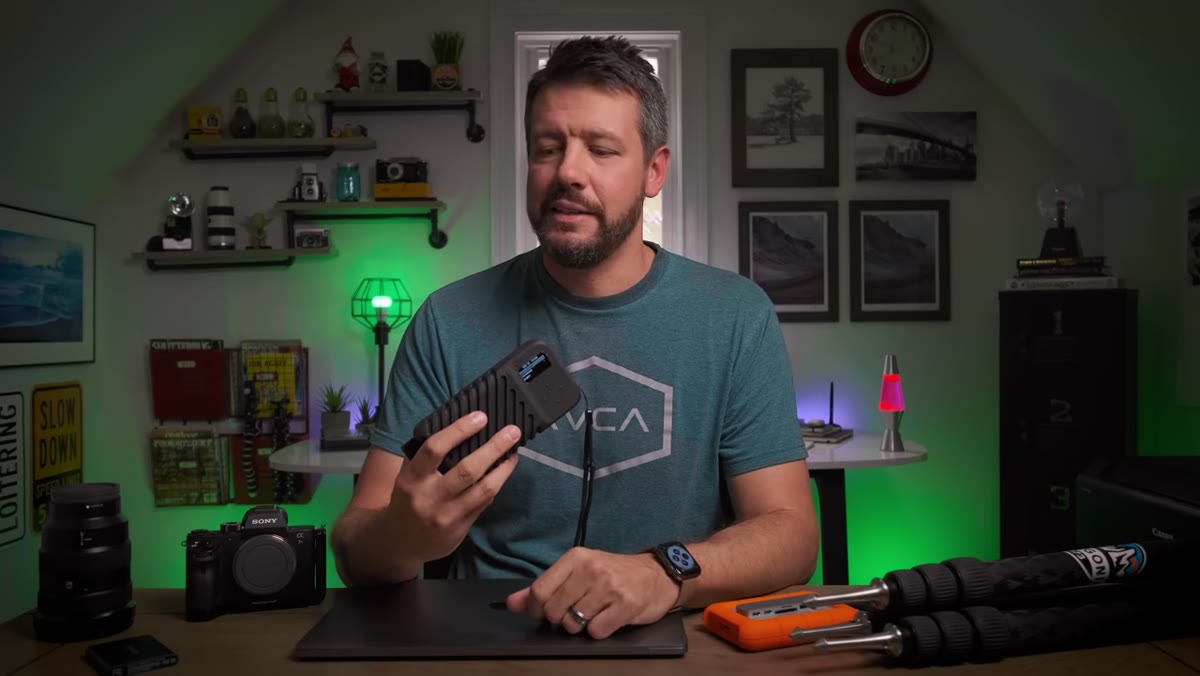
 GNARBOX screen showing backup progress percentage
Once the SD card is seated, starting a backup takes just a couple of button presses on the device itself. You don’t need a phone or any companion app to trigger this, though the app integration exists if you want it. The screen on the unit shows you a progress indicator, a percentage complete, and an estimated time remaining.
GNARBOX screen showing backup progress percentage
Once the SD card is seated, starting a backup takes just a couple of button presses on the device itself. You don’t need a phone or any companion app to trigger this, though the app integration exists if you want it. The screen on the unit shows you a progress indicator, a percentage complete, and an estimated time remaining.
What makes this workflow feel trustworthy is the speed and the real-time feedback. You’re not just blindly waiting and hoping. You can watch the transfer happen, see the numbers move, and know exactly when the job is done. For photographers who have ever lost images to an interrupted transfer, that kind of visibility is genuinely reassuring.
Step 5: Let the Verification Process Run
 GNARBOX running checksum verification after backup completes
After the file transfer finishes, the GNARBOX 2.0 runs an automatic verification process using a checksum. This step reads every file that was copied and compares it against the original to confirm that nothing was corrupted or dropped during the transfer. It’s the difference between a backup and a confirmed backup.
GNARBOX running checksum verification after backup completes
After the file transfer finishes, the GNARBOX 2.0 runs an automatic verification process using a checksum. This step reads every file that was copied and compares it against the original to confirm that nothing was corrupted or dropped during the transfer. It’s the difference between a backup and a confirmed backup.
Don’t skip this step or interrupt the device before it completes. A verified backup is the only backup that actually earns the name. Mark emphasizes this point because it’s what separates the GNARBOX’s workflow from simply dragging files to a drive and hoping for the best. Once the checksum clears, you can format your SD card and get back out shooting with real confidence.
A Note on When the Laptop Still Earns Its Spot in the Bag
I want to be honest here, because I’ve seen a few photographers read about solutions like this and immediately declare the laptop dead. It isn’t, not entirely. If you’re on a long trip and you want to do any culling, editing, or client delivery from the field, the GNARBOX 2.0 handles backup but it doesn’t replace Lightroom. Mark’s core argument is specifically for the photographer who brings a laptop only to move files, and for that person, this device is a clean and complete solution.
For me personally, there are weekend trips where I genuinely do not edit on the road. I shoot, I back up, and I edit when I’m home. For those trips, the GNARBOX workflow is ideal and the laptop can stay on my desk where it belongs. Know your own habits before you decide what stays in the bag.
The single most valuable shift this tutorial offers isn’t about one specific gadget. It’s the reminder to audit why each piece of gear is actually in your bag, and whether it’s earning its weight. If your laptop is traveling with you only to babysit a file transfer, that’s a problem worth solving.
Watch the full tutorial on YouTube to see the complete walkthrough and hear Mark’s full breakdown of the GNARBOX 2.0’s features, including the companion app functionality he covers later in the video.
Comments
Leave a Comment