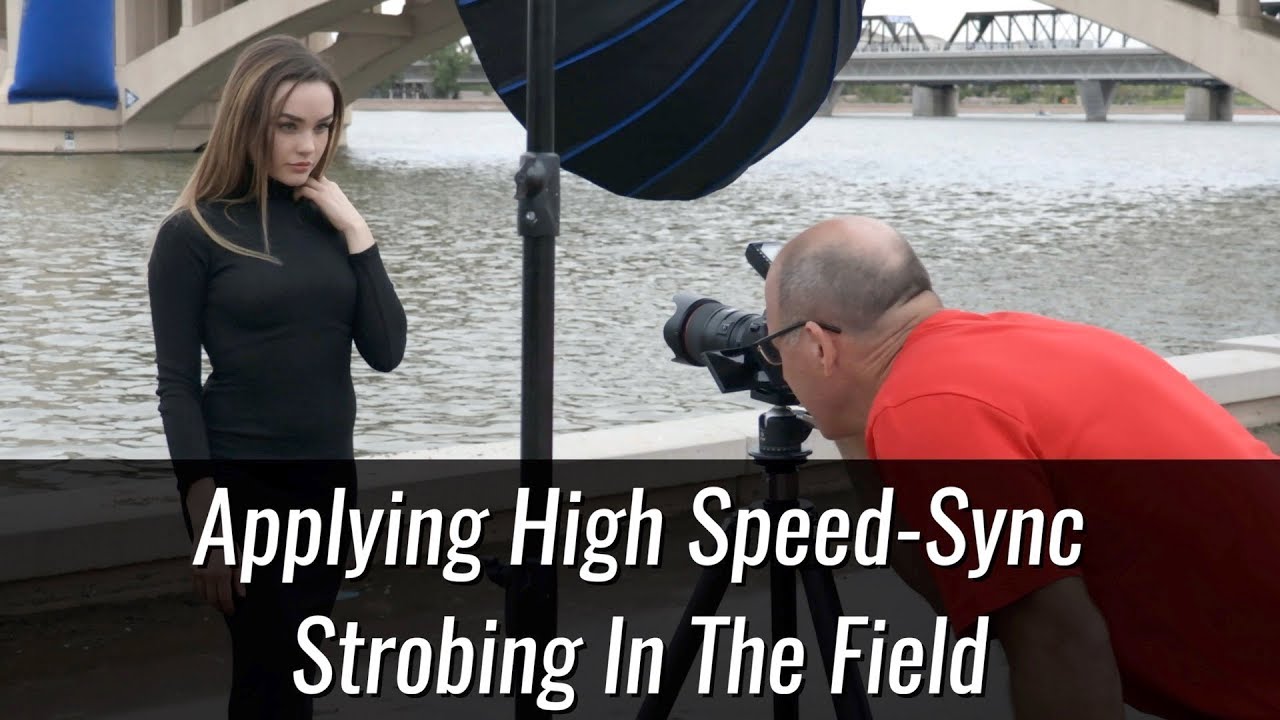
For a long time, outdoor portrait sessions in bright light meant making a choice I hated: get the dramatic, blurry background I wanted, or use flash to light my subject properly. Doing both at the same time felt impossible. The moment I cranked my strobe up to compete with the sun, my camera forced me into a small aperture to stay within sync speed, and suddenly my subject looked like they were standing in a parking lot instead of floating in a dreamy scene. That tension between flash power and creative aperture control is exactly what high-speed sync solves, and once it clicked for me, I started seeing outdoor locations completely differently.
In this Joel Grimes tutorial, he heads out to a muddy patch near Arizona State University with a model, a Godox strobe, and a 24-inch beauty dish to show exactly how high-speed sync works in a real field situation. What I love about watching Joel work is that he’s not in a controlled studio. There’s freeway noise, jets flying overhead, wind messing with the model’s hair, and a mud puddle underfoot. It’s messy and real, which is how most of us actually shoot. Watch the full tutorial on YouTube before or after reading through these steps.
Step 1: Understand Why Normal Sync Speed Kills Your Creative Vision
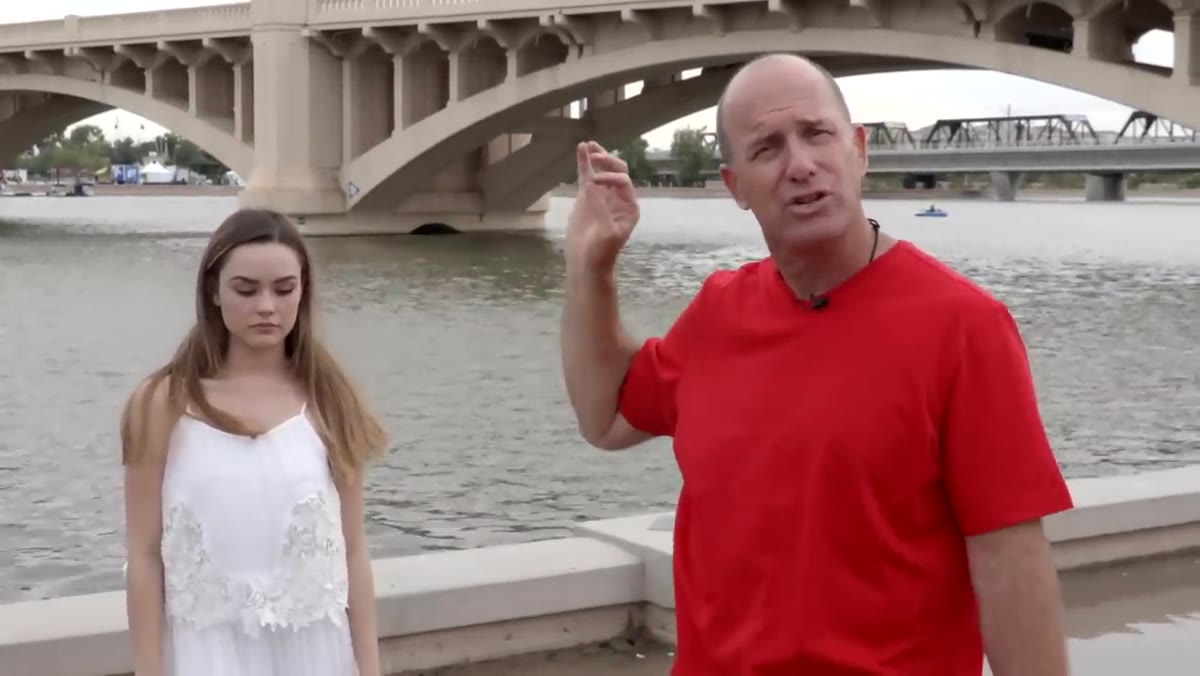
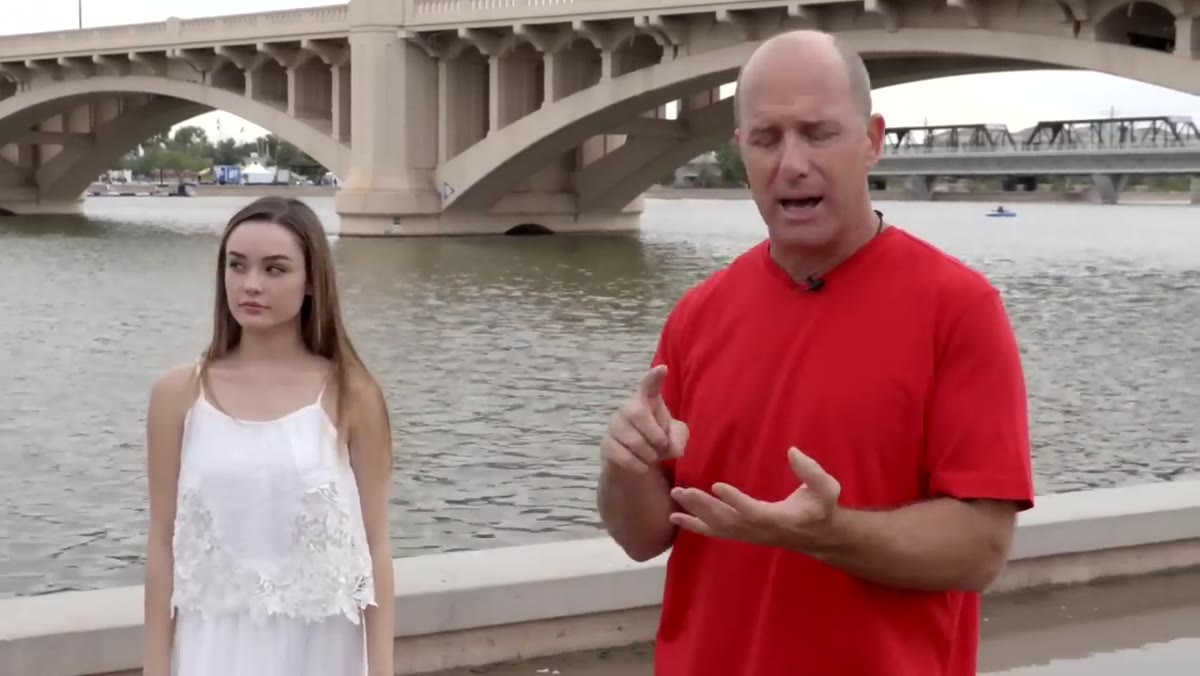
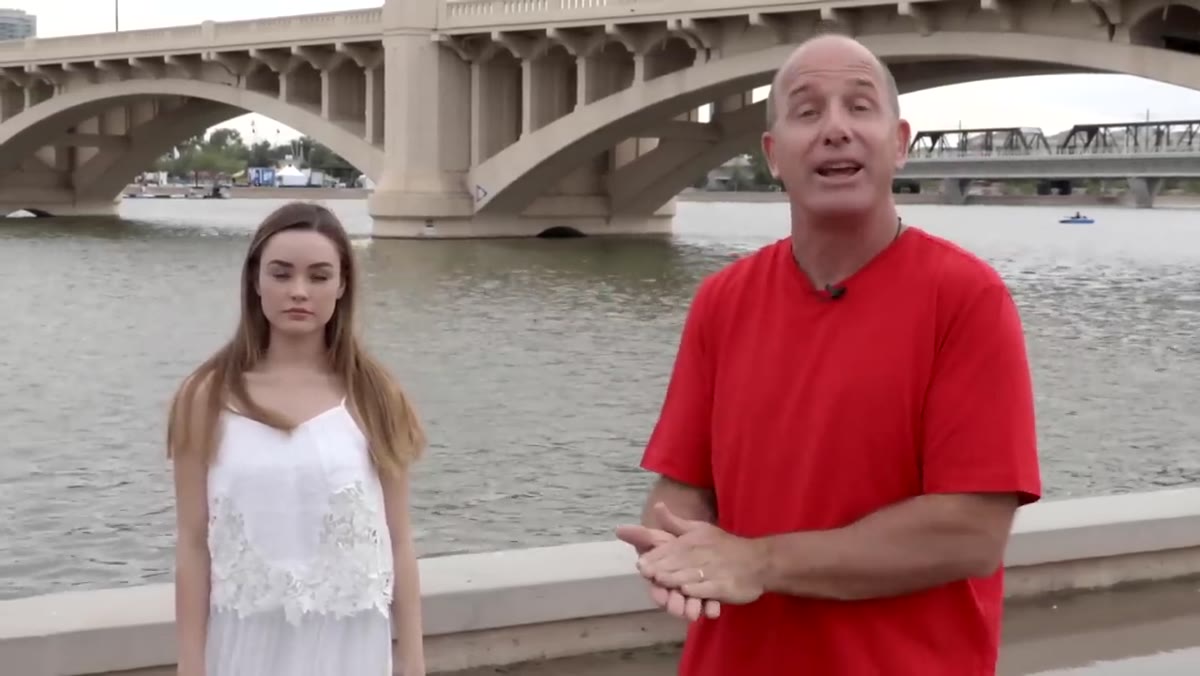
 Joel explaining the aperture problem without high-speed sync
Without high-speed sync enabled, most cameras top out at a sync speed somewhere between 1/160 and 1/250 of a second. In bright outdoor light, that forces you to stop down your aperture aggressively, often to f/8, f/11, or beyond, just to keep the exposure balanced with your flash. Joel puts a number on it: shooting without HSS in his outdoor conditions would have landed him around f/10 or f/11. That’s enough depth of field to render a background in clear, unflattering detail. If you’re trying to isolate a subject and create that painterly, compressed background look, you’re stuck before you even start.
Joel explaining the aperture problem without high-speed sync
Without high-speed sync enabled, most cameras top out at a sync speed somewhere between 1/160 and 1/250 of a second. In bright outdoor light, that forces you to stop down your aperture aggressively, often to f/8, f/11, or beyond, just to keep the exposure balanced with your flash. Joel puts a number on it: shooting without HSS in his outdoor conditions would have landed him around f/10 or f/11. That’s enough depth of field to render a background in clear, unflattering detail. If you’re trying to isolate a subject and create that painterly, compressed background look, you’re stuck before you even start.
The key insight here is that this isn’t about flash being too weak. It’s about your camera’s shutter being the bottleneck. High-speed sync bypasses that limitation by pulsing the flash rapidly across the entire shutter curtain’s travel, which lets you shoot at any shutter speed your camera supports.
Step 2: Choose a Flash System That Supports HSS at Higher Power
 Godox AD600 on stand with 24-inch Westcott beauty dish attached
Speedlights have had HSS capability for years, but the problem with speedlights outdoors is raw power. Stacking four or five of them to overpower the sun is possible but awkward and expensive. The shift Joel points to is that larger battery-powered monolights, like the Godox AD600 series he’s using here, now support HSS at meaningful power levels. One strobe, one modifier, and you can actually compete with direct sunlight.
Godox AD600 on stand with 24-inch Westcott beauty dish attached
Speedlights have had HSS capability for years, but the problem with speedlights outdoors is raw power. Stacking four or five of them to overpower the sun is possible but awkward and expensive. The shift Joel points to is that larger battery-powered monolights, like the Godox AD600 series he’s using here, now support HSS at meaningful power levels. One strobe, one modifier, and you can actually compete with direct sunlight.
When choosing your setup, look for a flash with HSS support in its trigger system, not just the head itself. The trigger and receiver pair have to communicate the HSS signal properly. Godox’s X-series triggers are a popular, affordable way into this. If you already have a speedlight, start there to learn the concept before investing in a larger monolight.
Step 3: Set Your Camera to High-Speed Sync Mode
 Canon EOS R with RF 50mm f/1.2 lens, wide aperture setting visible
On most cameras, HSS is enabled through your flash settings menu, not the main exposure controls. On Canon bodies, you’ll find it in the external flash function settings, often labeled “H” for high speed. On Nikon, it’s called Auto FP. Once it’s on, your shutter speed is no longer capped, and you can push it to 1/1000, 1/2000, or higher depending on your camera.
Canon EOS R with RF 50mm f/1.2 lens, wide aperture setting visible
On most cameras, HSS is enabled through your flash settings menu, not the main exposure controls. On Canon bodies, you’ll find it in the external flash function settings, often labeled “H” for high speed. On Nikon, it’s called Auto FP. Once it’s on, your shutter speed is no longer capped, and you can push it to 1/1000, 1/2000, or higher depending on your camera.
Joel was shooting on the Canon EOS R with a 50mm f/1.2 RF lens, which is a combination built for shallow depth of field. You don’t need that specific gear, but the principle scales: once HSS is active, dial your aperture to where you want it creatively, then adjust shutter speed and flash power together to balance the exposure.
Step 4: Expose for the Background First, Then Dial In Your Flash
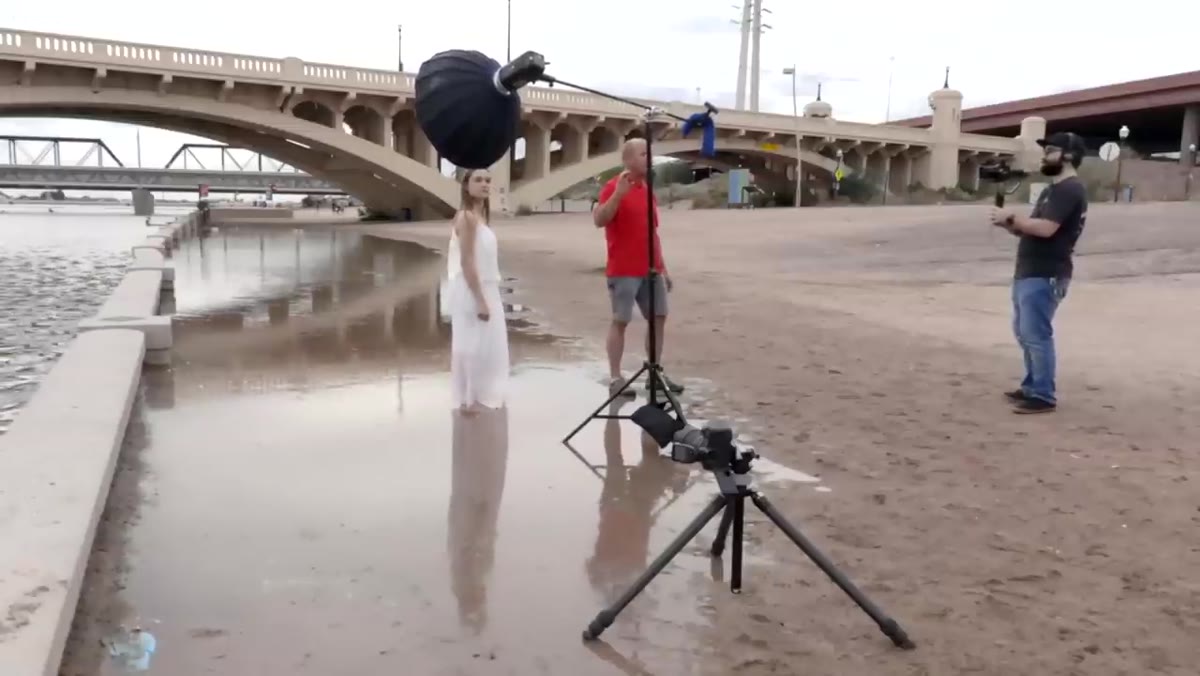
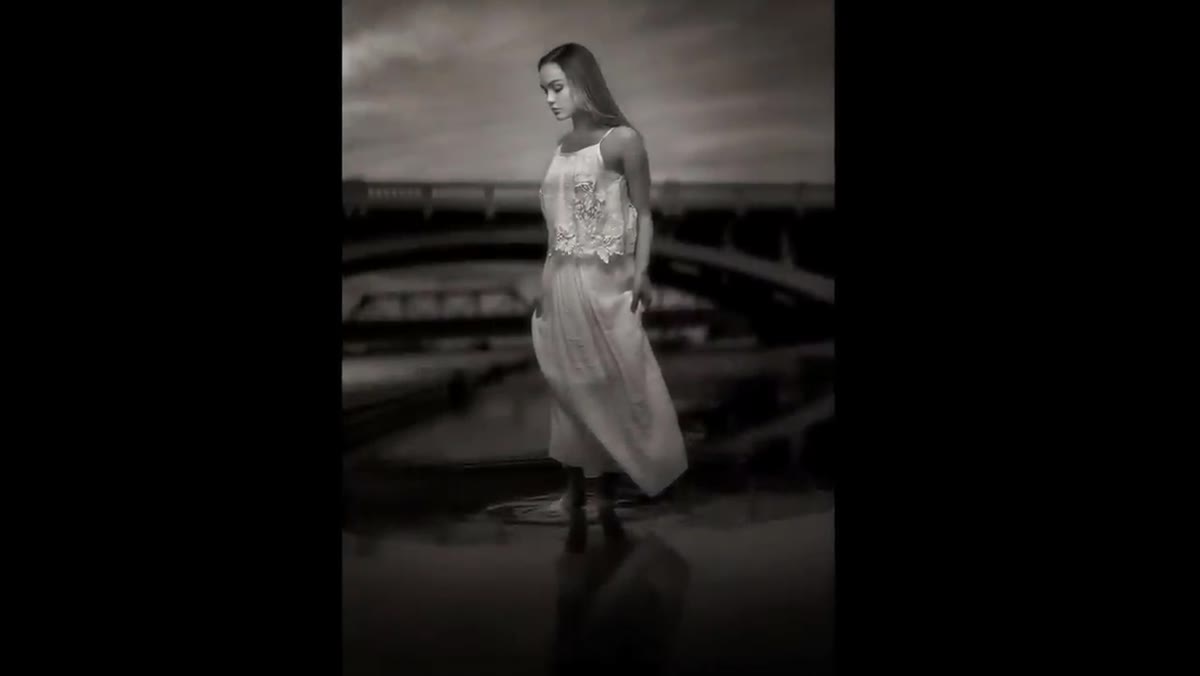
 Low-angle shot framing Haley in mud puddle with open sky background
Joel’s approach in the field follows a logical sequence: find the background and environment you want, then build the light around it. He spotted the mud puddle and immediately recognized the low-angle shooting opportunity it created, that glassy, reflective surface gives the image a quality that no backdrop or Photoshop trick can replicate as naturally.
Low-angle shot framing Haley in mud puddle with open sky background
Joel’s approach in the field follows a logical sequence: find the background and environment you want, then build the light around it. He spotted the mud puddle and immediately recognized the low-angle shooting opportunity it created, that glassy, reflective surface gives the image a quality that no backdrop or Photoshop trick can replicate as naturally.
Start by metering your background without flash active. Dial in your shutter speed and aperture to get the background looking the way you want it, slightly darker than “correct” usually works well for drama. Then bring in your flash and increase power until your subject is properly exposed. HSS does cost you some flash power efficiency, so you may need your strobe closer to the subject or at a higher power setting than you’d use in normal sync mode.
Step 5: Work Your Angles and Let the Environment Do the Heavy Lifting
 Joel shooting from low angle, camera near ground level at puddle
Once your exposure is dialed, Joel’s focus shifts entirely to composition and shooting angle. Going low here was the decision that made the puddle work as a foreground element rather than just wet ground to avoid. The ripples from the model tapping the water added movement and life to what would otherwise be a static scene.
Joel shooting from low angle, camera near ground level at puddle
Once your exposure is dialed, Joel’s focus shifts entirely to composition and shooting angle. Going low here was the decision that made the puddle work as a foreground element rather than just wet ground to avoid. The ripples from the model tapping the water added movement and life to what would otherwise be a static scene.
This is where I’d encourage you to slow down and resist shooting 200 frames immediately. Joel mentions he’s looking for one great shot. Walk around your subject. Get lower. Get higher. Check what’s in the background before you fire. HSS gives you the technical freedom to shoot wide open, but the image still lives or dies on composition.
Step 6: Make Wardrobe and Contrast Decisions Intentionally
 Model in black dress, visible contrast improvement against background
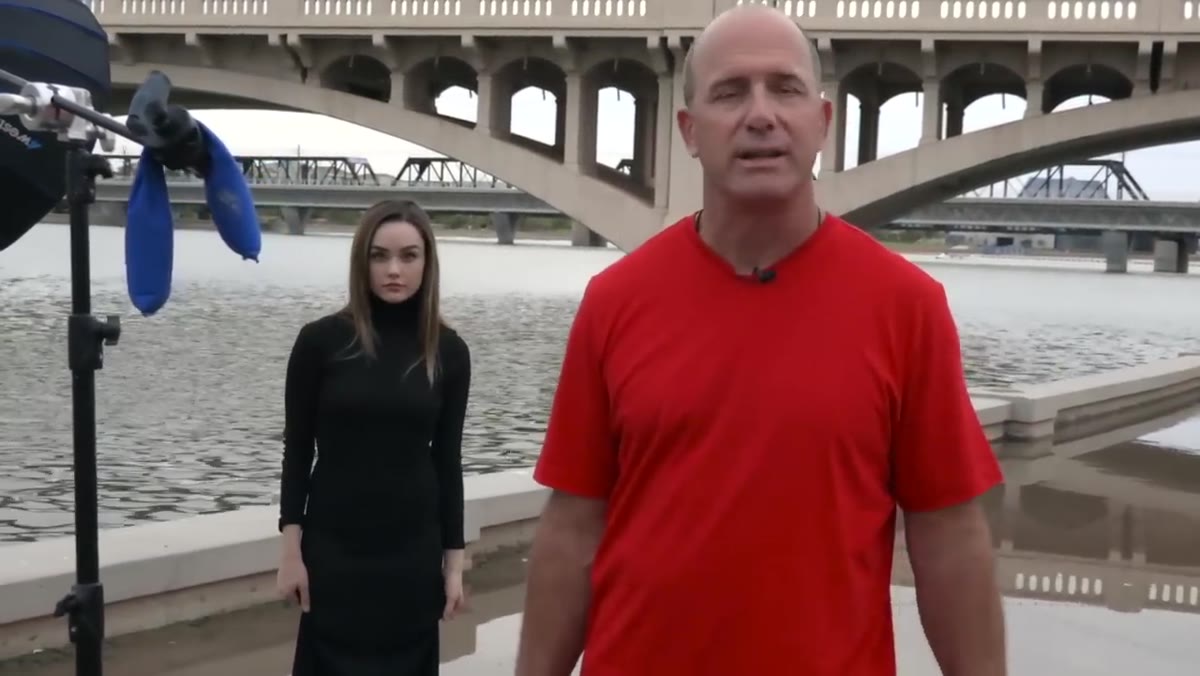
Joel switched his model from a white dress to a black dress mid-shoot, and he credits that change with results that were, in his words, off the charts. The reason is simple contrast logic: a darker garment pulls the viewer’s eye up to the face, while a light garment competes with skin tones and bright backgrounds.
Model in black dress, visible contrast improvement against background
Joel switched his model from a white dress to a black dress mid-shoot, and he credits that change with results that were, in his words, off the charts. The reason is simple contrast logic: a darker garment pulls the viewer’s eye up to the face, while a light garment competes with skin tones and bright backgrounds.
For portrait work specifically, think about what you want the viewer to see first. If the answer is the face, choose wardrobe that frames and recedes. If the environment is the point, lighter, more graphic wardrobe can work with it. Neither is wrong, but it needs to be a decision, not an afterthought.
What I’d Add From My Own Experience
Joel’s setup is polished, but HSS is worth practicing with whatever you have first. I’ve spent Sunday morning photo walks testing HSS concepts with a single speedlight in Seattle’s overcast light, which sounds less dramatic than Arizona sunshine, but diffuse cloudy skies are actually great for learning because the contrast is gentler and the mistakes are more forgiving.
One thing the tutorial doesn’t get into is the power loss that comes with HSS. Depending on your flash system, you can lose one to two stops of effective power when high-speed sync is active. Factor that in when you’re close to the limit of your flash’s range. Moving the light source closer to your subject is almost always more effective than maxing out the power dial.
The single most important thing to take from Joel’s tutorial is that high-speed sync isn’t a special-occasion trick. It’s a fundamental tool that unlocks creative control in any outdoor shooting situation with ambient light. Once you understand that the aperture you want and the flash you need are no longer in conflict, you start seeing locations differently.
Watch the full tutorial on YouTube to see Joel’s real-time decision-making in the field. Watching someone problem-solve on location, mud puddles and jet noise included, teaches things that a polished studio demo never quite can.
Comments
Leave a Comment