
Every Sunday morning I take a photo walk around Seattle, and for a long time, outdoor video was my nemesis. I’d set up a beautiful wide-open shot near the water, soft background blur, gorgeous light coming through the trees, and then watch the footage back and cringe. Jittery, overexposed, nothing like what I saw through the viewfinder. I’d bump my shutter speed to compensate for the brightness and ruin the cinematic motion quality entirely. It took me longer than I’d like to admit to understand that the problem wasn’t my camera or my settings. It was the light itself, and I needed a physical tool to manage it.
In this Peter McKinnon tutorial, he breaks down not just what a variable neutral density filter does, but why the quality of the filter matters just as much as having one at all. He also walks through the specs on his own collaboration with PolarPro, which gives a useful framework for understanding what to look for in any variable ND on the market. Watch the full tutorial on YouTube if you want to see the promo footage and the filter up close. But if you want to understand the concepts well enough to apply them today, keep reading.
Step 1: Understand Why Outdoor Video Breaks Your Exposure Triangle
 Wide open aperture explained with lens letting in too much light
When you shoot video outdoors with a wide aperture like f/1.8 or f/2.8, your lens is pulling in a tremendous amount of light. In normal photography, you’d just raise your shutter speed to compensate. But video has a rule that still trips up a lot of people: your shutter speed should stay at roughly double your frame rate. Shooting at 24fps? Keep your shutter at 1/50. Shooting at 60fps? Stay near 1/120. This “180-degree shutter rule” is what gives footage that natural, film-like motion blur. The moment you start cranking your shutter speed up to handle bright outdoor light, your footage gets that stuttery, over-sharp look that instantly reads as amateur.
Wide open aperture explained with lens letting in too much light
When you shoot video outdoors with a wide aperture like f/1.8 or f/2.8, your lens is pulling in a tremendous amount of light. In normal photography, you’d just raise your shutter speed to compensate. But video has a rule that still trips up a lot of people: your shutter speed should stay at roughly double your frame rate. Shooting at 24fps? Keep your shutter at 1/50. Shooting at 60fps? Stay near 1/120. This “180-degree shutter rule” is what gives footage that natural, film-like motion blur. The moment you start cranking your shutter speed up to handle bright outdoor light, your footage gets that stuttery, over-sharp look that instantly reads as amateur.
So you’re stuck. You want the shallow depth of field that comes from shooting wide open, but you can’t raise your shutter speed to manage the light without killing the cinematic quality. That’s the exact problem a neutral density filter solves.
Step 2: Learn What an ND Filter Actually Does
 ND filter described as two opposing polarizers controlling light
A neutral density filter is essentially a piece of darkened optical glass that sits in front of your lens and reduces the amount of light entering the camera. Think of it like sunglasses for your lens. It doesn’t affect color or sharpness (when it’s a good one). It just dims the scene so you can maintain your wide aperture and keep your shutter speed locked at the right setting for smooth motion.
ND filter described as two opposing polarizers controlling light
A neutral density filter is essentially a piece of darkened optical glass that sits in front of your lens and reduces the amount of light entering the camera. Think of it like sunglasses for your lens. It doesn’t affect color or sharpness (when it’s a good one). It just dims the scene so you can maintain your wide aperture and keep your shutter speed locked at the right setting for smooth motion.
A variable ND filter takes this a step further by using two polarizing elements that rotate against each other. As you turn the outer ring, those two polarizers work in opposition to block varying amounts of light. This gives you a range of light reduction in a single filter, instead of having to carry multiple fixed ND filters and swap them out as lighting conditions change.
Step 3: Know the “X Pattern” Problem with Cheap Variable NDs
 Cross-polarization X pattern appearing when filter pushed too far
Here’s the catch with variable ND filters, and it’s the reason a lot of photographers write them off entirely. When you rotate the filter too far toward maximum light reduction, the two polarizing elements start to interfere with each other in a way that creates a dark X-shaped pattern across your frame. This is called cross-polarization, and it completely ruins the shot. It’s not subtle. It’s a big dark smear across your image that no amount of editing will fix.
Cross-polarization X pattern appearing when filter pushed too far
Here’s the catch with variable ND filters, and it’s the reason a lot of photographers write them off entirely. When you rotate the filter too far toward maximum light reduction, the two polarizing elements start to interfere with each other in a way that creates a dark X-shaped pattern across your frame. This is called cross-polarization, and it completely ruins the shot. It’s not subtle. It’s a big dark smear across your image that no amount of editing will fix.
This happens because cheap variable NDs have a wide rotation range with no hard stops. You spin past the usable zone without realizing it, and suddenly your footage looks like something went wrong with the lens. The solution is to use a filter that has defined stop ranges built in, so you physically cannot rotate into that cross-polarization zone by accident. That’s the design principle McKinnon highlights as the key innovation in the PolarPro collaboration.
Step 4: Choose the Right Stop Range for Your Shooting Conditions
 Two filter options shown: 2 to 5 stop and 6 to 9 stop range
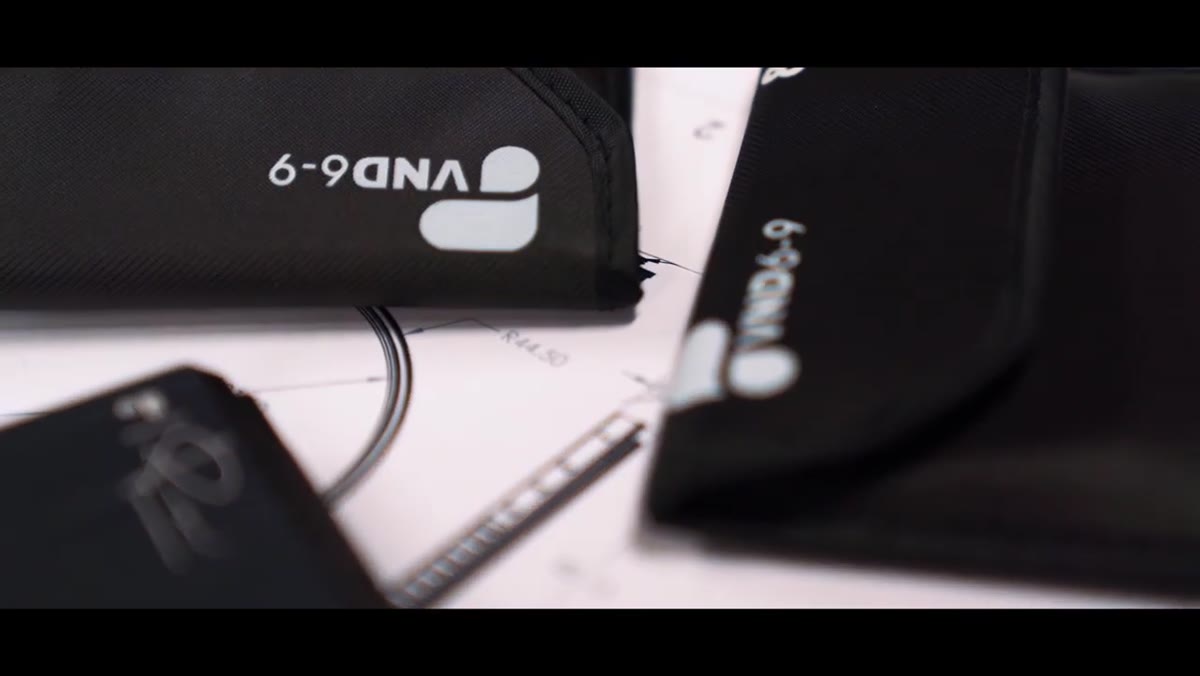
Variable ND filters are categorized by “stops,” which refers to how much light they block. One stop cuts light in half. Two stops cuts it to a quarter, and so on. McKinnon’s collaboration with PolarPro comes in two distinct ranges: a 2-to-5 stop version and a 6-to-9 stop version. Rather than trying to cover every condition in one filter (which is often what causes the cross-polarization problem), each version covers a specific range and nothing beyond it.
Two filter options shown: 2 to 5 stop and 6 to 9 stop range
Variable ND filters are categorized by “stops,” which refers to how much light they block. One stop cuts light in half. Two stops cuts it to a quarter, and so on. McKinnon’s collaboration with PolarPro comes in two distinct ranges: a 2-to-5 stop version and a 6-to-9 stop version. Rather than trying to cover every condition in one filter (which is often what causes the cross-polarization problem), each version covers a specific range and nothing beyond it.
For most outdoor shooting in open shade or during golden hour, a 2-to-5 stop filter is enough. For shooting in direct midday sun with a fast lens wide open, you’ll want 6-to-9 stops. Having both on hand and choosing based on conditions is a much more reliable approach than spinning a single all-purpose filter and guessing where the danger zone starts.
Step 5: Prioritize Glass Quality, Not Just the Filter Mechanism
 Quartz glass elements described as optically pristine and low refractive index
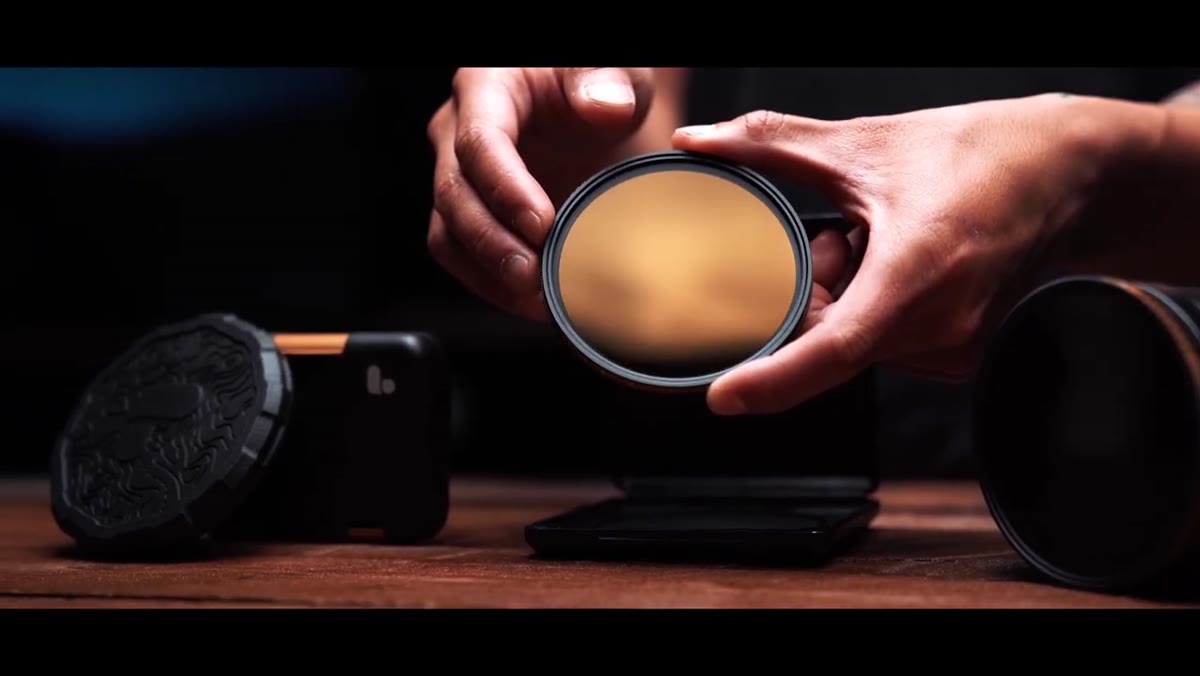
The rotating mechanism of a variable ND is only half the story. The glass itself matters enormously for image quality. Many budget variable NDs use standard crown glass that’s melted down and reformed, which changes its molecular structure and introduces subtle color casts, soft spots, or reduced contrast. McKinnon explains that PolarPro uses fused quartz cut from raw blocks, which preserves the optical properties of the glass without altering it in manufacturing.
Quartz glass elements described as optically pristine and low refractive index
The rotating mechanism of a variable ND is only half the story. The glass itself matters enormously for image quality. Many budget variable NDs use standard crown glass that’s melted down and reformed, which changes its molecular structure and introduces subtle color casts, soft spots, or reduced contrast. McKinnon explains that PolarPro uses fused quartz cut from raw blocks, which preserves the optical properties of the glass without altering it in manufacturing.
In practical terms, this means less color shift when you’re shooting, which matters a lot if you’re color grading your footage. Even as a photographer who still pulls out my phone sometimes just to prove gear isn’t everything, I’ll say this: the glass on your filter is part of your optical chain. A bad filter can undo the quality of an excellent lens.
A Note From My Own Shooting Experience
I spent an entire week on a trip to Iceland trying to nail waterfall footage without a proper ND filter, compensating with every other setting I could think of. The footage was a disaster. When I finally invested in a quality variable ND with defined stop limits, the difference wasn’t subtle. It wasn’t even about the cinematic look specifically. It was the freedom to stop fighting my exposure and start thinking about composition and movement again. That’s what the right tool does. It removes a problem from your mental checklist so you can focus on the actual image.
If you’re just getting into video or you’ve been frustrated by overexposed outdoor footage, a variable ND in the 2-to-5 stop range is the single most practical purchase you can make after your camera and lens. Just make sure it has stop indicators etched in, so you know exactly where you are in the rotation.
The core lesson here is simple: control your light physically before you try to control it digitally. An ND filter is how you do that. Watch the full tutorial on YouTube to see the full breakdown from Peter McKinnon, including the promo footage that shows exactly what this filter looks like in real shooting conditions.
Comments
Leave a Comment