
There’s a particular kind of frustration that comes with knowing your product is excellent but your photos don’t show it. I’ve seen this with so many small business owners I’ve met over the years — talented makers, bakers, and craftspeople who undersell themselves because their photography looks like an afterthought. The good news is that the gap between “embarrassing snapshot” and “wait, is that from a magazine?” is usually a handful of intentional decisions, not a $5,000 camera body.
In this Peter McKinnon tutorial, Watch the full tutorial on YouTube, McKinnon returns to Kudat, a custom hat-making business, six months after giving them their first round of photography feedback. What makes this video genuinely useful is that it’s a before-and-after in real time. You see where they started (kitchen table, back deck, zero intention), and you see where they landed after applying some basic principles. The transformation is real, and the lessons behind it are transferable to almost any product-based small business.
I watched this one twice, because the second viewing is where the actual technique lives. Here’s what I pulled out of it.
Step 1: Audit Your Shooting Space Before You Touch a Camera
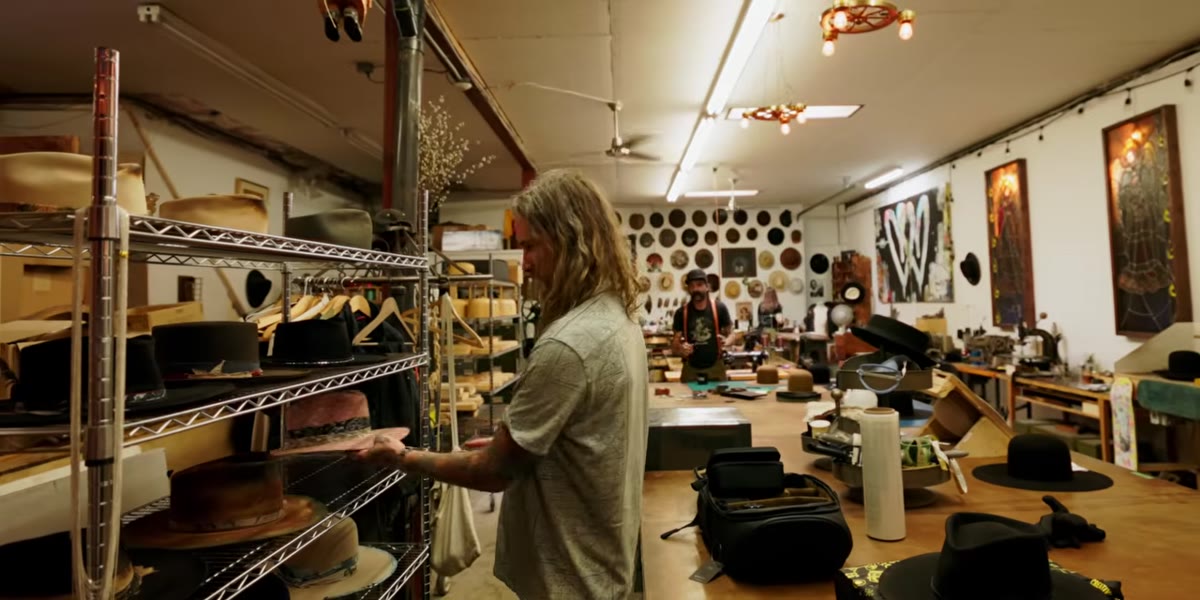
 Jay and Peter discussing the studio setup at Kudat workshop
Before any settings, lenses, or gear upgrades enter the conversation, McKinnon’s first move when he originally visited was to look at how the space was being used. The team at Kudat was shooting in an uncontrolled environment with inconsistent backgrounds and ambient light pulling in from multiple directions. The first fix was almost laughably simple: they reoriented the room, tacked up a black cloth as a backdrop, and placed a single lantern in the background. That’s it. No new gear.
Jay and Peter discussing the studio setup at Kudat workshop
Before any settings, lenses, or gear upgrades enter the conversation, McKinnon’s first move when he originally visited was to look at how the space was being used. The team at Kudat was shooting in an uncontrolled environment with inconsistent backgrounds and ambient light pulling in from multiple directions. The first fix was almost laughably simple: they reoriented the room, tacked up a black cloth as a backdrop, and placed a single lantern in the background. That’s it. No new gear.
If you’re shooting products at home or in a small studio, do this audit yourself before anything else. Walk around your space and look for where light is coming from, what’s visible in the background, and whether the surface your product sits on is adding to or taking away from the image. A controlled, boring background is almost always better than a “natural” one you haven’t thought about.
Step 2: Match Your Prop Volume to the Purpose of the Shot
 Sparse product table setup showing hat with minimal props
One of the sharpest insights in the video comes from how Kudat evolved their approach to props. Early on, the table was loaded with accessories. By the time McKinnon returns, the setup for custom client orders is nearly bare. The reasoning is worth writing down: when you’re revealing a custom product to a specific person for the first time, the product itself is the story. Props compete with that story.
Sparse product table setup showing hat with minimal props
One of the sharpest insights in the video comes from how Kudat evolved their approach to props. Early on, the table was loaded with accessories. By the time McKinnon returns, the setup for custom client orders is nearly bare. The reasoning is worth writing down: when you’re revealing a custom product to a specific person for the first time, the product itself is the story. Props compete with that story.
The rule they landed on is practical. For ready-to-wear drops where they’re creating a lifestyle narrative, props are welcome and even themed (they did a full hot rod concept with nuts and bolts covering the surface). For a client’s one-of-a-kind commission, everything else gets stripped away. Think about whether your props are amplifying the product or just filling space. If you can’t answer clearly, pull them out.
Step 3: Let the Complexity of the Product Determine Your Format
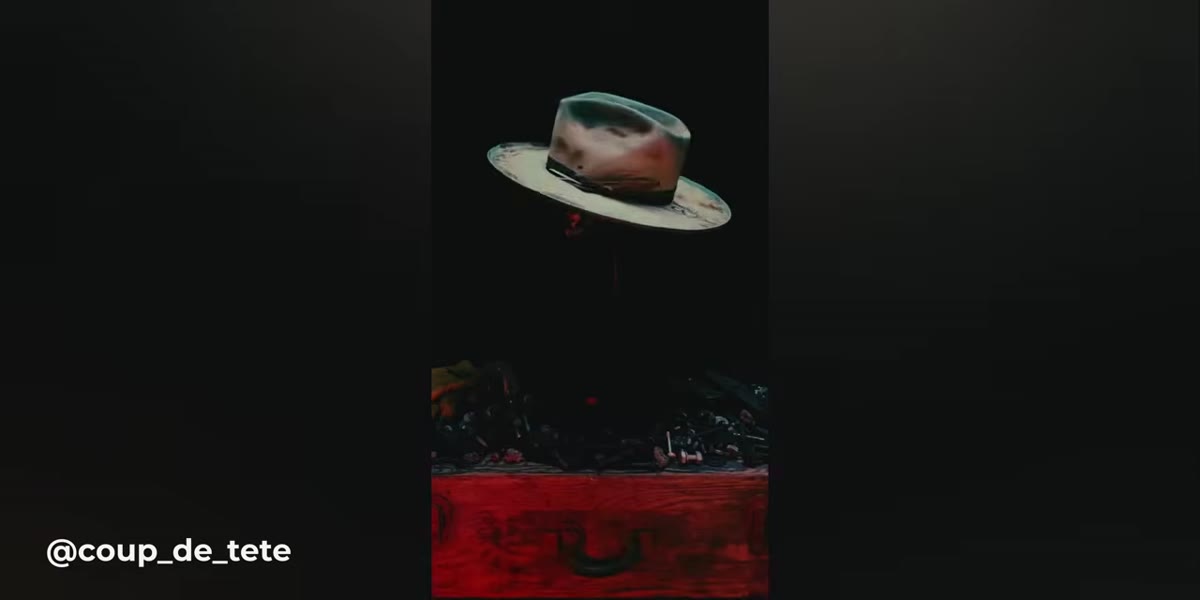 Hat on rotating platform showing 360-degree video approach
Kudat started adding video reels to their client reveals for hats with detailed under-brim carvings and topwork. Still photos can only capture one angle at a time, and when the craftsmanship wraps around the entire object, a single frame undersells it. Their solution was a rotating platform for a 360-degree view delivered as a short video clip.
Hat on rotating platform showing 360-degree video approach
Kudat started adding video reels to their client reveals for hats with detailed under-brim carvings and topwork. Still photos can only capture one angle at a time, and when the craftsmanship wraps around the entire object, a single frame undersells it. Their solution was a rotating platform for a 360-degree view delivered as a short video clip.
This is a principle worth applying broadly. If your product has texture, depth, or detail that matters from multiple angles (jewelry, ceramics, handmade shoes, custom furniture), a short rotation video or a multi-angle sequence does more work than one hero shot. You don’t need a fancy turntable. A lazy Susan from a kitchen store and decent lighting will get you started.
Step 4: Understand That Better Gear Accelerates Progress, It Doesn’t Start It
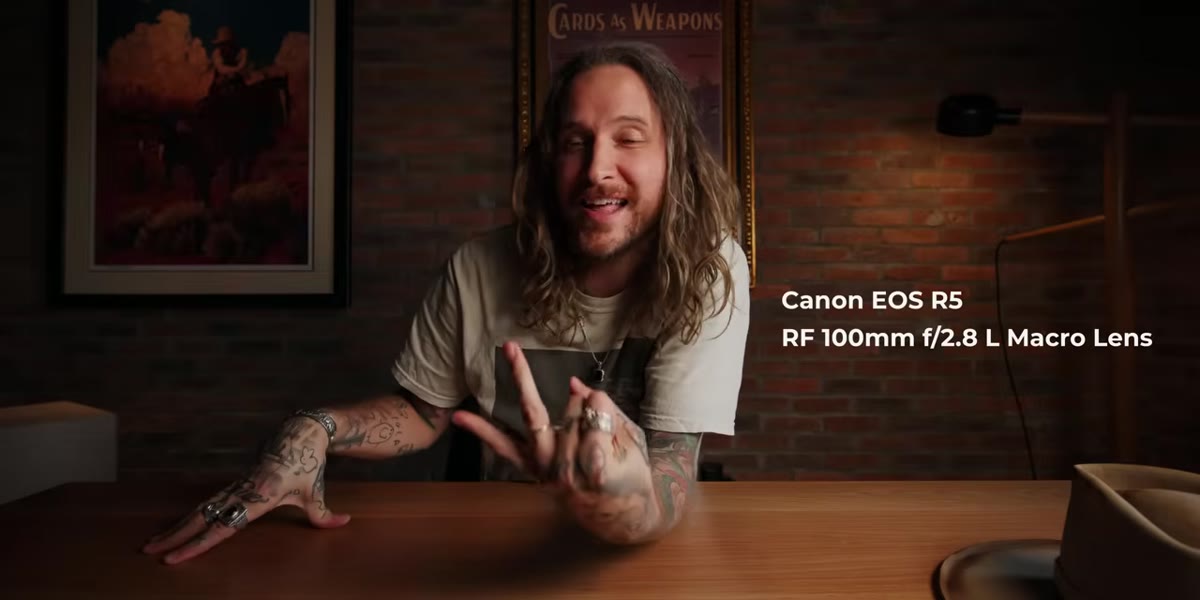 Canon R5, 100mm macro, and 24-70mm lens laid out on table
McKinnon arrives with a Canon R5, a 100mm macro lens, and a 24-70mm zoom, all provided for the Kudat team to level up further. It’s a significant upgrade. But the video makes clear this equipment arrived after the fundamentals were already in place. The team had already fixed their space, simplified their approach, and developed a visual consistency. The gear is a multiplier, not a starting point.
Canon R5, 100mm macro, and 24-70mm lens laid out on table
McKinnon arrives with a Canon R5, a 100mm macro lens, and a 24-70mm zoom, all provided for the Kudat team to level up further. It’s a significant upgrade. But the video makes clear this equipment arrived after the fundamentals were already in place. The team had already fixed their space, simplified their approach, and developed a visual consistency. The gear is a multiplier, not a starting point.
The 100mm macro is specifically worth noting for product photography. It lets you get close enough to fill the frame with detail without distortion, and it creates a natural, pleasing background separation even at moderate distances. If you’re shooting products and you haven’t tried a dedicated macro or a short telephoto, borrow one for a weekend before deciding on your next purchase. The difference in subject isolation alone can transform flat catalog shots into something that actually sells.
Step 5: Scroll Back to Your Worst Work and Use It as a Benchmark
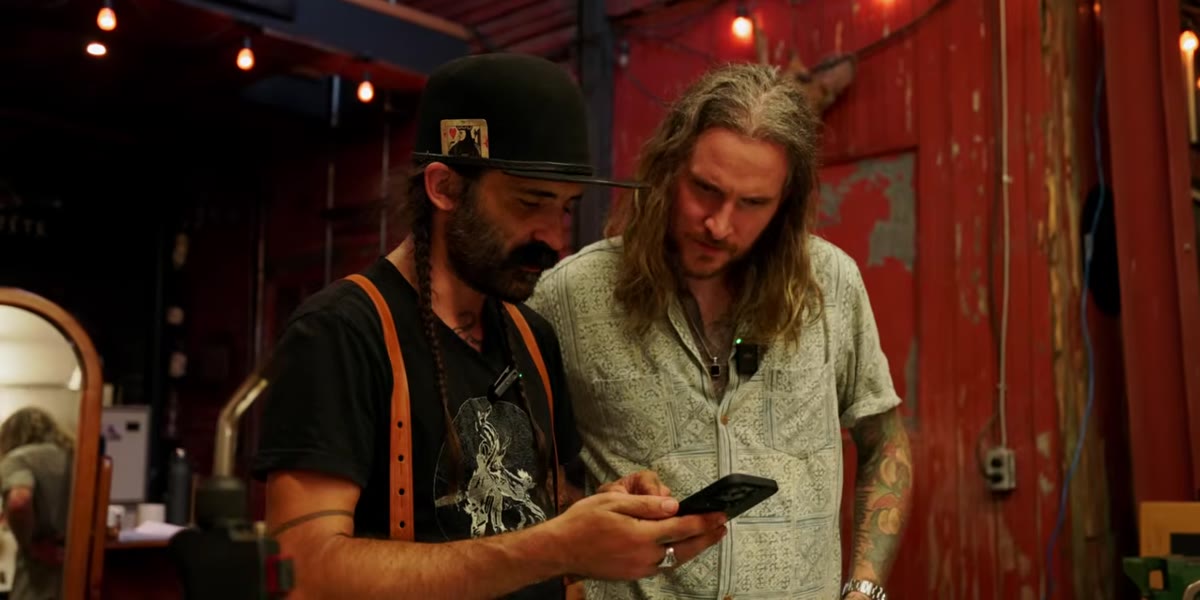 Scrolling through early Kudat Instagram showing kitchen and deck photos
One of the more human moments in the video is when McKinnon and Jay scroll all the way back to the earliest Kudat Instagram posts: hats being made on a back deck, then in a bedroom where the workbench wouldn’t fit, then in a basement. It’s uncomfortable and funny and honest. But there’s a real reason to do this exercise.
Scrolling through early Kudat Instagram showing kitchen and deck photos
One of the more human moments in the video is when McKinnon and Jay scroll all the way back to the earliest Kudat Instagram posts: hats being made on a back deck, then in a bedroom where the workbench wouldn’t fit, then in a basement. It’s uncomfortable and funny and honest. But there’s a real reason to do this exercise.
Looking at your oldest work tells you specifically what you’ve fixed and what you haven’t. It also shows you that progress that felt invisible in the moment was actually significant. I do a version of this every year, pulling up photos from three or four years ago and comparing them to current work. It recalibrates your sense of how far you’ve come, which matters when you’re in the middle of a growth plateau and everything feels stagnant.
What I’d Add From My Own Experience
The piece McKinnon doesn’t spell out explicitly, but that lives underneath everything in this video, is consistency as a product in itself. When Kudat sends a photo to a client, that photo now does sales work beyond the single transaction. The client shares it. They show it to people. A clean, well-lit product photo signals that you take your work seriously, which tells buyers something about how you’ll treat their order.
I’ve watched this play out with photographers I’ve mentored who shoot for small makers and artisans. The businesses that invest in even a basic, repeatable photo setup see compounding returns. One good image becomes the template. The template becomes the brand expectation. The expectation builds trust before a single word is exchanged.
You don’t need a Canon R5 and a sponsored lens kit to get there. You need a consistent space, a clear background, and a deliberate choice about what belongs in the frame. That’s the whole game.
The single most important takeaway from this tutorial is this: fix your environment before you fix your gear. A disciplined, minimal shooting setup with whatever camera you have will outperform an expensive camera in a cluttered, unconsidered space every single time. Watch the full tutorial on YouTube to see the before-and-after side by side. That visual alone is worth the watch.
Comments (2)
This saved me so much time on my last edit. Wish I'd found this sooner.
Clear and practical. No fluff. Appreciate that.
Leave a Comment