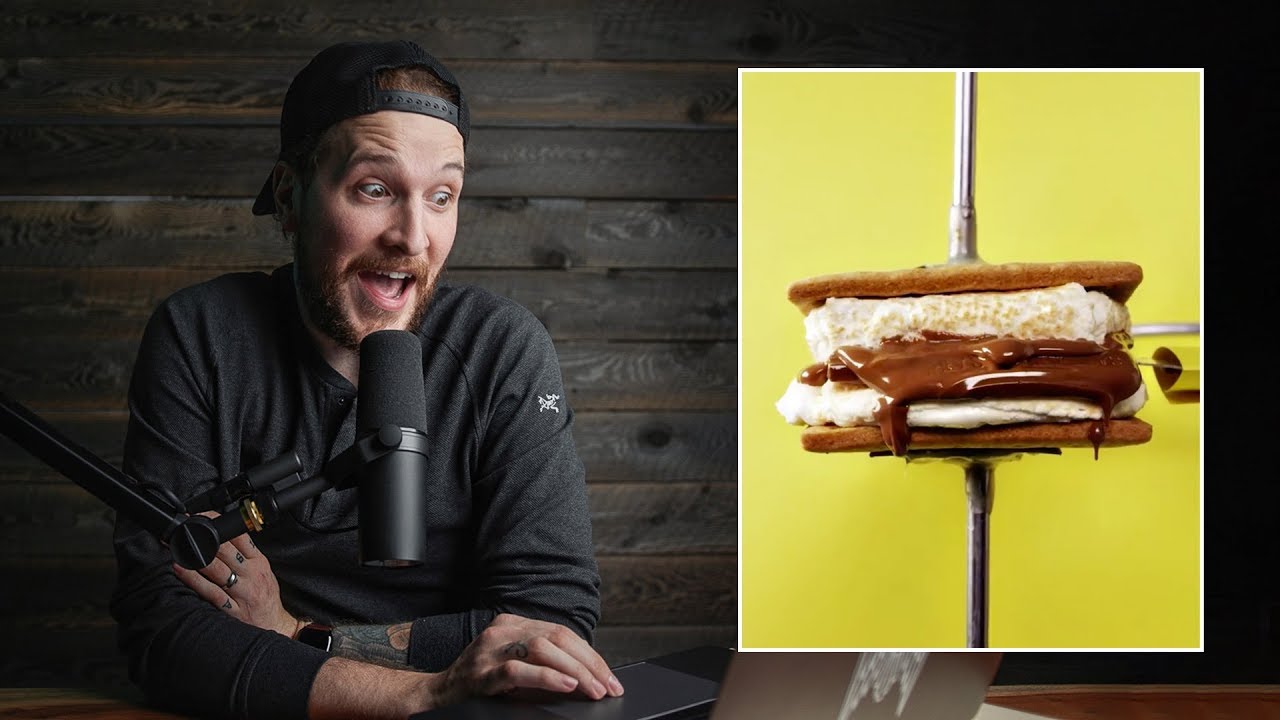
There’s a specific kind of humbling that happens when you’ve been shooting for years, feel reasonably confident in your craft, and then stumble onto a behind-the-scenes clip that makes you realize you’ve been playing it very safe. That happened to me on a Tuesday morning with coffee going cold on my desk. I fell down a rabbit hole of Hollywood production tricks and ended up watching Peter McKinnon react to a Reddit thread full of them. If you haven’t seen it yet, Watch the full tutorial on YouTube before or after reading this, because his reactions alone are worth it.
What I want to do here is pull out the actual techniques hiding inside that video, the ones that translate directly into how I think about commercial photography and creative shoots. Because underneath all the gasping and rewinding, this video is quietly a masterclass in practical problem-solving on set. Every single trick shown comes down to one idea: the camera only sees what you show it. Everything else is a prop, a plan, and a little bit of nerve.
Here’s what I took away, broken into steps you can actually apply.
Step 1: Build the Rig for the Shot, Then Remove the Evidence
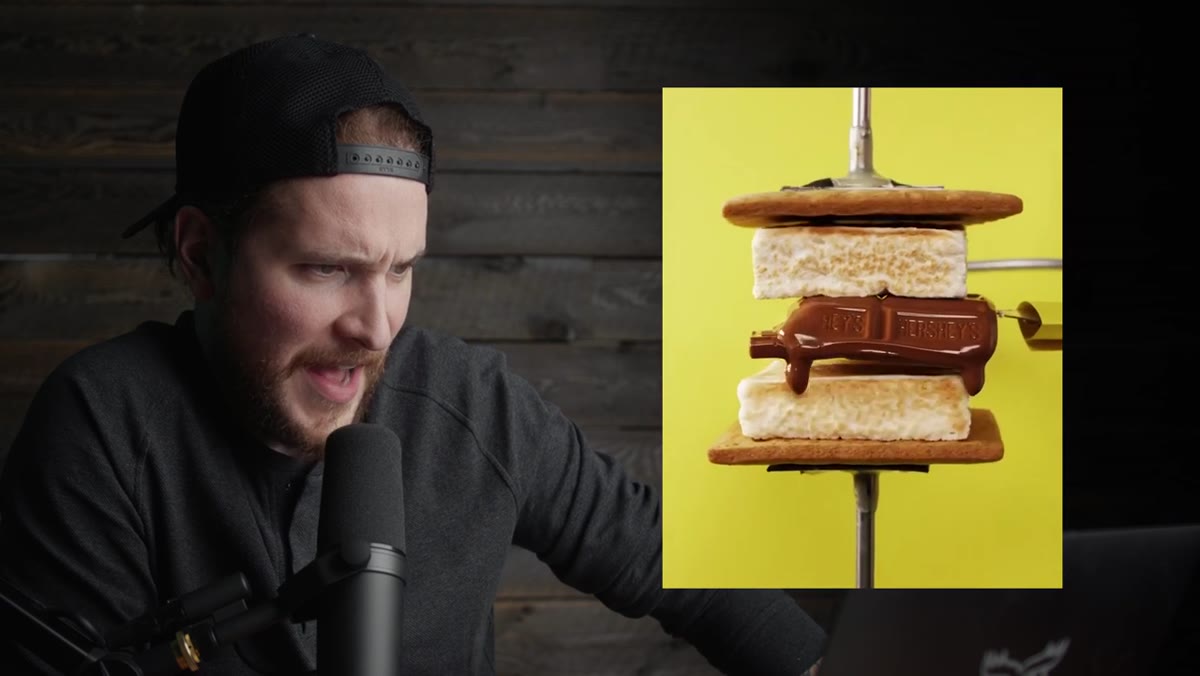 Industrial press holding a Hershey’s s’more together on set
This is the Hershey’s ad segment, and it stopped me cold. The production team built an industrial press to perfectly smush a s’more together on camera, with crackers glued to the top plate so they’d stay in frame. After the shot, the press was removed in post, leaving nothing but a perfectly formed, floating-looking confection.
The lesson here isn’t “build an industrial press.” It’s that you are allowed to engineer your set for the single frame you need. If a product isn’t staying where you need it, build something to hold it and plan to remove it. In food photography especially, the gap between “it looks fine” and “it looks incredible” is usually a hidden support structure nobody ever sees.
Step 2: Plan Continuous Shots by Choreographing Everything Off-Camera
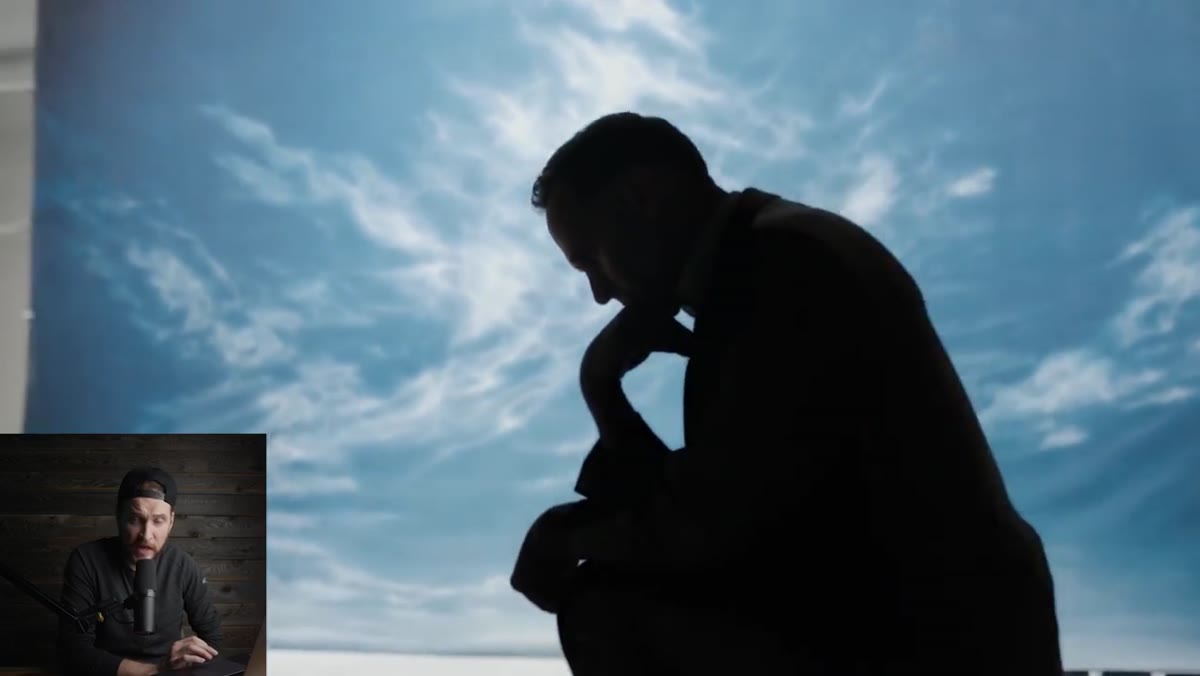 Single continuous shot recreating multiple famous movie posters
The one-shot movie poster recreation is one of the more mind-bending things in this video. What looks like separate, CGI-heavy scenes, Forrest Gump, Mad Men, and others, is actually one continuous camera roll. The lighting, wardrobe, and props all change between “scenes,” but the camera never cuts.
The practical takeaway for photographers is this: if you’re doing any kind of portfolio work, editorial series, or social content that spans multiple “looks,” ask yourself whether a continuous or semi-continuous approach would make the final product feel more cohesive. It forces your whole team to think in transitions rather than setups, and that discipline usually shows up in the final work.
Step 3: Use Hidden Costume Pieces to Cheat Continuity
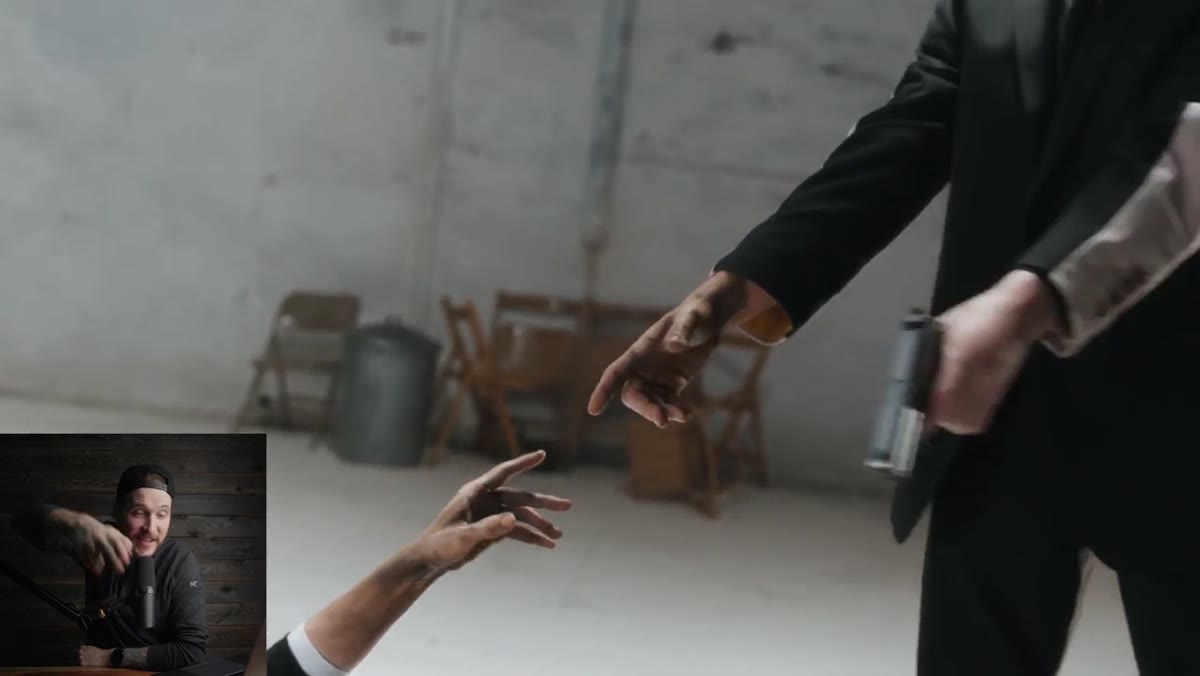 Jacket with two halves from different costumes for a one-shot scene
One detail Peter zeroes in on is a jacket that is actually two different jackets sewn together. The front half matches one character’s look, the back half matches another. It’s a costume trick that only works because the camera can’t see both sides at once.
This one has a direct photography parallel: styling for the frame, not for the full 360. I’ve started prepping shoots where the “hero side” of a product, a bag, a piece of jewelry, a plate of food, is immaculate, and the back is held together with tape and prayer. The camera doesn’t care what it can’t see. Your styling budget and your time should go where the lens is pointing.
Step 4: Use Physical Camera Rigging Instead of Expensive Stabilization Gear
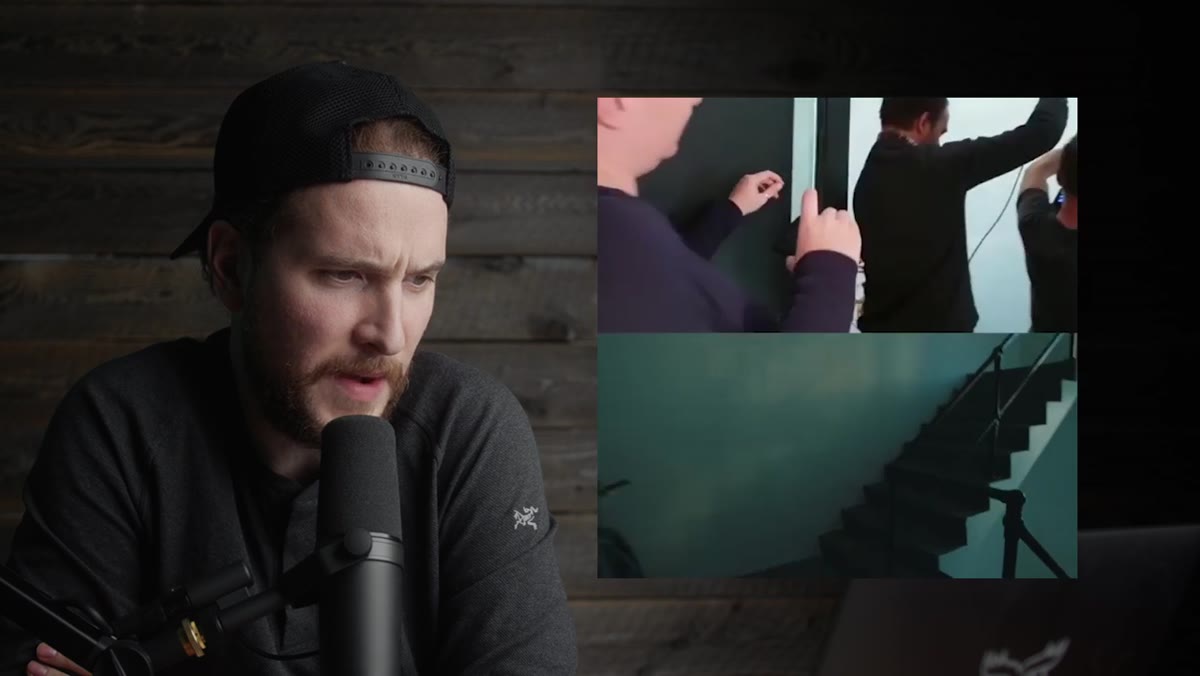 Camera rig lowered down stairs on a rope for a tracking shot
Here’s the one that made me stop and text my husband a photo of the screen. A camera follows an actor down a staircase in one smooth shot, and behind the scenes it turns out the entire rig is simply being lowered on a rope by two people. No dolly track, no fancy motorized slider.
Smooth, controlled movement doesn’t require expensive equipment. It requires a plan and a rehearsal. I’ve started applying this thinking to phone video work on travel shoots, where I’ll use a simple counterweight or even a friend holding one end of a taught string to create resistance and control. The result looks deliberate. That’s all you’re after.
Step 5: Use In-Camera Transitions to Connect Two Completely Different Scenes
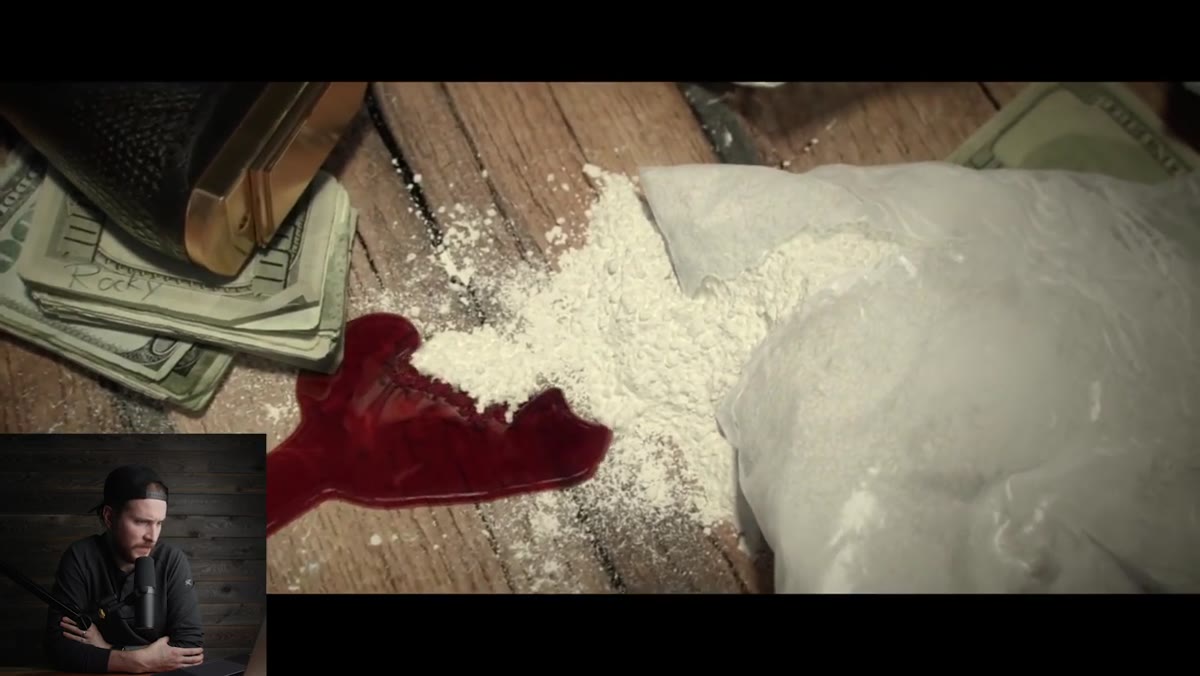 Blood soaking into cocaine in-camera transitions to mud texture
This one genuinely made me rewind. A macro shot of liquid soaking into a white powder transitions seamlessly into the texture of wet mud. It’s done in-camera by matching the visual texture at the point of transition so precisely that your eye can’t find the seam.
For photographers doing any kind of composite or sequence work, this is a reminder to look for your transition point before you shoot it, not in post. When two images share a dominant texture, color, or shape at their edges, the brain connects them. Build that connection intentionally on set and you’ll spend a fraction of the time in editing.
Step 6: Use Simple Props to Solve “Gravity Problems” in Product Shots
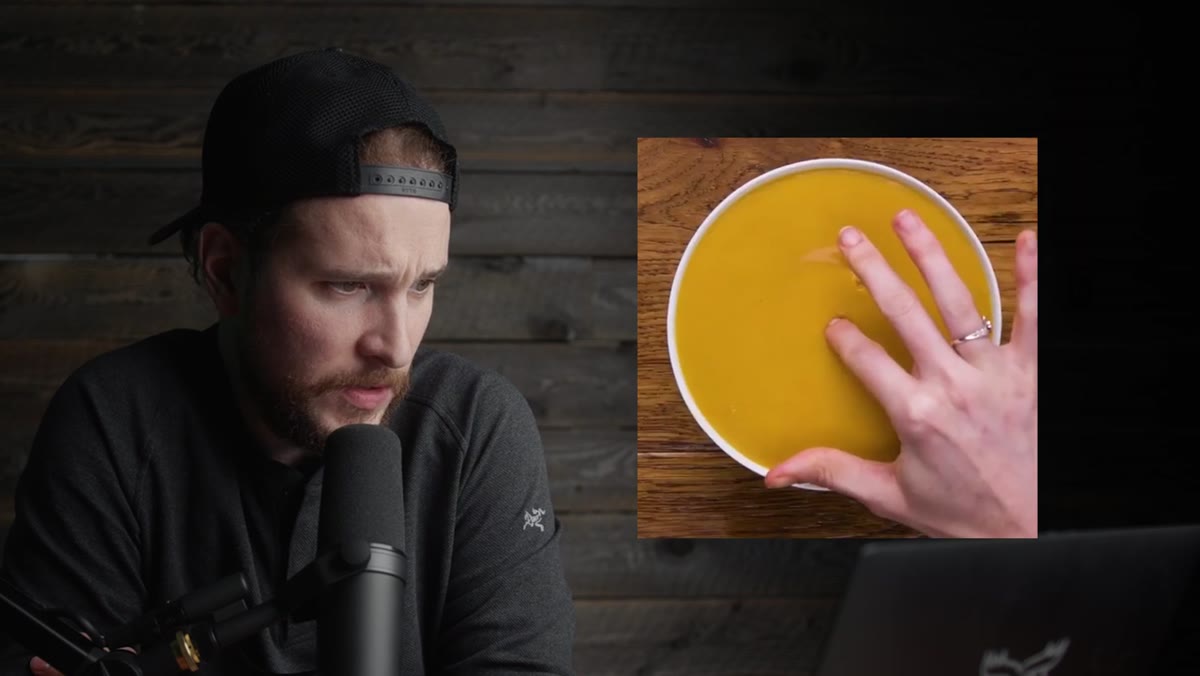 Ramekin placed inside a bowl to elevate food in liquid for a Super Bowl ad
The last segment in the video covers a food photography trick so simple it’s almost annoying. A small ramekin placed inside a larger bowl lifts solid food elements above the liquid surface so they don’t sink before you can get the shot.
I’ve been doing a version of this for years with a folded paper towel under poached eggs, but seeing it called out explicitly reminded me to treat every product shoot like a problem that needs a physical solution first. Post can fix color. Post can fix exposure. Post cannot fix a sinking crouton.
What I’d Add From My Own Experience
The through-line in everything Peter reacts to in this video is pre-visualization taken seriously. Every single trick shown was clearly planned before anyone touched a camera. The press was built. The jacket was sewn. The rope rig was tested. These aren’t happy accidents, they’re the result of someone sitting with a storyboard and asking “what physical thing do I need to build to make this frame true?”
I started keeping a “solutions list” on my phone, a running note of physical rigging ideas, prop hacks, and staging tricks I want to try. Not a mood board, not Pinterest saves. Just a plain text list of problems I’ve solved or want to solve. It’s the most useful thing on my phone, next to the camera app.
The single most important takeaway from this whole video is that the camera is a dumb box that records whatever is in front of it. Your job is to build the right thing in front of it, not to fix a bad setup later. Plan for the frame, not for the full picture.
Watch the full tutorial on YouTube and pay attention to Peter’s instinct to immediately ask “how would I do that?” That’s the question worth keeping.
Comments
Leave a Comment