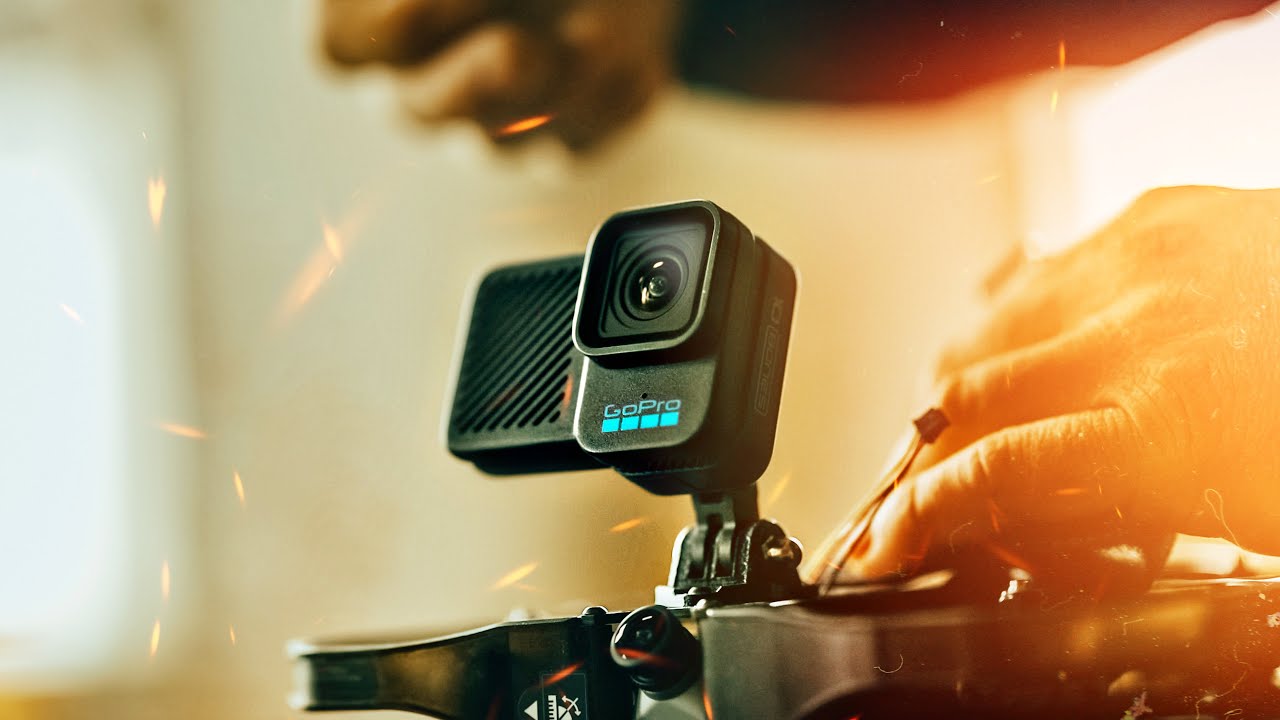
I have a confession: I used to think FPV drone footage was just chaotic video of things flying very fast and very close to other things. Then I started paying real attention to the skill behind it, and now I can’t look away. The problem I kept running into when researching FPV setups for travel shoots was weight. Specifically, how to get good camera quality on a drone that stays light enough to fly legally without a commercial license. That’s the exact problem this camera is designed to solve.
In this Peter McKinnon tutorial, McKinnon drives a new GoPro product called Bones out to a friend and experienced FPV pilot, Kristoff, to get a hands-on look at how it actually fits into a real FPV workflow. Watch the full tutorial on YouTube before diving in if you want the visual alongside this breakdown. What I love about McKinnon’s approach here is that he’s genuinely upfront about being out of his depth with FPV flying, so he brings in someone who isn’t. It’s an honest look at a niche piece of gear, and there’s a lot to learn from it even if you never plan to fly a drone in your life.
Step 1: Understand What “Bones” Actually Means
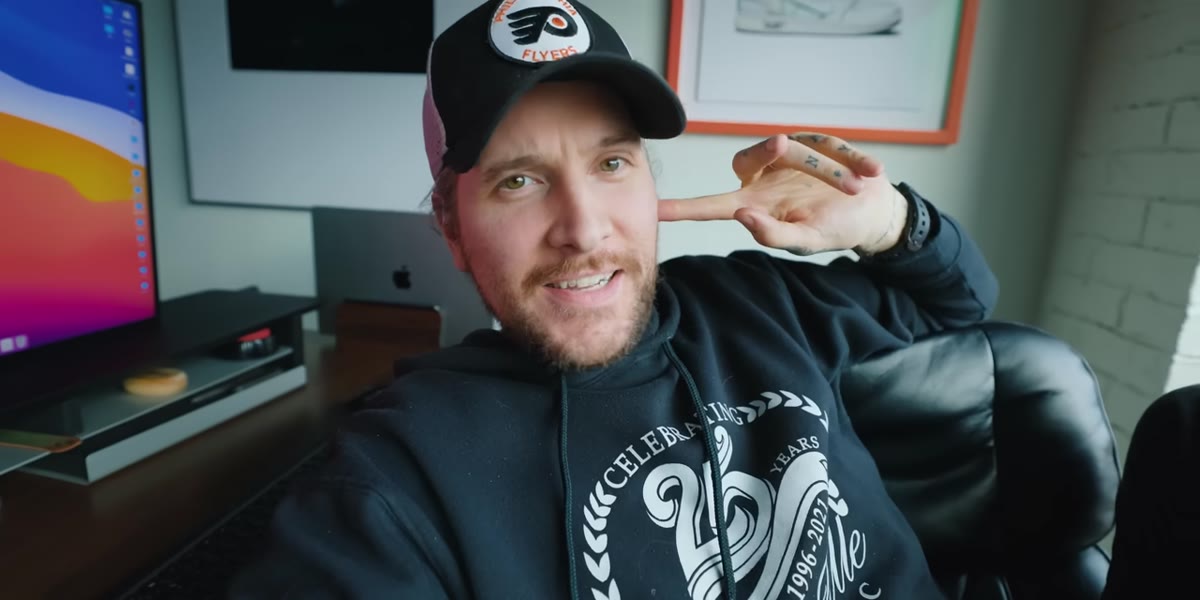 McKinnon holding the Bones camera, comparing it to a standard GoPro
GoPro’s Bones is not a new camera in the traditional sense. It is the internal hardware of a GoPro, stripped of its outer housing, lens cover, battery, and most of its protective casing. What you are left with is the core image-capture board and lens assembly. The name makes sense once you see it: it really does look like the skeleton of a regular GoPro.
McKinnon holding the Bones camera, comparing it to a standard GoPro
GoPro’s Bones is not a new camera in the traditional sense. It is the internal hardware of a GoPro, stripped of its outer housing, lens cover, battery, and most of its protective casing. What you are left with is the core image-capture board and lens assembly. The name makes sense once you see it: it really does look like the skeleton of a regular GoPro.
The key reason this exists is weight reduction. A standard GoPro Hero 10 weighs around 153 grams. The Bones version brings that down to approximately 54 grams. For most camera work, that difference is irrelevant. For FPV drone work, it is the entire conversation.
Step 2: Know the Legal Weight Threshold That Makes This Relevant
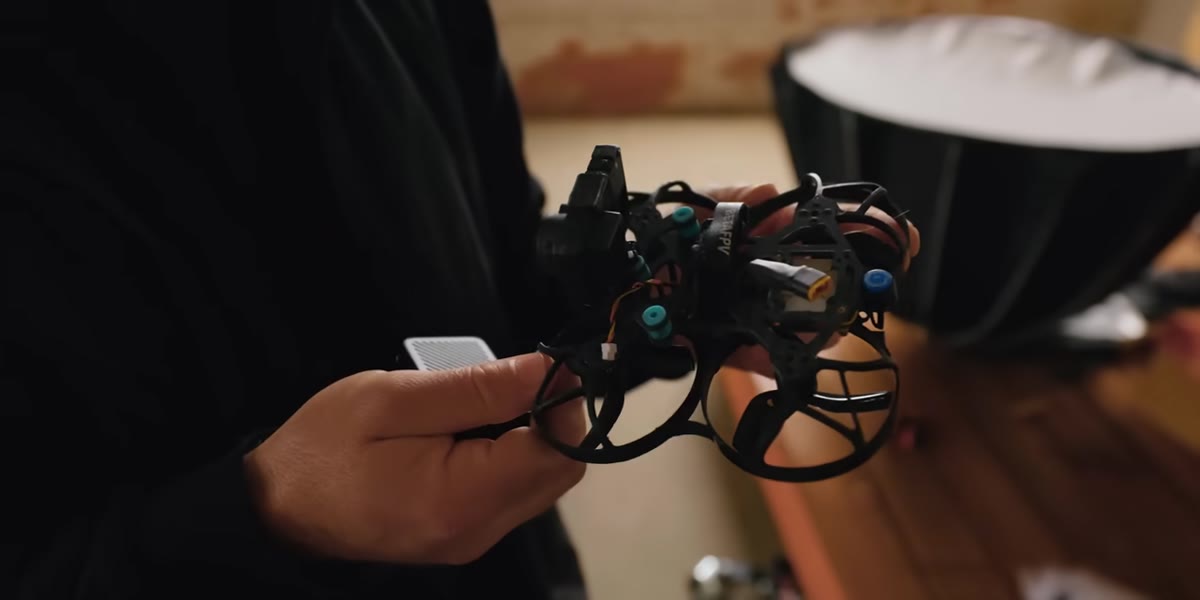 FPV drone on the table showing combined setup weight
In many countries, drones that weigh under 250 grams fall into a lighter regulatory category. In the U.S. and Canada, for example, drones below that threshold have fewer restrictions on where and how you can fly them recreationally. When you mount a full-size action camera onto a small FPV drone, you can easily push past that limit. Mounting Bones instead keeps the total combined weight of the drone-plus-camera rig around 230 grams, which keeps you in the clear.
FPV drone on the table showing combined setup weight
In many countries, drones that weigh under 250 grams fall into a lighter regulatory category. In the U.S. and Canada, for example, drones below that threshold have fewer restrictions on where and how you can fly them recreationally. When you mount a full-size action camera onto a small FPV drone, you can easily push past that limit. Mounting Bones instead keeps the total combined weight of the drone-plus-camera rig around 230 grams, which keeps you in the clear.
This is not a workaround or a gray area. It is the exact use case GoPro built the product for. If you are planning any kind of travel content that involves drone footage in places with strict airspace regulations, this weight math matters more than almost any other spec on the sheet.
Step 3: Recognize That This Camera Requires Soldering to Power It
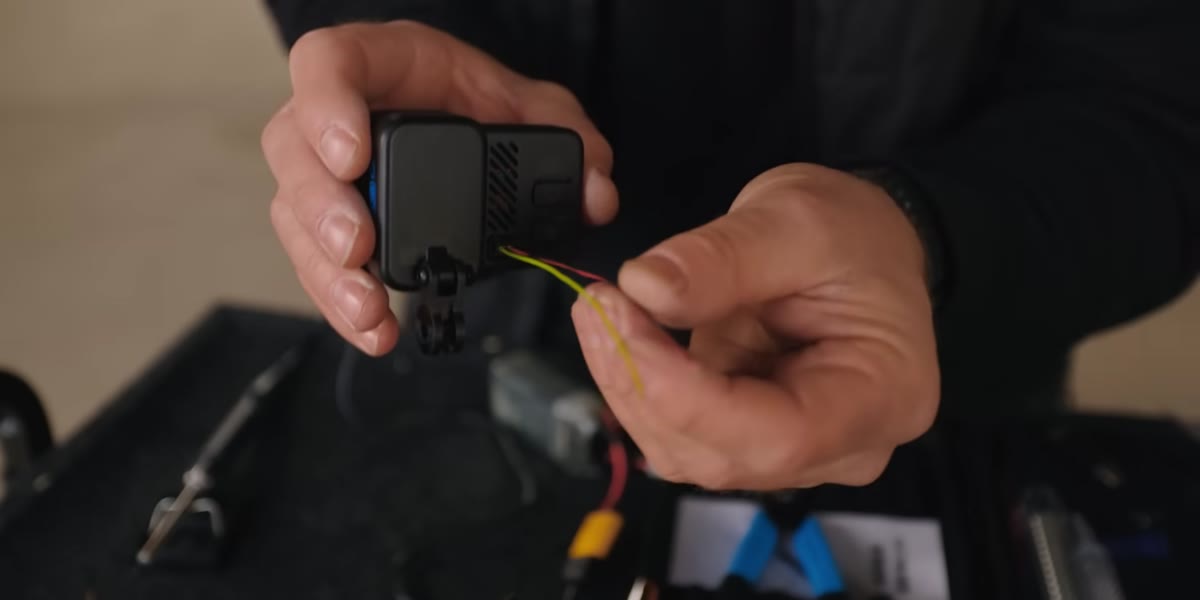 Kristoff soldering power leads from the drone battery to the Bones board
Here is where Bones makes its audience very clear. The camera does not have its own battery. It draws power directly from the drone’s battery through a wired connection, and making that connection requires soldering three wires to three contact points on the camera’s circuit board. This is not plug-and-play.
Kristoff soldering power leads from the drone battery to the Bones board
Here is where Bones makes its audience very clear. The camera does not have its own battery. It draws power directly from the drone’s battery through a wired connection, and making that connection requires soldering three wires to three contact points on the camera’s circuit board. This is not plug-and-play.
If you have never held a soldering iron, that alone might be enough to tell you whether this product is meant for you right now. McKinnon makes this point with a kind of cheerful self-awareness: he has never soldered anything, so he was never going to be the right person to get this camera airborne. That honesty is useful. Knowing who a tool is NOT for saves you time and money.
Step 4: Understand How It Mounts to the Drone Frame
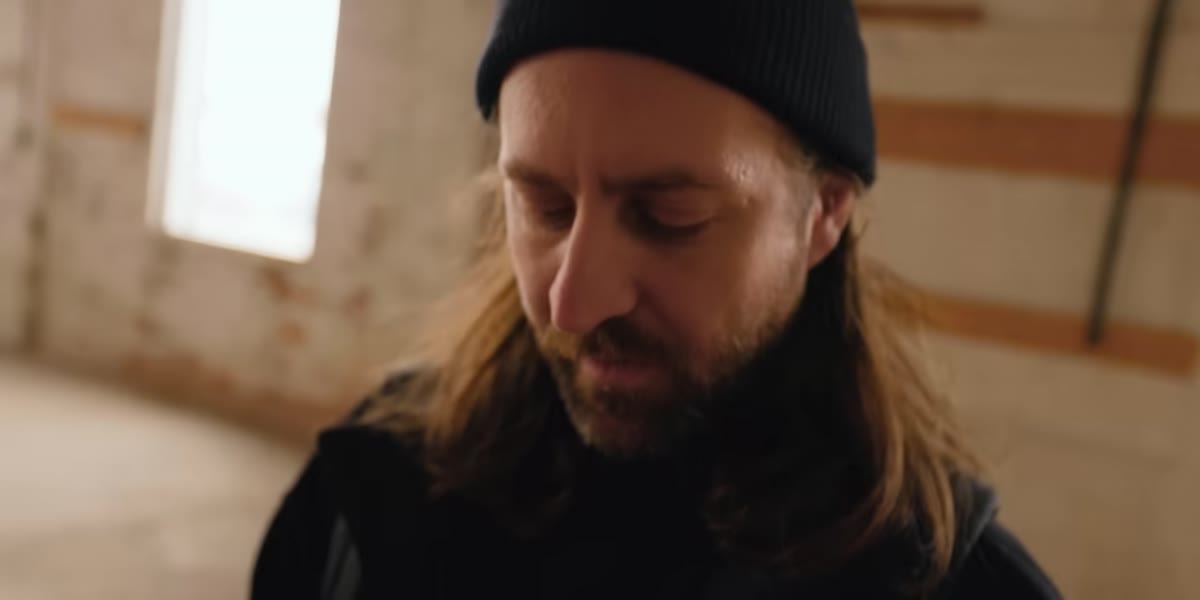 Bones camera clicking onto the drone frame mount
The Bones camera clips directly onto the drone frame using a small mounting bracket. Without the bulky outer housing of a standard GoPro, it sits flush against the frame in a way that actually improves aerodynamics and lowers the center of gravity on the craft. McKinnon and Kristoff walk through the physical click-on connection, which is relatively straightforward compared to the soldering step.
Bones camera clicking onto the drone frame mount
The Bones camera clips directly onto the drone frame using a small mounting bracket. Without the bulky outer housing of a standard GoPro, it sits flush against the frame in a way that actually improves aerodynamics and lowers the center of gravity on the craft. McKinnon and Kristoff walk through the physical click-on connection, which is relatively straightforward compared to the soldering step.
One thing worth noting: because there is no protective housing, the electronics are fully exposed. The FPV community has workarounds for this, including conformal coating sprays that protect circuit boards from moisture and light debris. If you are flying in any environment that is not bone dry and dust free (which is almost everywhere outdoors), look into this step before your first flight.
Step 5: Appreciate the DIY Culture That Already Existed Around This Problem
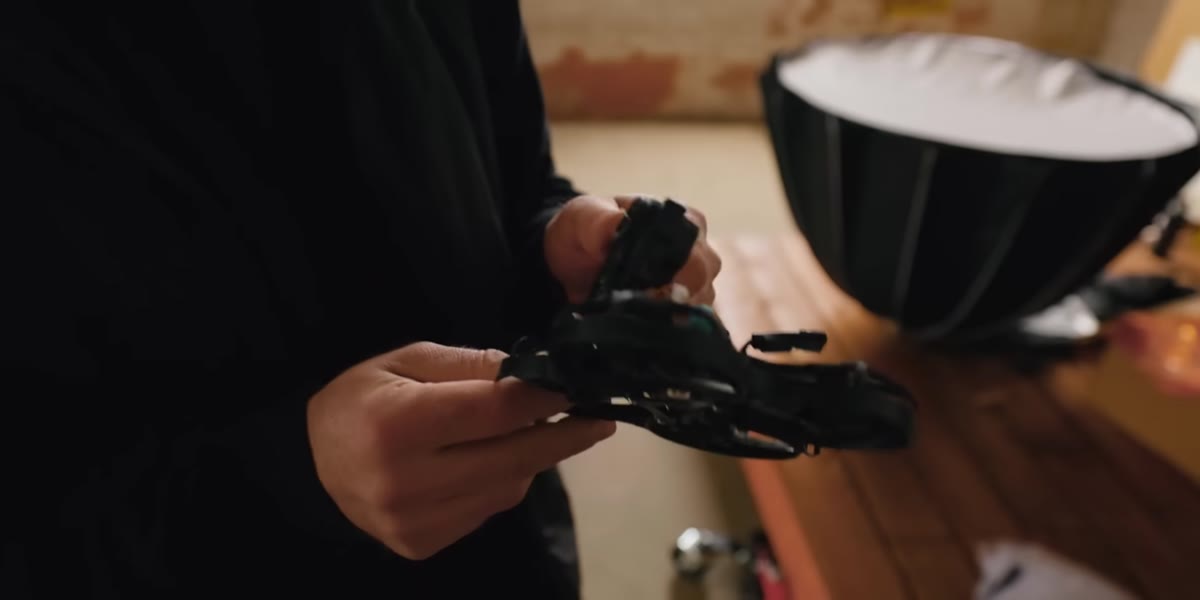 Discussion about stripped-down Hero 6 cameras people built themselves
Before Bones existed as an official product, FPV pilots were already solving this problem themselves. People were buying GoPro Hero 6 units, disassembling them, removing the housing and battery, and flying the naked circuit boards. Videos about how to do this have been circulating in the FPV community for years. The total weight of a stripped Hero 6 done this way could get down to around 40 grams.
Discussion about stripped-down Hero 6 cameras people built themselves
Before Bones existed as an official product, FPV pilots were already solving this problem themselves. People were buying GoPro Hero 6 units, disassembling them, removing the housing and battery, and flying the naked circuit boards. Videos about how to do this have been circulating in the FPV community for years. The total weight of a stripped Hero 6 done this way could get down to around 40 grams.
What GoPro did with Bones is take that community-built solution and productize it. That is actually a meaningful vote of confidence in the FPV market. It also means that if you are already embedded in the FPV world, you likely have friends or forum contacts who have done the DIY version and can tell you how Bones compares firsthand.
Step 6: Use the Toothbrush Rule as Your Crash-Readiness Benchmark
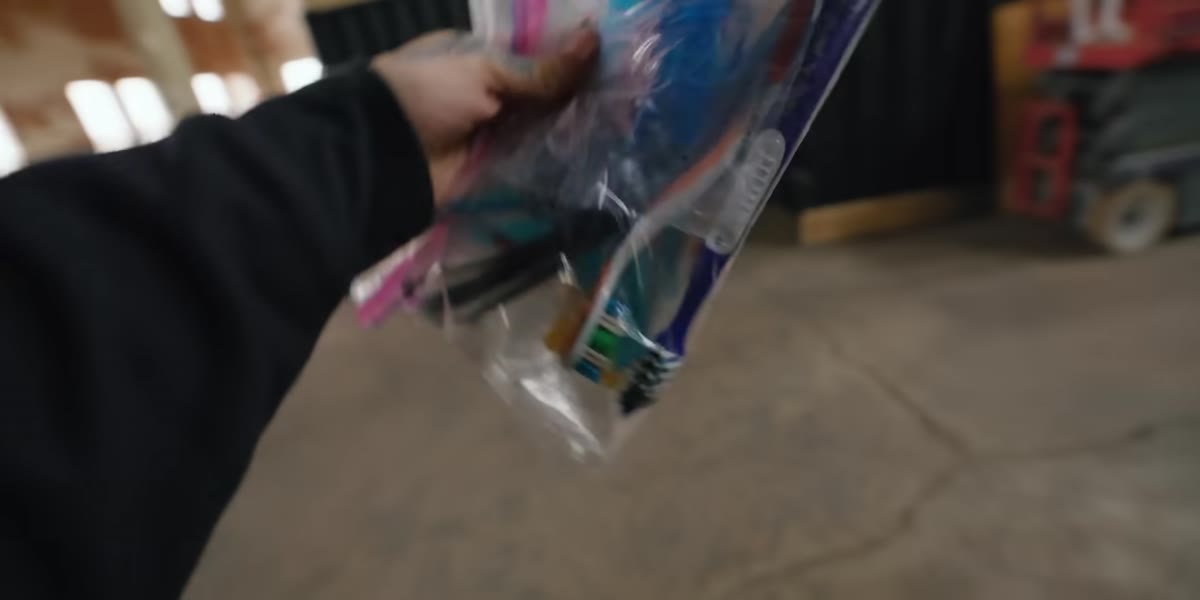 Kristoff’s kit bag with zip ties and a toothbrush for post-crash cleaning
This one is small but it stuck with me. Kristoff’s kit bag includes a toothbrush specifically for cleaning electronics after a crash. FPV drones crash. They crash often. Cleaning debris, dirt, and moisture out of exposed components after a crash is part of the maintenance routine, not an emergency procedure.
Kristoff’s kit bag with zip ties and a toothbrush for post-crash cleaning
This one is small but it stuck with me. Kristoff’s kit bag includes a toothbrush specifically for cleaning electronics after a crash. FPV drones crash. They crash often. Cleaning debris, dirt, and moisture out of exposed components after a crash is part of the maintenance routine, not an emergency procedure.
If you are thinking about getting into FPV, ask yourself: are you ready for a hobby that comes with a cleaning kit and a spare parts bag as standard gear? There is no wrong answer. But the toothbrush is a useful reality check about what kind of commitment this actually involves.
My Take: This Is a Window Into Where Action Cameras Are Going
I do not fly FPV drones. I have my Sunday morning photo walks, my phone in my pocket, and a healthy respect for people who can navigate a drone through a forest at full throttle without flinching. But I find Bones genuinely exciting from a broader gear-design perspective.
The trend here is modular, purpose-built camera hardware rather than one-size-fits-all devices. As someone who shoots a lot of travel content, I keep running into situations where the right camera is technically the one I cannot use because of size, weight, or regulatory reasons. Products like this suggest manufacturers are finally listening to the people who actually push gear to its limits. Whether or not Bones is for you, that direction is worth paying attention to.
The single most important thing I took from this tutorial: the camera is a tool for a specific community with specific skills, and McKinnon is refreshingly honest about the fact that he is not in that community. Knowing what you do not know, and finding the right person to demonstrate something you cannot, is genuinely good creative practice. Watch the full tutorial on YouTube to see Kristoff fly it and judge the footage quality for yourself.
Comments (2)
This is going in my reference folder. Incredibly useful.
Great breakdown. The step-by-step approach really helps.
Leave a Comment