There’s a moment every photographer knows. You’ve just invested in a serious piece of gear, the box is open, and you’re staring at a camera that costs more than some used cars. You want to skip straight to shooting. But if you skip the fundamentals, you’ll spend weeks shooting on default settings that don’t reflect what the camera can actually do. I’ve been there, and it’s frustrating in a way that’s completely avoidable.
I came across this camera basics module from John Greengo’s Fujifilm GFX100 II course, and even though I shoot mostly lifestyle and travel work, the breakdown he offers is genuinely useful whether you’re picking up your first mirrorless body or upgrading from a full-frame system to medium format. Watch the full tutorial on YouTube if you want to follow along visually. This walkthrough is meant to help you absorb the key ideas and apply them faster.
The GFX100 II is a serious tool, and understanding its core architecture, how light moves through it, how its sensor compares to what you’ve shot before, and which controls do what, makes every decision you make behind the lens more intentional. Here’s how Greengo breaks it down.
Step 1: Understand What “Mirrorless” Actually Means for This Camera
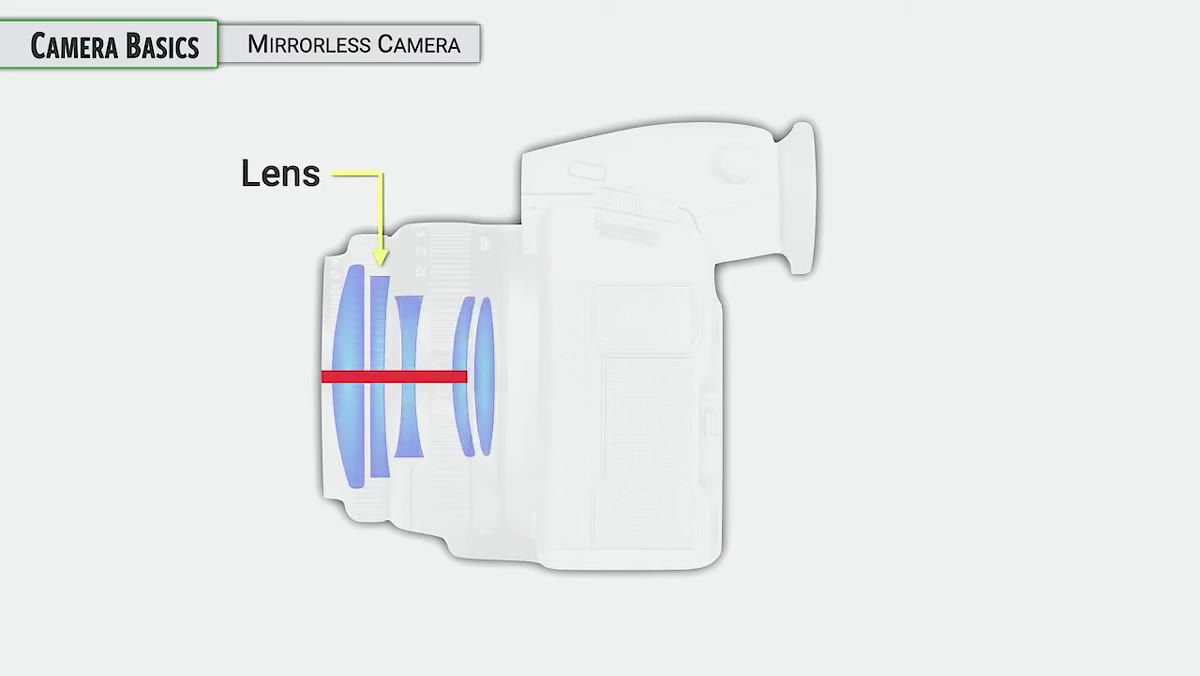 Diagram showing mirrorless camera light path through lens to sensor
The GFX100 II doesn’t have a mirror redirecting light to an optical viewfinder, which is the defining feature of the older SLR design. Instead, light travels through the lens, through the aperture unit built into that lens, and hits the image sensor directly. The camera then feeds that sensor data to either the rear LCD or the electronic viewfinder (EVF) so you can compose your shot in real time.
Diagram showing mirrorless camera light path through lens to sensor
The GFX100 II doesn’t have a mirror redirecting light to an optical viewfinder, which is the defining feature of the older SLR design. Instead, light travels through the lens, through the aperture unit built into that lens, and hits the image sensor directly. The camera then feeds that sensor data to either the rear LCD or the electronic viewfinder (EVF) so you can compose your shot in real time.
What makes this significant for your shooting is that what you see on screen is a live preview of actual exposure, not an optical representation of the scene. When you adjust aperture or shutter speed, the display updates to reflect those changes before you press the shutter. That feedback loop speeds up your workflow once you get used to it.
Step 2: Learn How the Physical Shutter Actually Works
 Animation of shutter curtains opening and closing sequence
This camera uses a two-curtain mechanical shutter, and understanding the sequence helps you diagnose issues later on. When you’re in standby, the first curtain is held open so the sensor can feed a live image to your display. The moment you press the shutter, the first curtain closes briefly to prepare the sensor for capture. Then it opens again for the duration of your exposure, followed by the second curtain closing to end it. After that, the camera resets and your view returns.
Animation of shutter curtains opening and closing sequence
This camera uses a two-curtain mechanical shutter, and understanding the sequence helps you diagnose issues later on. When you’re in standby, the first curtain is held open so the sensor can feed a live image to your display. The moment you press the shutter, the first curtain closes briefly to prepare the sensor for capture. Then it opens again for the duration of your exposure, followed by the second curtain closing to end it. After that, the camera resets and your view returns.
Greengo notes that the GFX100 II also offers an electronic shutter and an electronic front curtain option, which he covers in more depth later in his course under drive settings. For now, knowing the physical shutter sequence helps you understand why the camera behaves slightly differently from older SLR systems and sets you up to make smarter choices when you get to those advanced options.
Step 3: Recalibrate Your Sense of “Normal” for a Medium Format Sensor
 Graphic comparing full-frame, APS-C, and medium format sensor sizes
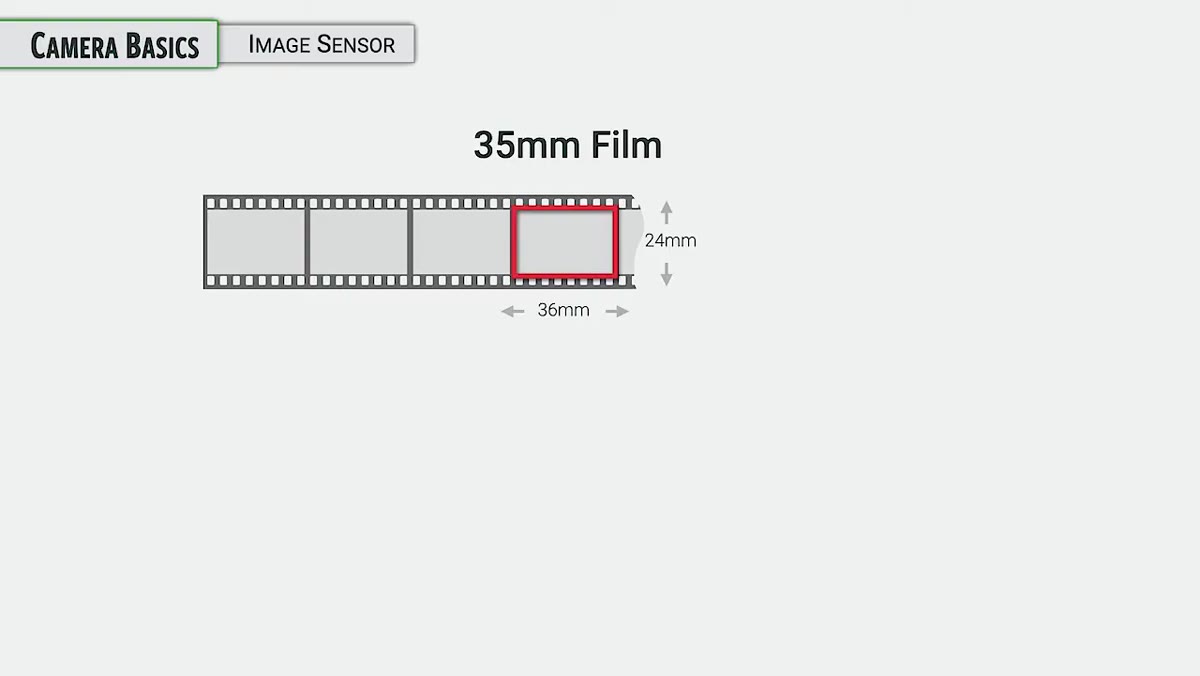
If you’re coming from a full-frame system, the sensor in the GFX100 II is going to feel like a shift in worldview. The sensor measures approximately 44 x 33 mm, which is noticeably larger than the 36 x 24 mm full-frame standard that most of the industry is built around. Fujifilm’s X-series cameras, for reference, use an APS-C sensor with a 1.5x crop factor relative to full frame. The GFX100 II goes the other direction.
Graphic comparing full-frame, APS-C, and medium format sensor sizes
If you’re coming from a full-frame system, the sensor in the GFX100 II is going to feel like a shift in worldview. The sensor measures approximately 44 x 33 mm, which is noticeably larger than the 36 x 24 mm full-frame standard that most of the industry is built around. Fujifilm’s X-series cameras, for reference, use an APS-C sensor with a 1.5x crop factor relative to full frame. The GFX100 II goes the other direction.
The practical number to keep in mind is a 0.79 crop factor. That means your lenses will have a slightly wider effective field of view than they would on a full-frame body. A 50mm GF lens won’t look like a 50mm on your Sony or Canon. It’ll behave more like a 39mm equivalent in full-frame terms. Greengo flags this as something to return to when working through lens selection, but knowing this from the start saves you a lot of surprised test shots.
Step 4: Get Familiar with the On/Off Switch and Sensor Cleaning
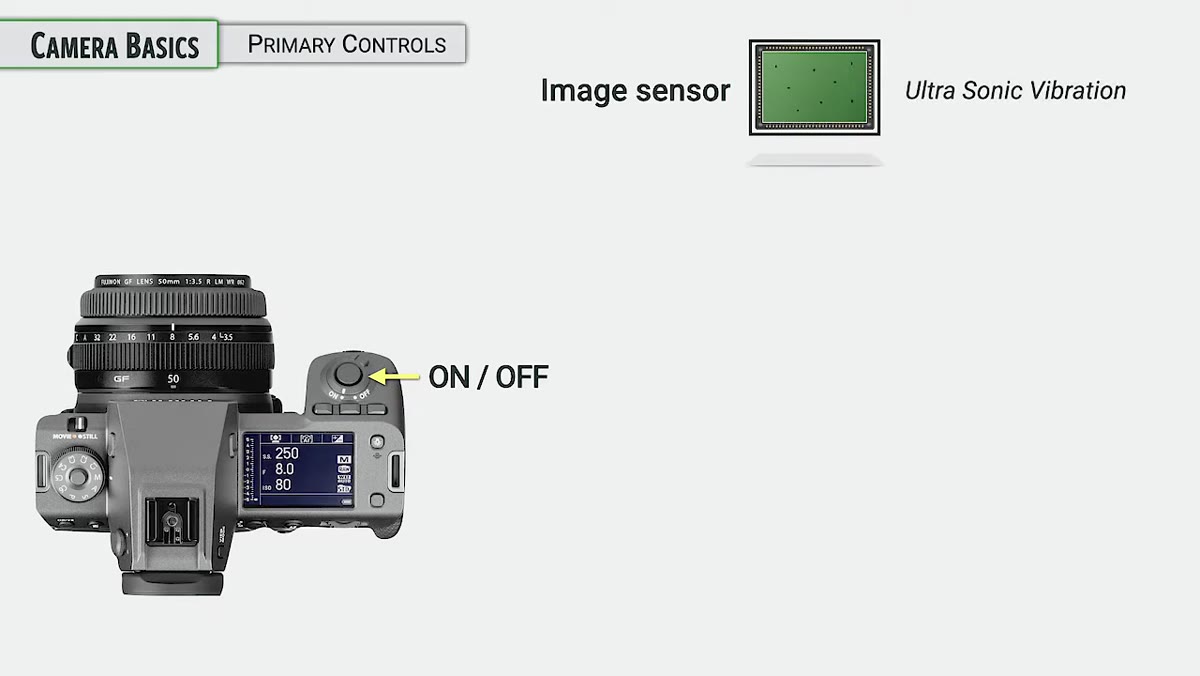 Camera being powered on with sensor cleaning notification visible
Every time you turn the GFX100 II on, it runs an automatic sensor cleaning cycle using ultrasonic vibration. A small glass plate in front of the sensor vibrates at high frequency to shake off dust particles before they settle. It’s a fast process and mostly invisible to you, but it’s working.
Camera being powered on with sensor cleaning notification visible
Every time you turn the GFX100 II on, it runs an automatic sensor cleaning cycle using ultrasonic vibration. A small glass plate in front of the sensor vibrates at high frequency to shake off dust particles before they settle. It’s a fast process and mostly invisible to you, but it’s working.
That said, it won’t solve everything. Sensor dust is an inevitable part of shooting with any interchangeable lens system, especially if you’re swapping glass out in the field. Greengo recommends keeping a rocket blower in your kit for light cleaning and notes that more involved sensor sweeping methods will come up later in the course. For now, don’t skip the power-down and power-up cycle if you’ve been changing lenses, because that automatic cleaning cycle is doing useful work.
Step 5: Get Comfortable with the Dual-Function Command Dials
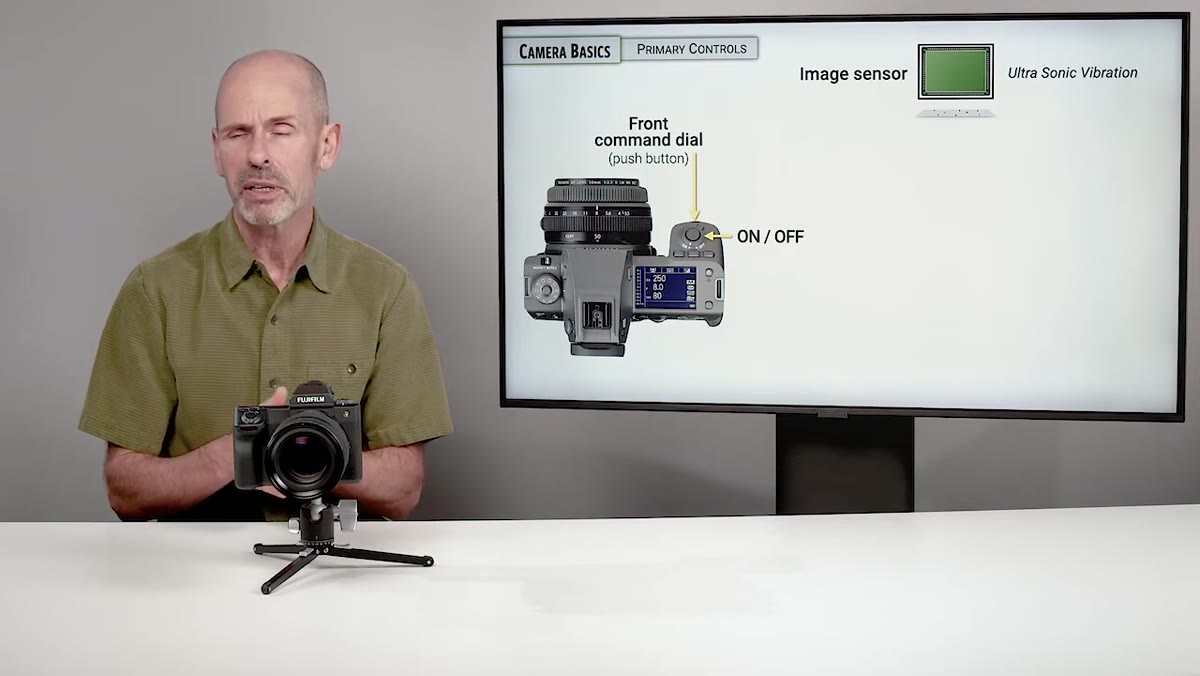 Close-up of front and rear command dials on camera body
The GFX100 II has both a front and rear command dial, and each one doubles as a pushable button. Rotating a dial adjusts a setting. Pressing one in changes the function of that dial depending on which shooting mode you’re in. This means one physical control can do two or more different things depending on context.
Close-up of front and rear command dials on camera body
The GFX100 II has both a front and rear command dial, and each one doubles as a pushable button. Rotating a dial adjusts a setting. Pressing one in changes the function of that dial depending on which shooting mode you’re in. This means one physical control can do two or more different things depending on context.
The menu button works the same way. It opens the menu when you want to dig into settings, but it also functions as your confirm or “okay” button when you’re navigating a selection. The focus stick center press can also act as a confirm, though Greengo points out it’s more commonly used for navigation. Getting these muscle memory patterns down early means less fumbling mid-shoot.
What I’d Add From My Own Experience
Medium format can feel intimidating before you shoot with it, and a lot of photographers spend the first week mentally negotiating with the price tag instead of actually learning the camera. My advice is to do what I do with any new body: take it on a slow, low-stakes photo walk before you use it professionally. Every Sunday I do this anyway, usually around my Seattle neighborhood before most people are awake. A new camera on that walk, with no client expectations attached, teaches you more in two hours than a week of reading spec sheets.
The sensor size difference in particular is something you feel rather than read. Your depth of field characteristics change. Your compositions shift. Give yourself a morning to just explore that before you start worrying about crop factors on paper.
The single most important takeaway from this tutorial is that the GFX100 II rewards photographers who understand its architecture. The mirrorless light path, the shutter sequence, the sensor size relative to other formats, and the dual-function controls are not trivia. They directly affect how you set up a shot, which lenses you reach for, and how you troubleshoot when something looks off. Start here, and everything that comes after makes more sense.
Watch the full tutorial on YouTube to see Greengo walk through these concepts with visuals and diagrams. It’s a thorough series worth bookmarking if you’re serious about getting the most out of this camera.
Comments
Leave a Comment