I have a confession: one of my most-shared Instagram photos was taken on a phone. Not a mirrorless, not a DSLR, just a phone and good light. That moment turned into an entire article series, and it’s also why I keep coming back to mobile photography tools that actually hold up in the field. So when I came across this KelbyOne tutorial on using the Olloclip Macro 3-in-1 lens system, I paid attention. The host, RC, kicks things off with a genuinely relatable story about a pet snail that laid 60 babies overnight, and his attempt to photograph those tiny creatures is what drives the whole lesson. It’s one of those tutorials where the gear demonstration grows naturally out of a real problem.
The core question RC is answering is one I’ve wrestled with myself: how close can a phone camera actually get before it stops cooperating? The answer, without any attachments, is not very close at all. You lean in, the autofocus gives up, and the image turns into soft mush. The Olloclip Macro 3-in-1 exists specifically to solve that. Watch the full tutorial on YouTube to see RC walk through the whole setup live, or follow the steps below to get started on your own.
Step 1: Understand What the Olloclip Macro 3-in-1 Actually Does
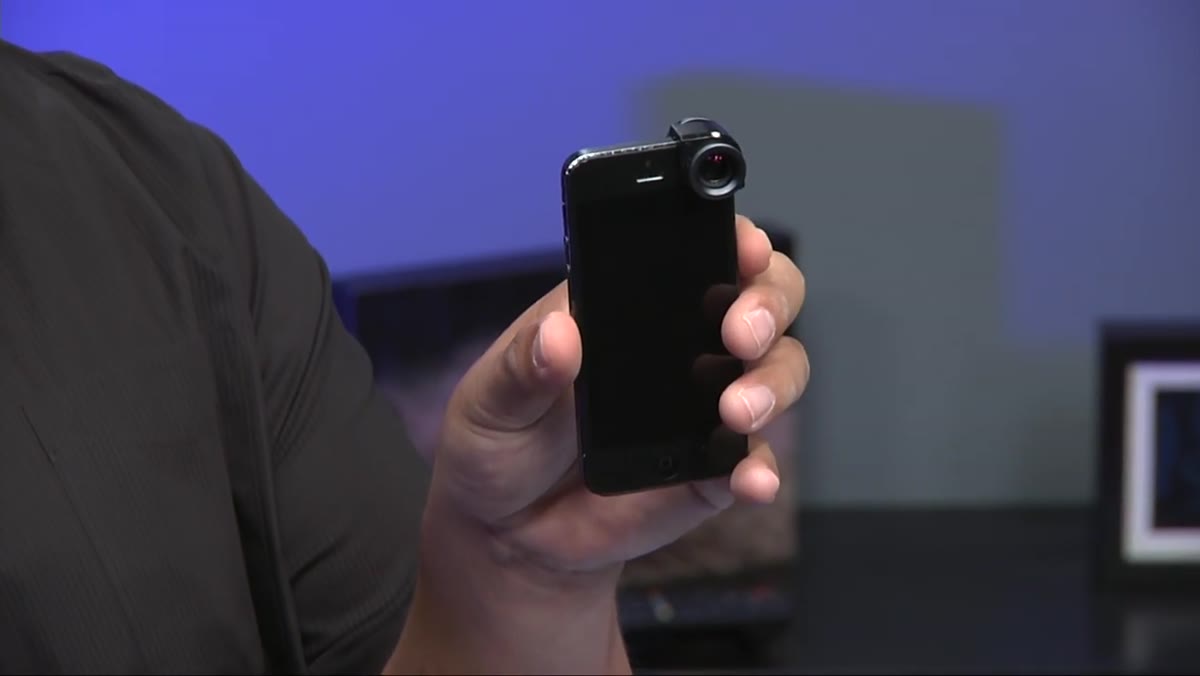
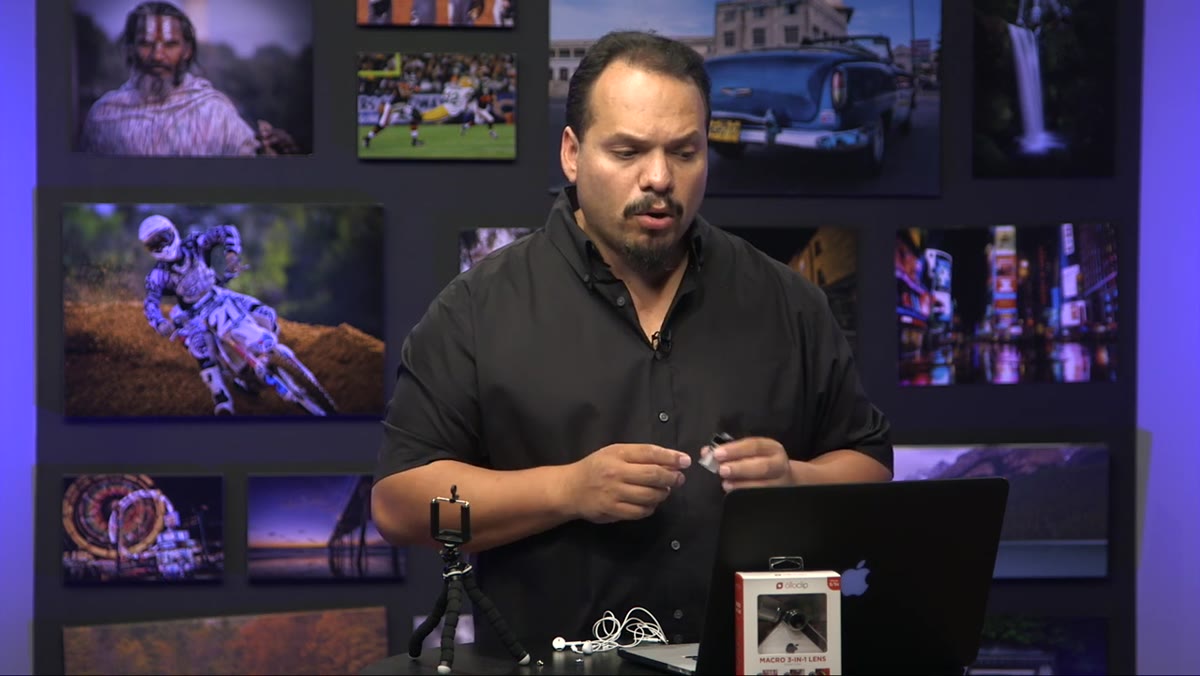 RC holding the Olloclip Macro 3-in-1 lens unit
Before you touch any glass, it helps to understand the system. The Olloclip Macro 3-in-1 is a clip-on lens designed for iPhone that gives you three distinct magnification levels in one small unit: 7x, 14x, and 21x. The magnification is adjusted not by a dial or a digital setting, but by physically screwing individual lens elements on or off. This means the whole kit is compact enough to carry in a jacket pocket, which matters a lot when you’re on a photo walk and you spot something worth shooting at ground level.
RC holding the Olloclip Macro 3-in-1 lens unit
Before you touch any glass, it helps to understand the system. The Olloclip Macro 3-in-1 is a clip-on lens designed for iPhone that gives you three distinct magnification levels in one small unit: 7x, 14x, and 21x. The magnification is adjusted not by a dial or a digital setting, but by physically screwing individual lens elements on or off. This means the whole kit is compact enough to carry in a jacket pocket, which matters a lot when you’re on a photo walk and you spot something worth shooting at ground level.
The lens retails around $69, and RC pairs it with an iStabilizer Flex mini tripod for smartphones, which runs about $30. You’re looking at roughly $100 all in for a macro setup that fits in a bag pocket. For anyone who already shoots on a phone and wants to explore close-up work without committing to a dedicated macro lens for a larger camera, that’s a genuinely low barrier to entry.
Step 2: Clip the Lens Onto Your Phone
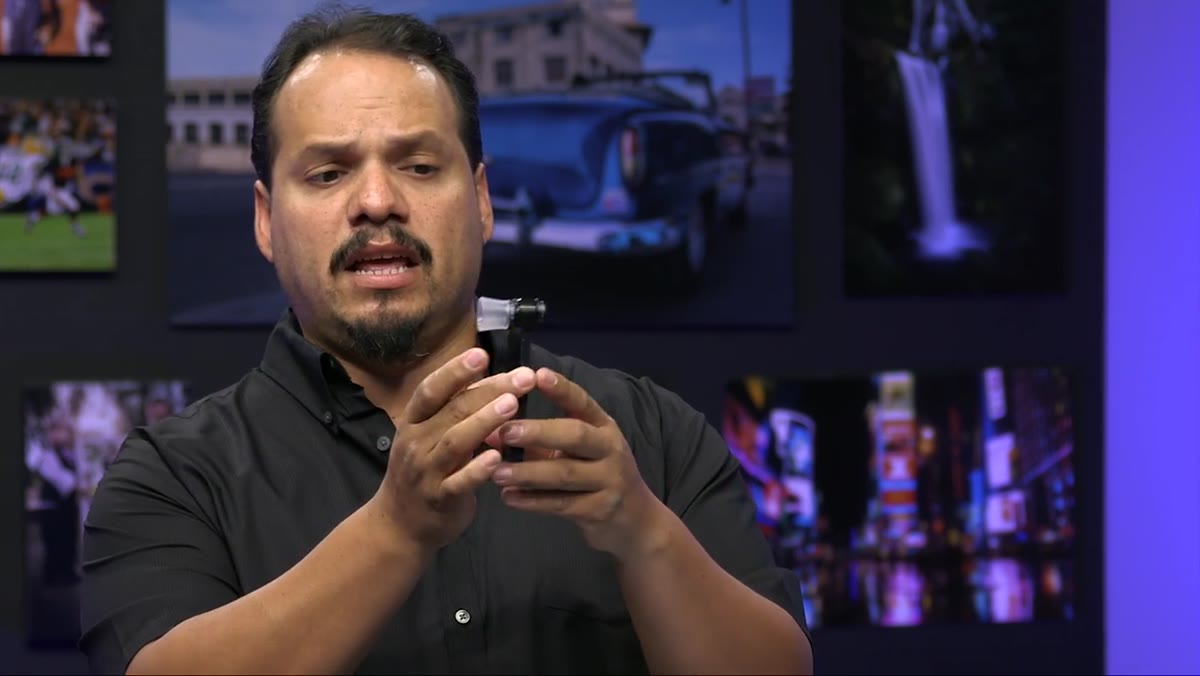 RC sliding the Olloclip unit onto the iPhone
The Olloclip clips directly over your iPhone’s camera lens. There’s no case required for this setup, and the clip mechanism is designed to align the lens element precisely over the camera. Slide it on until it seats flush against the body. Misalignment is the most common mistake here: if your corners look darker than the center of the frame, the clip has shifted and needs to be reseated.
RC sliding the Olloclip unit onto the iPhone
The Olloclip clips directly over your iPhone’s camera lens. There’s no case required for this setup, and the clip mechanism is designed to align the lens element precisely over the camera. Slide it on until it seats flush against the body. Misalignment is the most common mistake here: if your corners look darker than the center of the frame, the clip has shifted and needs to be reseated.
Once it’s on, open your camera app. You’ll notice immediately that the minimum focus distance has changed dramatically. Things that were previously too close for the camera to lock onto will now start to resolve into sharp detail. This is your baseline: the 7x configuration is what you have right out of the box with the outer lens element attached.
Step 3: Shoot at 7x Magnification
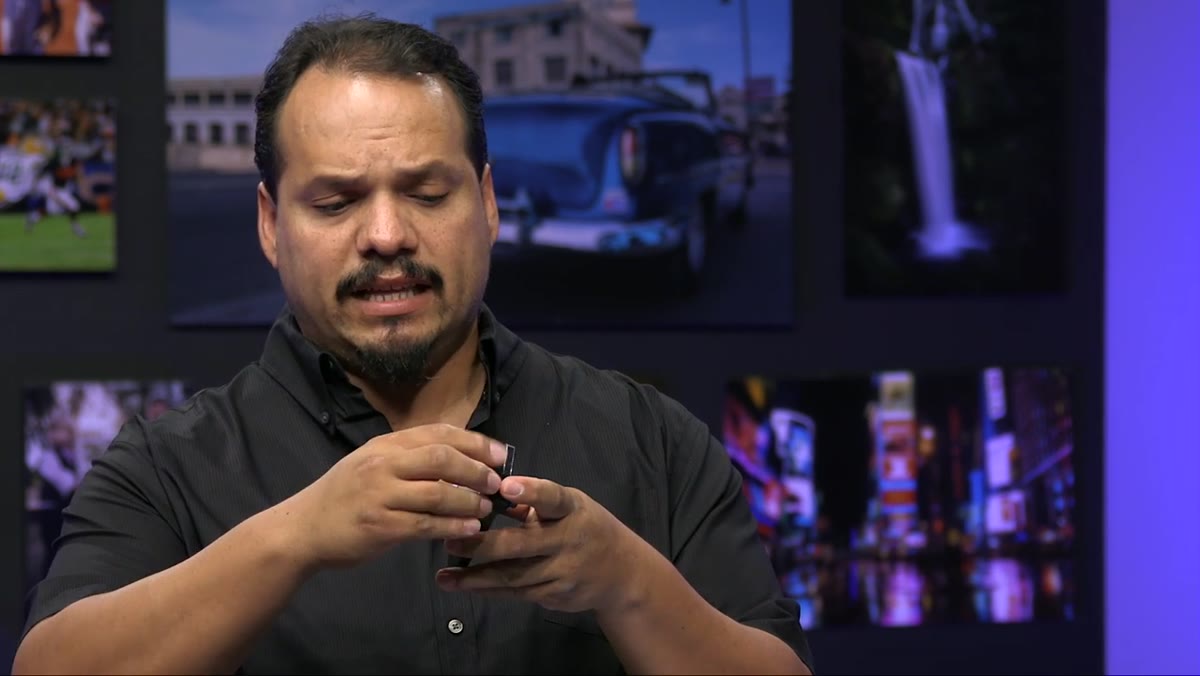 Phone screen showing close-up subject through the 7x lens
With the full lens assembly in place, you’re shooting at 7x magnification. This is a good starting point for subjects like coins, flower stamens, small insects, or, in RC’s case, baby snails. At this level, you have a bit more working distance between the lens and your subject, which matters when you’re photographing living things that might move or feel disturbed by something hovering over them.
Phone screen showing close-up subject through the 7x lens
With the full lens assembly in place, you’re shooting at 7x magnification. This is a good starting point for subjects like coins, flower stamens, small insects, or, in RC’s case, baby snails. At this level, you have a bit more working distance between the lens and your subject, which matters when you’re photographing living things that might move or feel disturbed by something hovering over them.
Move the phone slowly toward your subject until the image snaps into focus. The depth of field at macro distances is extremely shallow, so small movements create big changes in what’s sharp. Take your time. Tap the screen to help the camera lock focus if it’s hunting.
Step 4: Remove the Outer Element for 14x Magnification
 RC unscrewing the outer lens element from the clip
To step up the magnification, unscrew the outermost lens element from the clip. You’ll feel it thread off cleanly. Now the middle element is exposed, and you’re shooting at 14x. The subject will fill more of the frame, but your working distance drops significantly. You’ll need to get closer to the subject, and any camera shake becomes more obvious at this level.
RC unscrewing the outer lens element from the clip
To step up the magnification, unscrew the outermost lens element from the clip. You’ll feel it thread off cleanly. Now the middle element is exposed, and you’re shooting at 14x. The subject will fill more of the frame, but your working distance drops significantly. You’ll need to get closer to the subject, and any camera shake becomes more obvious at this level.
This is where a tripod or stabilizer really earns its place. RC uses the iStabilizer Flex, which can wrap its legs around a branch, a fence post, or a table edge to hold the phone steady while you compose. Even if you don’t have a tripod, try bracing your elbows against a surface or using a stack of books to stabilize your hands.
Step 5: Flip the Remaining Element for 21x Magnification
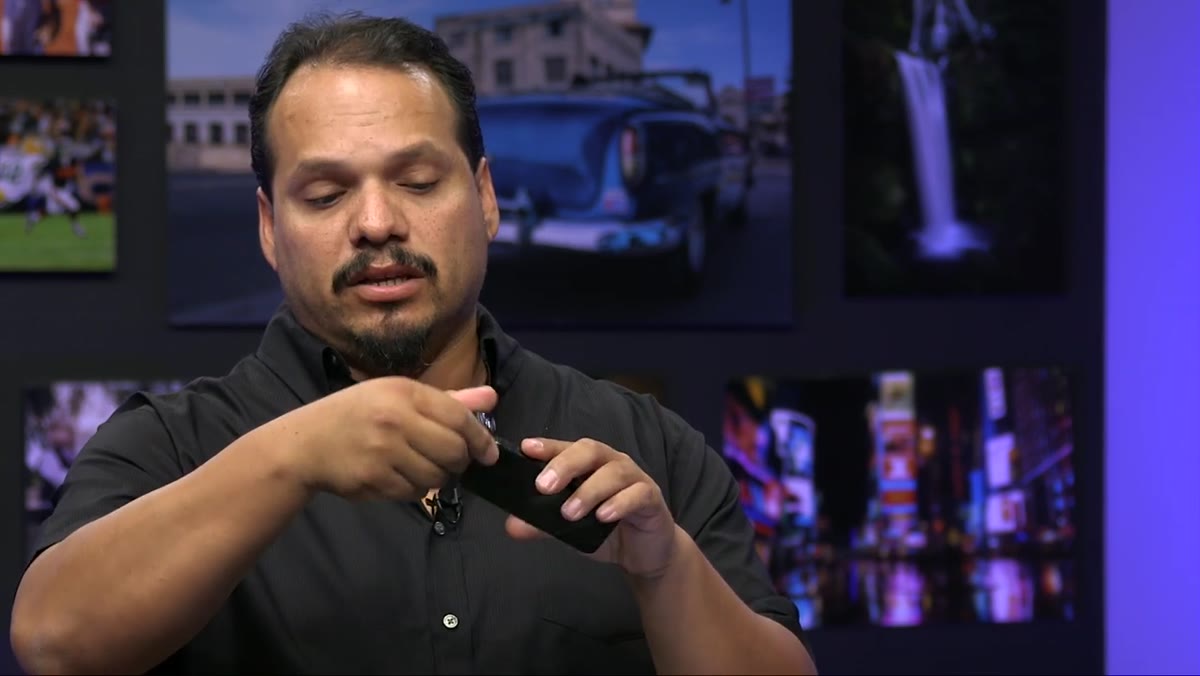 RC flipping the lens element to demonstrate 21x configuration
This is the part of the tutorial that surprised me most. To reach 21x, you don’t add another piece of glass. Instead, you take the remaining lens element and flip it around so it faces the opposite direction before screwing it back onto the clip. The label on the side of the element guides you so you don’t have to guess. This reversed configuration achieves the highest magnification level the kit offers.
RC flipping the lens element to demonstrate 21x configuration
This is the part of the tutorial that surprised me most. To reach 21x, you don’t add another piece of glass. Instead, you take the remaining lens element and flip it around so it faces the opposite direction before screwing it back onto the clip. The label on the side of the element guides you so you don’t have to guess. This reversed configuration achieves the highest magnification level the kit offers.
At 21x, you’re in extreme close-up territory. Tiny texture, individual grains, the eye of a small insect: these are the kinds of details that become visible. Your depth of field is now razor thin, and even breathing can blur a shot. Use a remote shutter trigger or your phone’s timer function to eliminate camera shake at the moment of capture.
Step 6: Mount Your Phone Low and Stable for Ground-Level Subjects
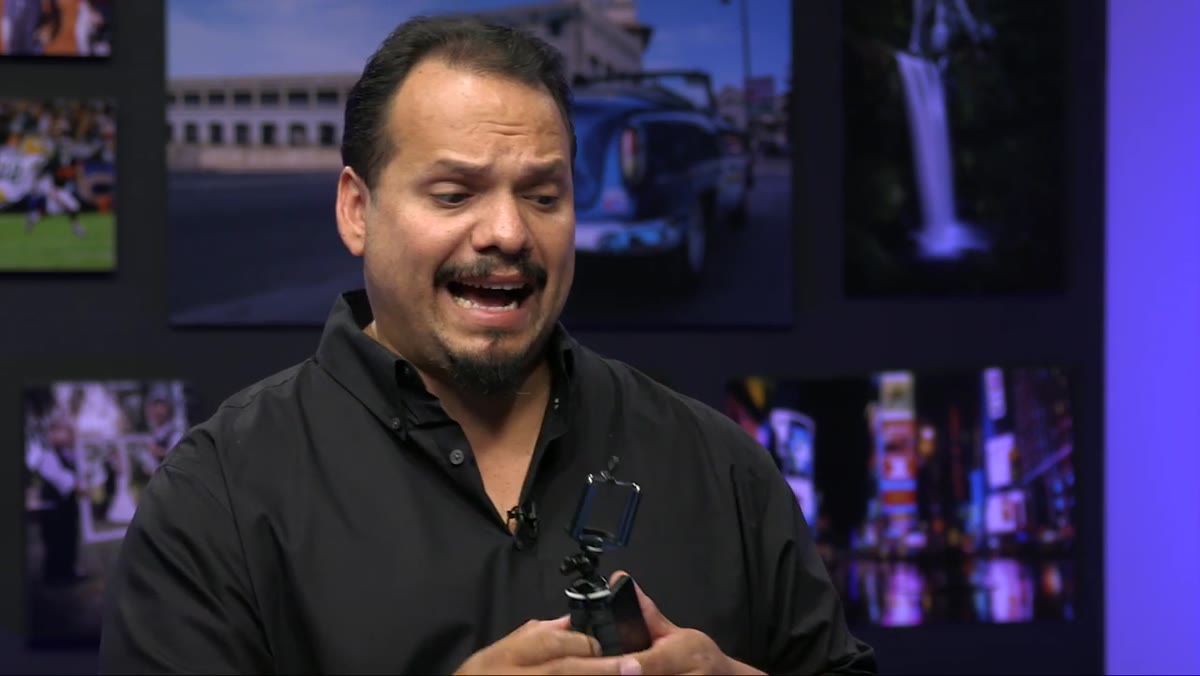 RC attaching the phone to the iStabilizer Flex tripod
RC sets up the iStabilizer Flex low to the ground to position the phone at subject level rather than shooting down from above. This angle gives your macro shots a more immersive, intimate quality. When you shoot tiny subjects from directly above, they can look flat and clinical. Getting level with them reveals dimension and context.
RC attaching the phone to the iStabilizer Flex tripod
RC sets up the iStabilizer Flex low to the ground to position the phone at subject level rather than shooting down from above. This angle gives your macro shots a more immersive, intimate quality. When you shoot tiny subjects from directly above, they can look flat and clinical. Getting level with them reveals dimension and context.
Compose so the subject has a little breathing room in the frame, and be patient with focus. At these magnifications, even slight movements from wind or the subject itself can cost you the shot. Burst mode can be a useful backup when subjects are moving.
What I’d Add from My Own Experience
If you’re doing this outdoors, natural light is your friend but direct sunlight can actually work against you at macro distances. It creates harsh shadows and blows out fine surface texture. I prefer open shade or the soft light right after a cloud passes over the sun. For stationary subjects like flowers or shells, try positioning a white card or even a piece of paper just out of frame to bounce a little light onto the shadowed side. It makes a noticeable difference at close range.
Also, clean your lens before every session. At 21x, fingerprints and dust that you’d never notice in a regular photo become prominent. A quick wipe with a microfiber cloth takes five seconds and saves you a lot of frustration in editing.
For about $100 in gear that fits in your jacket pocket, the Olloclip Macro 3-in-1 opens up a genuinely different way of seeing. The biggest shift isn’t the equipment. It’s learning to slow down, get low, and look for subjects you’d normally walk right past. That habit pays off in every kind of photography, not just macro.
Watch the full tutorial on YouTube to see RC demonstrate the lens changes in real time and show the results on a live phone screen.
Comments
Leave a Comment