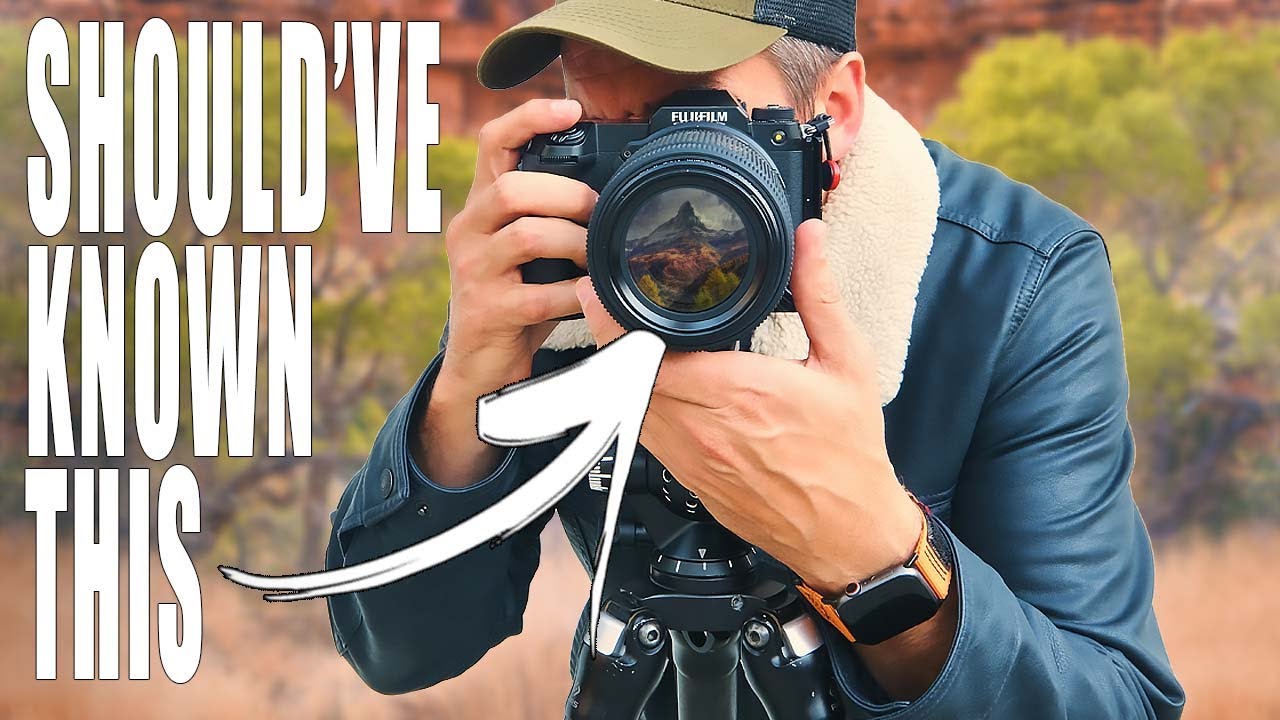
There’s a version of this conversation I’ve had probably a dozen times, usually with someone who’s been shooting for a year or two and has hit that frustrating plateau where their images feel technically good but not quite there. The conclusion they’ve arrived at is almost always the same: they need a bigger sensor. A full-frame upgrade, or maybe even medium format. If the files are larger and the dynamic range is wider, surely the images will follow. I get it. I’ve been there too.
What actually helped me reframe this wasn’t a gear review or a spec sheet. It was watching landscape photographer Mark Denney work through the question seriously, without the usual gear-worship or contrarian dismissal. Watch the full tutorial on YouTube before you spend a single dollar on a sensor upgrade. In it, he lays out a practical, honest framework for thinking about whether a larger sensor will actually change your photography, or whether something else is holding your work back.
The tutorial is aimed at landscape photographers specifically, but the underlying logic applies to almost any genre. Here’s how he walks through it.
Step 1: Identify the Real Question You’re Asking
 Photographer standing in landscape with camera gear
Before Denney gets into specs, he reframes the entire conversation. The question most photographers think they’re asking is “which sensor is better?” But the question worth asking is “will a different sensor change what I’m able to capture in the field?” Those are not the same thing. One is about hardware. The other is about your actual workflow, your locations, your light, and your vision.
Photographer standing in landscape with camera gear
Before Denney gets into specs, he reframes the entire conversation. The question most photographers think they’re asking is “which sensor is better?” But the question worth asking is “will a different sensor change what I’m able to capture in the field?” Those are not the same thing. One is about hardware. The other is about your actual workflow, your locations, your light, and your vision.
Start here, before anything else. Write down the last three images you were disappointed with and why. If the answer involves dynamic range or fine detail in large prints, sensor size becomes a relevant conversation. If the answer involves composition, timing, or post-processing choices, a new sensor won’t touch those problems.
Step 2: Understand What “Bigger Sensor” Actually Gives You
 Side-by-side sensor size comparison diagram
A larger sensor, whether moving from crop to full-frame or from full-frame to medium format, delivers real and measurable benefits. More light-gathering surface area means better high-ISO performance and cleaner shadow recovery. A higher megapixel count means more detail for large-format printing or aggressive cropping. These are not marketing claims, they are physics.
Side-by-side sensor size comparison diagram
A larger sensor, whether moving from crop to full-frame or from full-frame to medium format, delivers real and measurable benefits. More light-gathering surface area means better high-ISO performance and cleaner shadow recovery. A higher megapixel count means more detail for large-format printing or aggressive cropping. These are not marketing claims, they are physics.
But Denney is careful to point out what a bigger sensor does not give you: better light, better composition, better patience, or better instincts about when to press the shutter. The sensor captures what you put in front of it. If you’re in mediocre light with a medium format camera, you’ll get a very detailed photograph of mediocre light.
Step 3: Honestly Audit How You’re Currently Using Your Files
 Photographer reviewing images on laptop screen
This is the step most people skip, and it’s the most important one. Before investing in a system that produces larger files, ask yourself what you’re actually doing with the files you have. Are you printing at sizes where your current sensor is a genuine limitation? Are you cropping significantly because you can’t get close enough? Are you making shadow recoveries in post that are introducing noise you can’t work around?
Photographer reviewing images on laptop screen
This is the step most people skip, and it’s the most important one. Before investing in a system that produces larger files, ask yourself what you’re actually doing with the files you have. Are you printing at sizes where your current sensor is a genuine limitation? Are you cropping significantly because you can’t get close enough? Are you making shadow recoveries in post that are introducing noise you can’t work around?
If you’re primarily sharing on Instagram and occasionally printing at 8x10, your current camera is almost certainly not your bottleneck. I know this from embarrassing personal experience. My most-liked Instagram photo ever was taken on a $200 phone on a Sunday morning photo walk. That one image sparked an entire article series on this blog, because it forced me to reckon with what I’d been telling myself about gear. Output medium matters. Know yours.
Step 4: Factor in the Full System Cost, Not Just the Camera Body
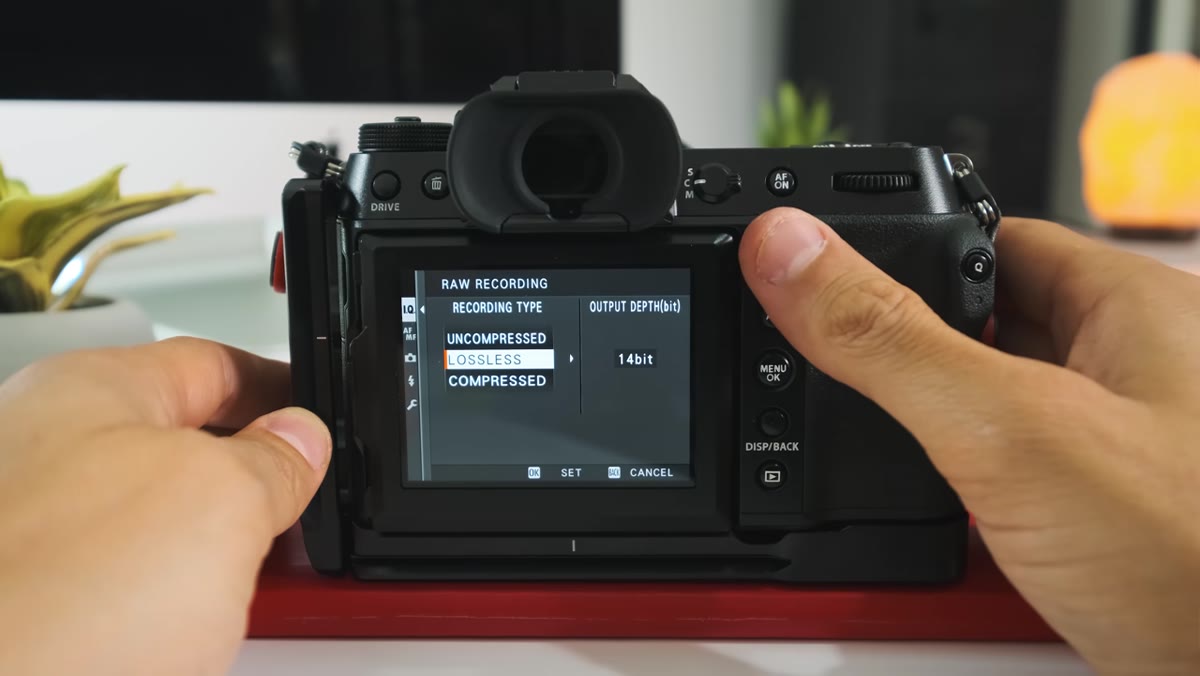 Camera body alongside lenses and accessories laid out
This is where the conversation gets practical fast. Medium format isn’t just a camera body purchase. It’s a lens system, and medium format glass is expensive, often heavier, and available in a more limited range of focal lengths than full-frame equivalents. If you shoot wide, you may find your options constrained. If you shoot handheld in the field, you’ll feel the weight difference on a long hike.
Camera body alongside lenses and accessories laid out
This is where the conversation gets practical fast. Medium format isn’t just a camera body purchase. It’s a lens system, and medium format glass is expensive, often heavier, and available in a more limited range of focal lengths than full-frame equivalents. If you shoot wide, you may find your options constrained. If you shoot handheld in the field, you’ll feel the weight difference on a long hike.
Denney walks through the real-world cost of switching systems versus upgrading within your current system. For most landscape photographers, the money spent on a medium format body could fund a significantly better tripod, a set of quality filters, and several trips to locations that would improve your photography far more than a sensor upgrade. Gear compounds. Every choice has an opportunity cost.
Step 5: Match the Sensor to Your Specific Landscape Style
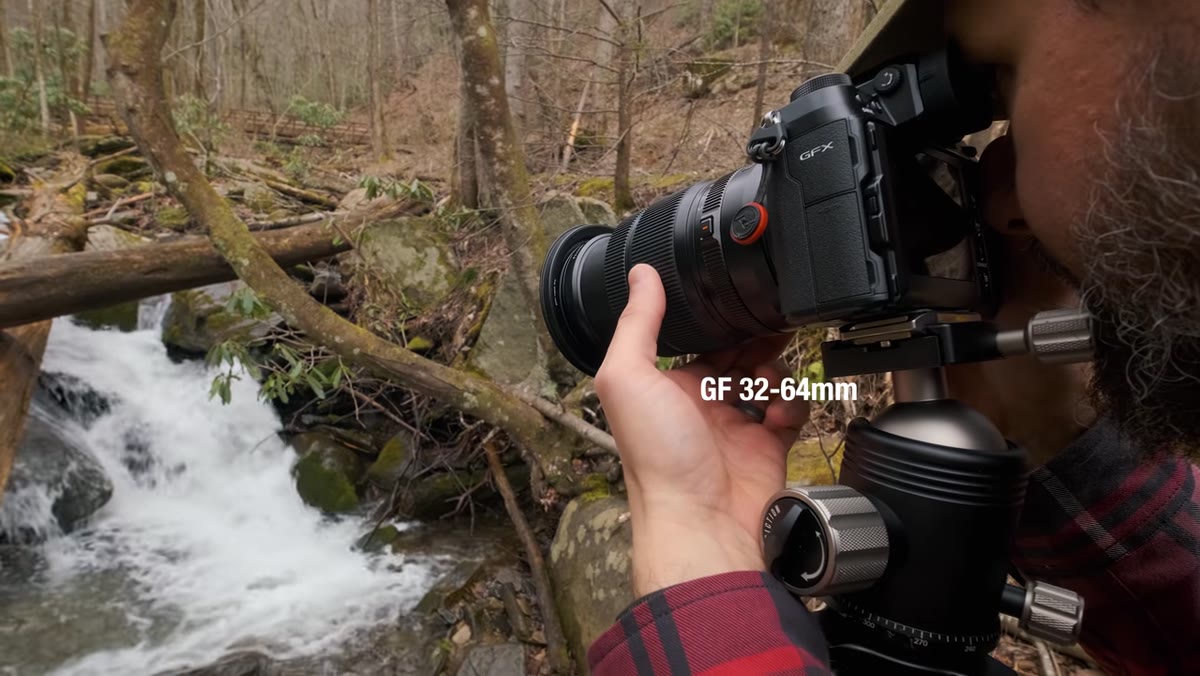 Landscape images displayed showing varied shooting conditions
Not all landscape photography makes equal use of what a large sensor offers. If you shoot primarily in golden hour light with careful composition and you’re patient about conditions, you’ll extract more value from a high-resolution sensor because your files will already be technically strong. If you shoot in variable conditions, often moving quickly, or frequently in lower light, the handling advantages of a smaller, faster system may actually serve you better in the field.
Landscape images displayed showing varied shooting conditions
Not all landscape photography makes equal use of what a large sensor offers. If you shoot primarily in golden hour light with careful composition and you’re patient about conditions, you’ll extract more value from a high-resolution sensor because your files will already be technically strong. If you shoot in variable conditions, often moving quickly, or frequently in lower light, the handling advantages of a smaller, faster system may actually serve you better in the field.
Think about the last ten landscape sessions you did. How often were you limited by resolution versus how often were you limited by speed, weather, access, or just not being in the right place at the right time? Your shooting style is the filter through which any sensor upgrade has to pass before it becomes useful.
Step 6: Test Before You Commit
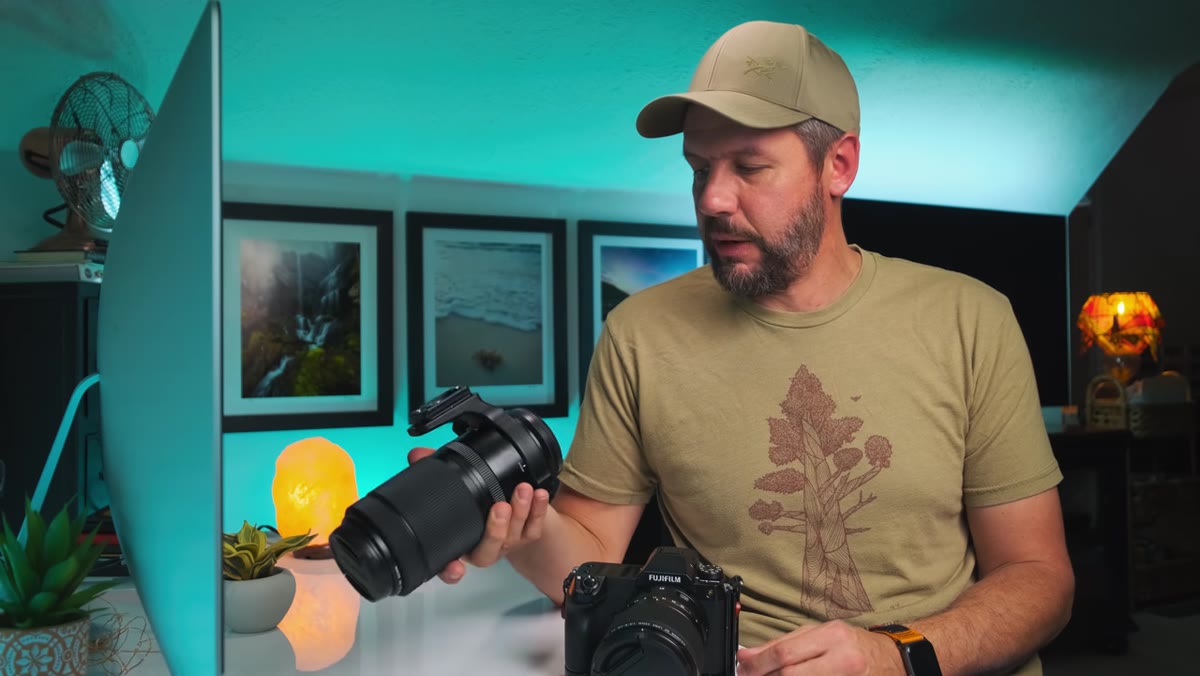 Photographer comparing two camera systems side by side
Denney’s practical advice here is straightforward: rent before you buy. Most major camera rental services let you take a medium format system out for a weekend for a fraction of what a single lens would cost to purchase. Bring it to a location you know well, shoot the same subjects you always shoot, and see what the files actually give you in post.
Photographer comparing two camera systems side by side
Denney’s practical advice here is straightforward: rent before you buy. Most major camera rental services let you take a medium format system out for a weekend for a fraction of what a single lens would cost to purchase. Bring it to a location you know well, shoot the same subjects you always shoot, and see what the files actually give you in post.
This step sounds obvious, but most people skip it because they’re afraid the rental will confirm they don’t actually need the upgrade. That’s useful information. If you rent a Fujifilm GFX or a Hasselblad X system for a weekend and come back thinking “this is incredible and I can feel the difference,” you have real evidence. If you come back thinking “these files are slightly bigger and my back hurts,” you have equally real evidence.
What I’d Add From My Own Experience
Sensor size is a legitimate technical consideration, and I don’t want to suggest it never matters, because it does. When I started printing my landscape work at larger sizes, I genuinely felt the ceiling of my crop-sensor files and made the jump to full-frame. That was the right call at the right time. The mistake I see people make isn’t upgrading. It’s upgrading in the wrong order.
Get your compositional instincts sharp. Understand light well enough that you’re choosing your shots, not just reacting to them. Build a post-processing workflow that’s consistent and serves your style. Do all of that first, and then look at your files with honest eyes. If the sensor is the last thing holding you back, you’ll know. It’ll be obvious. And at that point, the upgrade will actually deliver what you’re hoping for.
The single most important takeaway from this tutorial is that a bigger sensor is a tool for capturing what you already know how to see, not a shortcut to knowing how to see it. Get clear on your real limiting factor before opening your wallet.
Watch the full tutorial on YouTube and let Mark Denney walk you through the full breakdown. It’s one of the more honest conversations about gear I’ve come across, and it’ll either confirm your upgrade plan or save you a lot of money.
Comments (3)
Tried this technique this morning. Game changer for real.
This should be required reading for anyone starting out.
Love this. I referenced a similar technique in one of my recent posts. Always good to see other perspectives.
Leave a Comment