
There’s a specific kind of frustration that hits when you’re standing at a waterfall location, light is changing fast, and you’re fumbling with two separate filters trying to stack them without introducing vignette or misalignment. I’ve been there more times than I’d like to admit. I once missed dinner three nights in a row on a trip chasing one particular waterfall shot, and I can tell you that the last thing you want between you and the image is an equipment puzzle. That’s why the idea of a combined ND-polarizer filter genuinely caught my attention.
In this Mark Denney tutorial, he reviews PolarPro’s new QuartzLine filters, which are designed specifically for full-frame cameras and combine neutral density and polarizer glass into a single filter element. Watch the full tutorial on YouTube. Mark is a landscape photographer whose work I respect precisely because he doesn’t oversell things, so when he talks through gear with this level of detail, I pay attention. Here’s what he covers and what it actually means for how you shoot.
Step 1: Understand What Makes This Filter Combination Worth Considering
 Mark explaining ND and polarizer combined into one filter
PolarPro built the QuartzLine to solve a practical problem: carrying and managing two filters at once. A standard neutral density filter slows your shutter speed to allow for long-exposure effects like silky water or motion blur in clouds. A polarizer cuts glare, deepens sky color, and reduces reflections on water and foliage. Traditionally, if you want both effects, you stack them, and stacking introduces its own headaches including vignetting on wide lenses and more glass for light to pass through.
Mark explaining ND and polarizer combined into one filter
PolarPro built the QuartzLine to solve a practical problem: carrying and managing two filters at once. A standard neutral density filter slows your shutter speed to allow for long-exposure effects like silky water or motion blur in clouds. A polarizer cuts glare, deepens sky color, and reduces reflections on water and foliage. Traditionally, if you want both effects, you stack them, and stacking introduces its own headaches including vignetting on wide lenses and more glass for light to pass through.
Combining them into one element means one filter to attach, one to remove, one to clean, and one to store. For landscape photographers especially, that kind of streamlining matters when you’re moving between locations and the light isn’t waiting.
Step 2: Pay Attention to Packaging as a Signal of Build Quality
 Hard shell filter cases with foam inserts on table
Mark spends real time on the packaging, and it’s not just filler, it actually tells you something. Each filter ships in a rigid hard-shell case with custom-cut foam on both the top and bottom. The fit is tight enough that the filter won’t shake loose even with the lid open. That kind of case design tells you PolarPro is thinking about how these get transported, not just how they look on a shelf.
Hard shell filter cases with foam inserts on table
Mark spends real time on the packaging, and it’s not just filler, it actually tells you something. Each filter ships in a rigid hard-shell case with custom-cut foam on both the top and bottom. The fit is tight enough that the filter won’t shake loose even with the lid open. That kind of case design tells you PolarPro is thinking about how these get transported, not just how they look on a shelf.
They also include soft felt-lined pouches for day-to-day field use, each labeled with the filter type. If you’ve ever dug through a bag trying to figure out which pouch has your ND64 versus your ND8, you’ll appreciate that immediately. And Mark flags the lens wipes as some of the best he’s encountered, which is a small thing that adds up when you’re cleaning glass in cold, damp conditions.
Step 3: Match Your Filter Size to Your Lens, and Use a Step-Up Ring If Needed
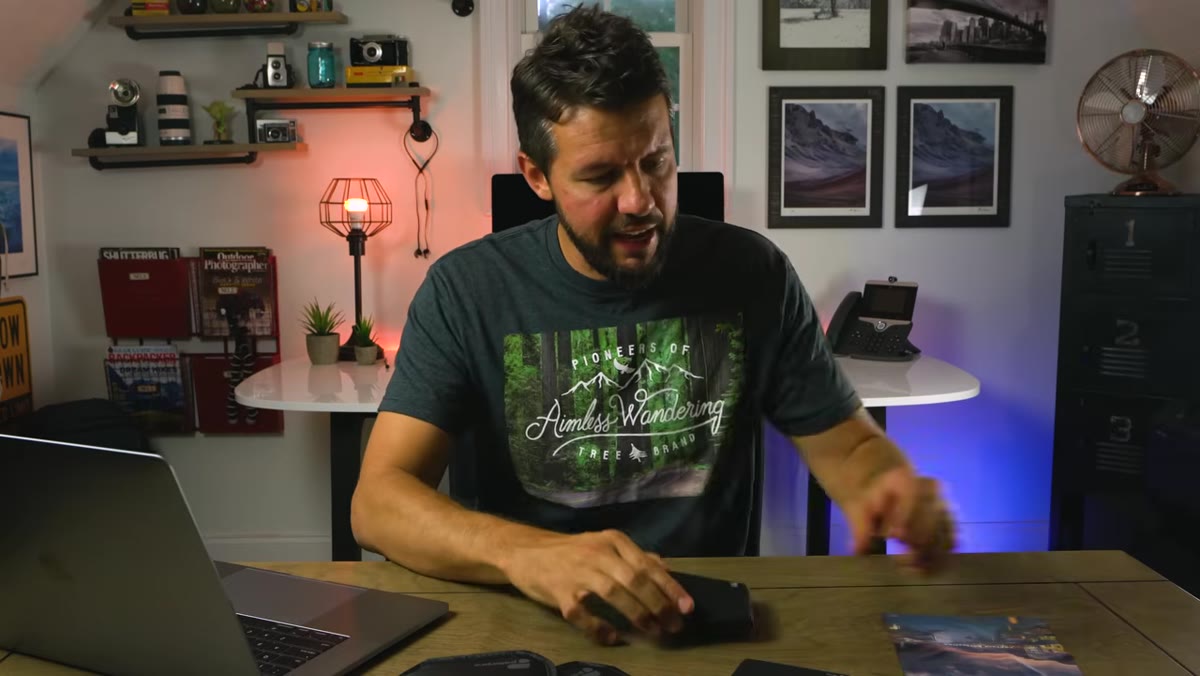 Mark holding the ND8 and polarizer combo filter
Mark received the ND8 and the ND8 with polarizer, sized at 77mm. His primary test lens, a 70-200mm, has a 72mm filter thread, so he used a step-up ring to bridge the gap. This is a completely normal setup and worth planning for before you buy. Step-up rings are inexpensive and let you use a larger filter across multiple lenses, which is actually a smart long-term approach: buy your filters at the largest diameter you need and step up from smaller lenses.
Mark holding the ND8 and polarizer combo filter
Mark received the ND8 and the ND8 with polarizer, sized at 77mm. His primary test lens, a 70-200mm, has a 72mm filter thread, so he used a step-up ring to bridge the gap. This is a completely normal setup and worth planning for before you buy. Step-up rings are inexpensive and let you use a larger filter across multiple lenses, which is actually a smart long-term approach: buy your filters at the largest diameter you need and step up from smaller lenses.
If you’re shopping for a filter set and you own lenses with different thread sizes, check the largest one first. A 77mm filter can work on a 67mm lens with a step-up ring, but a 67mm filter will never fit a 77mm thread. Buy up, not down.
Step 4: Test Durability Claims Before You Trust Them in the Field
 Sand being applied directly to filter surface during scratch test
PolarPro markets the QuartzLine with enhanced scratch resistance and water repellency. Mark doesn’t just take their word for it. He puts the filter through a sand abrasion test, which is exactly the kind of real-world stress that landscape photographers deal with constantly. Coastal shooting, desert environments, and even windy forest floors can throw particulate at your glass.
Sand being applied directly to filter surface during scratch test
PolarPro markets the QuartzLine with enhanced scratch resistance and water repellency. Mark doesn’t just take their word for it. He puts the filter through a sand abrasion test, which is exactly the kind of real-world stress that landscape photographers deal with constantly. Coastal shooting, desert environments, and even windy forest floors can throw particulate at your glass.
The water-repellency test is equally practical. A filter that beads water cleanly is one you can wipe dry in the field without dragging droplets across the coating. This matters during waterfall shoots, rainy-day landscapes, and any situation where your gear is getting wet. Watch how he runs these tests because the visual results are more convincing than any spec sheet.
Step 5: Evaluate Color Neutrality Carefully
 Side by side comparison images showing color cast evaluation
One of the quieter but more important filter qualities is color neutrality. Cheaper ND filters often introduce a color cast, usually a blue or magenta tint, that requires correction in post. With a combined ND-polarizer, there are two pieces of glass interacting, which makes color cast a legitimate concern.
Side by side comparison images showing color cast evaluation
One of the quieter but more important filter qualities is color neutrality. Cheaper ND filters often introduce a color cast, usually a blue or magenta tint, that requires correction in post. With a combined ND-polarizer, there are two pieces of glass interacting, which makes color cast a legitimate concern.
Mark compares shots taken with and without the filter to evaluate how much the QuartzLine shifts color. What you’re looking for here is consistency: can you trust that the filter will perform predictably across a range of scenes, or will you be chasing correction presets every time you use it? If you’re shooting raw files and your workflow already includes white balance adjustments, a minor cast is manageable. A heavy or inconsistent cast is not.
Step 6: Assess the Combined Filter in Actual Landscape Conditions
 Landscape photographs taken with QuartzLine filter attached to camera
The real test isn’t the table, it’s the location. Mark takes the filter out and shoots actual landscape scenes to evaluate how the ND and polarizer perform together in practice. This is where you can assess whether the combination delivers clean long-exposure results while simultaneously cutting glare and enhancing color saturation in skies and foliage.
Landscape photographs taken with QuartzLine filter attached to camera
The real test isn’t the table, it’s the location. Mark takes the filter out and shoots actual landscape scenes to evaluate how the ND and polarizer perform together in practice. This is where you can assess whether the combination delivers clean long-exposure results while simultaneously cutting glare and enhancing color saturation in skies and foliage.
Look at the edge sharpness in his sample images and check whether there’s any vignetting at wider focal lengths. Combined filters add thickness to your lens stack, and on wider glass that can mean darkened corners. If you shoot a lot of wide-angle landscape work, this is something to test with your own lenses before committing to a set.
What I’d Add From My Own Shooting Experience
Mark’s testing methodology here is solid, but there’s one thing I’d layer on for anyone buying filters for the first time: always photograph a clean white or light gray wall with your filter attached and your lens stopped down to f/11 or f/16. This quick test will reveal vignetting and any uneven coating issues immediately, before you’re two hours into a hike and relying on the glass to perform. I do this with every new filter I add to my bag, and it’s saved me from unpleasant surprises more than once.
For combined ND-polarizer filters specifically, also check that the outer ring rotates smoothly enough to dial in polarizer position without accidentally shifting your focus ring. On some designs the rings sit close together, and in gloves that can get messy.
The single biggest takeaway from this tutorial is this: a combined ND-polarizer filter is only worth the price premium if the glass is truly color neutral and the build quality backs up the durability claims. PolarPro’s QuartzLine appears to clear both bars, which makes it a genuinely compelling option for landscape photographers who want to simplify their kit without compromising image quality.
Watch the full tutorial on YouTube to see Mark’s hands-on tests and sample images in full detail.
Comments
Leave a Comment