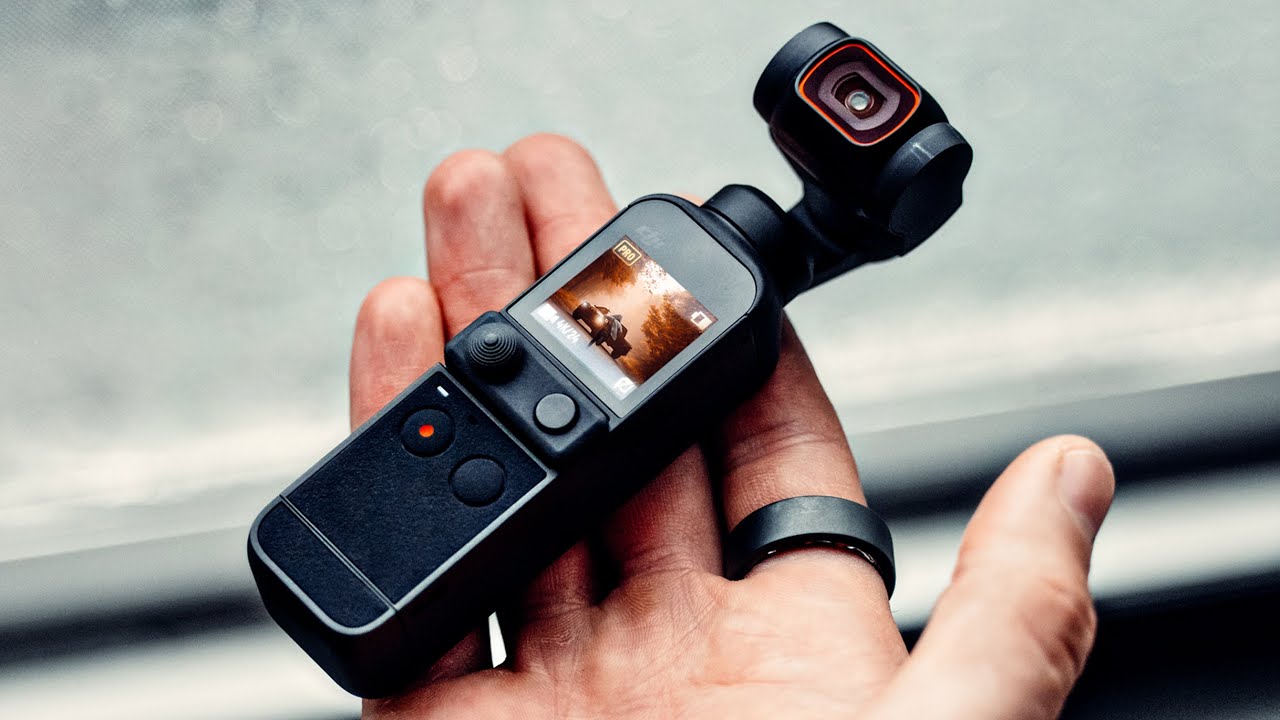
I travel light. After years of hauling a full mirrorless kit through airports and up hiking trails, I’ve become borderline obsessive about finding gear that doesn’t make me want to leave it in the hotel room. The DJI Pocket 2 has been on my radar for a while, mostly because I kept seeing it show up in behind-the-scenes footage from creators who clearly needed one hand free. When Peter McKinnon published his unboxing and first-look walkthrough of the Pocket 2 Creator Bundle, I watched it twice - once for the overview, once to take notes on the specific accessories and how they actually connect. Watch the full tutorial on YouTube before or after reading this, depending on how you learn best.
What struck me watching it was how much thought DJI put into the Creator Bundle specifically. It isn’t just a camera with a few extra cables thrown in. The accessories are designed around a particular kind of shooting - run-and-gun, solo, travel, vlog-style work where you need audio, stabilization, and connectivity without a camera bag full of adapters. Here’s a step-by-step breakdown of what’s included and how to use each piece.
Step 1: Open the Case and Understand the Storage System
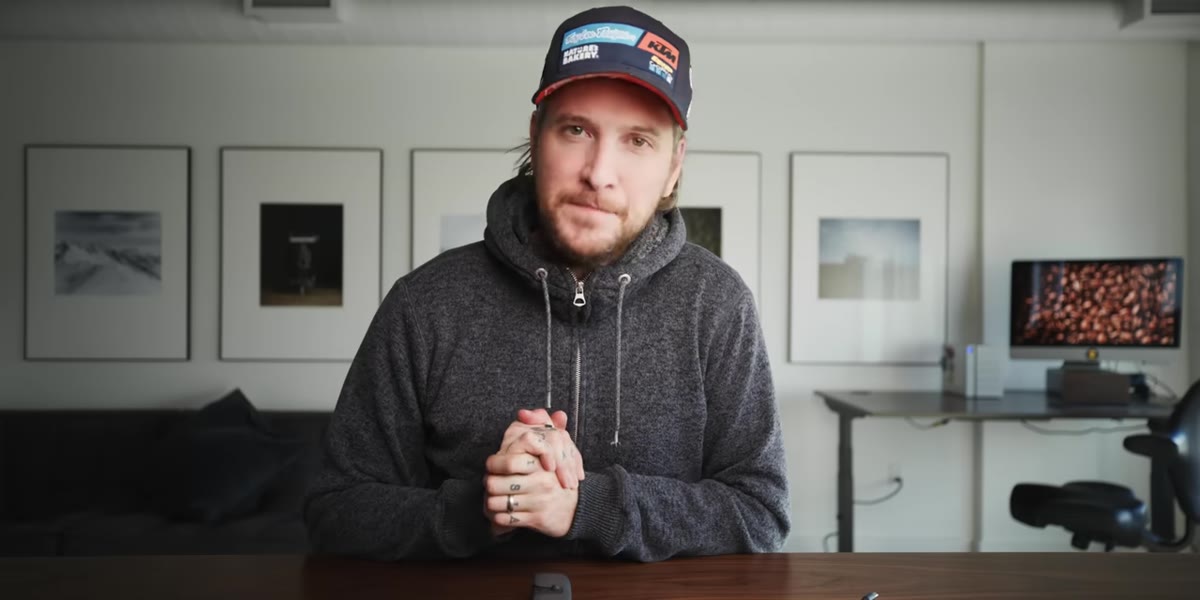 Creator bundle case opened showing all accessories in slots
The Creator Bundle ships in a compact carry case, and the layout of that case is worth paying attention to before you pull anything out. Everything has a designated slot: a magnetic tray for the wide-angle lens, dedicated compartments for the phone connection adapters, and even a slot specifically designed to store the lavalier microphone with its dead cat windscreen attached. That last detail matters because a loose lav mic with a fuzzy windscreen is exactly the kind of small thing that gets lost or damaged in a bag. Having a spot built into the case means you’re more likely to actually bring it on shoots.
Step 2: Attach the Wide-Angle Lens
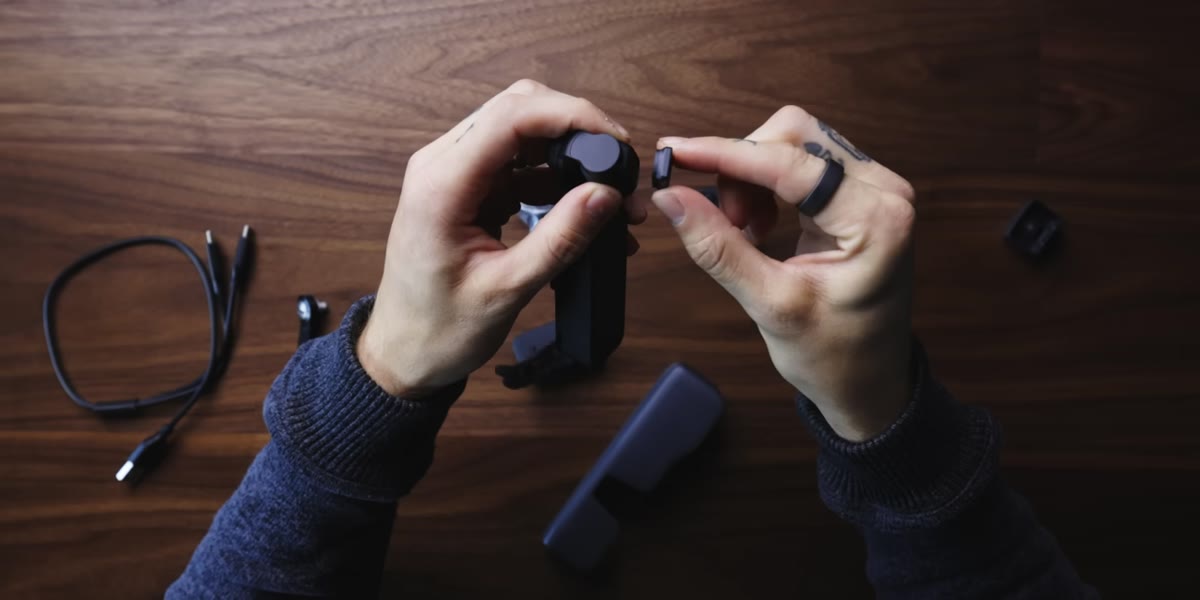 Wide angle lens snapping onto front of Pocket 2 camera
The wide-angle lens included in the Creator Bundle attaches magnetically to the front of the Pocket 2. Line it up, give it a gentle push, and it clicks into place securely enough that you don’t need to worry about it sliding off during movement. To remove it, just pull it back off and set it in its magnetic storage tray in the case. This snap-on, snap-off system is genuinely useful for travel shooting because you can switch between the standard field of view and the wider perspective in seconds, without tools or threading anything. If you’re shooting in tight spaces - small cafes, cramped hostels, the interior of a car - the wide-angle lens is the one you want.
Step 3: Connect to Your Phone Using the Right Adapter
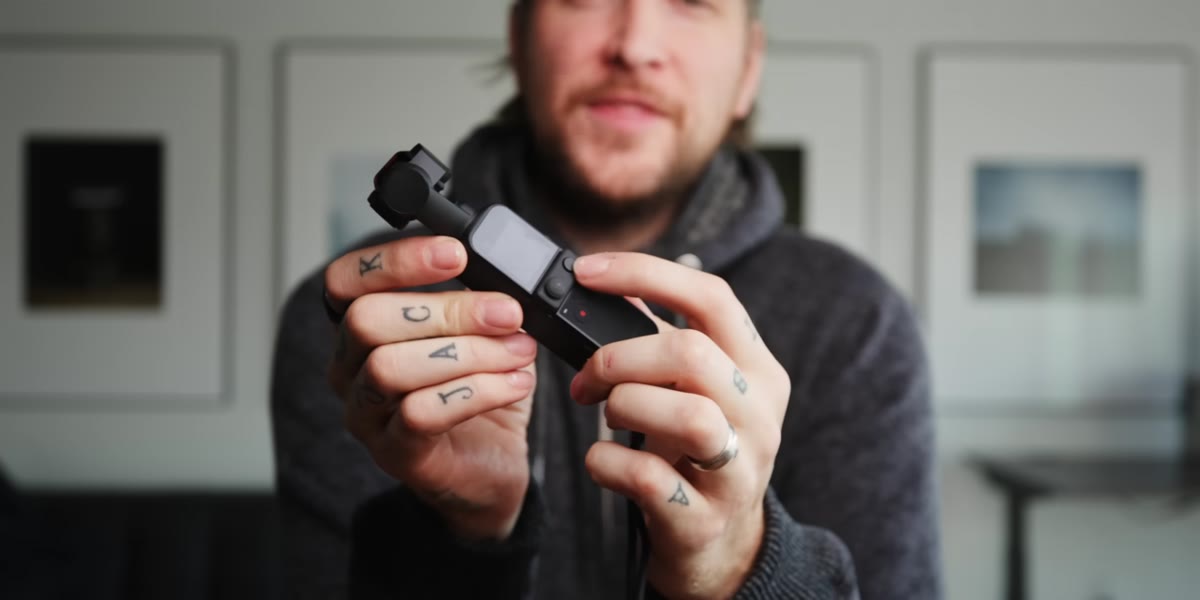 Phone connection adapter being removed from case storage slot
The Pocket 2 can sync directly to your smartphone using a physical adapter - no Bluetooth pairing required, no cable to remember. The Creator Bundle includes adapters for different phone connector types, and they store inside the case alongside everything else. Once connected, the DJI Mimo app lets you review footage, adjust settings, and transfer clips directly. For anyone who has spent time fumbling with a USB cable at the end of a shoot trying to get footage off a small camera, this direct connection is a genuine quality-of-life improvement. Pick the adapter that matches your phone, tuck the other one back in the case, and keep both in there so you always have them.
Step 4: Extend the Grip with the Do-It-All Handle
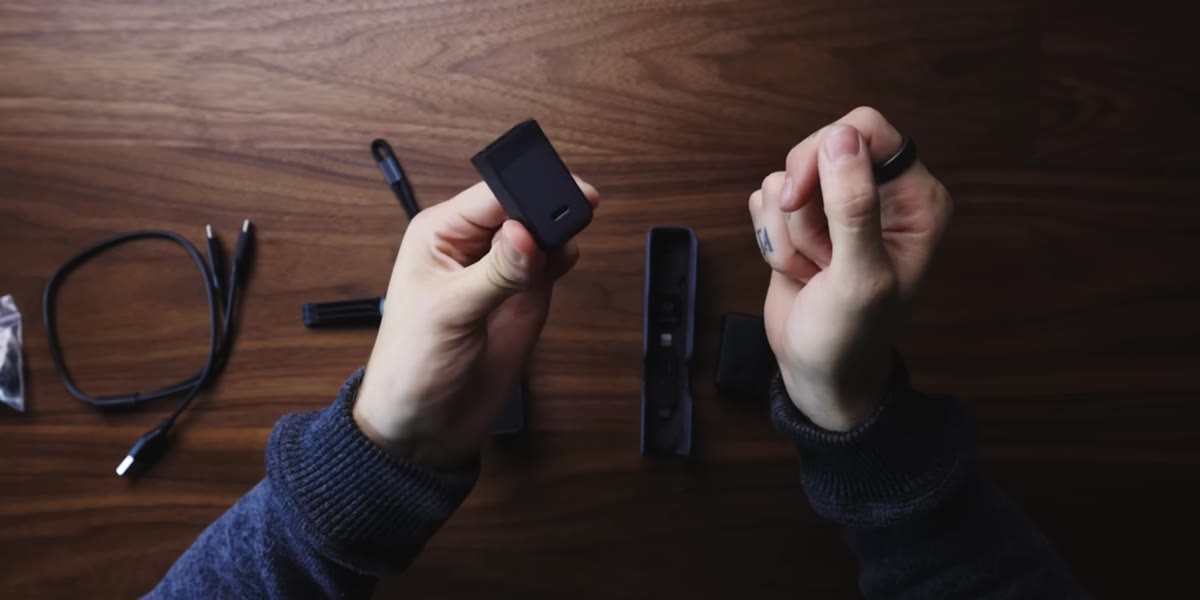 Do-it-all handle being attached to bottom of Pocket 2
One of the more interesting accessories in the bundle is what DJI calls the Do-It-All Handle. It attaches to the base of the Pocket 2 via a USB-C connection and extends the grip to a more comfortable handheld length. Beyond ergonomics, the handle adds meaningful functionality: built-in Wi-Fi, Bluetooth, a 3.5mm audio jack for external microphones, a wireless mic receiver, an external speaker, and a tripod mount at the base. That’s a lot packed into a small extension. Peter McKinnon’s first impression in his walkthrough is that he actually prefers using the camera with the handle attached just for the grip alone, and I understand that instinct - the original body is small enough that extended handheld shooting can get awkward.
Step 5: Add the Tripod for Static Shots and Timelapses
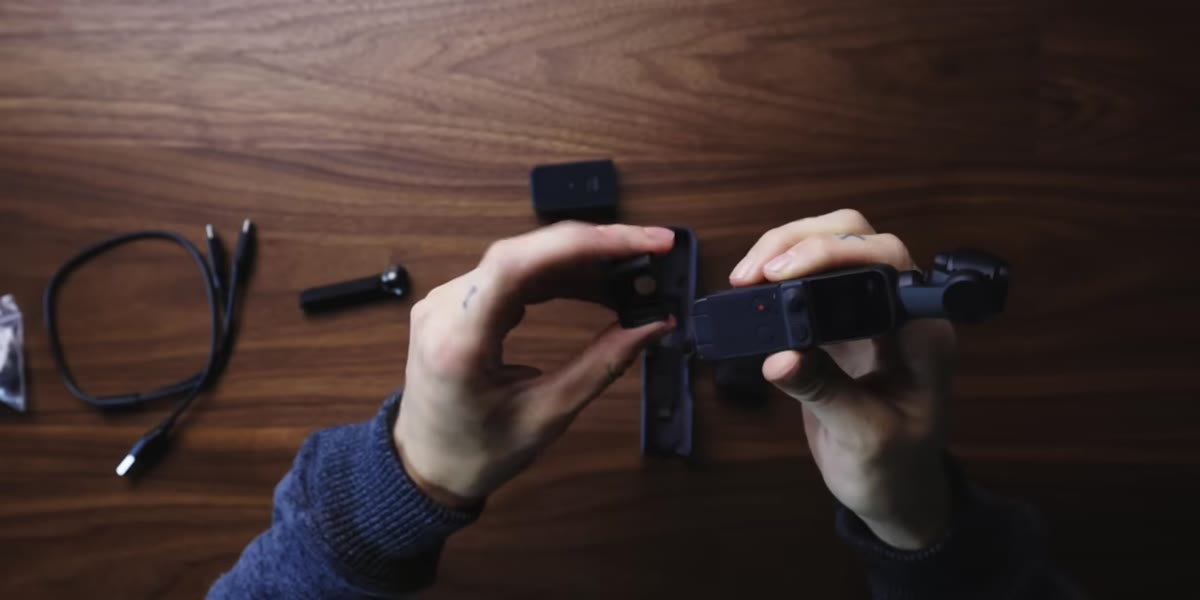 Small tripod being screwed into base of Do-It-All handle
The Creator Bundle includes a small tabletop tripod that screws into the tripod mount at the base of the Do-It-All Handle. The legs fold out and the whole thing is compact enough to fit on a desk, a fence post, or the edge of a railing. The Pocket 2 has strong timelapse capabilities built in, and a stable surface is essential for those - even a slight wobble over an extended recording period shows up in the final clip. The tripod also comes in handy if you’re recording yourself talking to camera from across the room, which is exactly the use case the Pocket 2 was designed for.
Step 6: Set Up and Test the Lavalier Microphone
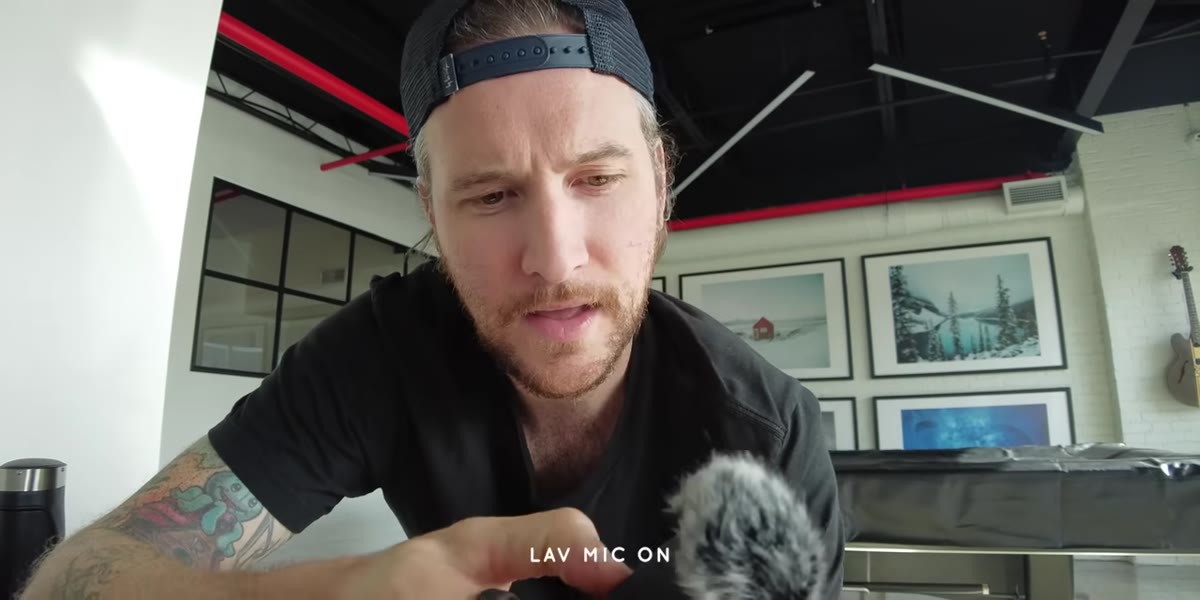 Lavalier mic held near collar demonstrating audio capture
The included lavalier mic connects wirelessly to the Do-It-All Handle’s receiver, and the dead cat windscreen attaches to the mic head to reduce wind noise outdoors. For best results, clip or tape the mic to the inside of a collar or lapel rather than leaving it visible - it’s small but still visible enough to look distracting on camera if it’s sitting on the outside of your shirt. The practical use case for the lav is distance: when you’re standing several feet away from the camera and the built-in mic would pick up too much room noise, the wireless lav keeps your voice clear and present regardless of where you’re standing. Test the audio before your actual shoot by recording a short clip and playing it back through headphones.
What I’d Add Based on My Own Experience
The Pocket 2 is genuinely well-suited to travel and lifestyle shooting, but I’d push back slightly on the idea that the built-in gimbal replaces deliberate movement habits. Even the best stabilization has limits, and I’ve found that slowing down your walking pace significantly - almost unnaturally slow - produces much smoother footage than just trusting the gimbal to compensate for a normal stride. Think of the stabilization as a polish layer, not a substitute for controlled movement. Also, if you’re planning to shoot in cold weather (Seattle winters have taught me this), keep the camera close to your body between shots. Cold temperatures drain the battery faster than the specs suggest, and the Pocket 2’s compact size means there isn’t much battery capacity to spare.
The single most important thing I took from Peter McKinnon’s walkthrough is that the Creator Bundle is worth the upgrade over the base camera if you plan to shoot any kind of solo video content. The Do-It-All Handle and the lavalier mic alone justify the difference in price because they’re the accessories most likely to change what your footage actually sounds like, which matters more than most beginners expect. Watch the full tutorial on YouTube to see Peter put each piece together in real time - his hands-on demo of the gimbal startup sequence and the audio comparison between built-in and lav mic is worth seeing before you buy.
Comments
Leave a Comment