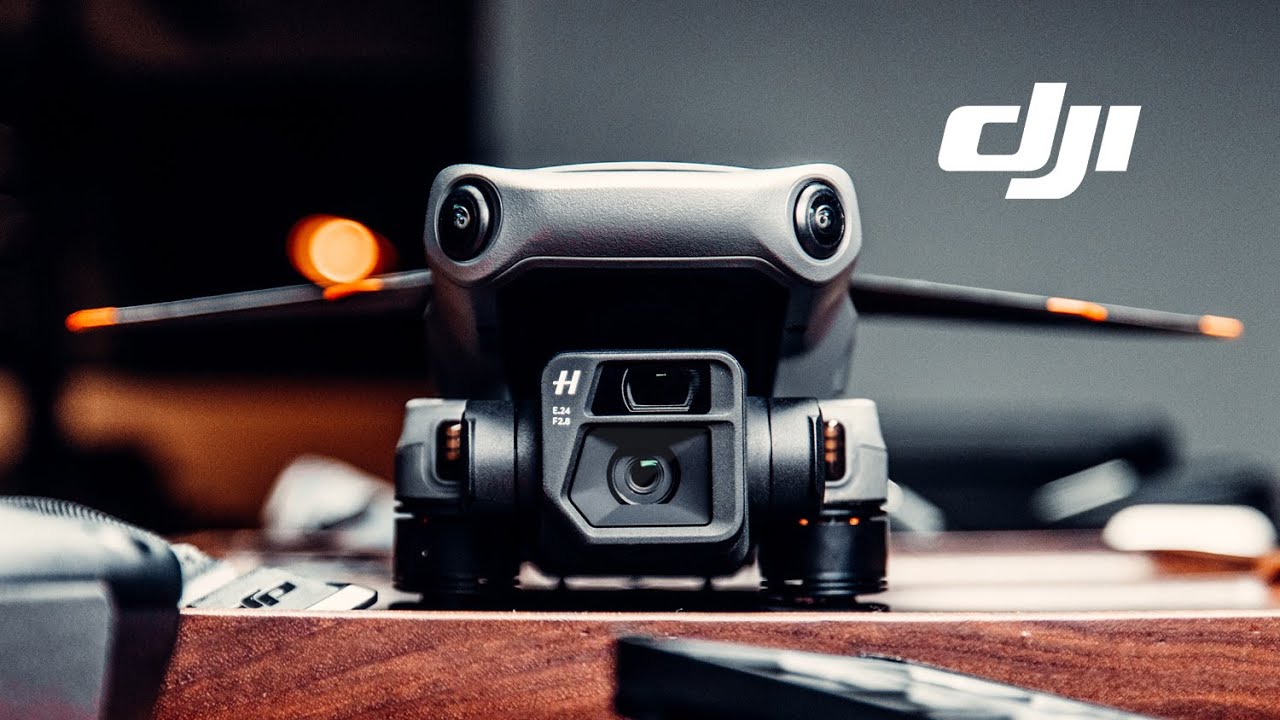
Drone photography has a way of solving problems you didn’t know you had until you’re standing on a hillside outside Seattle at 6am, watching fog roll through the valleys, wishing you could get above it. That’s been my situation more times than I can count. The frustration isn’t just technical, it’s logistical: short battery life, clunky remotes, mediocre image quality that you have to baby through post. For a while, I genuinely wondered if the juice was worth the squeeze.
That’s what made me stop everything and watch Peter McKinnon’s breakdown of the DJI Mavic 3 Cine. Watch the full tutorial on YouTube – it’s worth your full attention. McKinnon is one of those creators who gets excited about gear in a way that never feels like a sales pitch, and his walkthrough of this drone covers the details that actually change how you work in the field. Here’s what I took away, and what you can apply to your own aerial shooting right now.
Step 1: Understand What “Cine” Actually Means Before You Buy
 McKinnon opening ND filter package on table
The “Cine” designation isn’t just marketing. It signals that this version of the Mavic 3 is configured specifically for video-first workflows, and the included accessories reflect that. The package comes with a set of ND filters – neutral density filters that reduce the amount of light hitting your sensor – which are essential for getting cinematic motion blur in bright outdoor conditions. Without them, your footage looks choppy and over-sharp, even at correct exposure. The filter values in this kit go all the way up to ND512, which is extreme enough for shooting in direct midday sun at a slow shutter speed.
If you’re new to ND filters on drones, the basic rule is to follow the 180-degree shutter rule: set your shutter speed to double your frame rate. Shooting at 24fps? Your shutter should sit around 1/50. In bright light, you’ll need NDs to bring exposure down without closing your aperture.
Step 2: Inspect the Build and Understand Why It Matters
 Close-up of Mavic 3 Cine body and lens cover
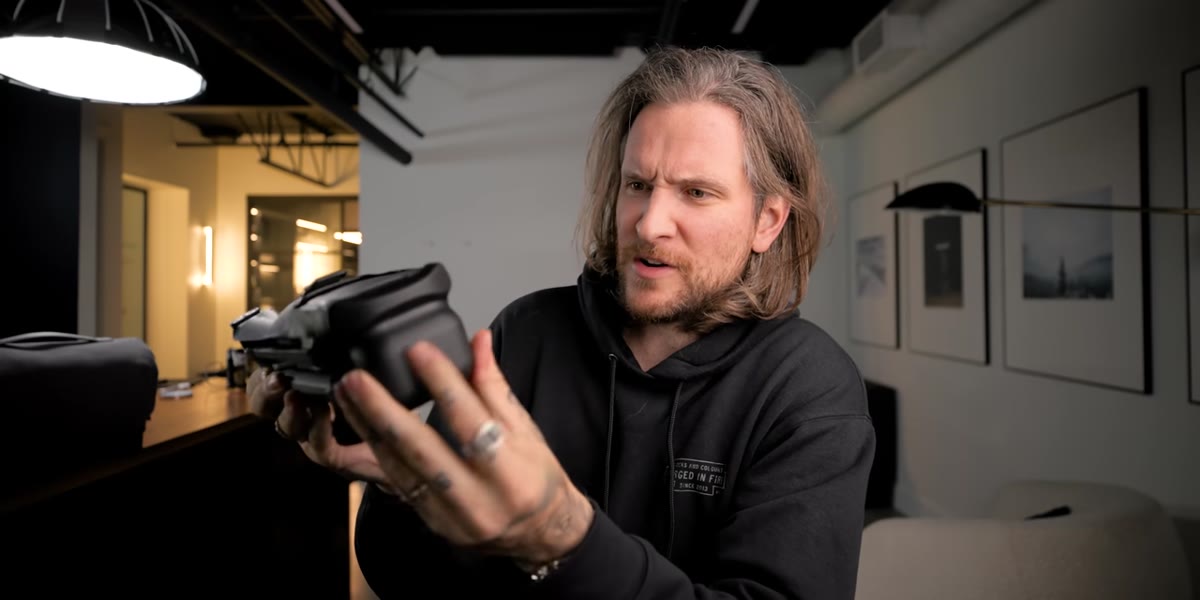
Before you ever fly, get familiar with how the drone is physically constructed. McKinnon spends real time on the build quality here, and it’s not just enthusiasm – the details tell you something about durability and field reliability. The magnetic lens cover, for instance, snaps on and off cleanly, which means you’re less likely to rush and damage your gimbal when you’re scrambling to launch at golden hour.
Take note of the ventilation on the top of the body, the placement of obstacle sensors, and the dual-camera setup on the front. Understanding what’s where before your first flight means fewer fumbles in the moment. If you’re transitioning from an older Mavic model, the form factor is familiar but the camera system is a significant upgrade.
Step 3: Get Acquainted with the Smart Controller
 McKinnon holding the smart controller, screen visible
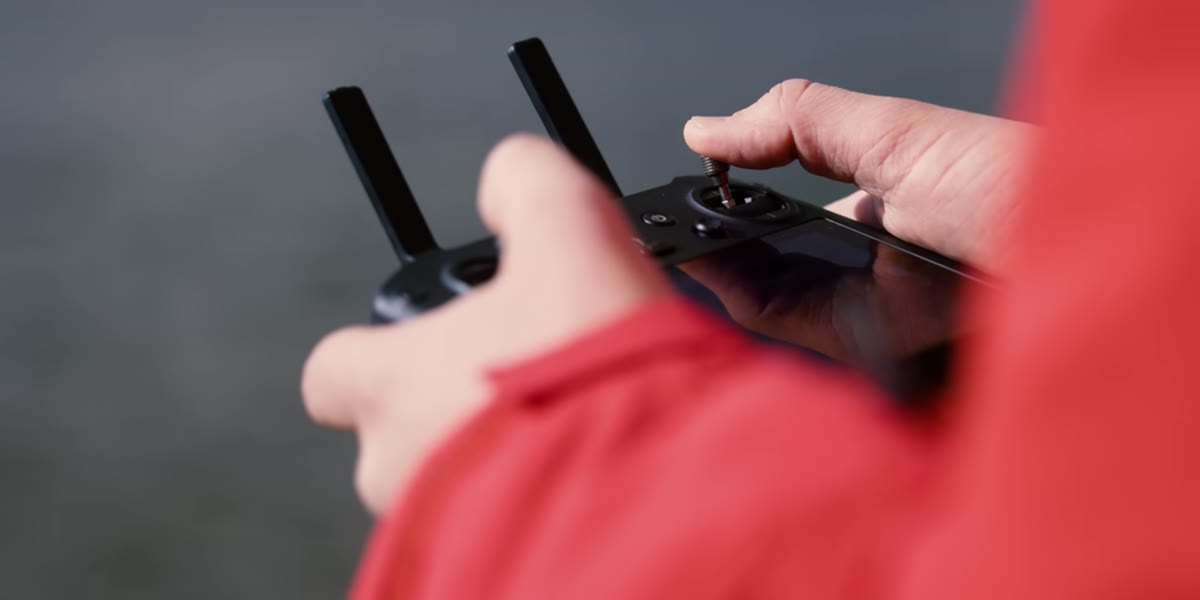
The updated smart controller that ships with the Cine package has a built-in screen, which removes your phone from the equation entirely. That is a bigger deal than it sounds. Using your phone as a monitor introduces variables: brightness limitations, overheating, notification interruptions, and an extra cable that always manages to get in the way. The built-in screen eliminates all of that.
There’s also an SD card slot inside the controller itself, which means you can record your screen feed directly. For tutorials, client demos, or just reviewing footage in the field without digging into the drone’s storage, that’s a genuinely useful feature. The controller is large – McKinnon compares it to a game handheld from the 90s – but the grip is comfortable for extended sessions.
Step 4: Learn the Dual-Camera System and When to Use Each
 Dual cameras visible on front of drone, Hasselblad branding
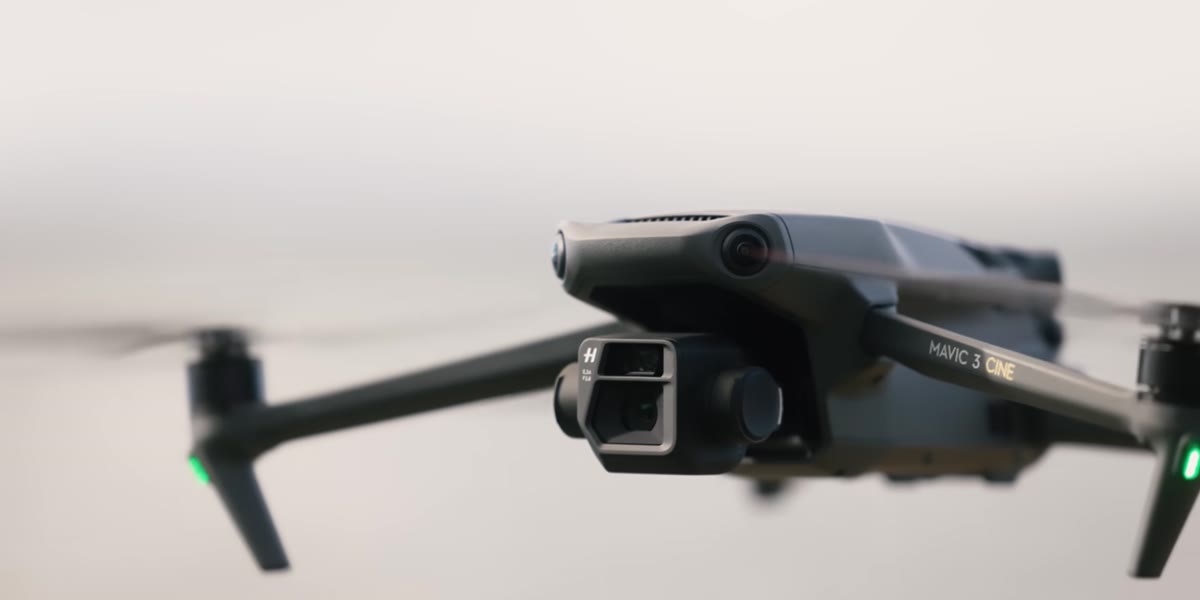
This is the headline feature of the Mavic 3 Cine: two cameras on the front, with Hasselblad color science behind the primary lens. The dual-camera setup gives you optical flexibility without having to reposition the drone. You can switch focal lengths mid-flight, which is particularly useful when you’re covering a moving subject and want to tighten up without losing your position.
The Hasselblad collaboration isn’t just a logo. It influences the color profile and dynamic range coming off the sensor, which matters significantly if you’re shooting D-Log or any flat picture profile for grading later. If you’re new to flat profiles, the short version is: they preserve more shadow and highlight detail, giving you more flexibility in editing. You will need to color grade the footage, but you’ll have far more latitude to work with.
Step 5: Manage Your Batteries Like a Professional
 Three batteries and charging tray on table
Battery management is where most beginners lose time and sometimes shots. The Mavic 3 Cine ships with three batteries and a tray charger that cycles through them consecutively, one after the other, from a single power source. It’s not simultaneous charging, but the sequential setup means you can plug in after a session and walk away without babysitting anything.
McKinnon reported flight times exceeding 40 minutes per battery in real-world use. That’s a meaningful jump over previous generations, where 20-25 minutes was the ceiling before the drone started nagging you back down. With three batteries, you’re looking at close to two hours of potential flying time in a single outing, which fundamentally changes how you plan a shoot. You can actually explore, circle back, adjust, and try again – instead of racing the clock every single time.
Step 6: Pre-Flight Check – The Gear Habits That Protect Your Investment
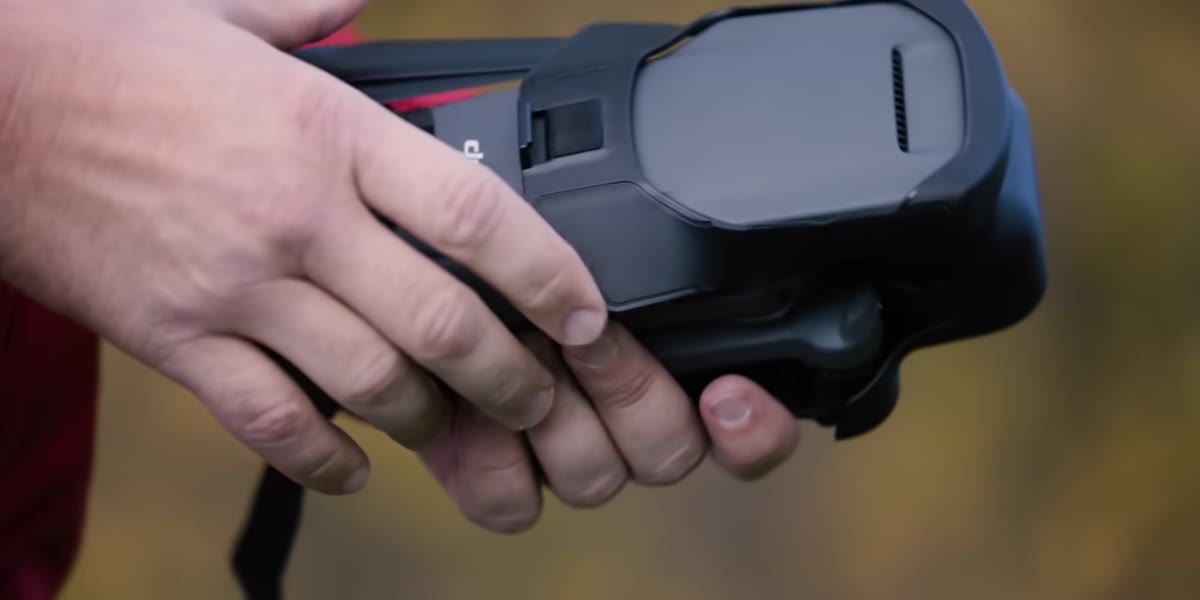 McKinnon sliding off gimbal cover, propeller guards in hand
Before every flight, build a physical checklist habit. McKinnon demonstrates removing the propeller guards and gimbal cover in a specific order, and the reason matters: the gimbal is the most vulnerable part of the drone and the most expensive to repair. Remove the cover last before takeoff, replace it first after landing.
Check that your ND filter is seated properly and not slightly cocked, which can cause vignetting at the frame edges. Confirm your SD card is inserted in the drone (not just the controller). Run a quick compass calibration if you’re in a new location. These thirty seconds of prep prevent the kind of footage loss that ruins an otherwise perfect morning shoot.
A Note from My Own Experience with Drone Shoots
The battery life improvement is what I want to emphasize most, because it changes more than just how long you’re in the air – it changes your creative mindset. When I was shooting with older drones, I was always slightly anxious, always aware of the countdown. That anxiety pushed me to make conservative choices. I’d go for the safe, predictable angle instead of experimenting, because I didn’t have time to course-correct.
Longer flight time gives you permission to be curious. You can try the weird angle, decide it’s not working, and still have enough battery left to get the shot you actually came for. I’ve started treating that extra time the way I treat a second memory card: it’s not a backup plan, it’s creative breathing room.
The single most important takeaway from McKinnon’s breakdown is this: the best drone for your work is the one that gets out of your way. The Mavic 3 Cine’s combination of extended battery life, built-in ND filters, a controller that doesn’t require your phone, and Hasselblad image quality adds up to a system that removes friction at almost every stage. Less friction means more focus on the actual image. That’s the whole game.
Watch the full tutorial on YouTube to see McKinnon walk through the unboxing and field details firsthand – his enthusiasm for the small stuff is infectious and will help you notice things in your own gear you might have been overlooking.
Comments
Leave a Comment