
Every Sunday I come home from my photo walk with way too many shots. I shoot in bursts, I bracket exposures, I fire off three frames when one would have been honest. By the time I’m back with my coffee going cold on the desk, I’m staring at 400 to 600 images from a two-hour walk. That number has a way of making the whole thing feel like homework instead of something I love. Now multiply that by a multi-day wildlife trip and you have a genuine problem.
That’s exactly the situation Matt Kloskowski found himself in after spending two days on an eagle photography tour near Tampa. He came home with nearly 2,000 images and needed a strategy to get through them without losing the rest of his week. In this Matt Kloskowski tutorial, Watch the full tutorial on YouTube, he walks through his actual culling session in Lightroom Classic and the approach is so straightforward it almost feels like cheating. I’ve adapted it into my own workflow and it genuinely works for landscape, travel, or any shoot where you come home with more images than you know what to do with.
The core idea is simple: stop trying to find the good photos first. Start by eliminating the obviously bad ones as fast as possible.
Step 1: Set Up Your Import Correctly
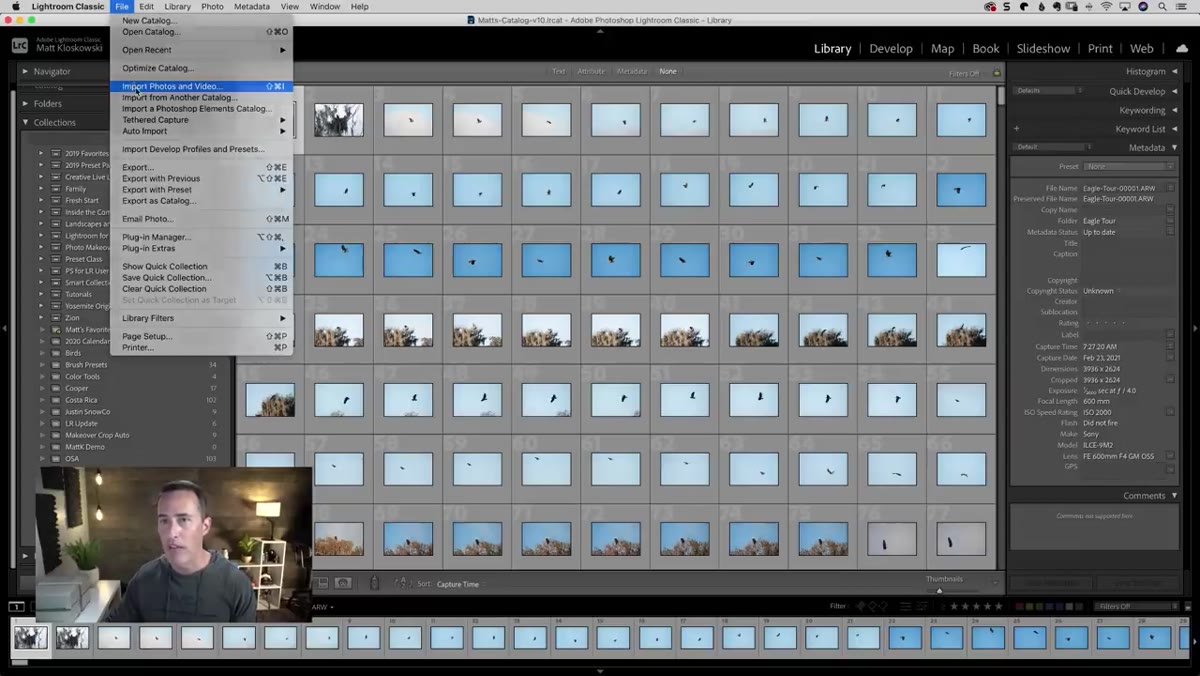 Lightroom import dialog showing File Handling options
Before you can cull quickly, you need Lightroom to be quick. When you import your photos into Lightroom Classic, go to the File Handling panel on the right side of the import dialog and set the preview option to “Embedded and Sidecar.” This tells Lightroom to use the small preview already baked into your RAW file rather than building a full-quality preview from scratch. The difference in speed is significant. You can flip through images almost instantly instead of watching a gray box slowly resolve into a photo.
Lightroom import dialog showing File Handling options
Before you can cull quickly, you need Lightroom to be quick. When you import your photos into Lightroom Classic, go to the File Handling panel on the right side of the import dialog and set the preview option to “Embedded and Sidecar.” This tells Lightroom to use the small preview already baked into your RAW file rather than building a full-quality preview from scratch. The difference in speed is significant. You can flip through images almost instantly instead of watching a gray box slowly resolve into a photo.
This setting only applies at import time. If you’ve already pulled in a batch of photos without it, you’ll need to re-import or manually build previews, so make this part of your standard import checklist from here on out.
Step 2: Stay in the Library Module
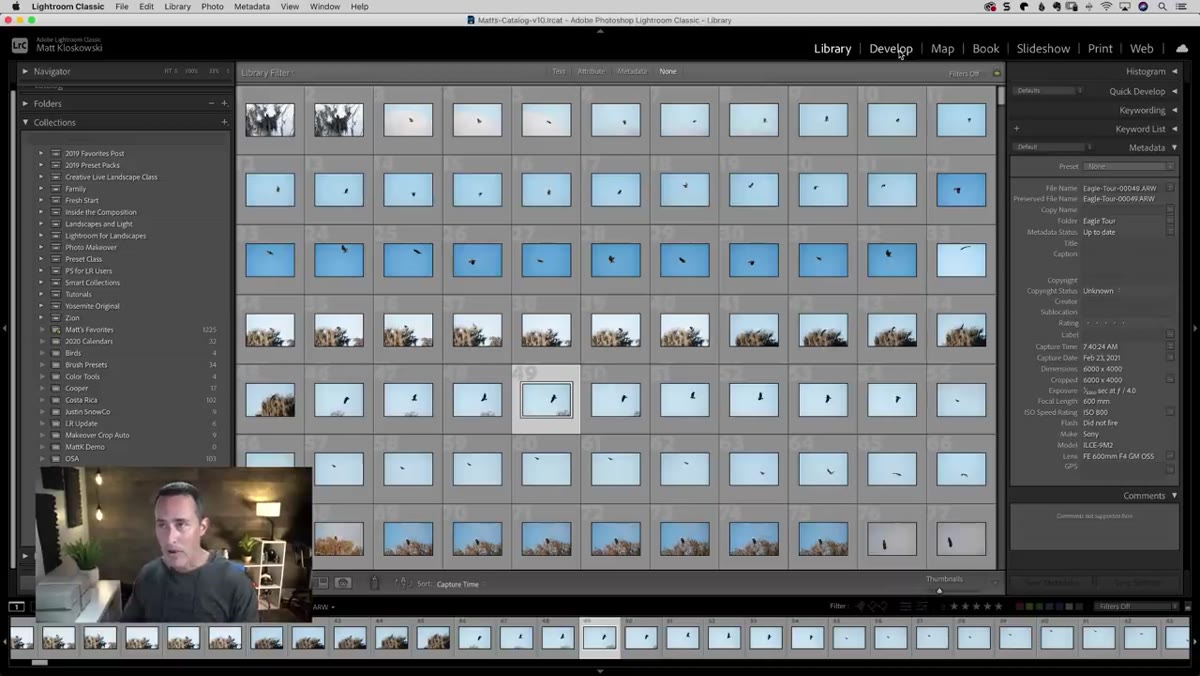 Lightroom Classic Library module grid view with photo collection
This is the one that trips up most people, including me when I first started using Lightroom seriously. The Develop module is where you edit, but it’s not where you cull. Every time you click an image in Develop, Lightroom has to render a full preview, and that’s where the slowdown happens. The Library module, by contrast, shows you those embedded previews immediately.
Lightroom Classic Library module grid view with photo collection
This is the one that trips up most people, including me when I first started using Lightroom seriously. The Develop module is where you edit, but it’s not where you cull. Every time you click an image in Develop, Lightroom has to render a full preview, and that’s where the slowdown happens. The Library module, by contrast, shows you those embedded previews immediately.
Double-click any image in the Library module to open it in loupe view, then use your right arrow key to move through the sequence. It plays like a slideshow you control. No loading bars, no waiting. Just photos moving past your eyes at whatever pace you set.
Step 3: Reject Obvious Losers in Batches
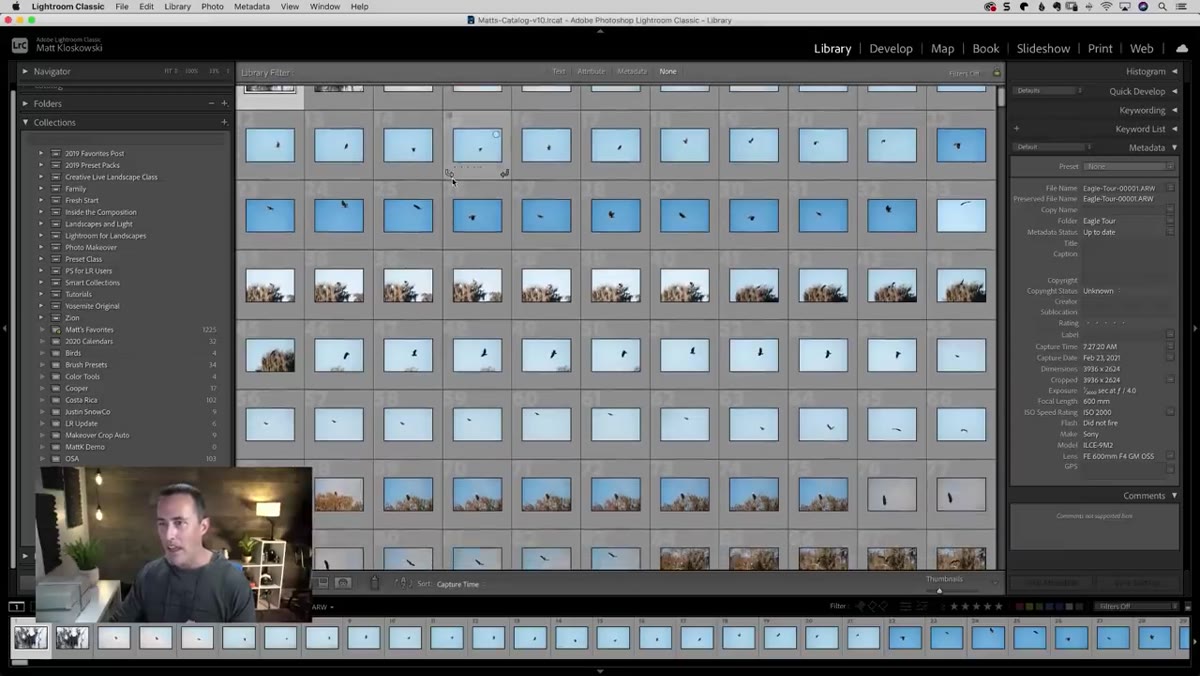 Grid view with multiple photos selected before rejection
Here’s where the speed really comes from. Rather than making a keep-or-reject decision on every single frame, scan the grid view first and look for groups of images that clearly aren’t working. Maybe the subject was too far away for the first 40 shots. Maybe the light was wrong for a whole stretch of the morning. Click the first image in that group, shift-click the last one to select the whole range, then press X.
Grid view with multiple photos selected before rejection
Here’s where the speed really comes from. Rather than making a keep-or-reject decision on every single frame, scan the grid view first and look for groups of images that clearly aren’t working. Maybe the subject was too far away for the first 40 shots. Maybe the light was wrong for a whole stretch of the morning. Click the first image in that group, shift-click the last one to select the whole range, then press X.
The X key is Lightroom’s reject flag shortcut. It marks those photos with a black reject flag but does not delete them. Nothing is gone yet. You’re just sorting, and you can undo any rejection if you change your mind. This batch approach is what makes the 15-minute timeline realistic. You’re not evaluating images one by one. You’re making broad editorial decisions about entire sequences at once.
Step 4: Use X on Individual Frames as You Scroll
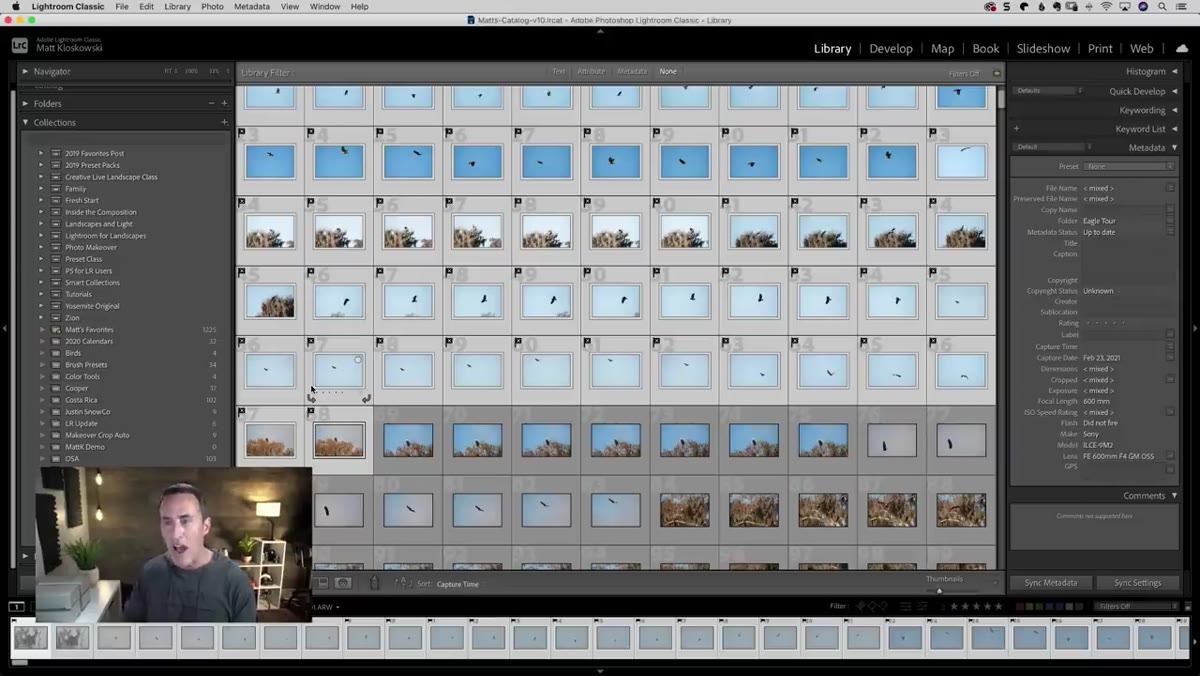 Single image in loupe view with reject flag applied
Once you’ve handled the obvious bulk rejections, move into loupe view and scroll through what’s left using the arrow keys. For any individual frame that’s blurry, badly exposed, or just a weaker version of a shot you already have, tap X and keep moving. Don’t pause. Don’t second-guess. If your gut says no in the first two seconds, it’s a no.
Single image in loupe view with reject flag applied
Once you’ve handled the obvious bulk rejections, move into loupe view and scroll through what’s left using the arrow keys. For any individual frame that’s blurry, badly exposed, or just a weaker version of a shot you already have, tap X and keep moving. Don’t pause. Don’t second-guess. If your gut says no in the first two seconds, it’s a no.
The key mental shift here is that you’re not picking favorites yet. You’re clearing away noise. Think of it like weeding a garden before you decide which plants to feature. The photos you’re rejecting aren’t necessarily bad shots in isolation. They’re just not going to make the cut when you have ten similar frames to choose from.
Step 5: Delete Rejected Photos (When You’re Ready)
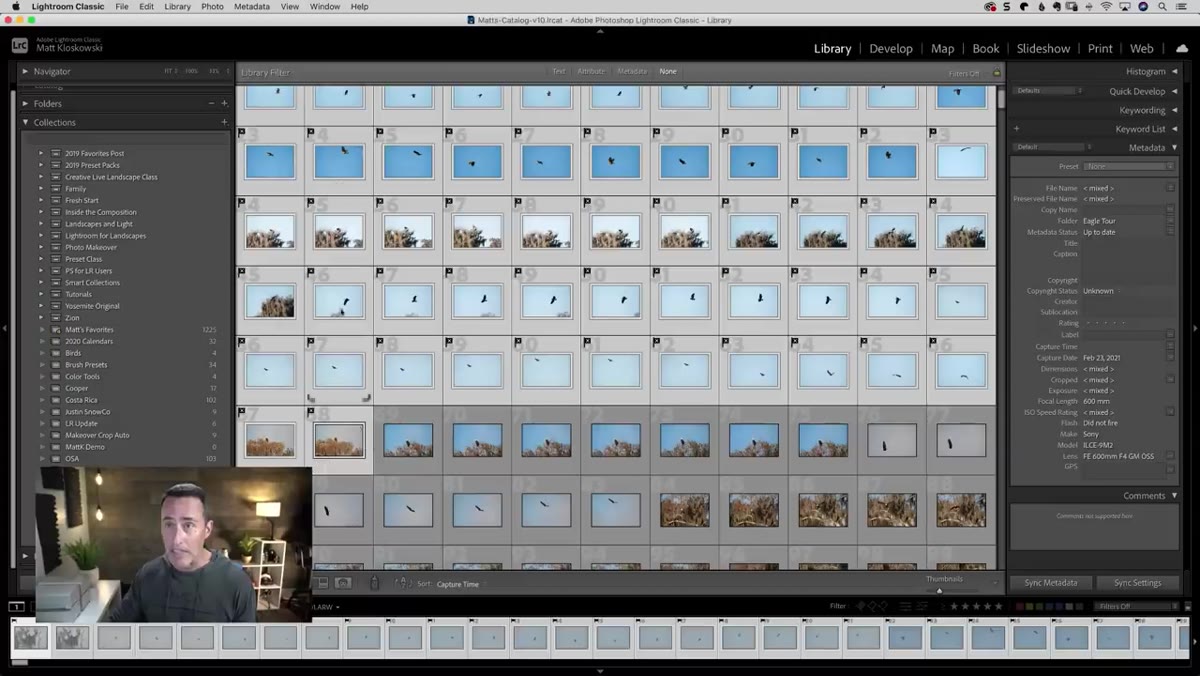 Photo menu open showing Delete Rejected Photos option
Once you’ve worked through the full set, go to Photo in the top menu and select “Delete Rejected Photos.” Lightroom will ask whether you want to remove them from the catalog only or actually delete the files. That’s a personal call. Matt’s take is to just get through the process and get to the editing. Some photographers keep everything indefinitely for storage. Others delete without hesitation.
Photo menu open showing Delete Rejected Photos option
Once you’ve worked through the full set, go to Photo in the top menu and select “Delete Rejected Photos.” Lightroom will ask whether you want to remove them from the catalog only or actually delete the files. That’s a personal call. Matt’s take is to just get through the process and get to the editing. Some photographers keep everything indefinitely for storage. Others delete without hesitation.
My own habit is to remove rejected files from the catalog during the session, then wait 30 days before clearing them from the hard drive. It’s a small buffer that has saved me exactly once in four years, but once was enough.
A Note From My Own Workflow
I’d add one thing Matt doesn’t cover in the video, which is building in a second-pass filter using star ratings. After my first cull strips out the obvious rejects, I go through the survivors again and give a single star to anything I actually want to edit. Then I filter the view to show only one-star-and-above images. That second pass usually cuts my remaining set in half again, and by the end I’m looking at 40 to 80 images from a 500-shot session. That’s a number I can sit down with on a Sunday afternoon and actually enjoy.
The culling stage used to feel like the least creative part of photography to me. Now I see it as the first creative decision of every project: choosing what story you’re actually going to tell with what you brought home.
The single most important thing to take away from Matt’s method is that speed is not the enemy of good editing. Moving fast through the obvious misses frees up your attention for the images that actually deserve it. Build the habit of culling in the Library module with embedded previews loaded and the X key close to your thumb, and you’ll spend less time managing files and more time doing the work you actually love.
Watch the full tutorial on YouTube to see Matt walk through a live culling session with real eagle photography footage. Watching the speed at which he moves through frames is genuinely motivating.
Comments (1)
Clear and practical. No fluff. Appreciate that.
Leave a Comment