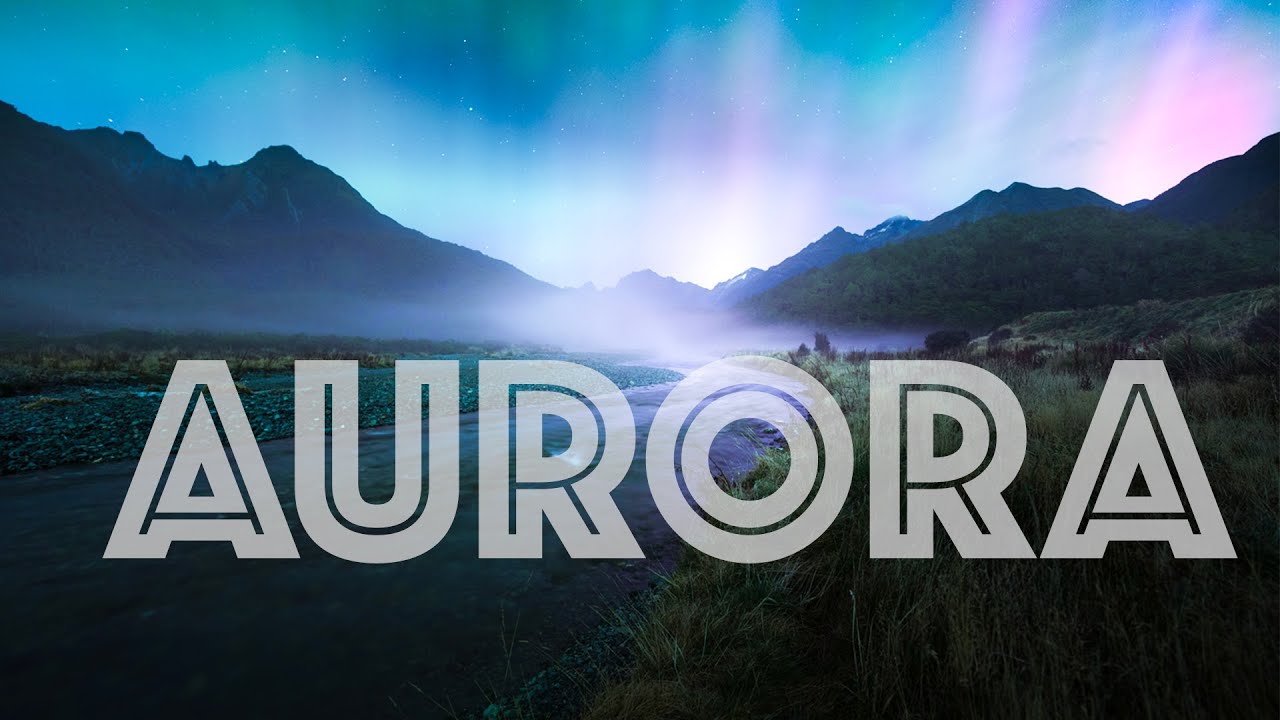
There are photographs you plan for months and still miss, and then there are the ones that find you at 3 a.m. when you were supposed to be asleep. Aurora photography lives entirely in that second category. It rewards the prepared and punishes anyone who decides to call it a night too early. I’ve spent enough sleepless hours chasing the northern lights from the Pacific Northwest that I’ve built up opinions about what actually works out in the field, and when I came across this William Patino tutorial shot in Fiordland, New Zealand, I kept pausing it to take notes. Watch the full tutorial on YouTube
What Patino captures here isn’t just a lucky night. It’s a repeatable workflow, and the part that struck me most was how he adapts in real time when conditions shift. That’s the skill most aurora tutorials skip entirely. They give you the camera settings and send you out the door, but they don’t tell you what to do when the display fades after twenty minutes, or when you wake up at 3 a.m. to find the sky has come back to life. This tutorial covers all of that, and I’m going to walk you through it step by step so you can take it straight into the field.
Step 1: Monitor Aurora Activity Before You Leave the House
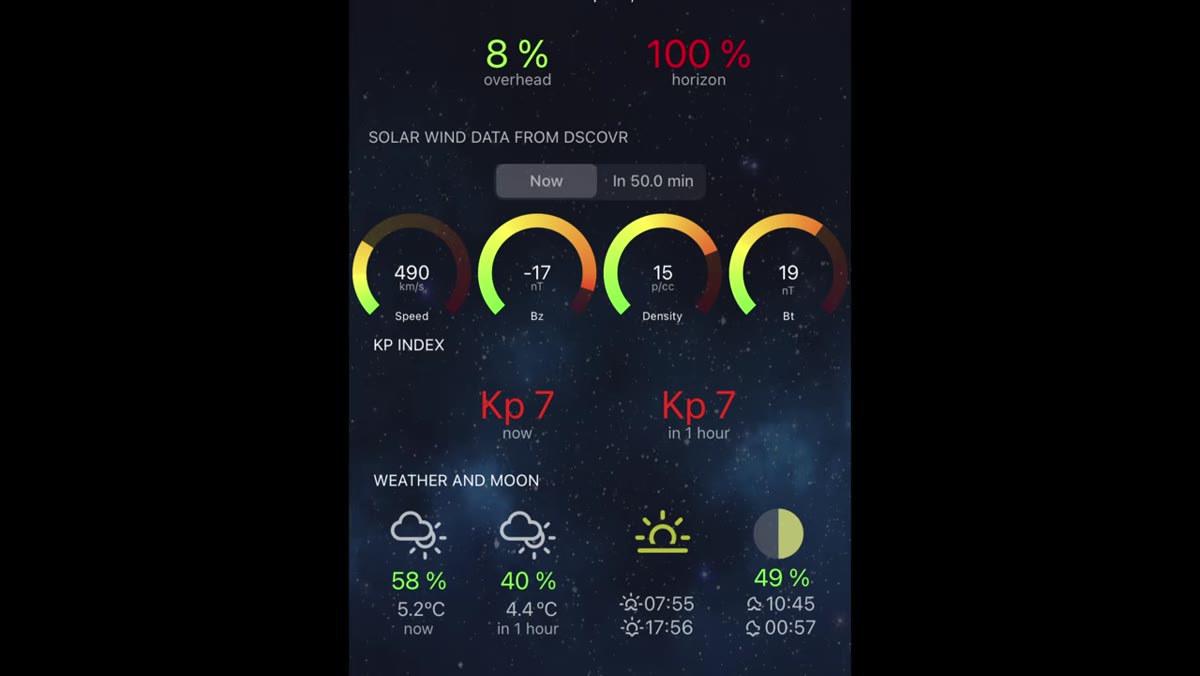 Geomagnetic activity chart showing live aurora data on screen
Before you touch your camera bag, you need to know whether the aurora is actually worth chasing tonight. Patino shows a live activity chart on his phone and makes his go or no-go decision based on whether the display is strong enough to hold for several more hours. The key metric to watch is the Kp index, which rates geomagnetic activity on a scale from 0 to 9. For the Southern Lights in New Zealand, a Kp of 4 or higher is generally worth pursuing. Sites like SpaceWeatherLive and apps like My Aurora Forecast update frequently enough that you can check conditions right up until you head out.
Geomagnetic activity chart showing live aurora data on screen
Before you touch your camera bag, you need to know whether the aurora is actually worth chasing tonight. Patino shows a live activity chart on his phone and makes his go or no-go decision based on whether the display is strong enough to hold for several more hours. The key metric to watch is the Kp index, which rates geomagnetic activity on a scale from 0 to 9. For the Southern Lights in New Zealand, a Kp of 4 or higher is generally worth pursuing. Sites like SpaceWeatherLive and apps like My Aurora Forecast update frequently enough that you can check conditions right up until you head out.
The important habit Patino models here is checking early in the day, not at sunset. Giving yourself a six or seven hour window to make a decision means you can scout a location, check cloud cover forecasts, and not be rushing while half asleep. I keep a shortlist of three or four shooting spots already mapped out so that when conditions look promising, the only question is which one to drive to.
Step 2: Choose a Location With a Strong Foreground
 Car driving toward dark national park landscape at night
The aurora is the headline, but the foreground is what separates a snapshot from a photograph. Patino heads to a national park and positions himself near water, which lets the light reflect back up from the lake surface and doubles the visual impact of the display. When you’re scouting, think about elements that will hold up even if the aurora is faint: mountain ridgelines, rivers, interesting treelines, or coastline.
Car driving toward dark national park landscape at night
The aurora is the headline, but the foreground is what separates a snapshot from a photograph. Patino heads to a national park and positions himself near water, which lets the light reflect back up from the lake surface and doubles the visual impact of the display. When you’re scouting, think about elements that will hold up even if the aurora is faint: mountain ridgelines, rivers, interesting treelines, or coastline.
If you’re shooting somewhere new, use PhotoPills or Google Earth to pre-visualize your compositions before dark. Stumbling around a lakeshore with a headlamp trying to figure out your framing while the sky is going off above you is a painful experience I’d like to save you from.
Step 3: Start With a Fast Exposure for the Sky
Once you’re on location, your first priority is capturing the aurora itself before it shifts or fades. Patino shoots with a 50mm prime at f/1.8, which is a great choice because it lets enough light in for a shorter shutter speed. For aurora photography, shorter exposures preserve the structure and definition in the beams rather than blending them into a blurry smear.
A solid starting point for your sky exposure: f/1.8 to f/2.8, ISO 1600 to 3200, and a shutter speed somewhere between 5 and 15 seconds depending on how fast the display is moving. Shoot a test frame, check your histogram, and adjust from there. The goal at this stage is a well-exposed sky with visible detail in the aurora. Don’t worry yet about whether the foreground is bright enough.
Step 4: Shoot a Separate Long Exposure for the Landscape
 Camera on tripod during two-minute landscape exposure at night
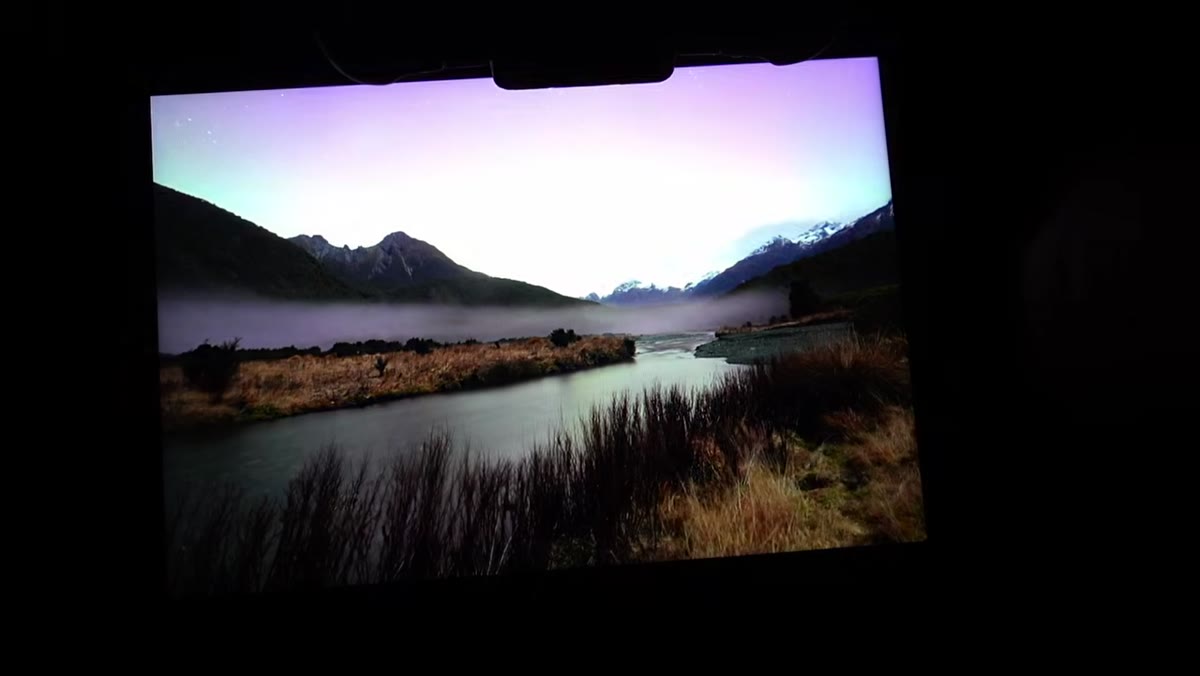
Here’s the technique that elevates Patino’s final images above a standard single-frame aurora shot. Once he has the sky locked in, he switches to a two-minute exposure at low ISO for the landscape alone. Dropping the ISO way down and extending the shutter time gives him a clean, shadow-rich foreground with almost no digital noise. The plan is to blend these two exposures together in post.
Camera on tripod during two-minute landscape exposure at night
Here’s the technique that elevates Patino’s final images above a standard single-frame aurora shot. Once he has the sky locked in, he switches to a two-minute exposure at low ISO for the landscape alone. Dropping the ISO way down and extending the shutter time gives him a clean, shadow-rich foreground with almost no digital noise. The plan is to blend these two exposures together in post.
To pull this off, your camera must be on a sturdy tripod and absolutely must not move between frames. Set your focus before you start this exposure using your fastest lens and live view, confirm the stars or horizon are sharp, then lock focus off. Use a remote shutter release or your camera’s built-in timer delay to avoid any camera shake at the moment you press the button.
Step 5: Move Locations Rather Than Repeating the Same Shot
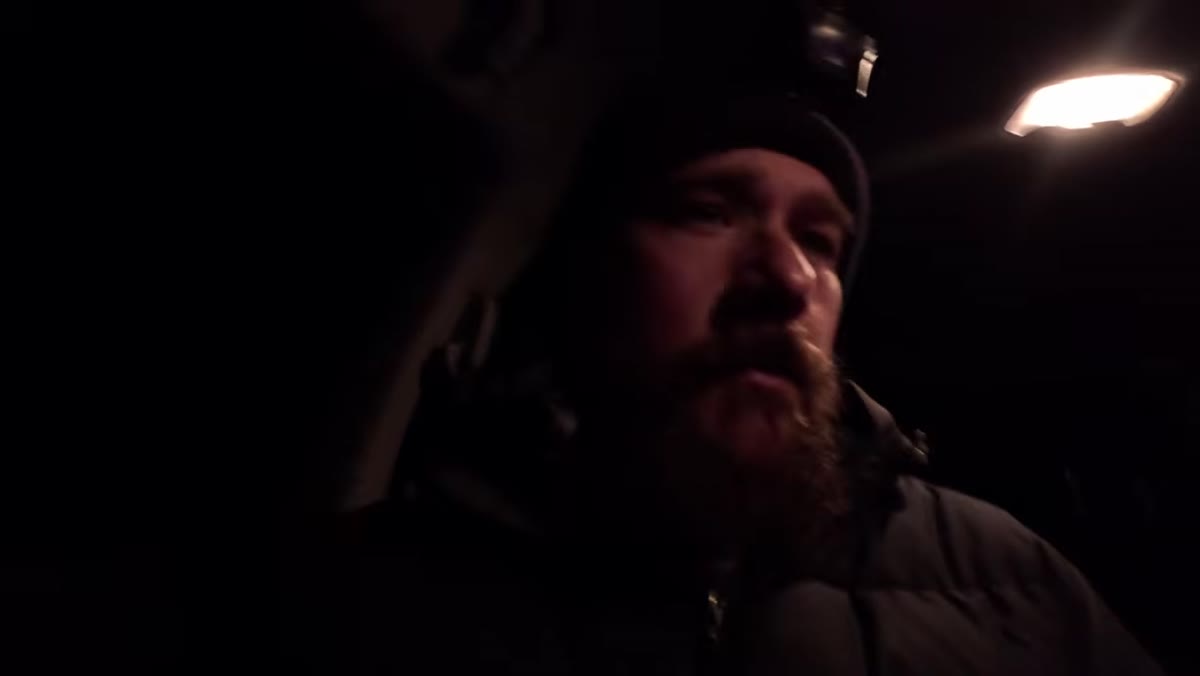 Photographer walking toward a second shooting location in the dark
This is the tip I wish someone had given me years ago. Once you have a solid sky exposure and a clean foreground frame from a location, Patino’s advice is to move on rather than keep firing the same composition. The aurora is a one-night event, and diversity in your final edit is worth more than forty nearly identical shots from the same spot.
Photographer walking toward a second shooting location in the dark
This is the tip I wish someone had given me years ago. Once you have a solid sky exposure and a clean foreground frame from a location, Patino’s advice is to move on rather than keep firing the same composition. The aurora is a one-night event, and diversity in your final edit is worth more than forty nearly identical shots from the same spot.
Make your move efficiently. Have your next location already in mind before you break down your tripod. Keep your camera settings roughly the same so you’re not starting from scratch when you arrive. Even moving two hundred meters to change the foreground element makes a meaningful difference in the variety of images you come away with.
Step 6: Stay Flexible and Be Ready for a Second Act
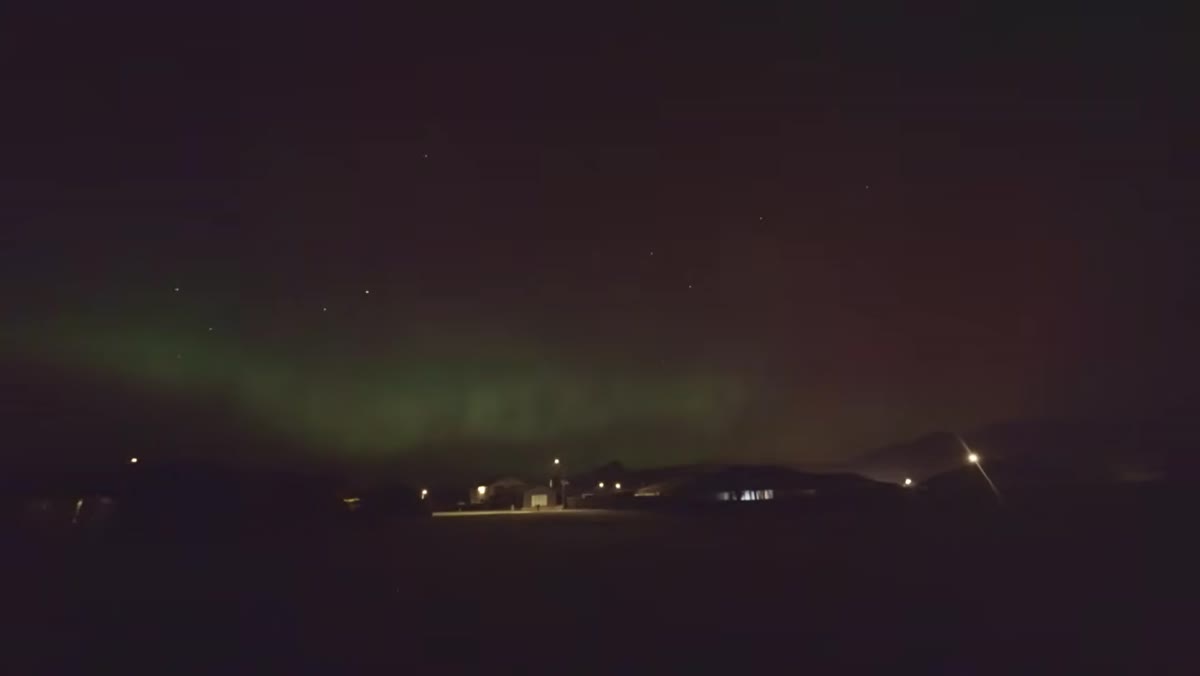 Dark road at 3am as photographer drives back out to shoot
Patino calls it quits around midnight, and then the sky absolutely erupts at 3 a.m. He gets back in the car. That decision right there is the difference between a nice night out and a set of images people stop scrolling for.
Dark road at 3am as photographer drives back out to shoot
Patino calls it quits around midnight, and then the sky absolutely erupts at 3 a.m. He gets back in the car. That decision right there is the difference between a nice night out and a set of images people stop scrolling for.
Set an alarm for 3 or 4 a.m. even after you’ve gone to bed. Keep your gear packed and your boots by the door. Aurora activity is notoriously unpredictable, and a display that seemed finished can rebuild in the early morning hours when the Earth’s magnetic activity often peaks. The cost of a few hours of broken sleep is low compared to what you might miss.
A Note From Someone Who Shoots in the Rain, Not Just New Zealand
Fiordland is obviously a stunning backdrop that most of us won’t be shooting in next weekend. But the core workflow Patino demonstrates here translates directly to wherever you live. I’ve used this same sky-layer-plus-foreground-layer approach shooting long exposures at Mount Rainier, and the results are dramatically better than anything I got trying to nail it all in one frame.
The one thing I’d add for anyone shooting in a light-polluted environment: be more aggressive about your foreground exposure length. In a darker location like Fiordland, two minutes is plenty. In the suburbs outside Seattle, I sometimes push that to five or six minutes to pull enough detail out of the shadows without cranking the ISO.
The single most important thing this tutorial reinforced for me is that aurora photography rewards patience and flexibility above everything else. Settings matter, location matters, but the willingness to stay out, move around, and go back out at 3 a.m. is what actually produces the work. Don’t let the perfect shot be the enemy of getting out the door.
Watch the full tutorial on YouTube to see William Patino’s full night unfold, including the real-time footage of those beams over the lake. It’s worth every minute.
Comments (1)
My workflow just got 10x faster. Not even kidding.
Leave a Comment